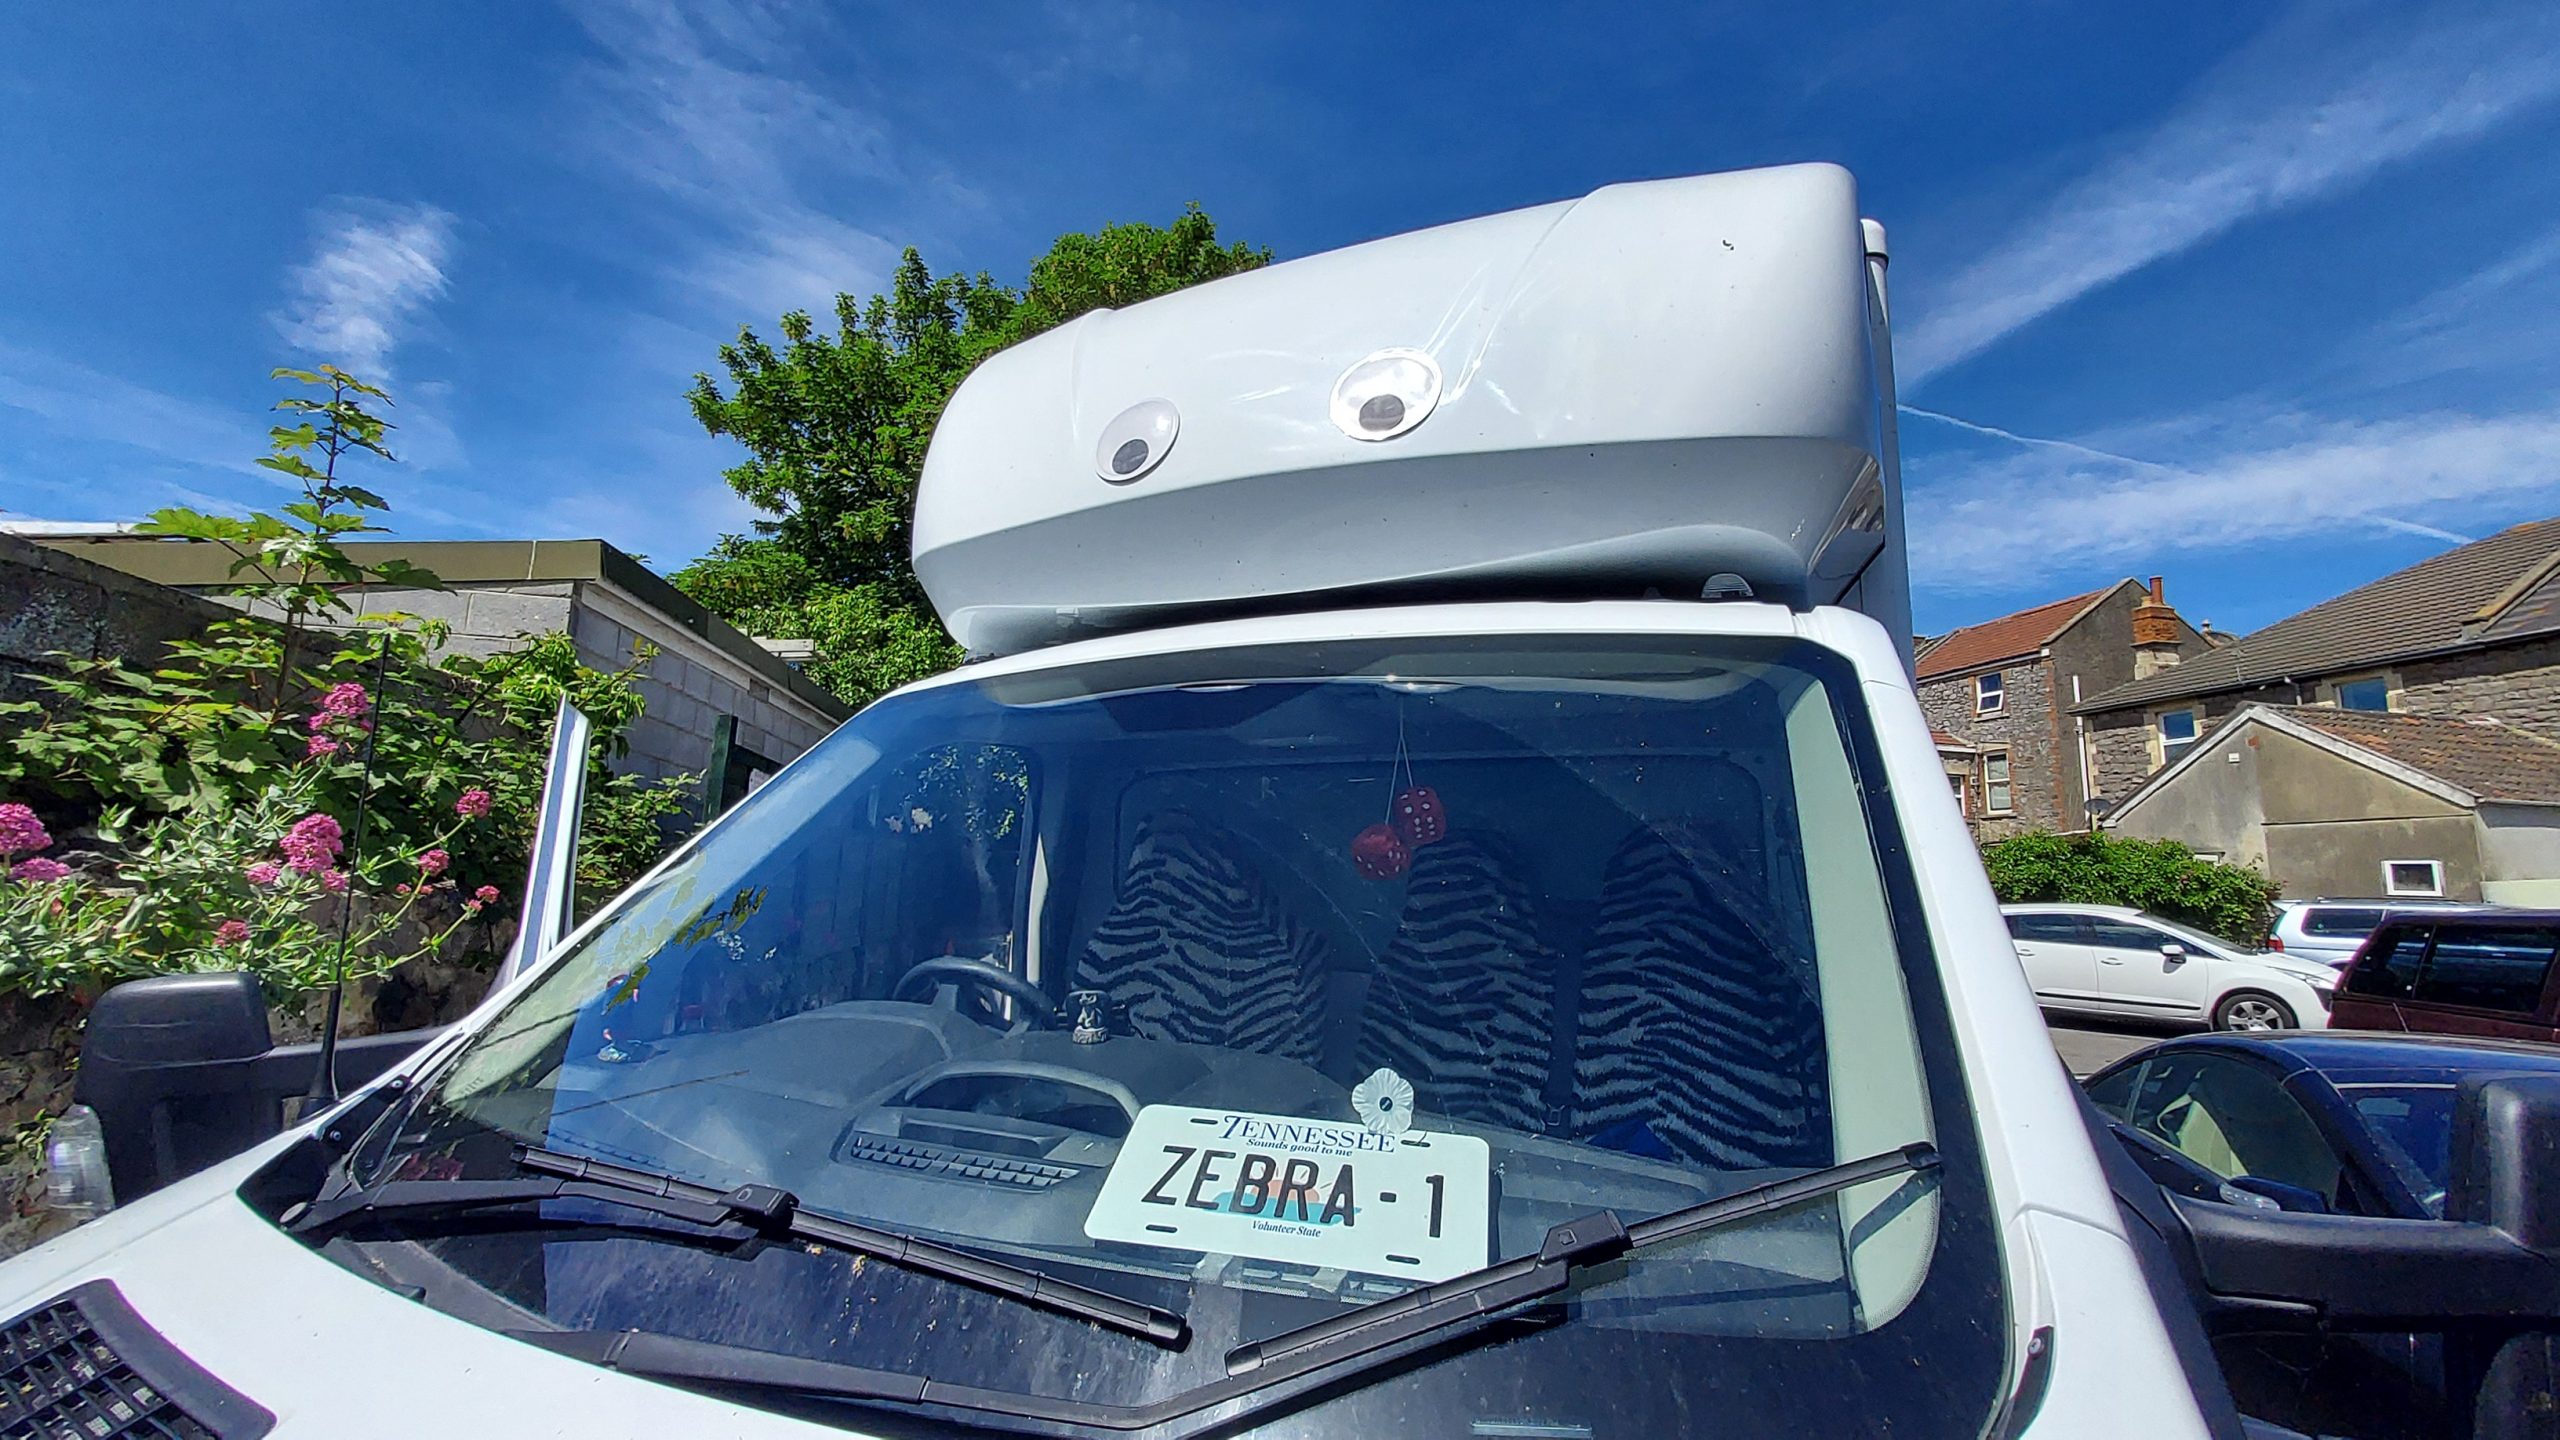
An as of yet unfinished project, introducing Big Z!
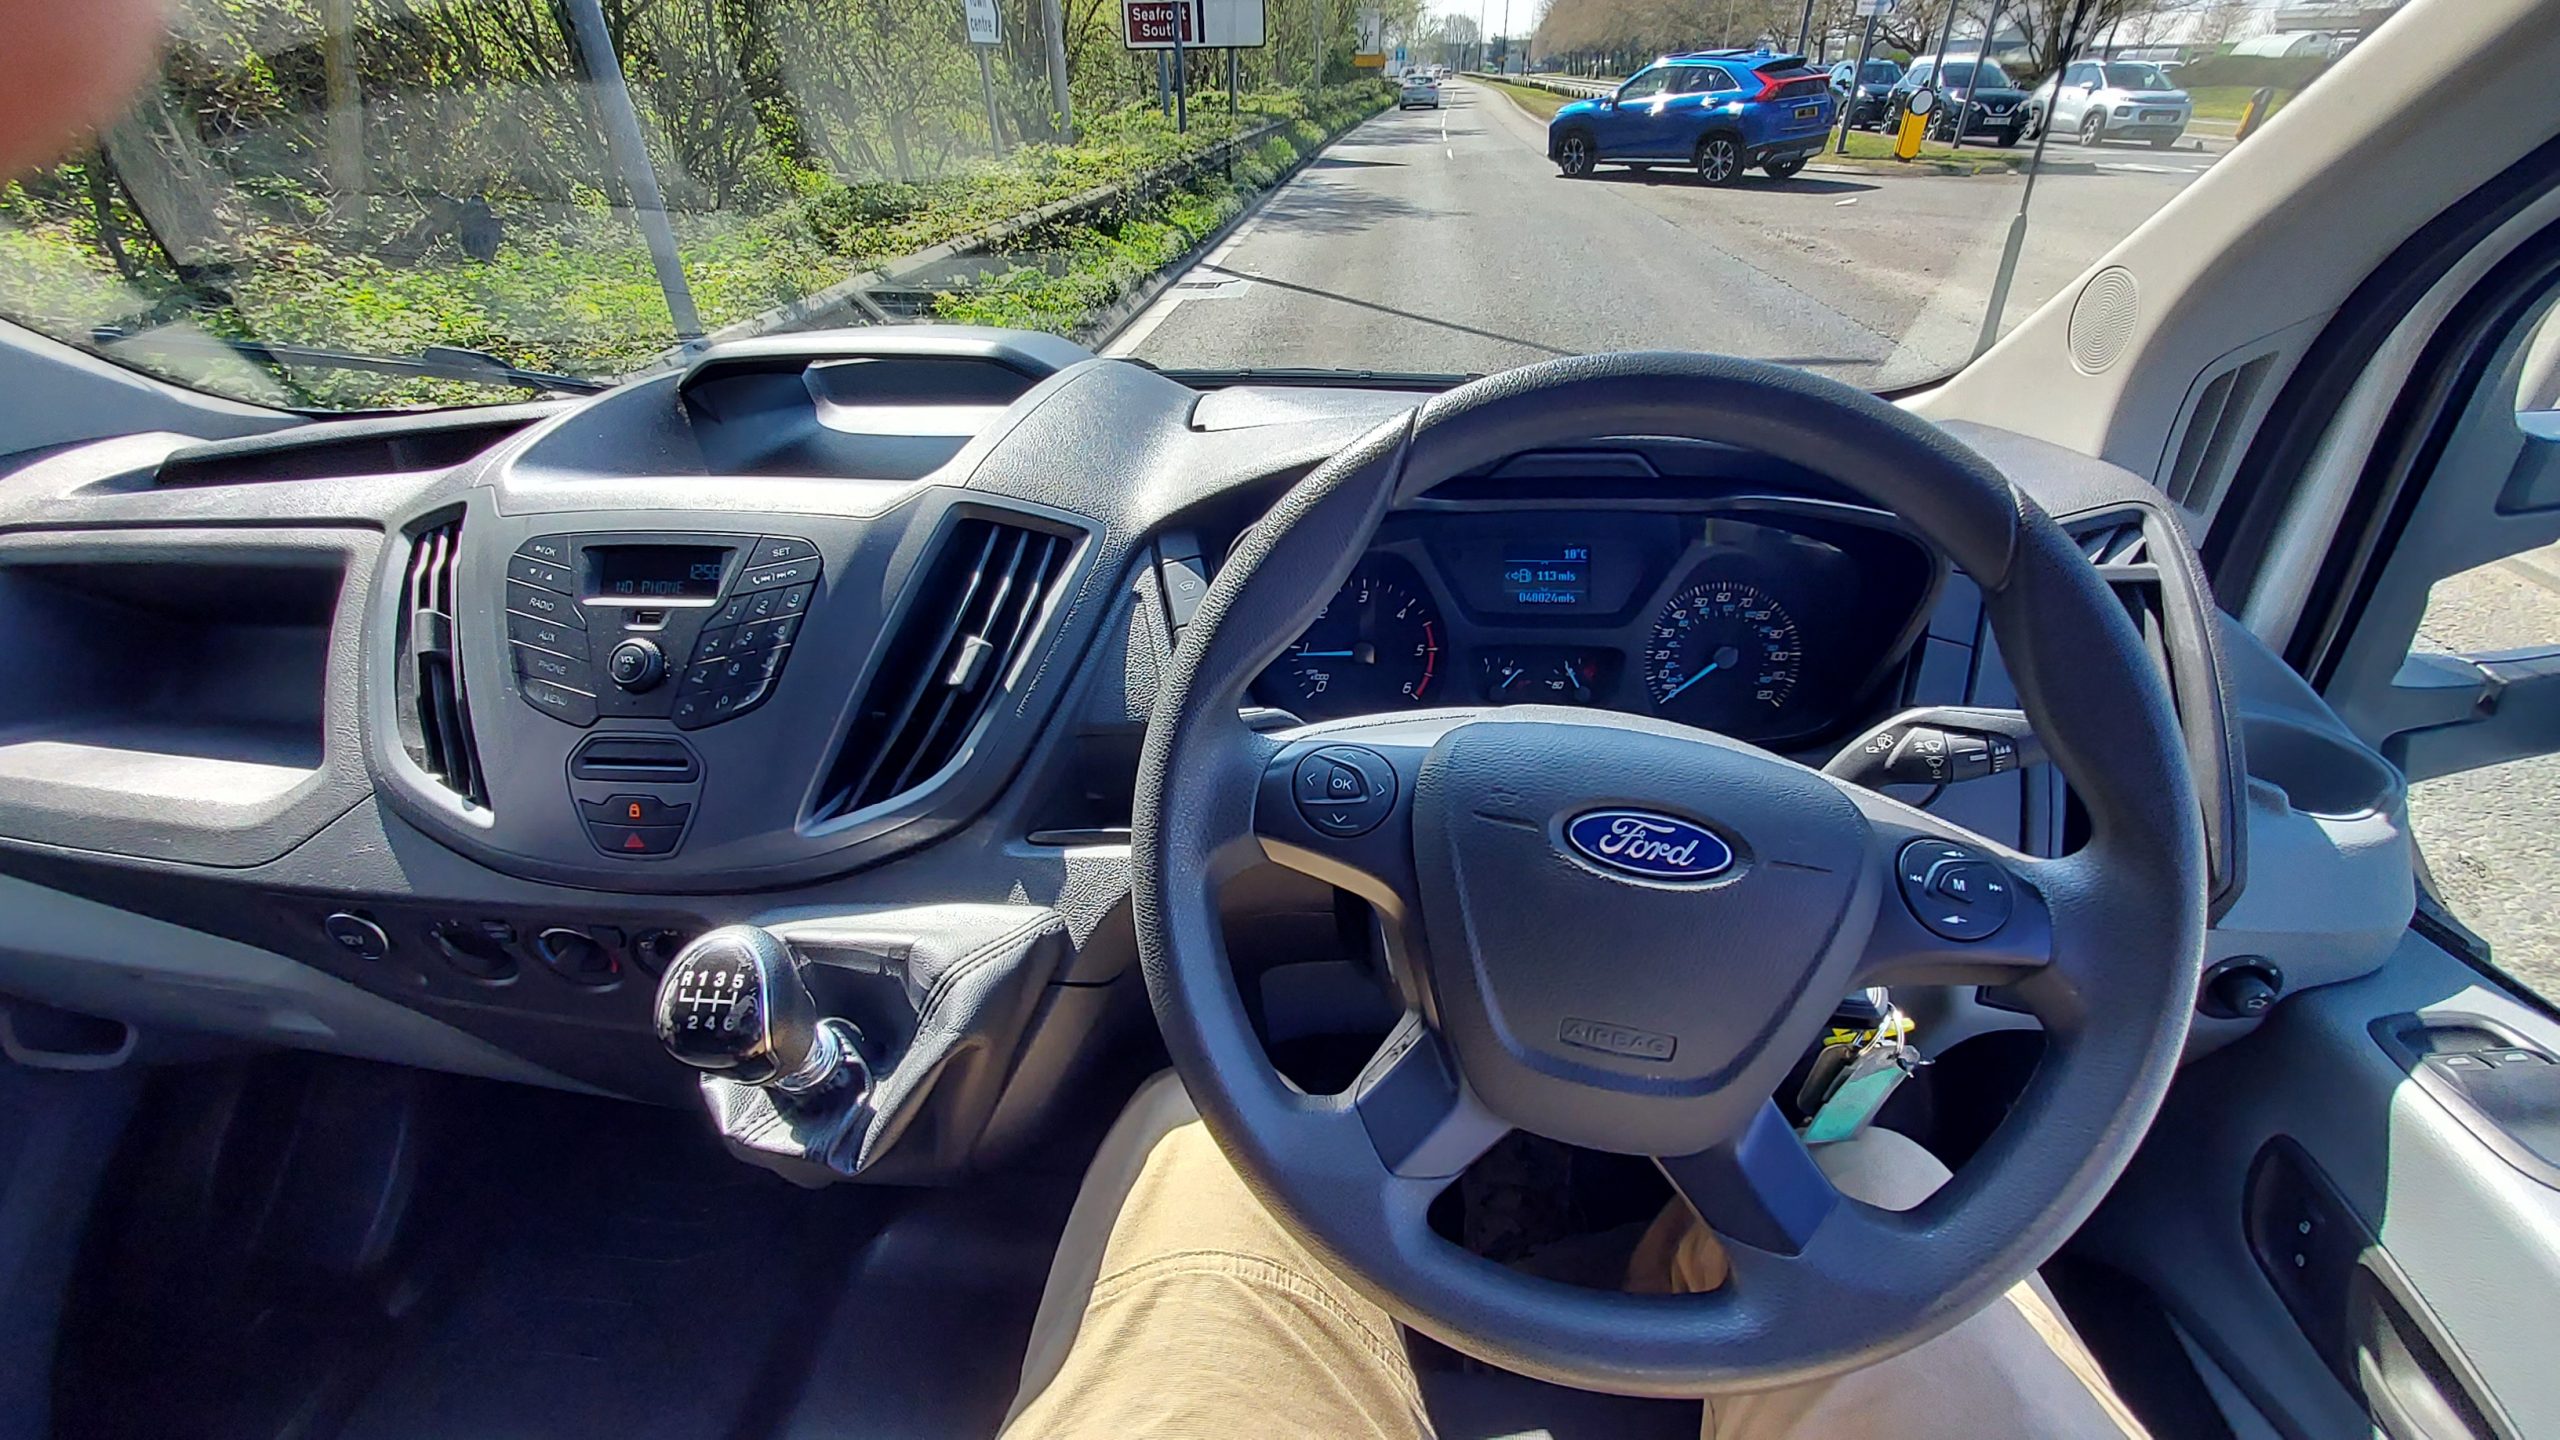

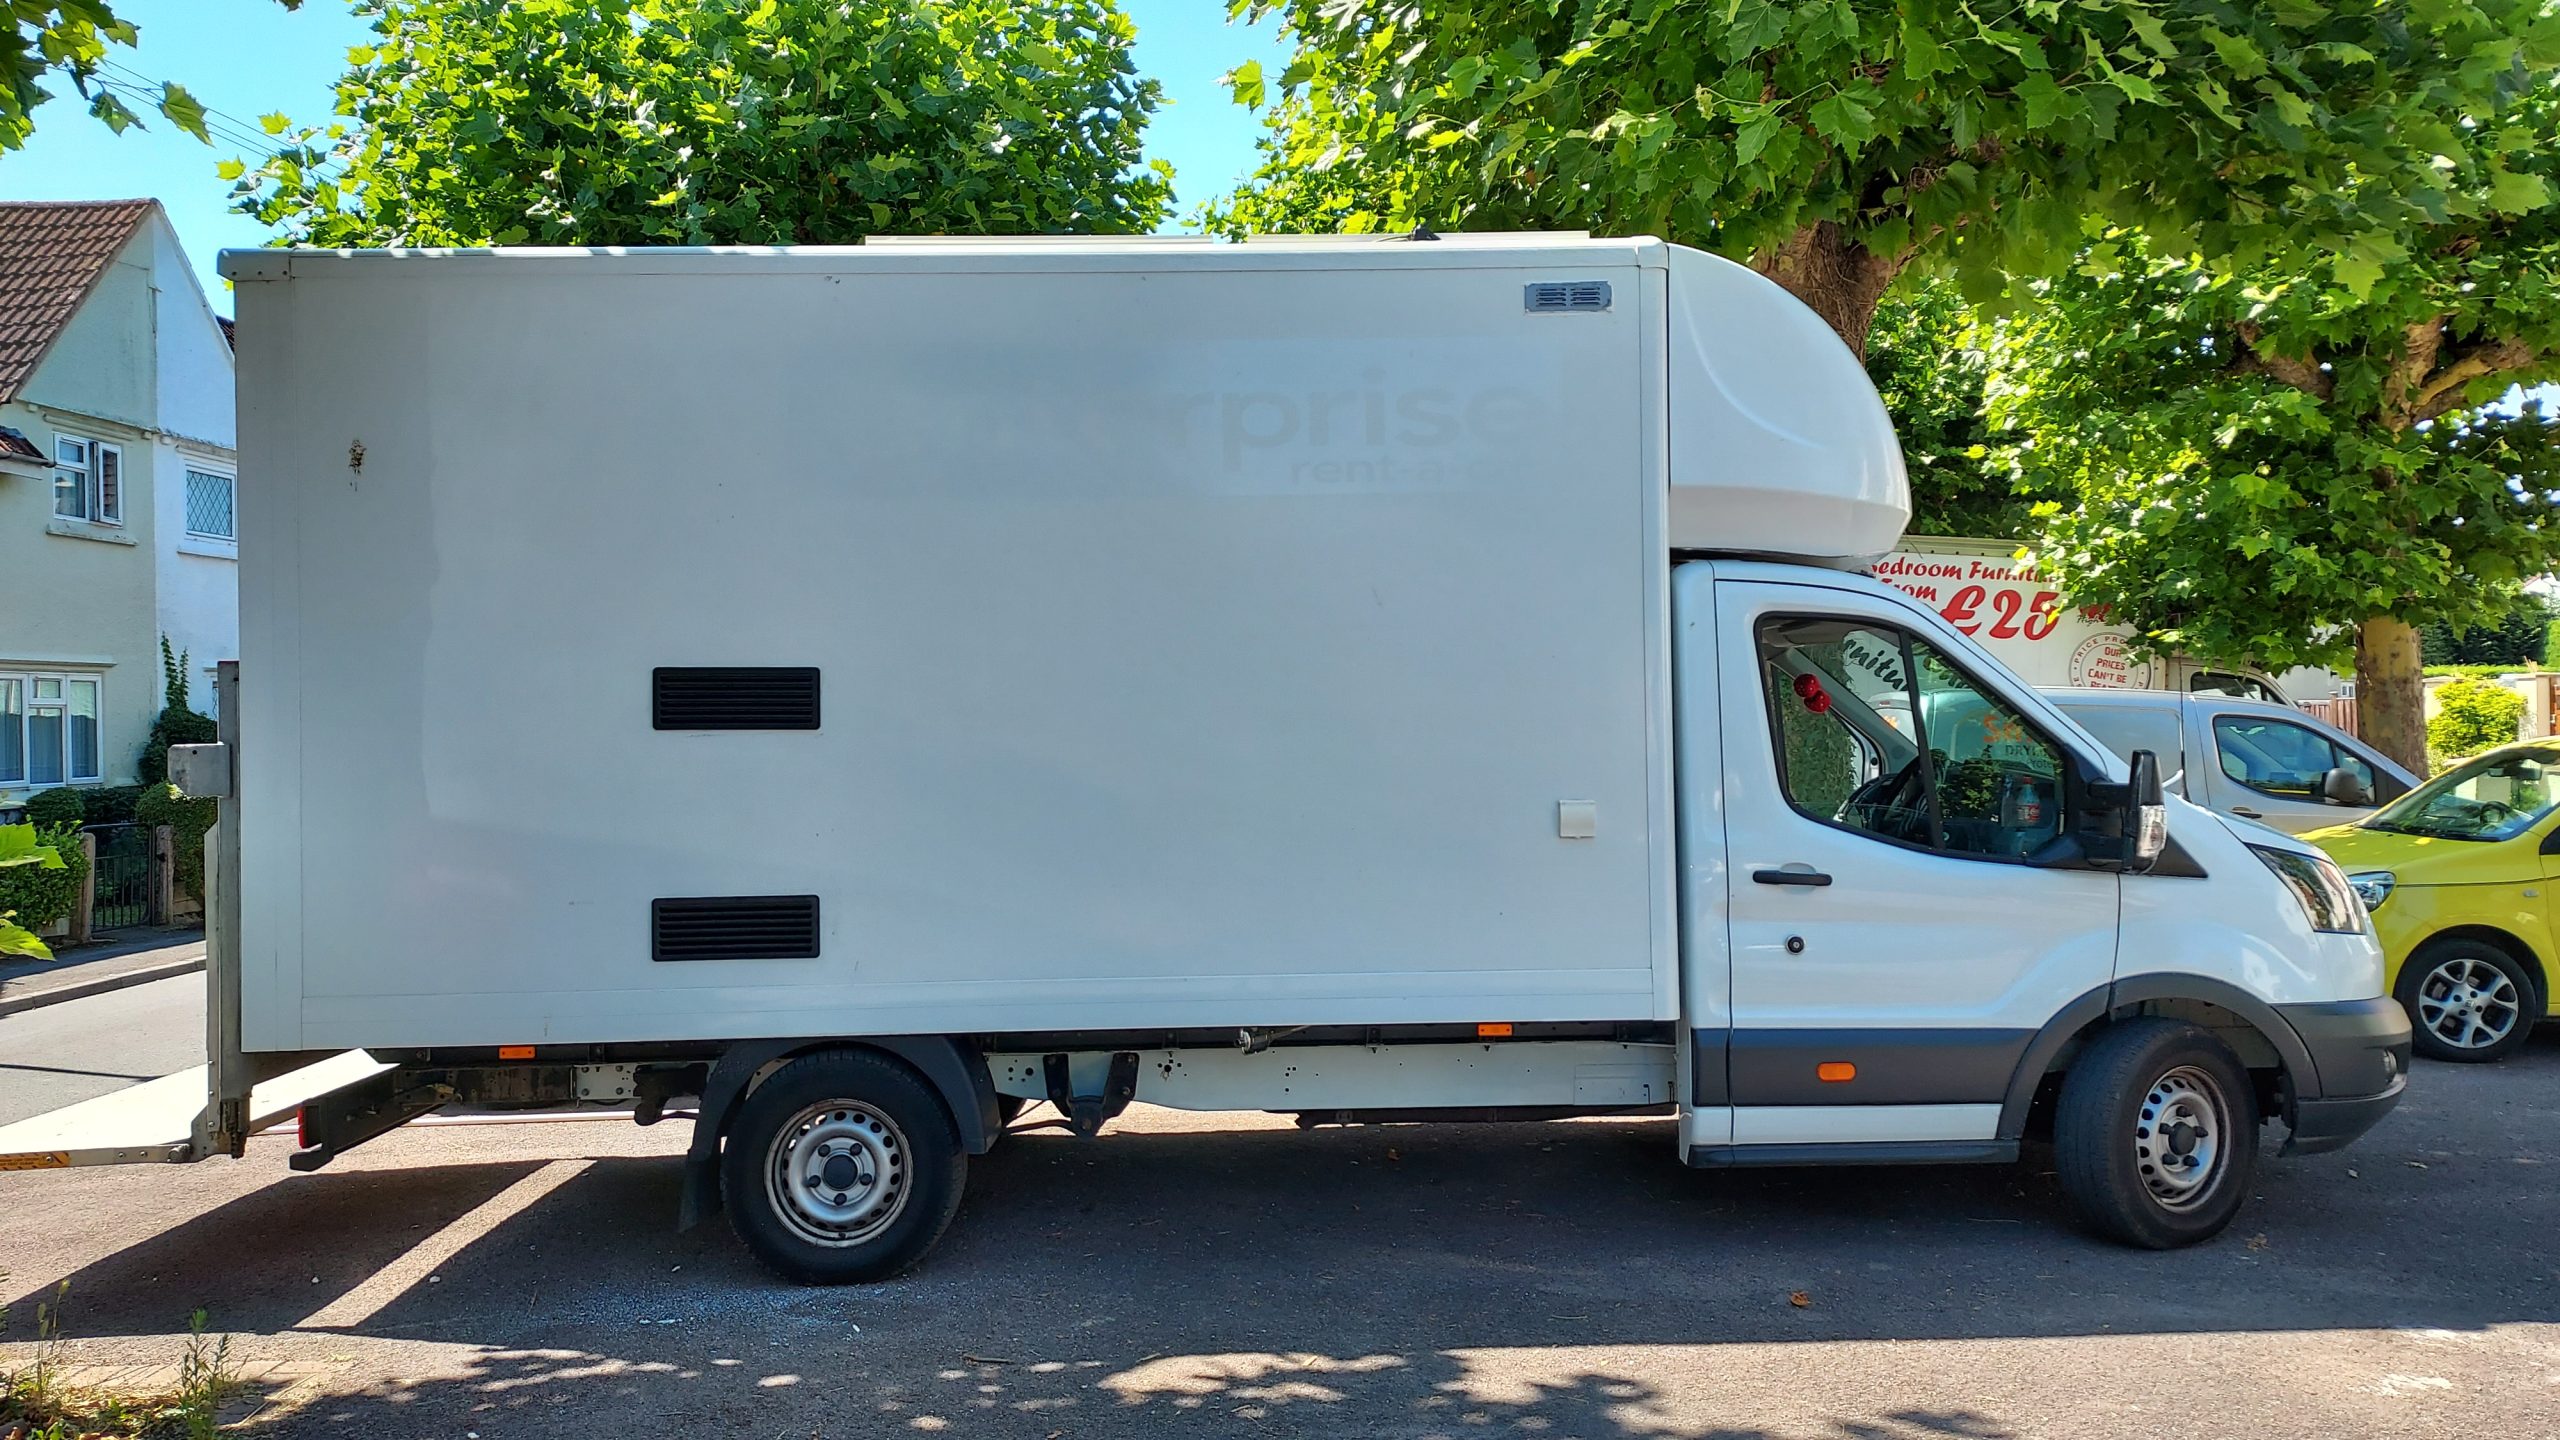
Size versus Jumbo
My old van and new van side by side. The size difference is significant.
Read More

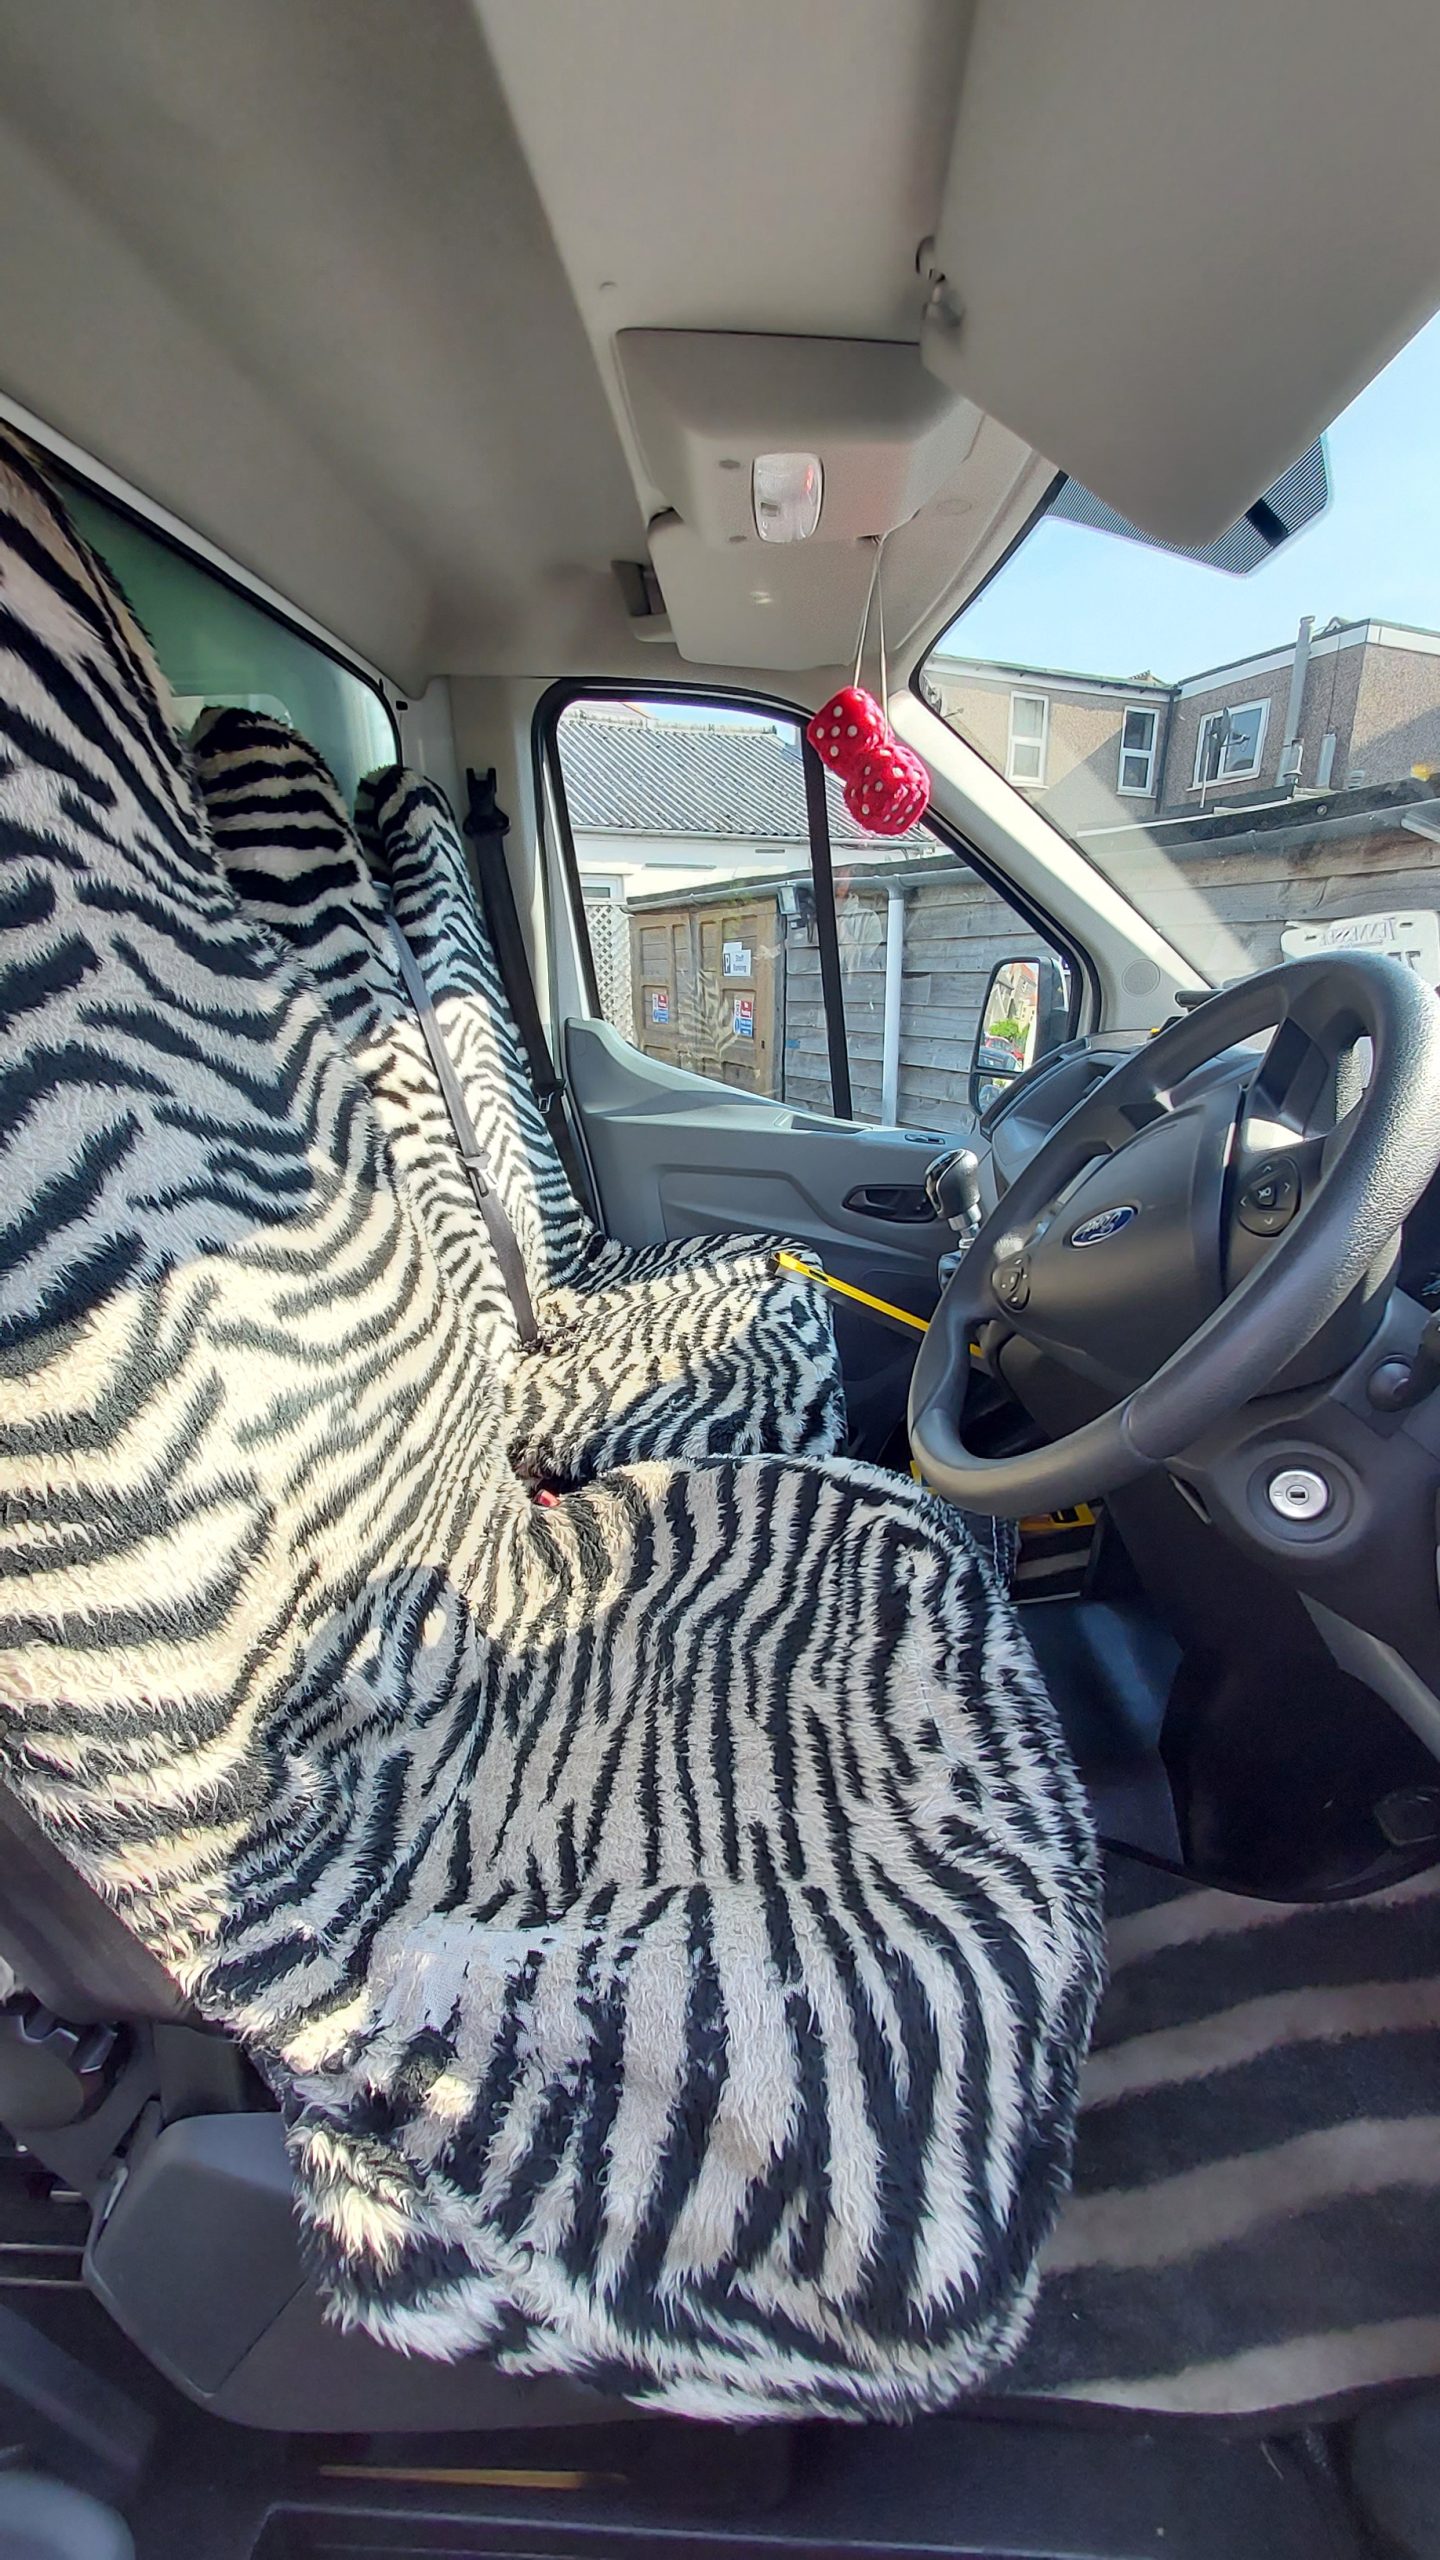
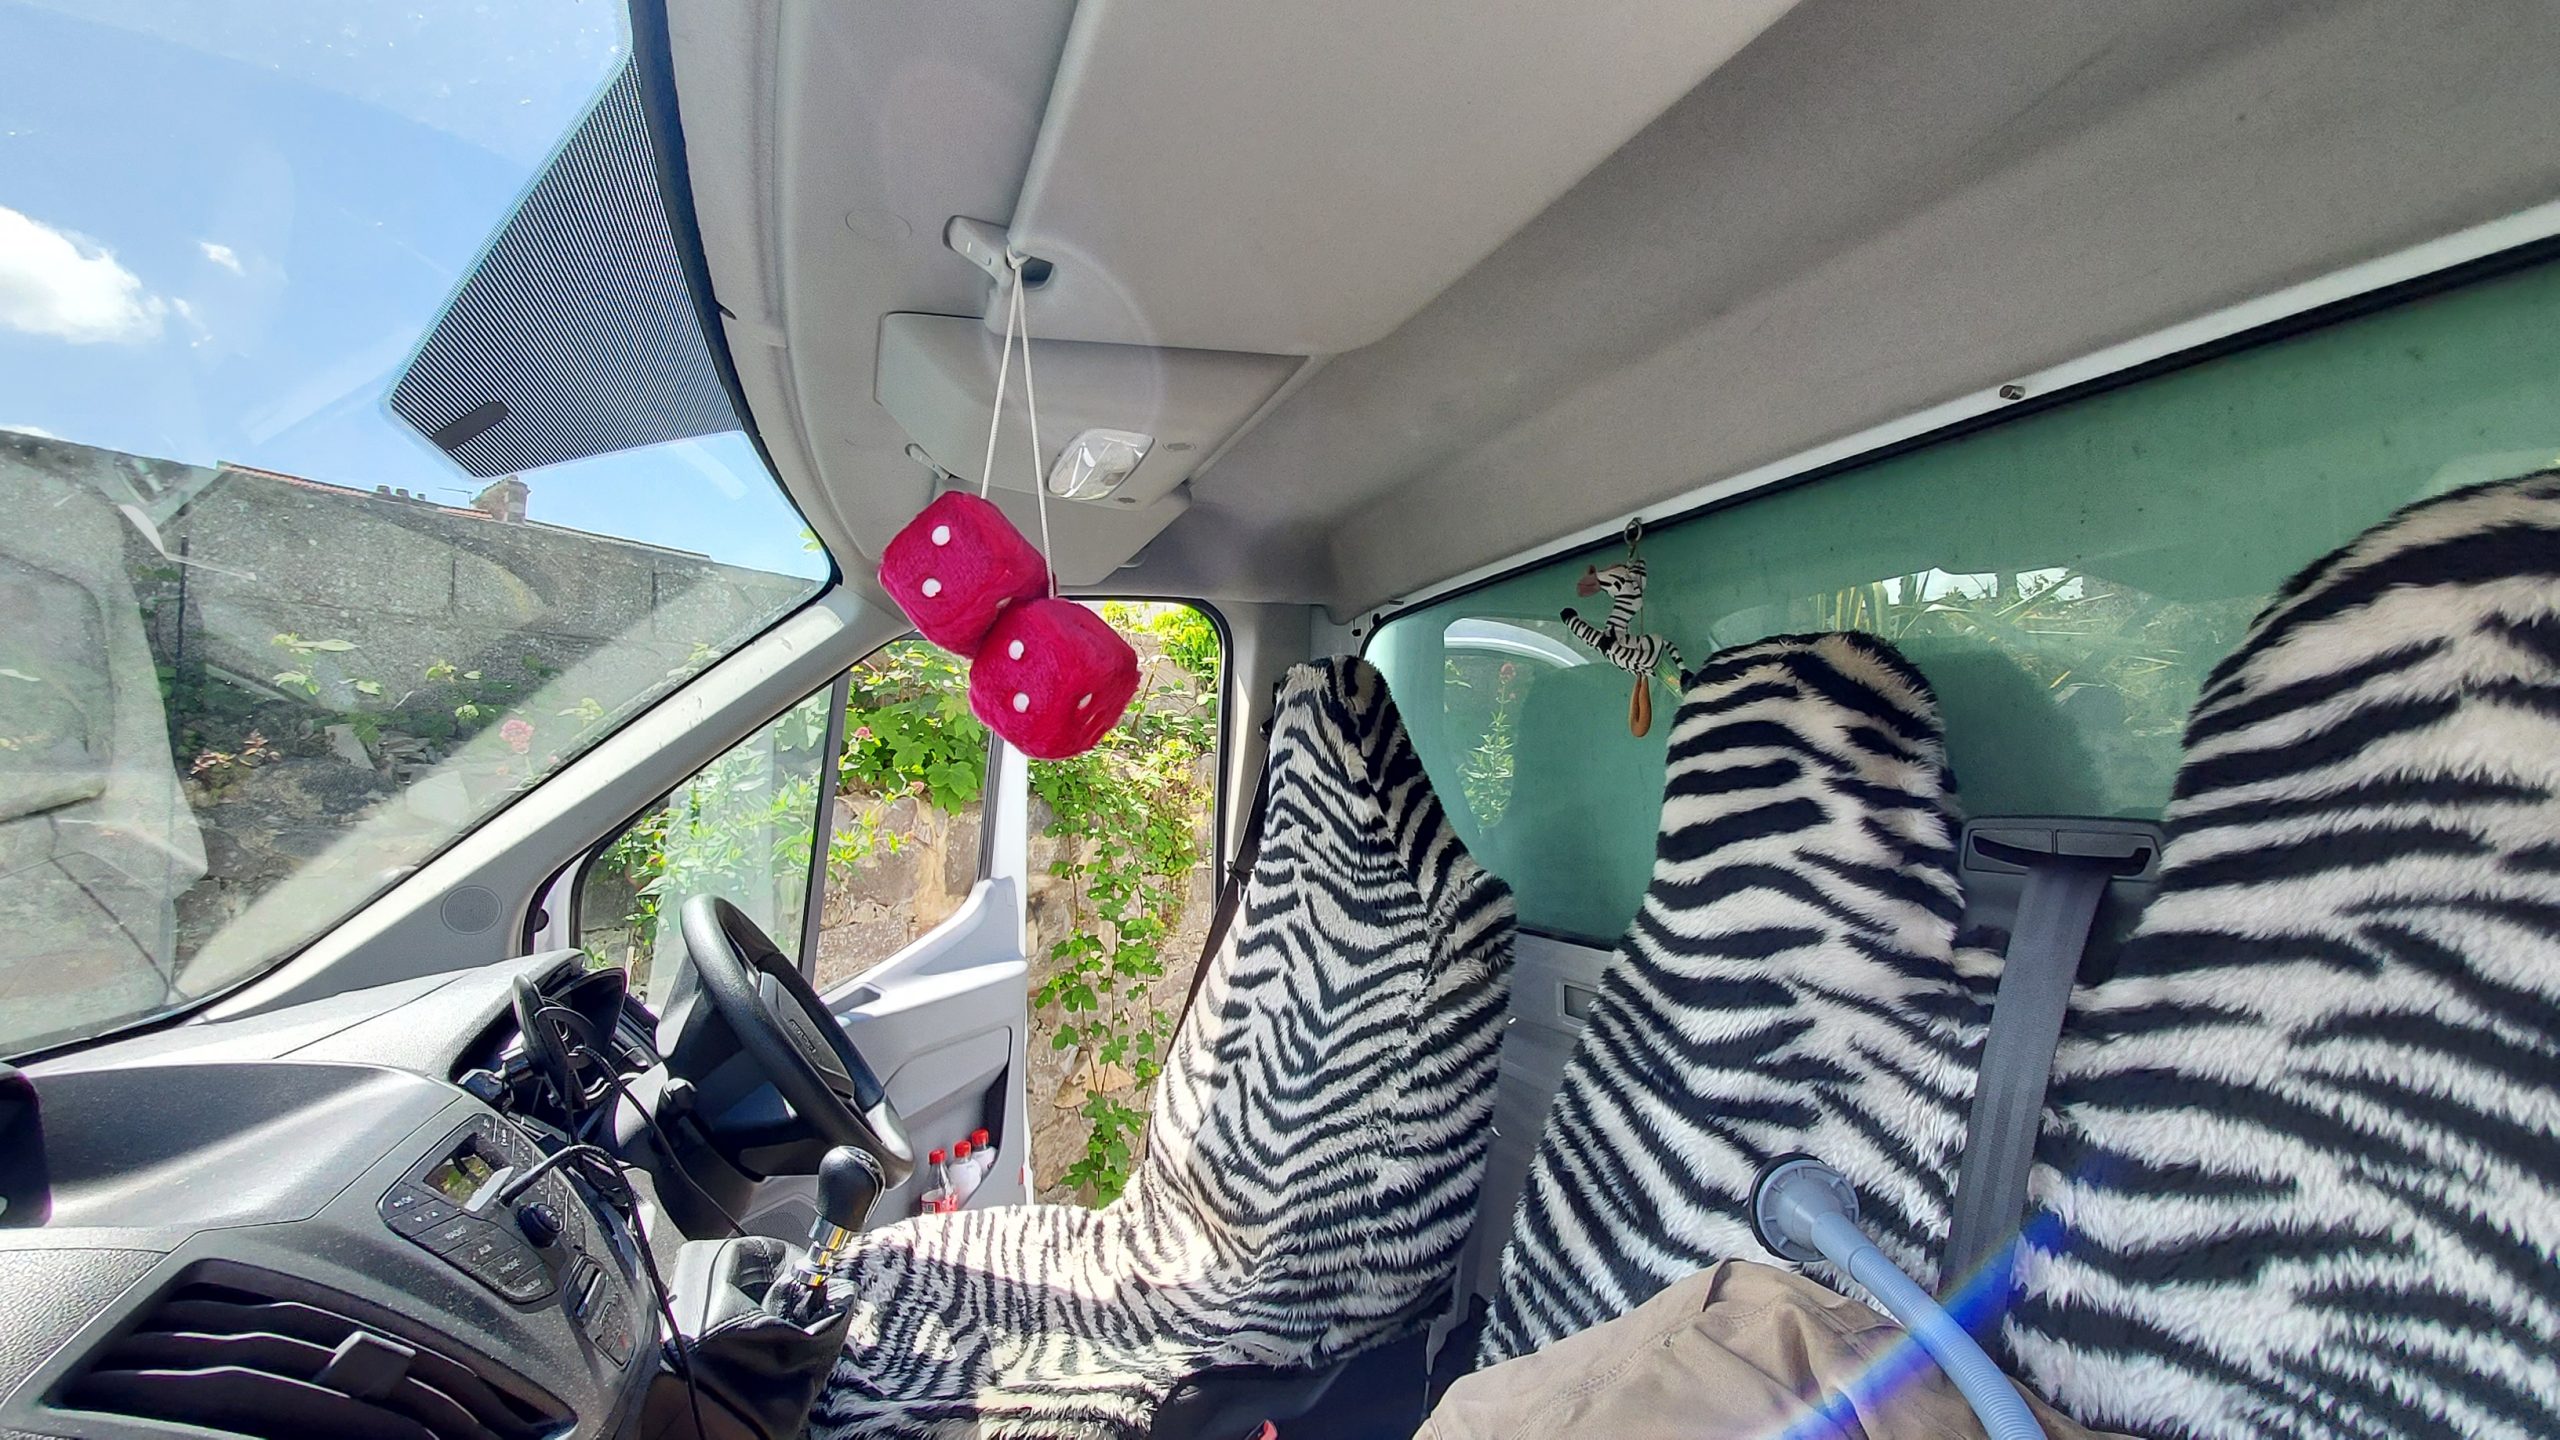
Adding zebra
Moving the zebra seat covers and floor mats from the old van, and the fluffy dice.
Read More

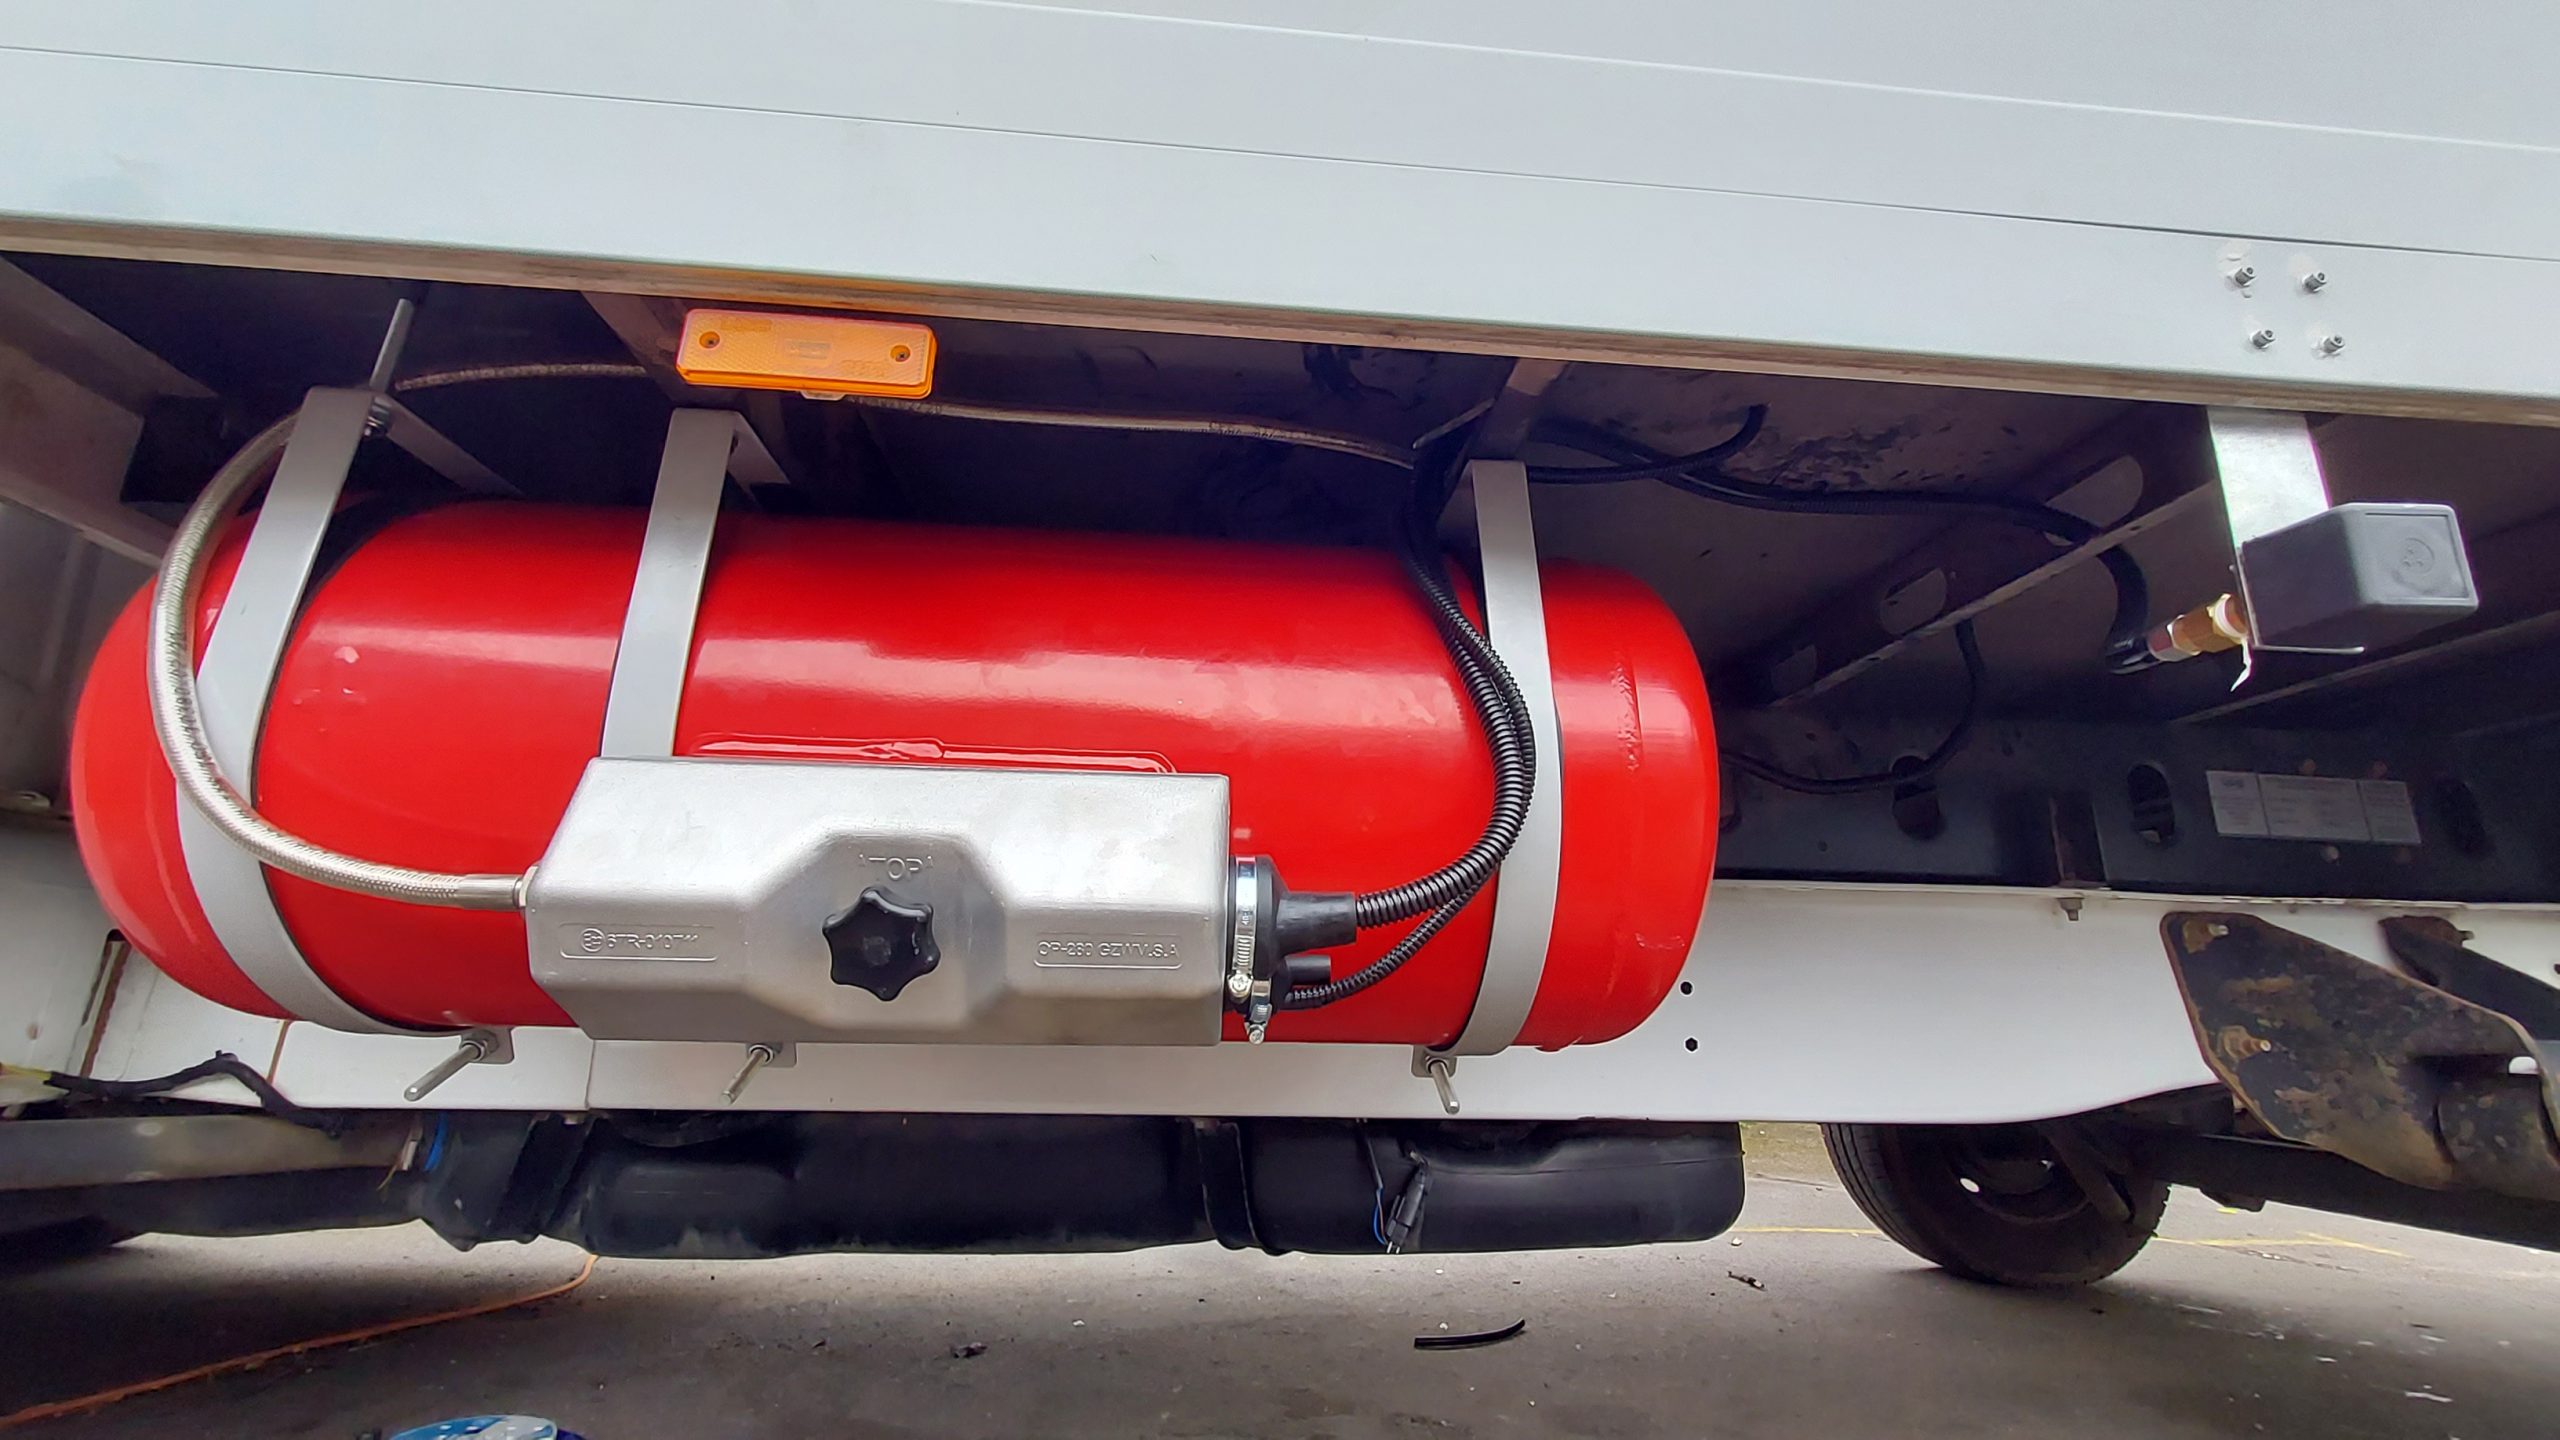
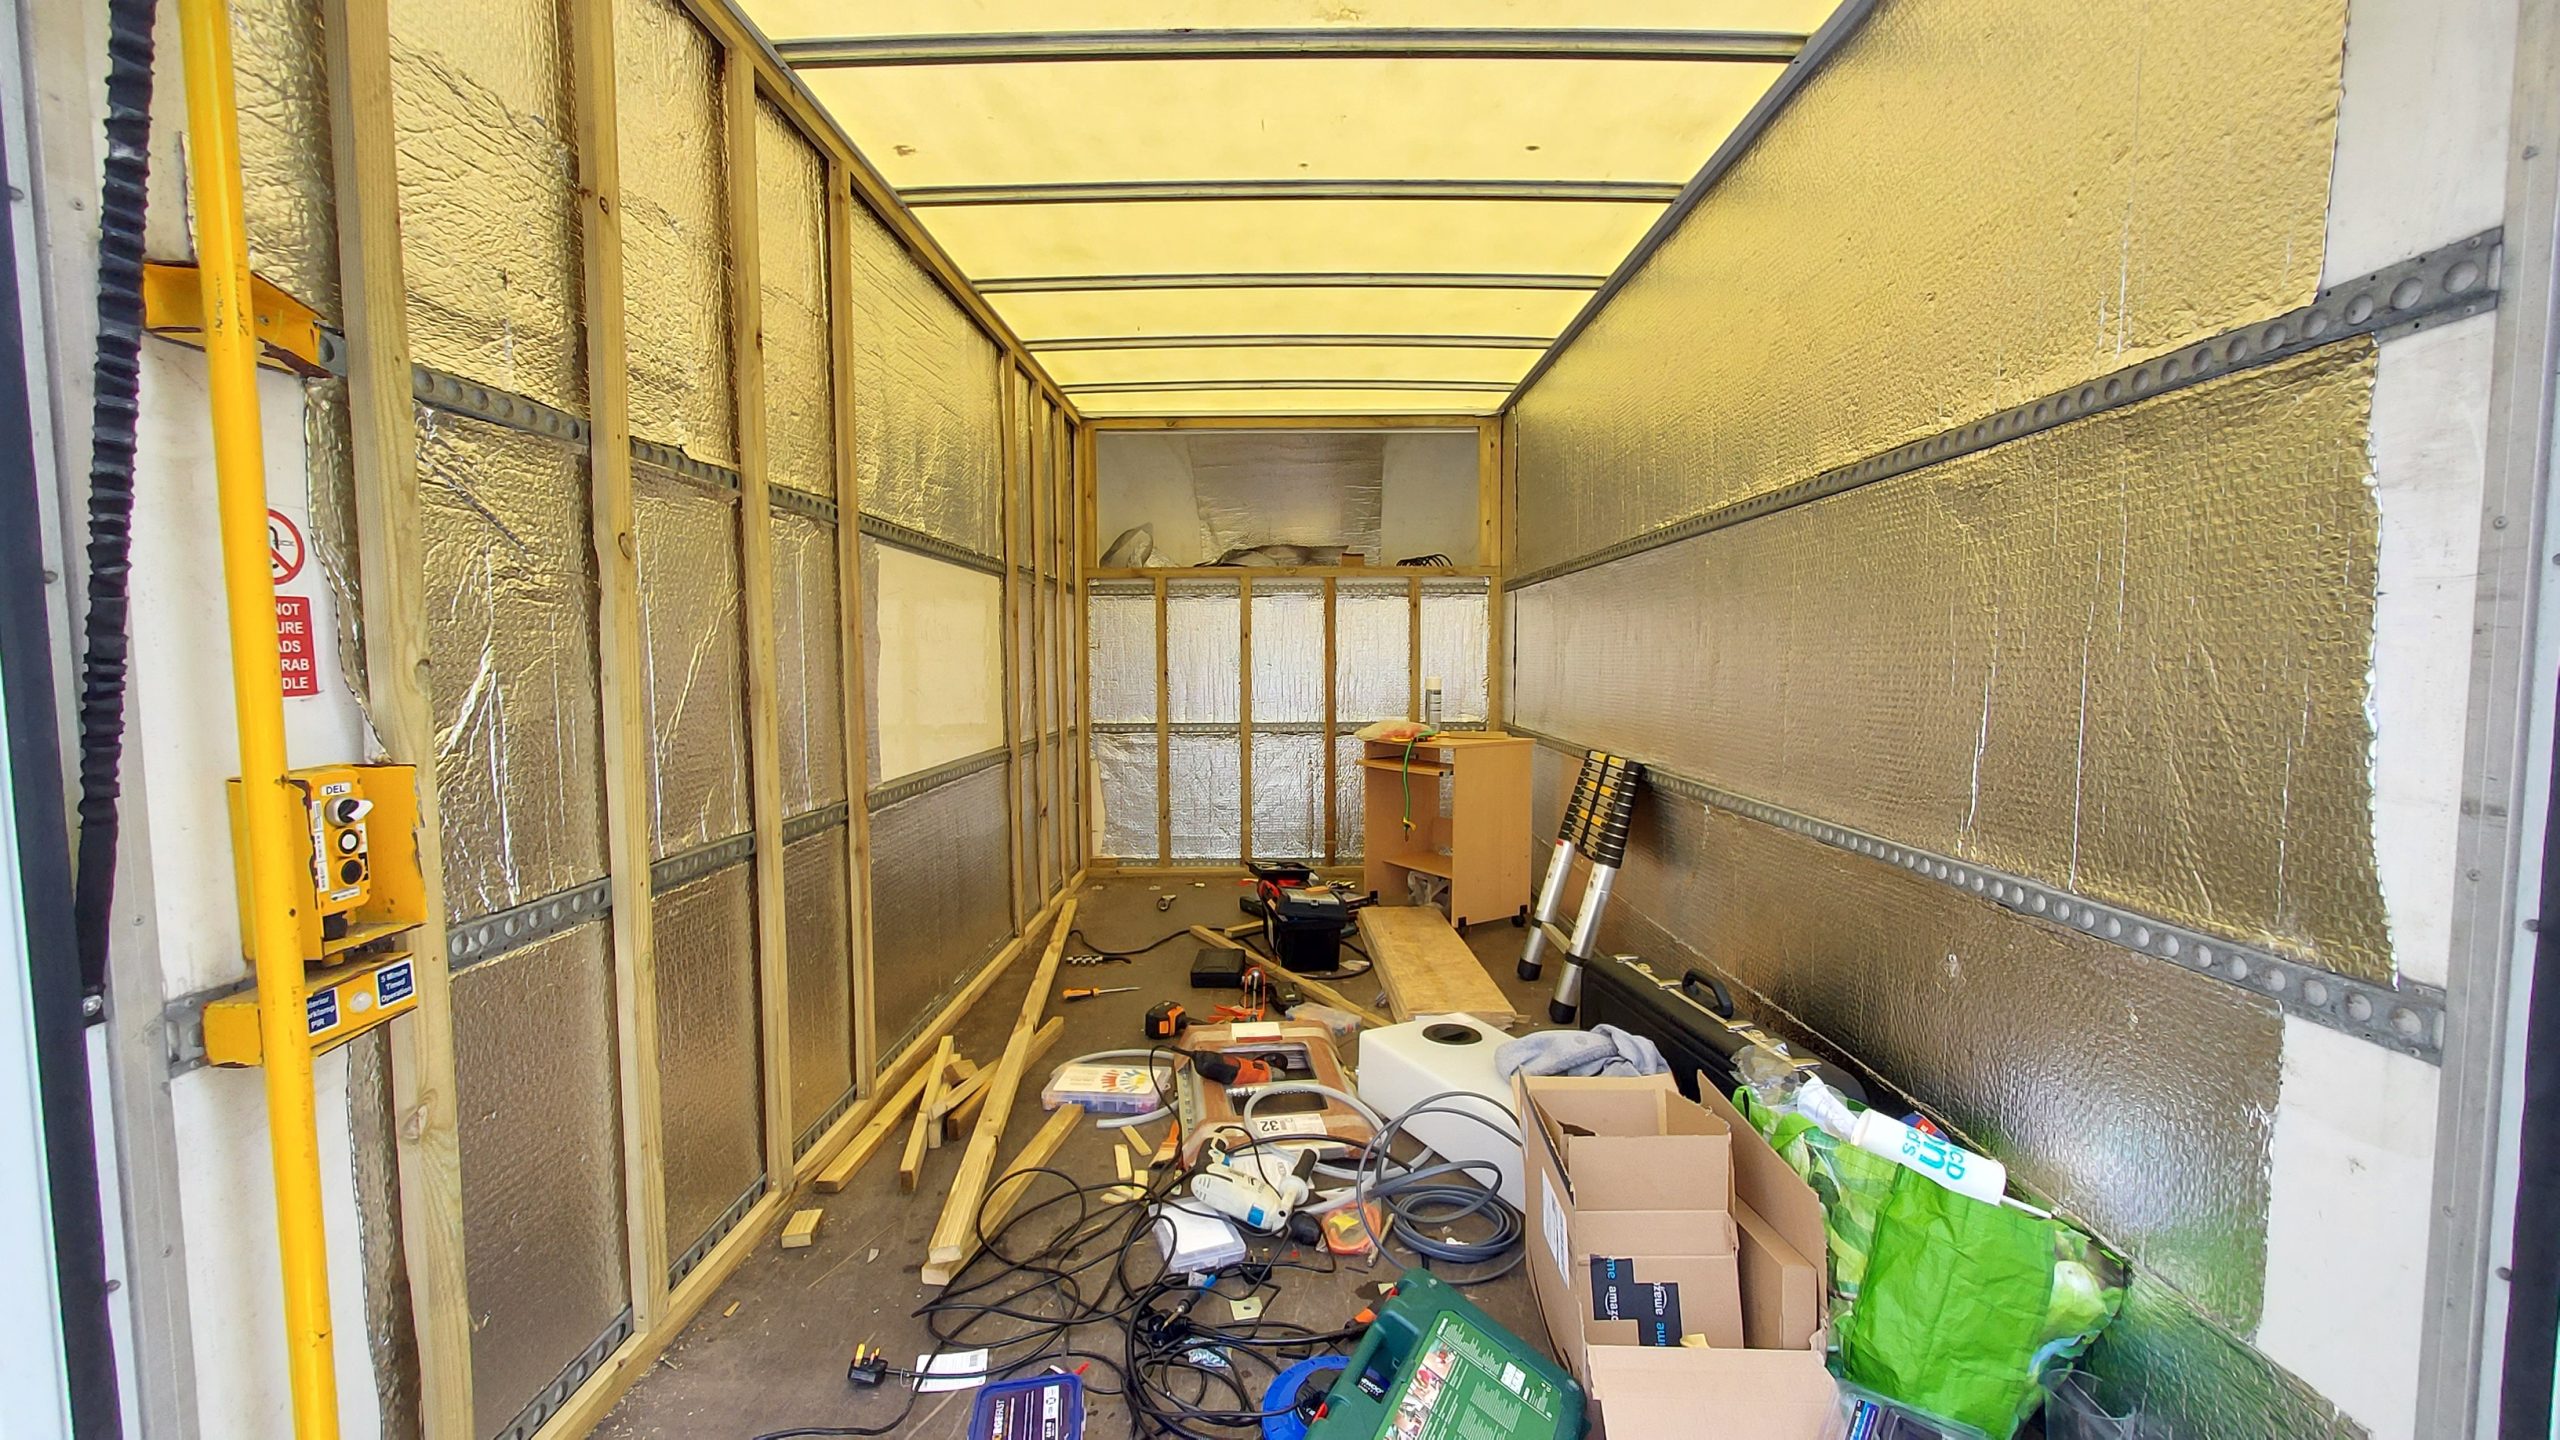
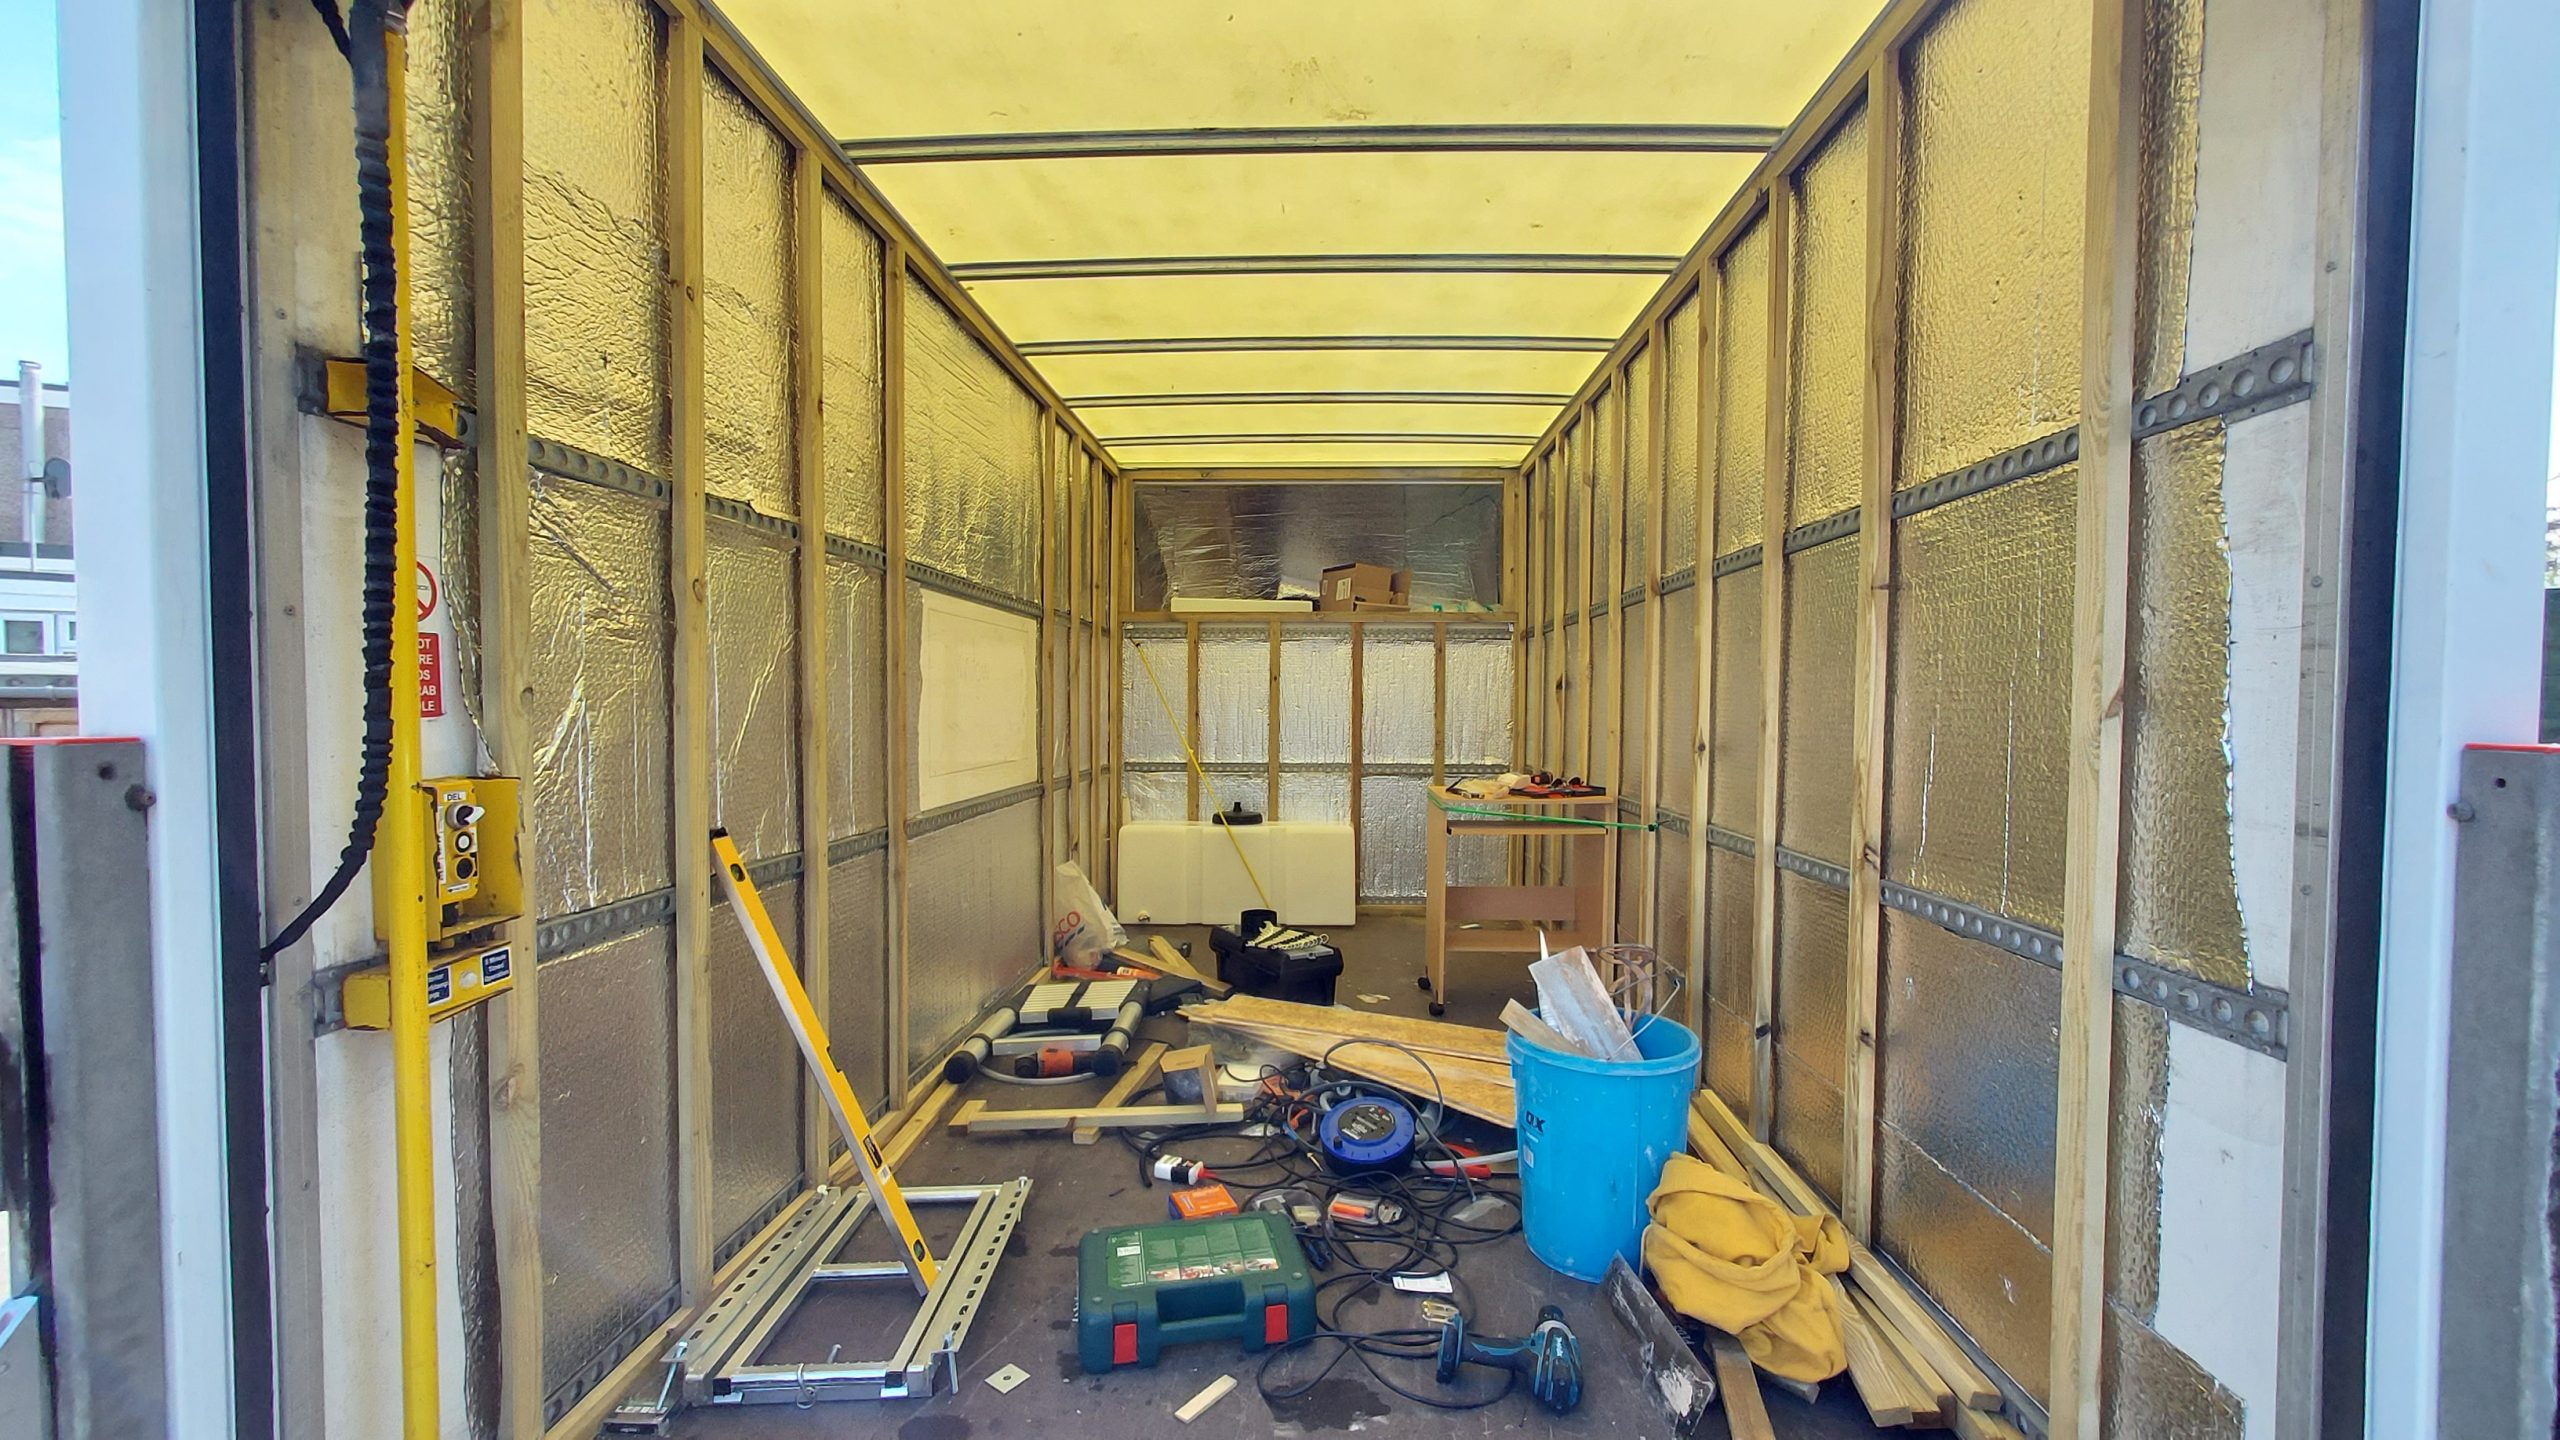
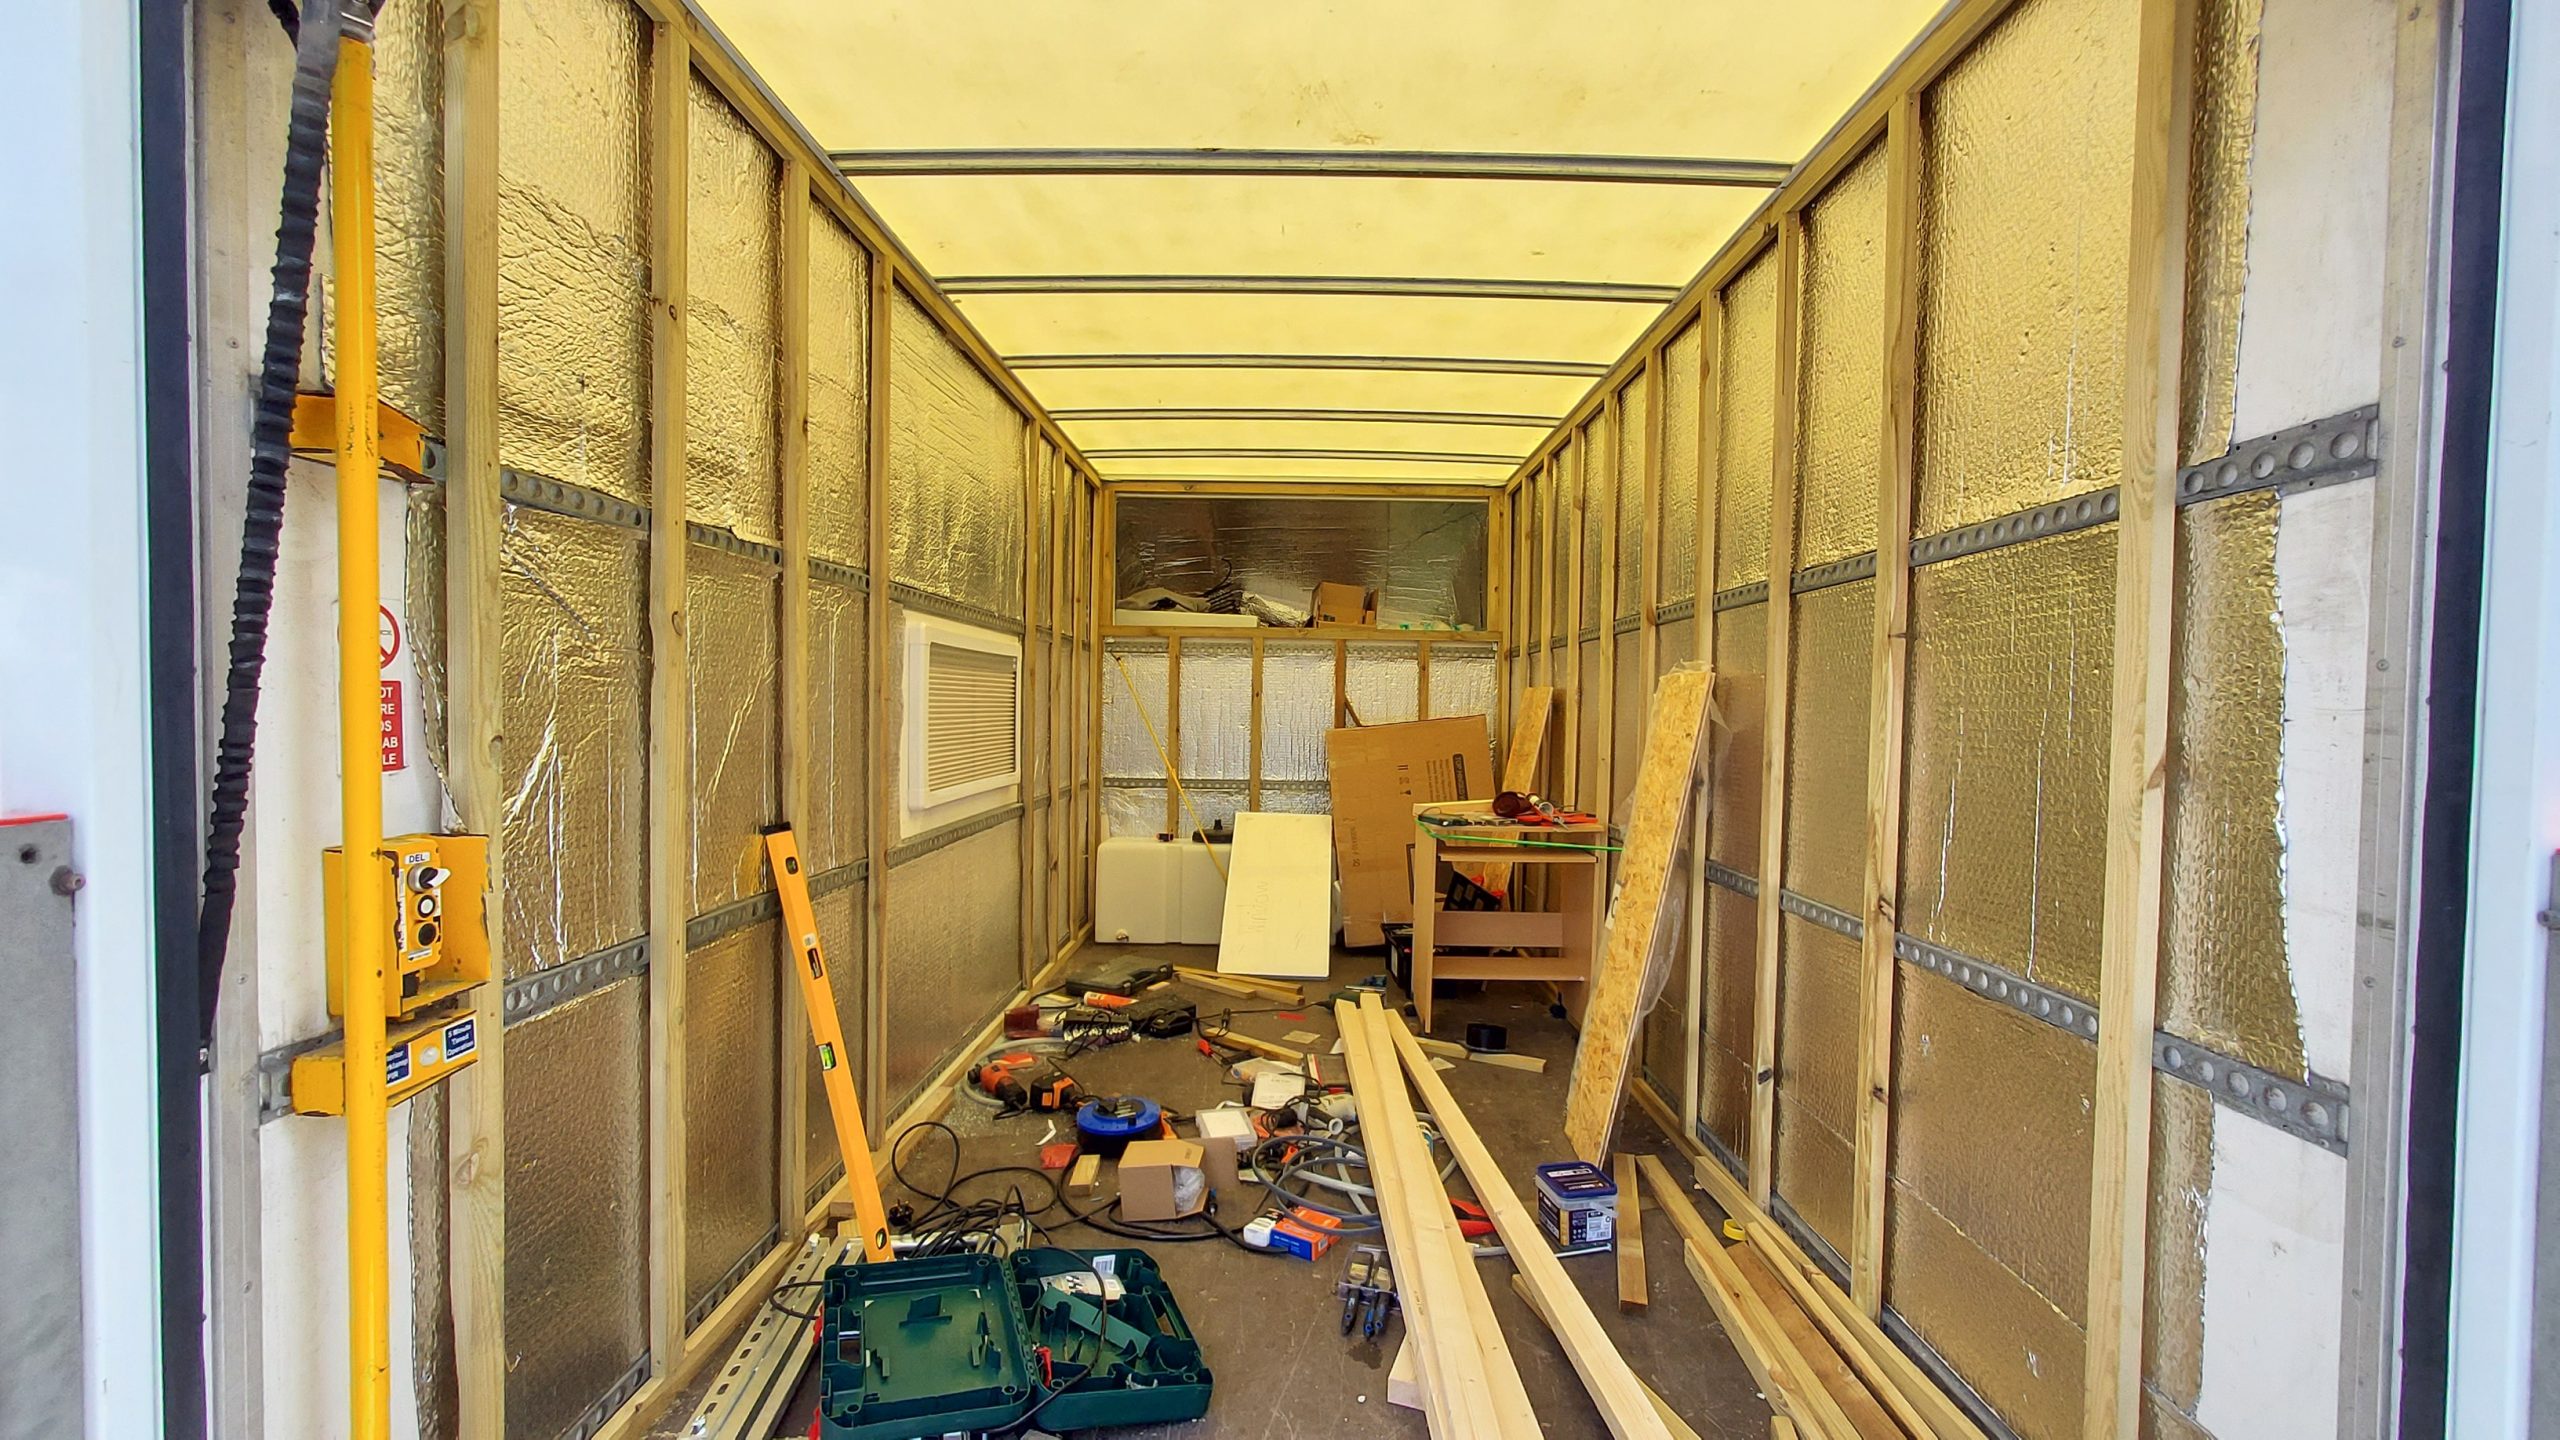
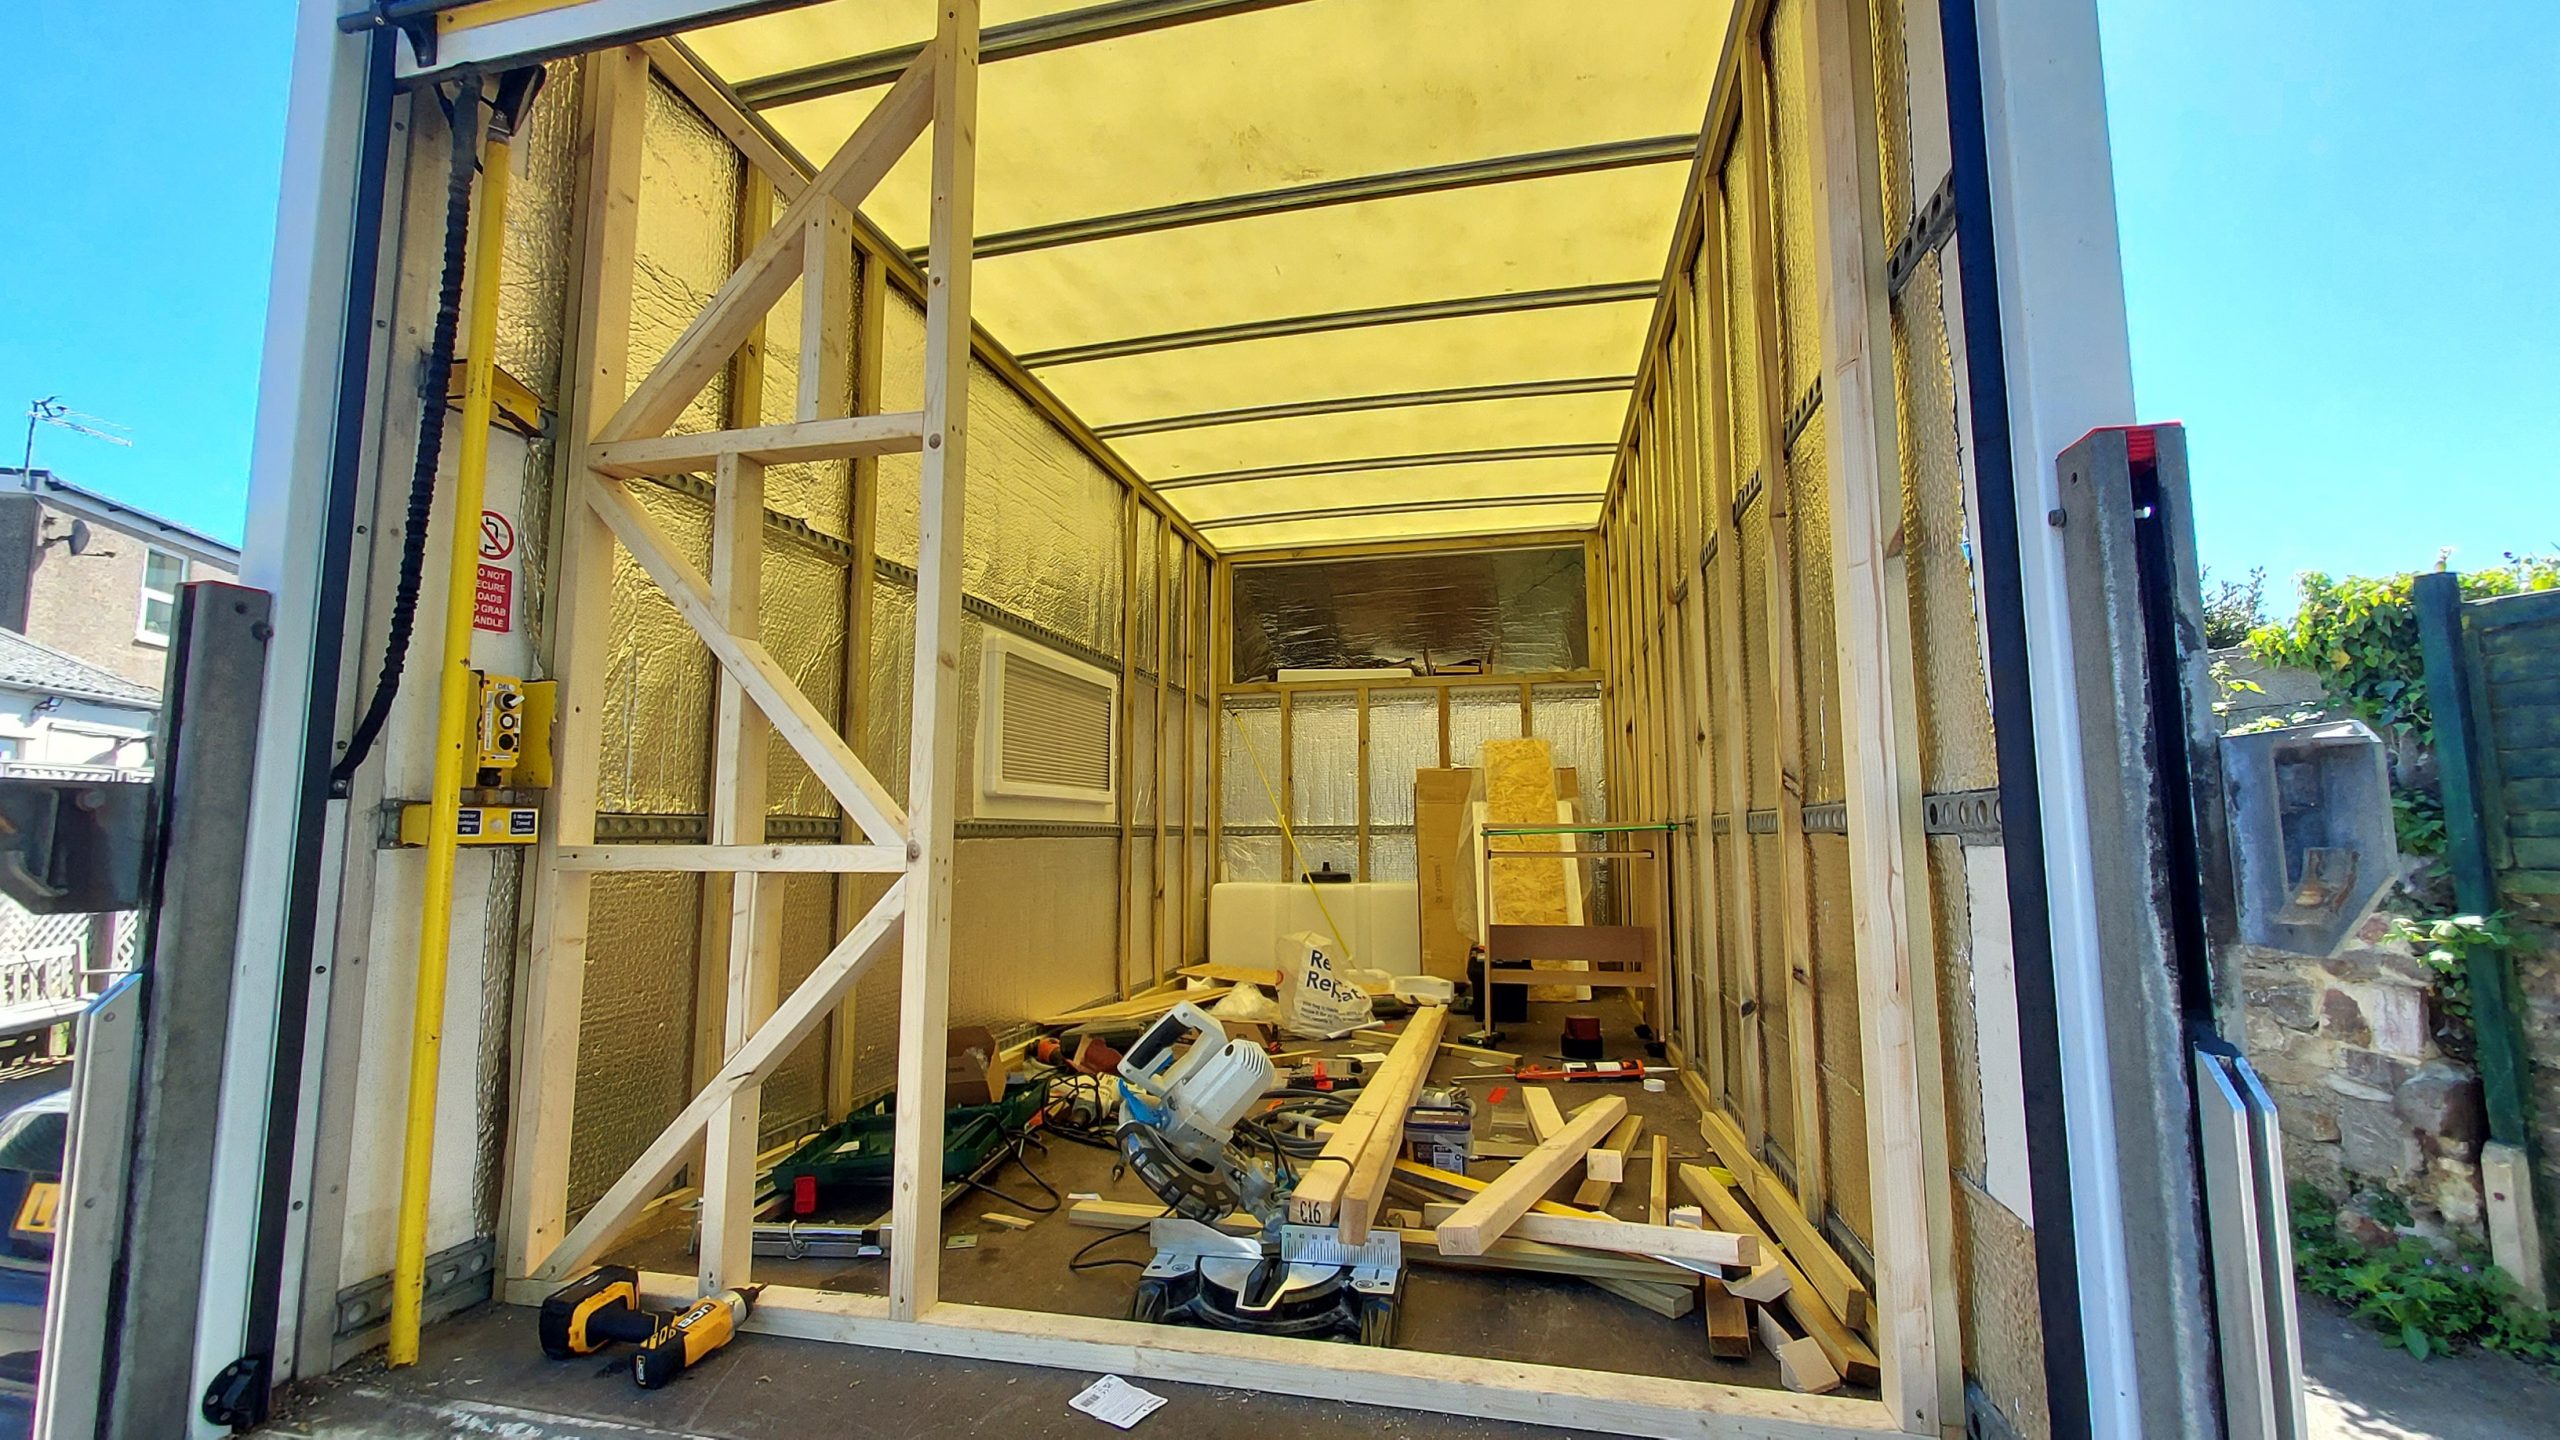
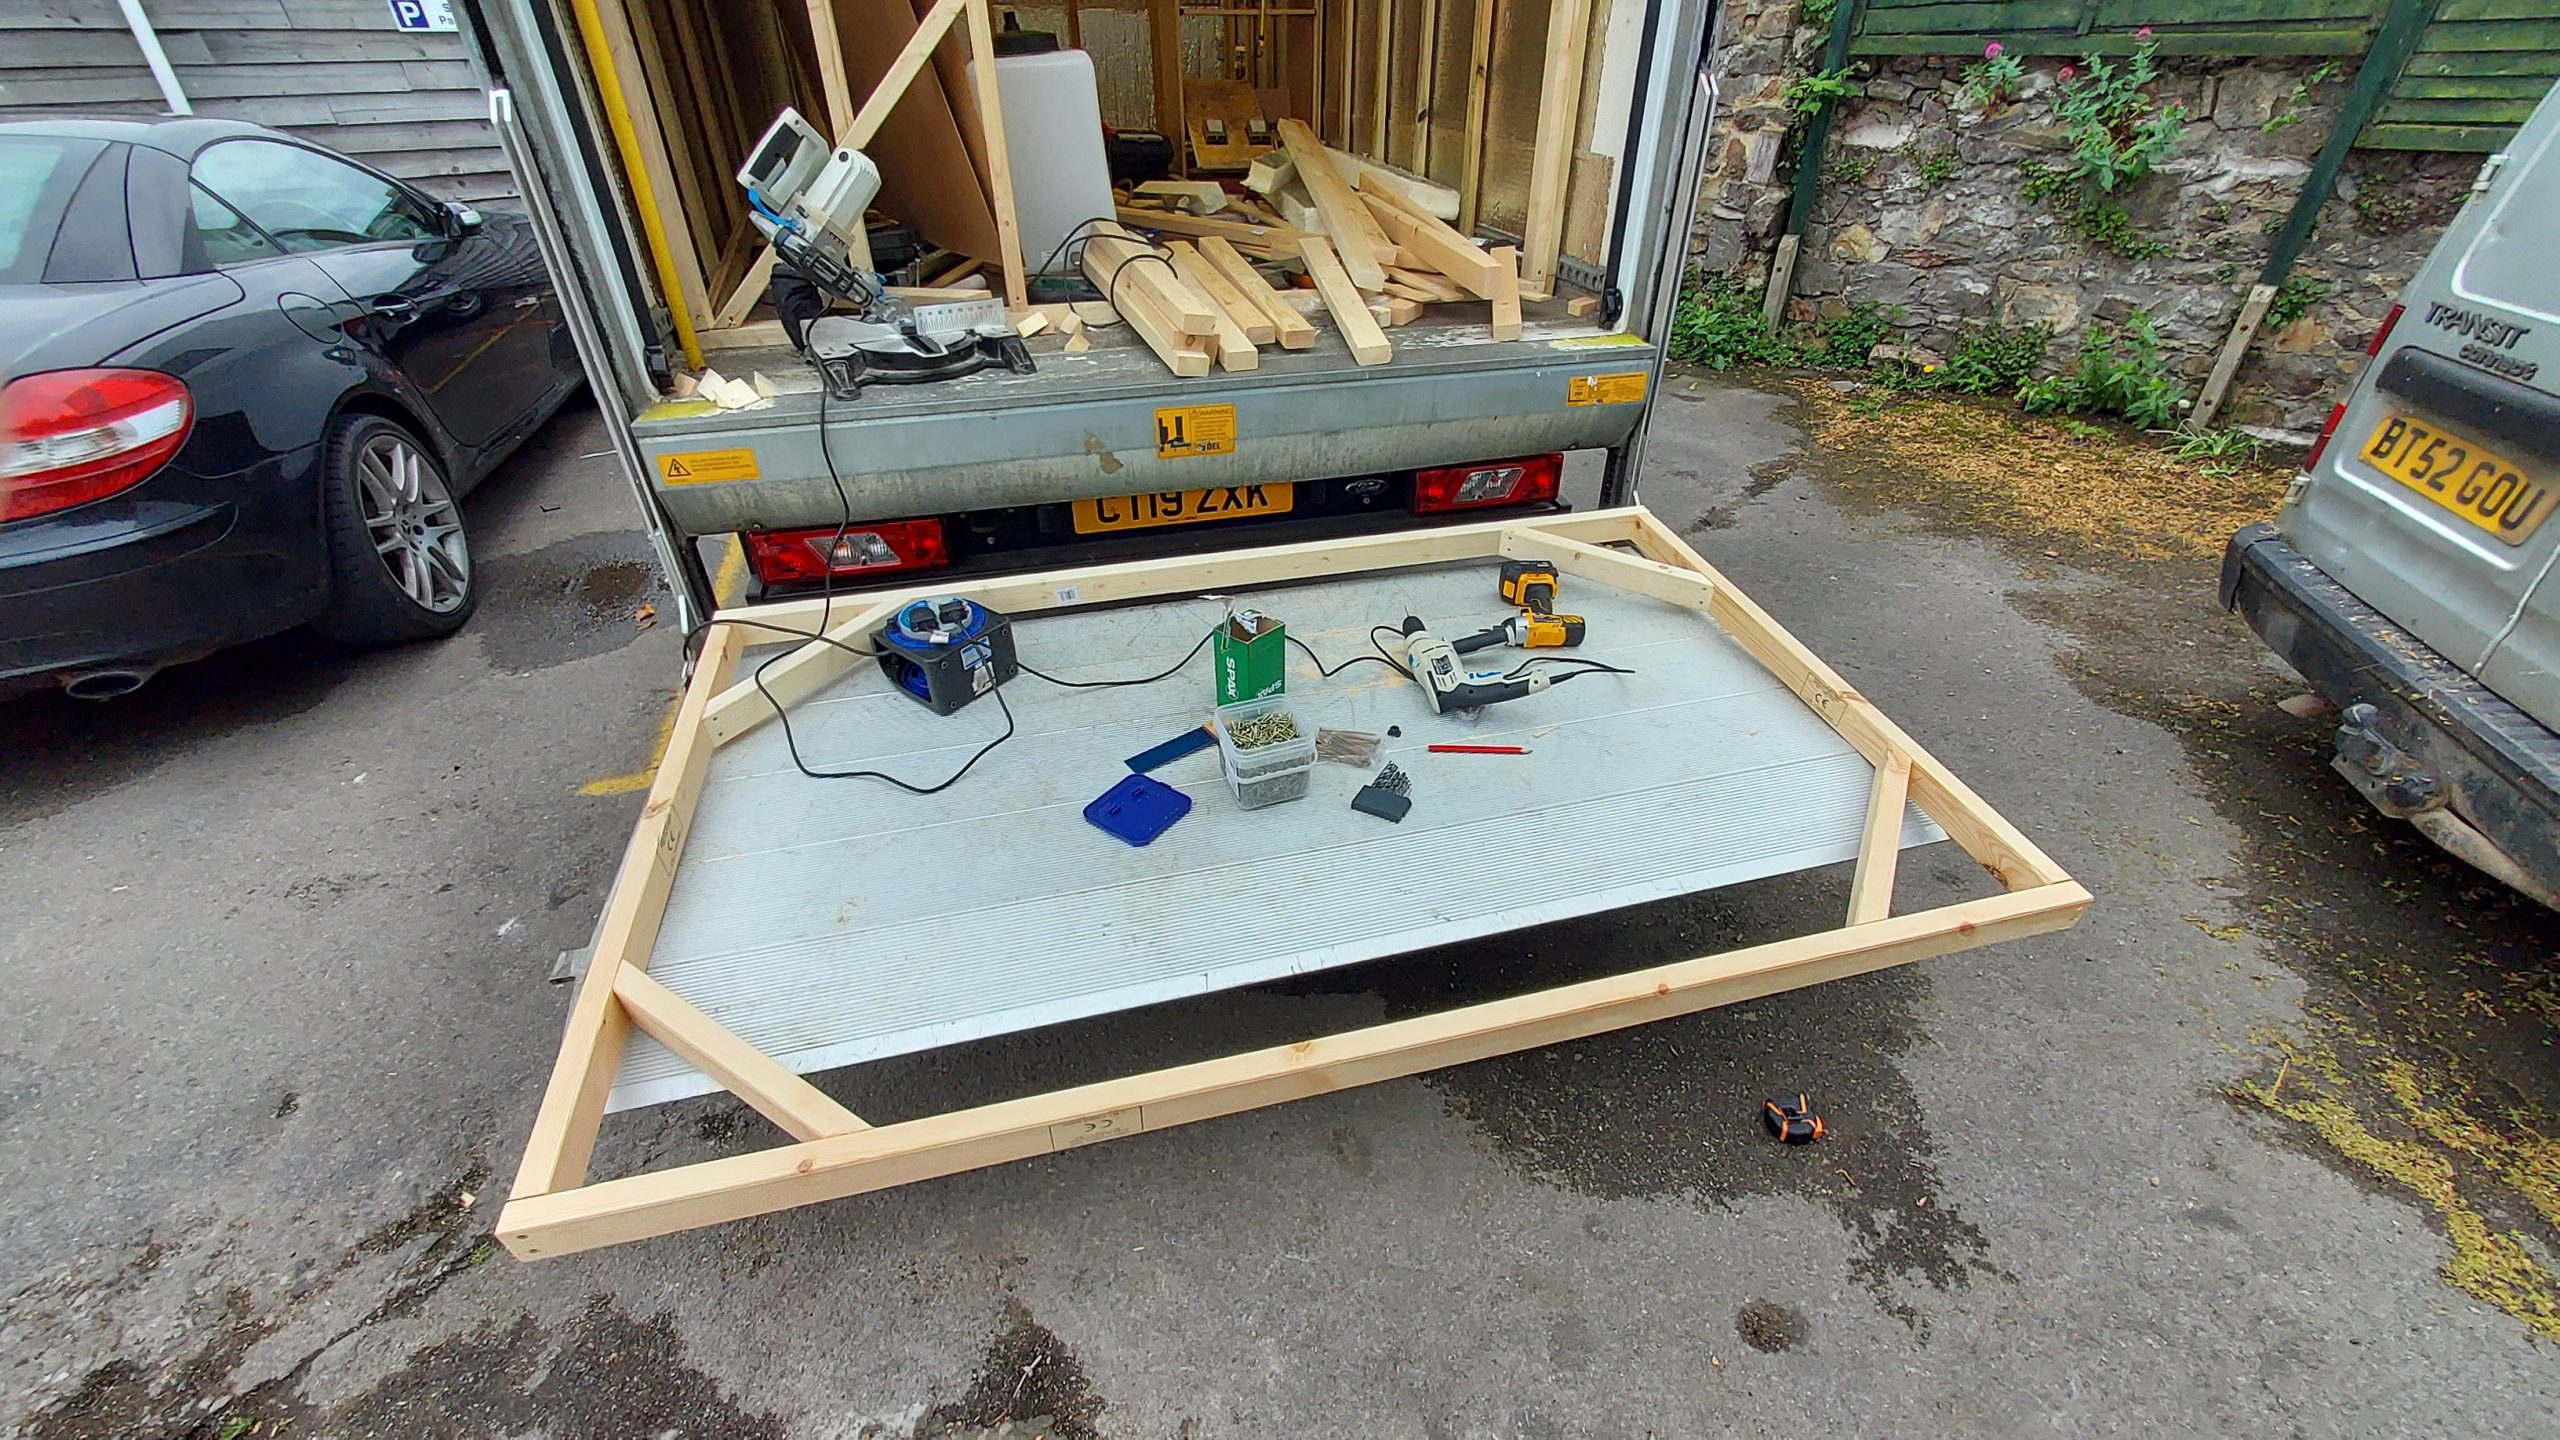
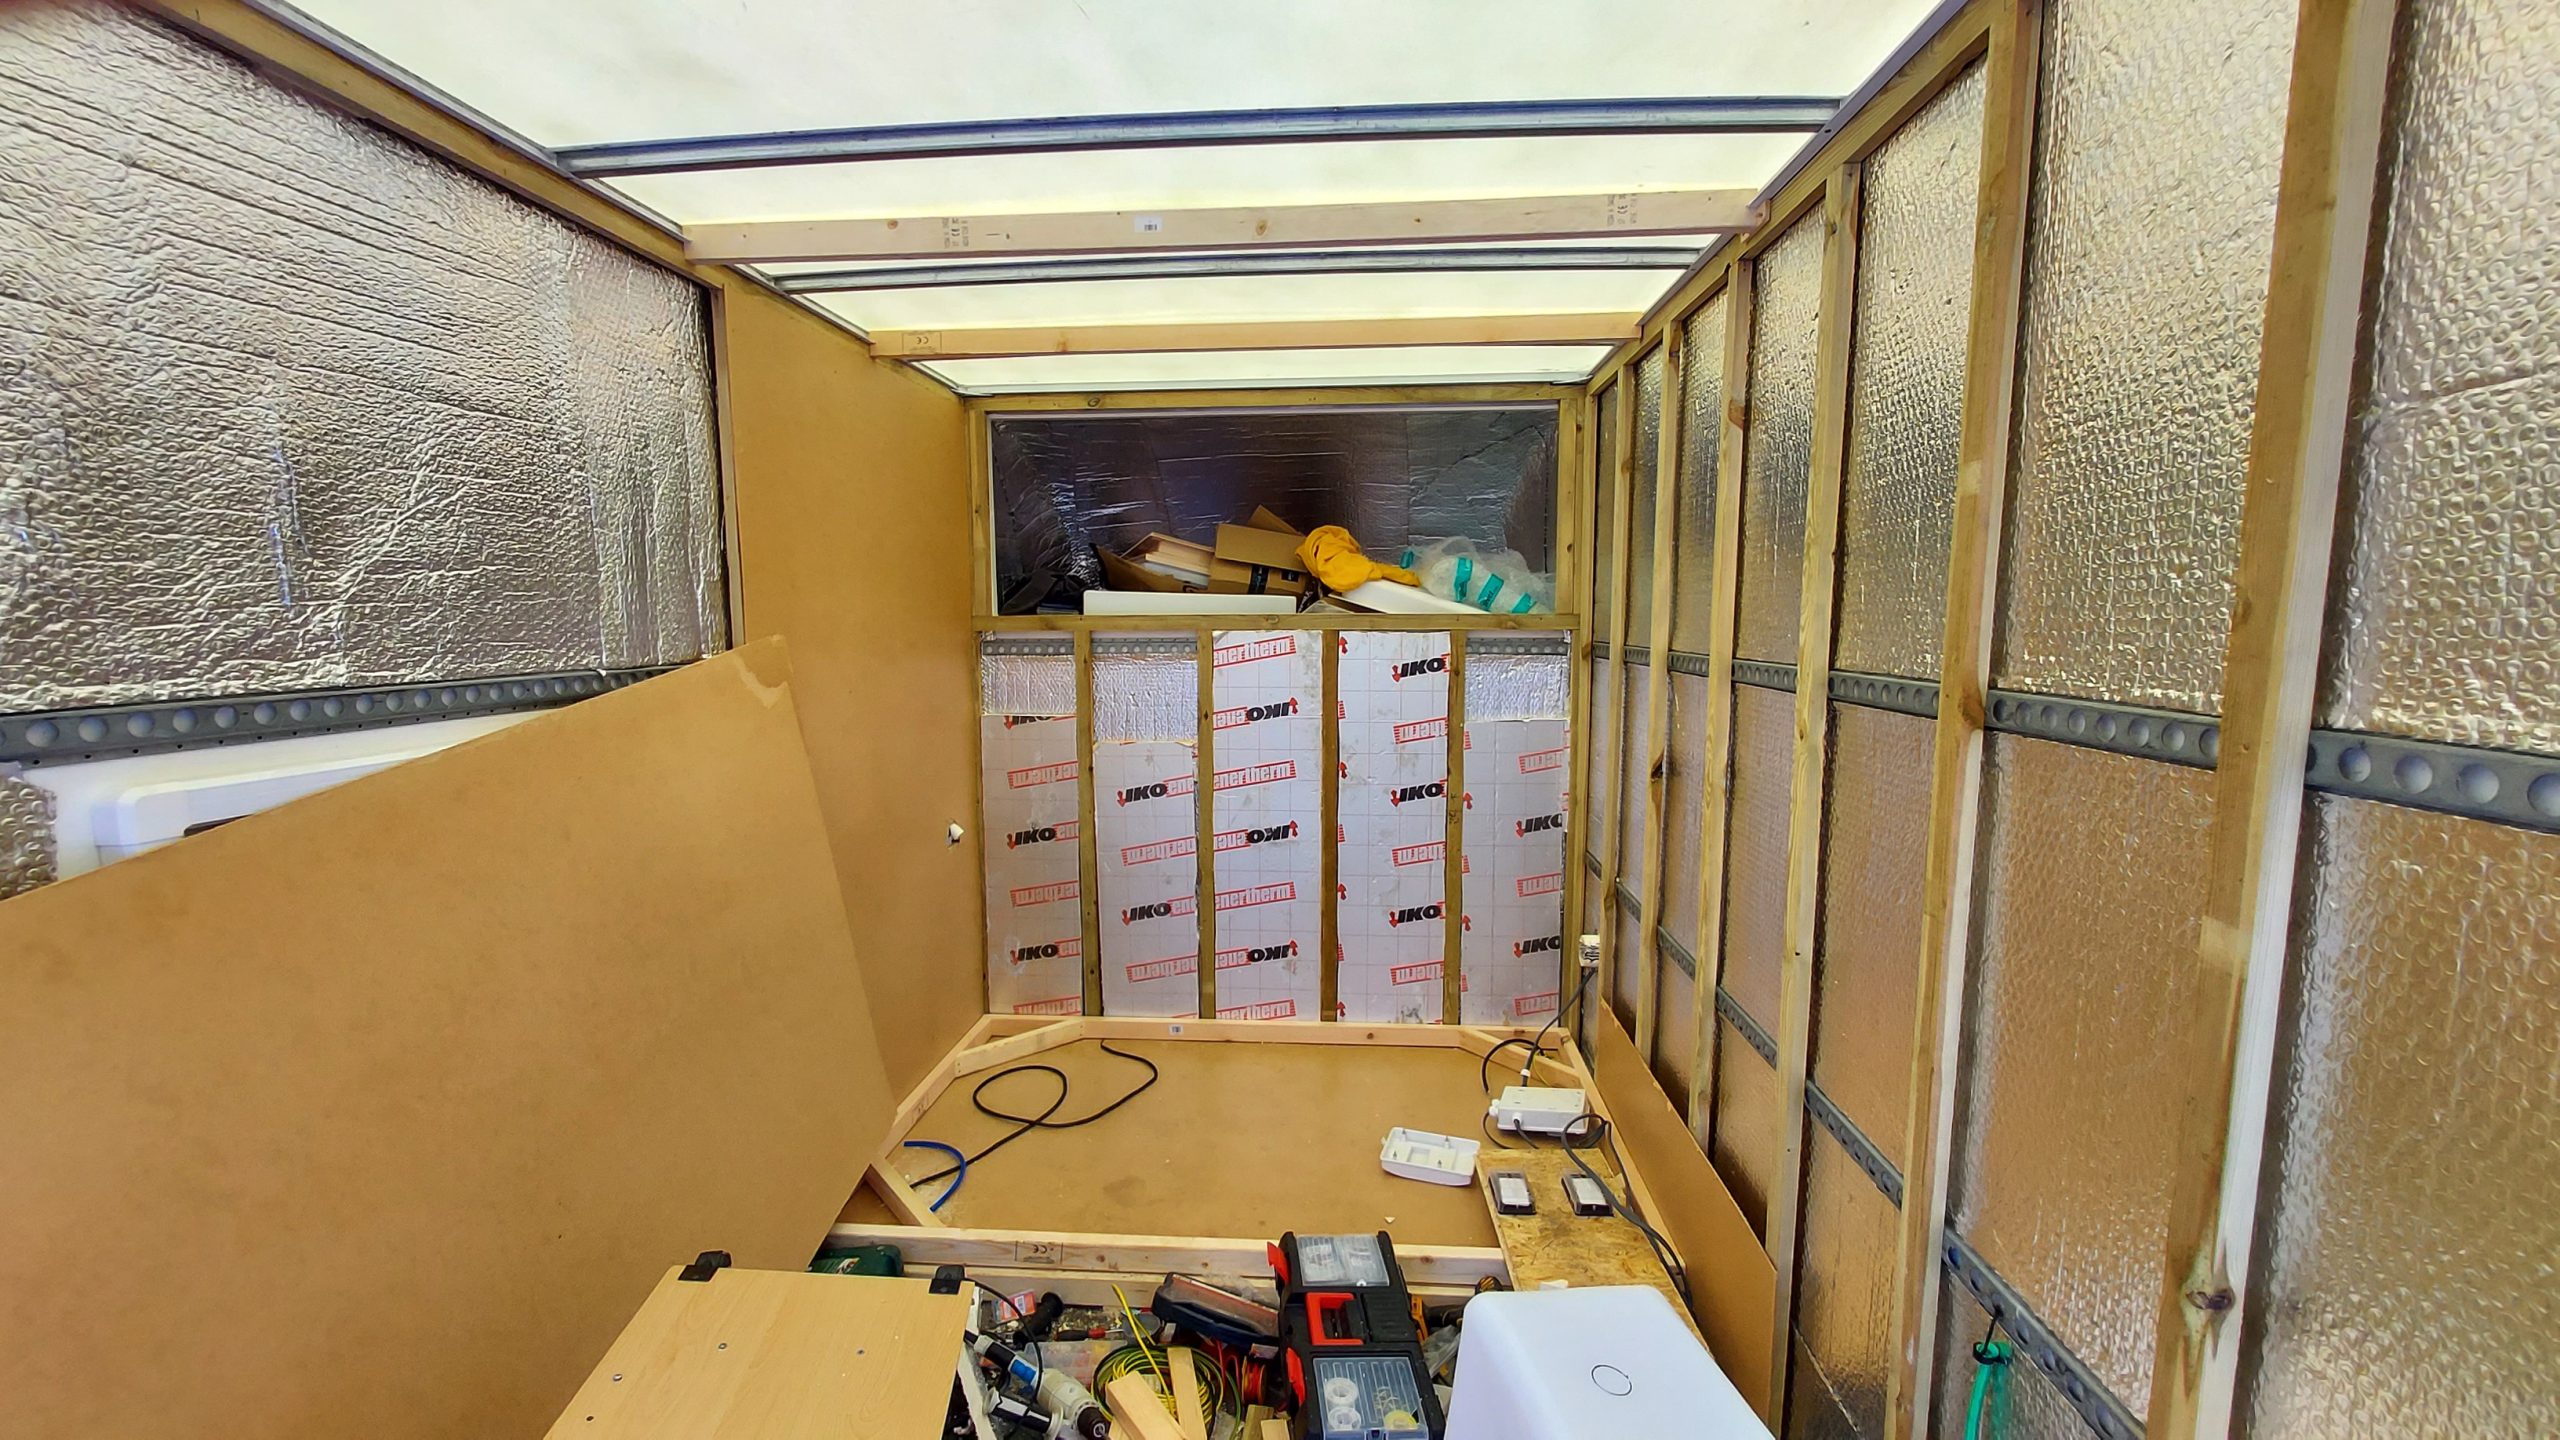
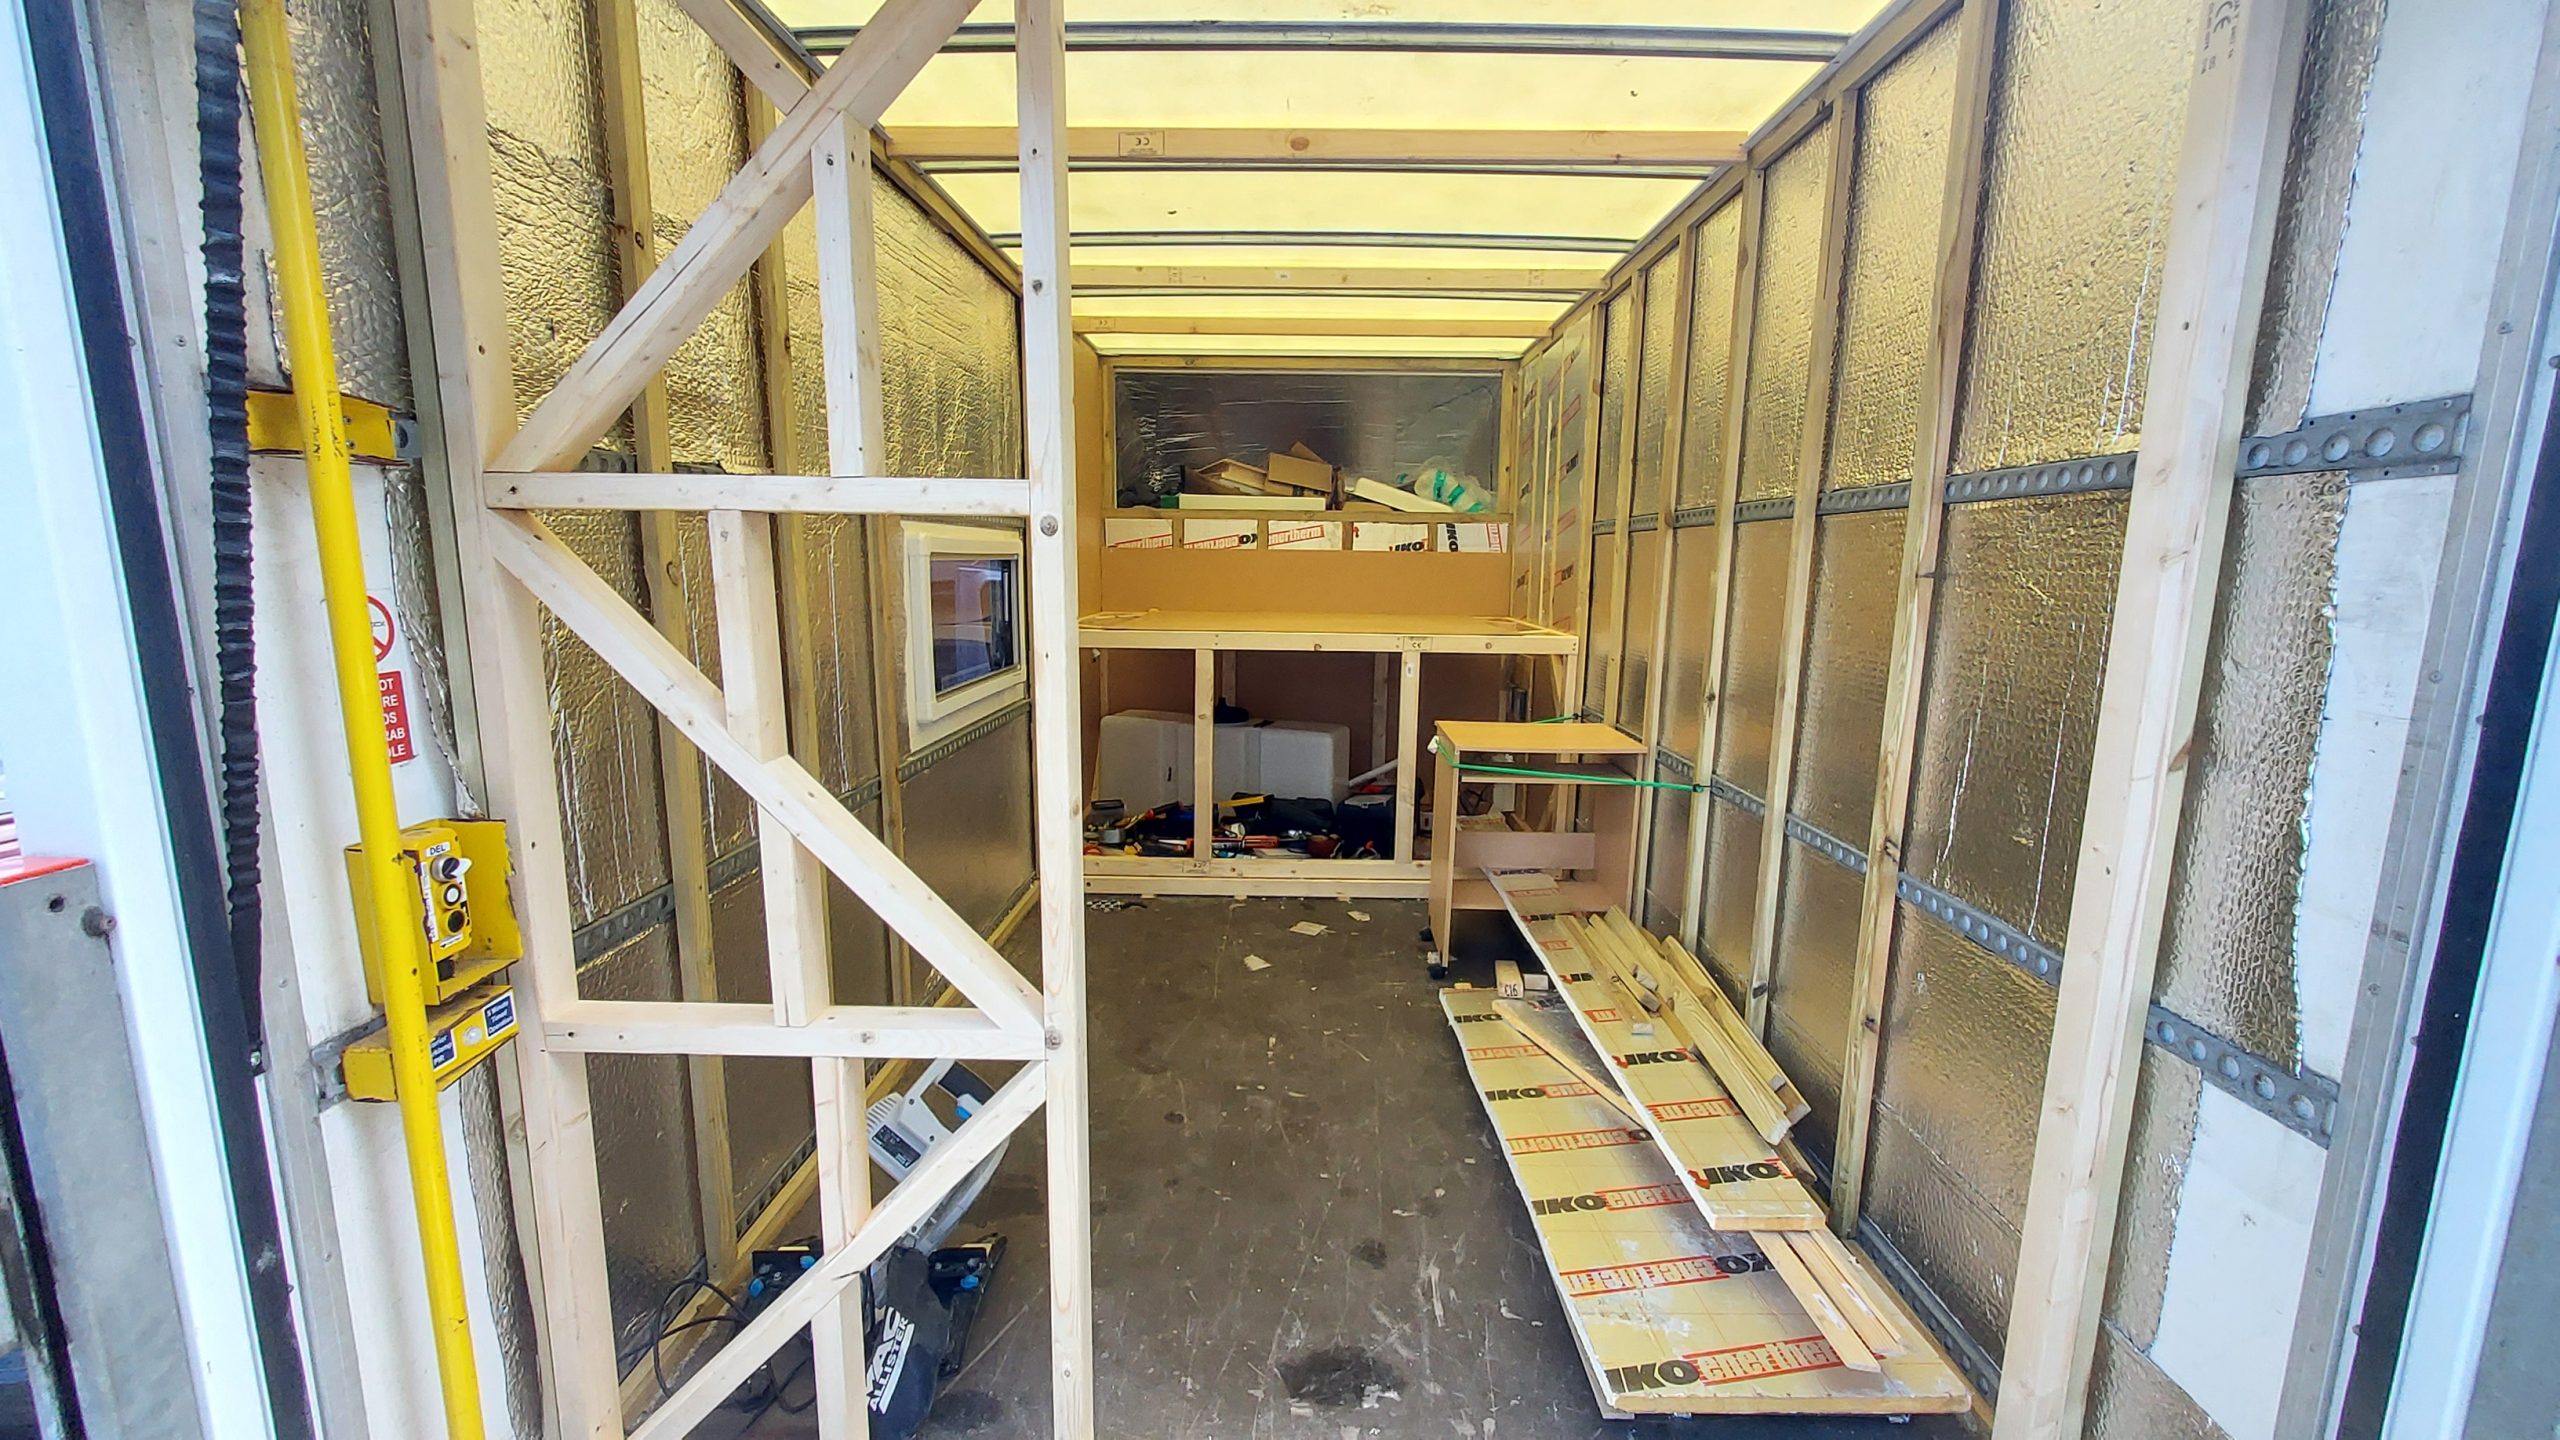
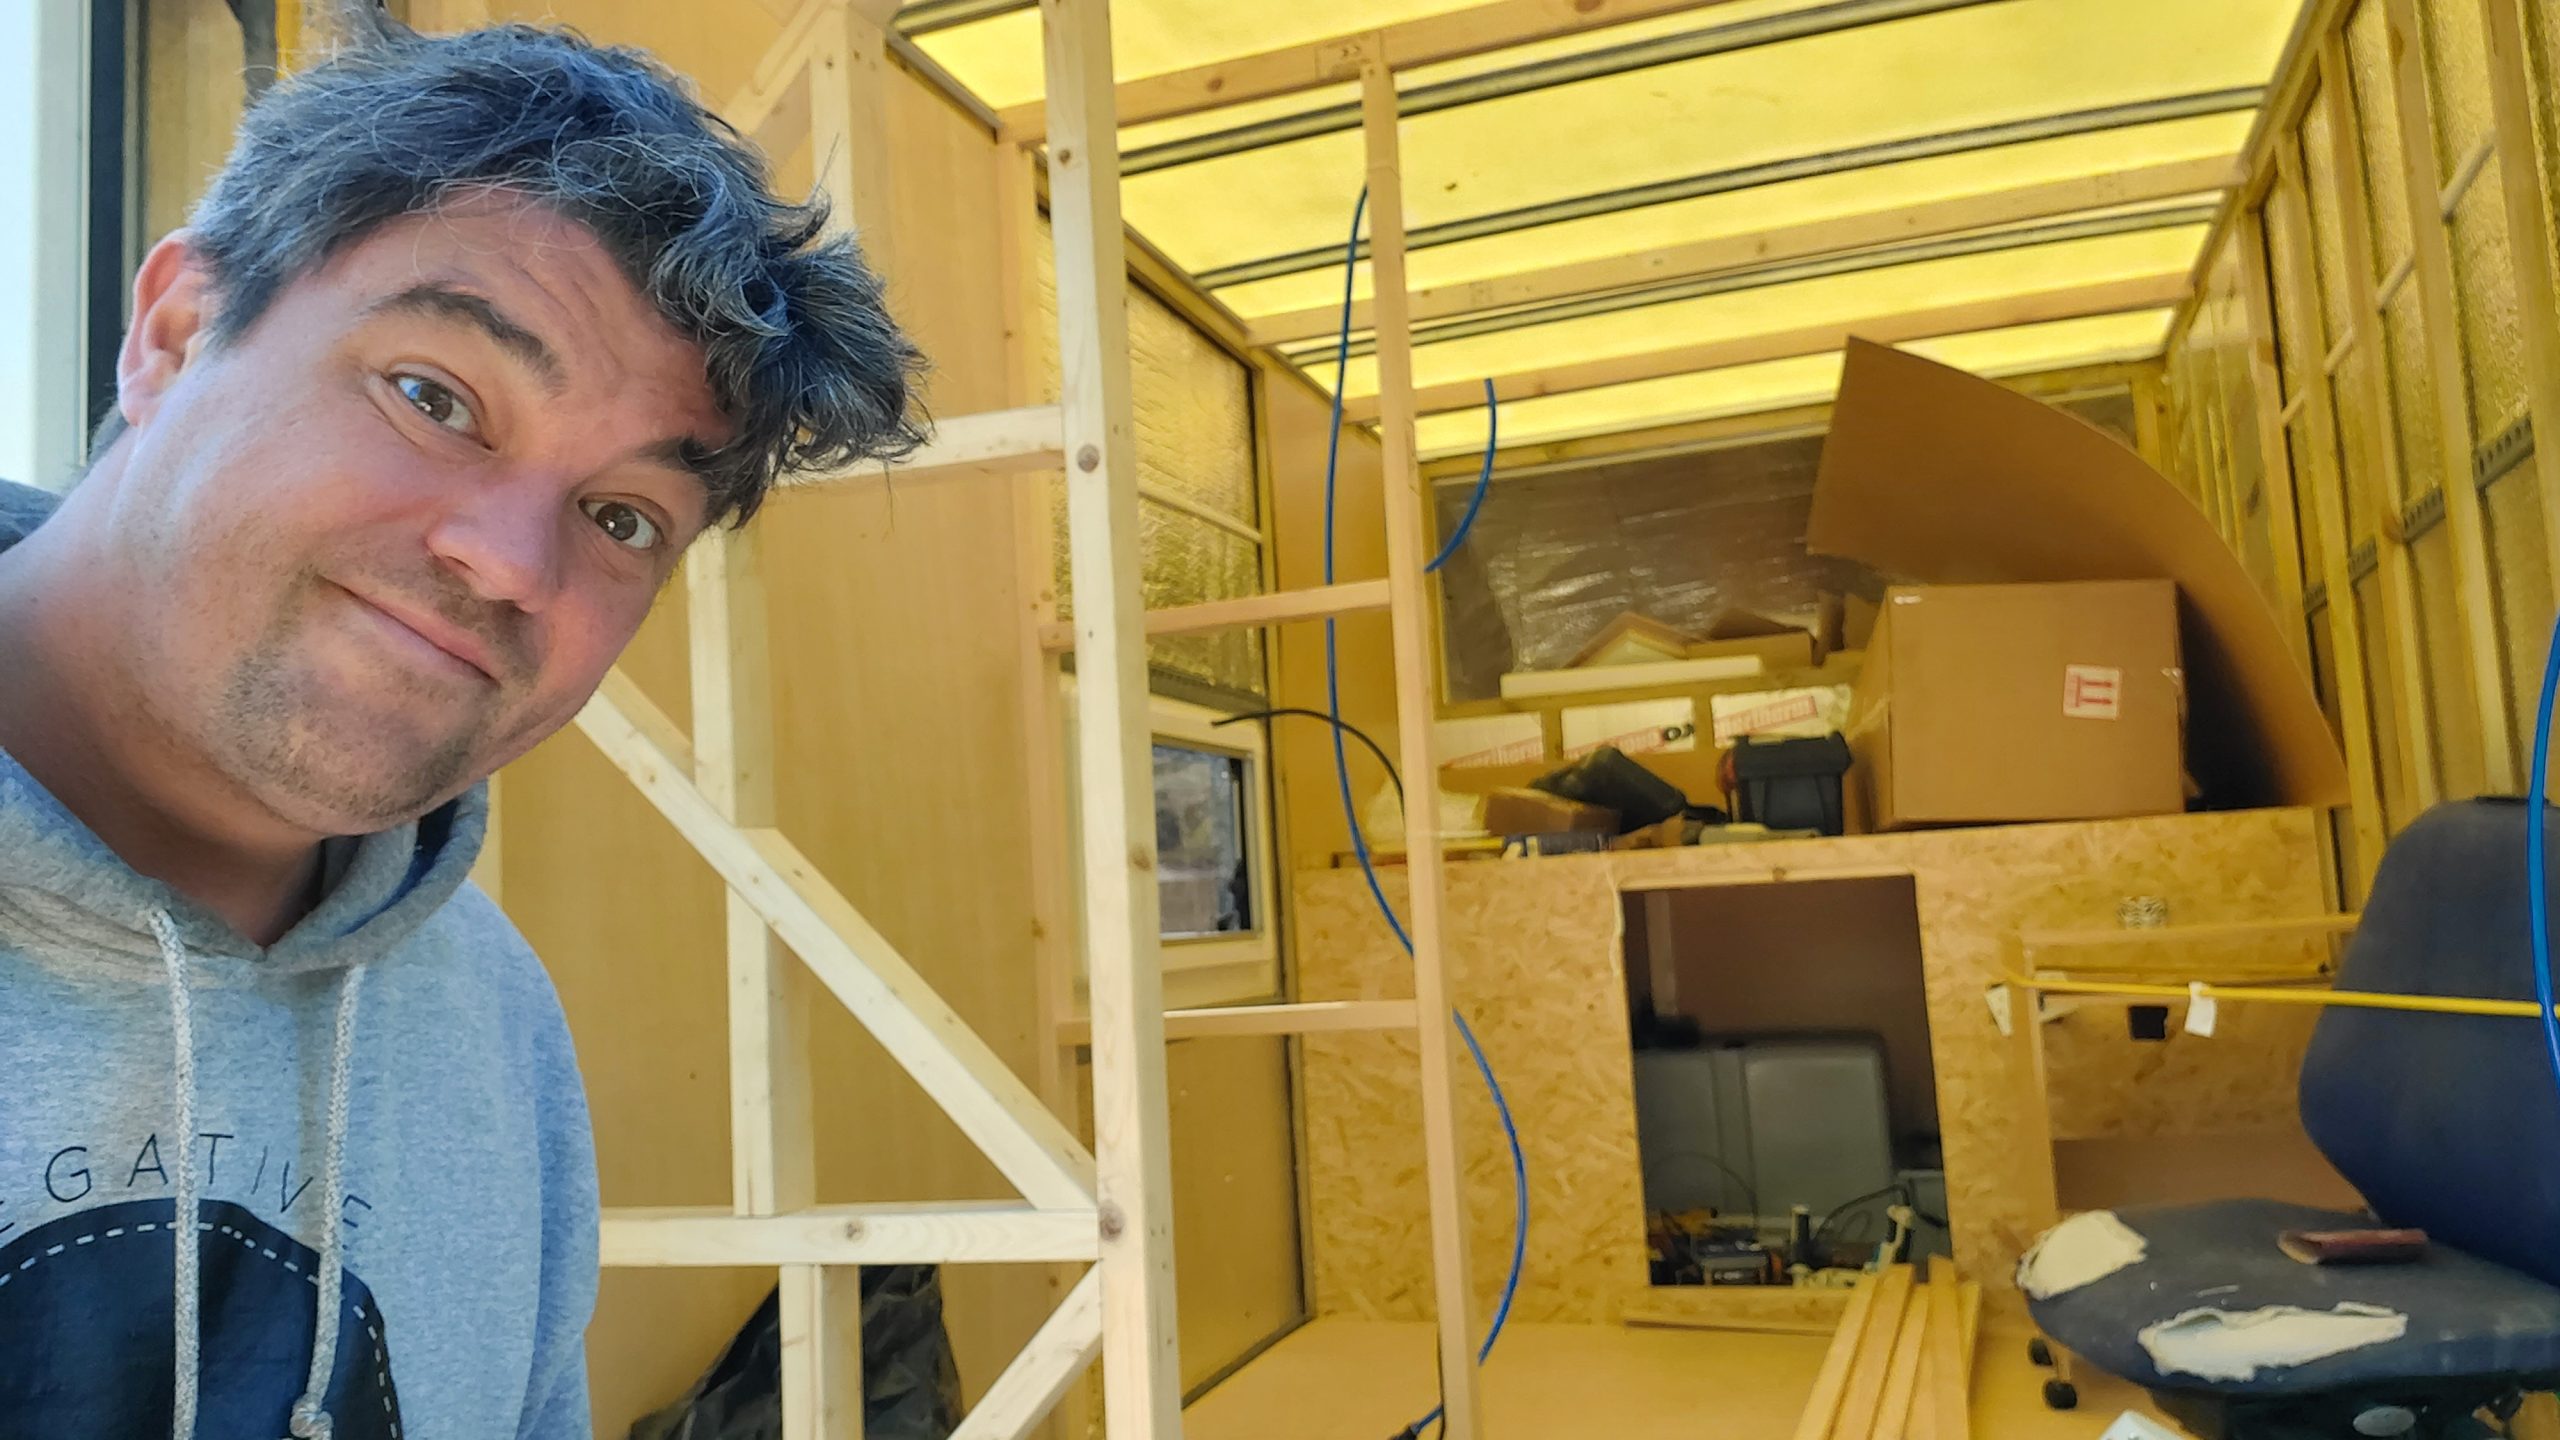
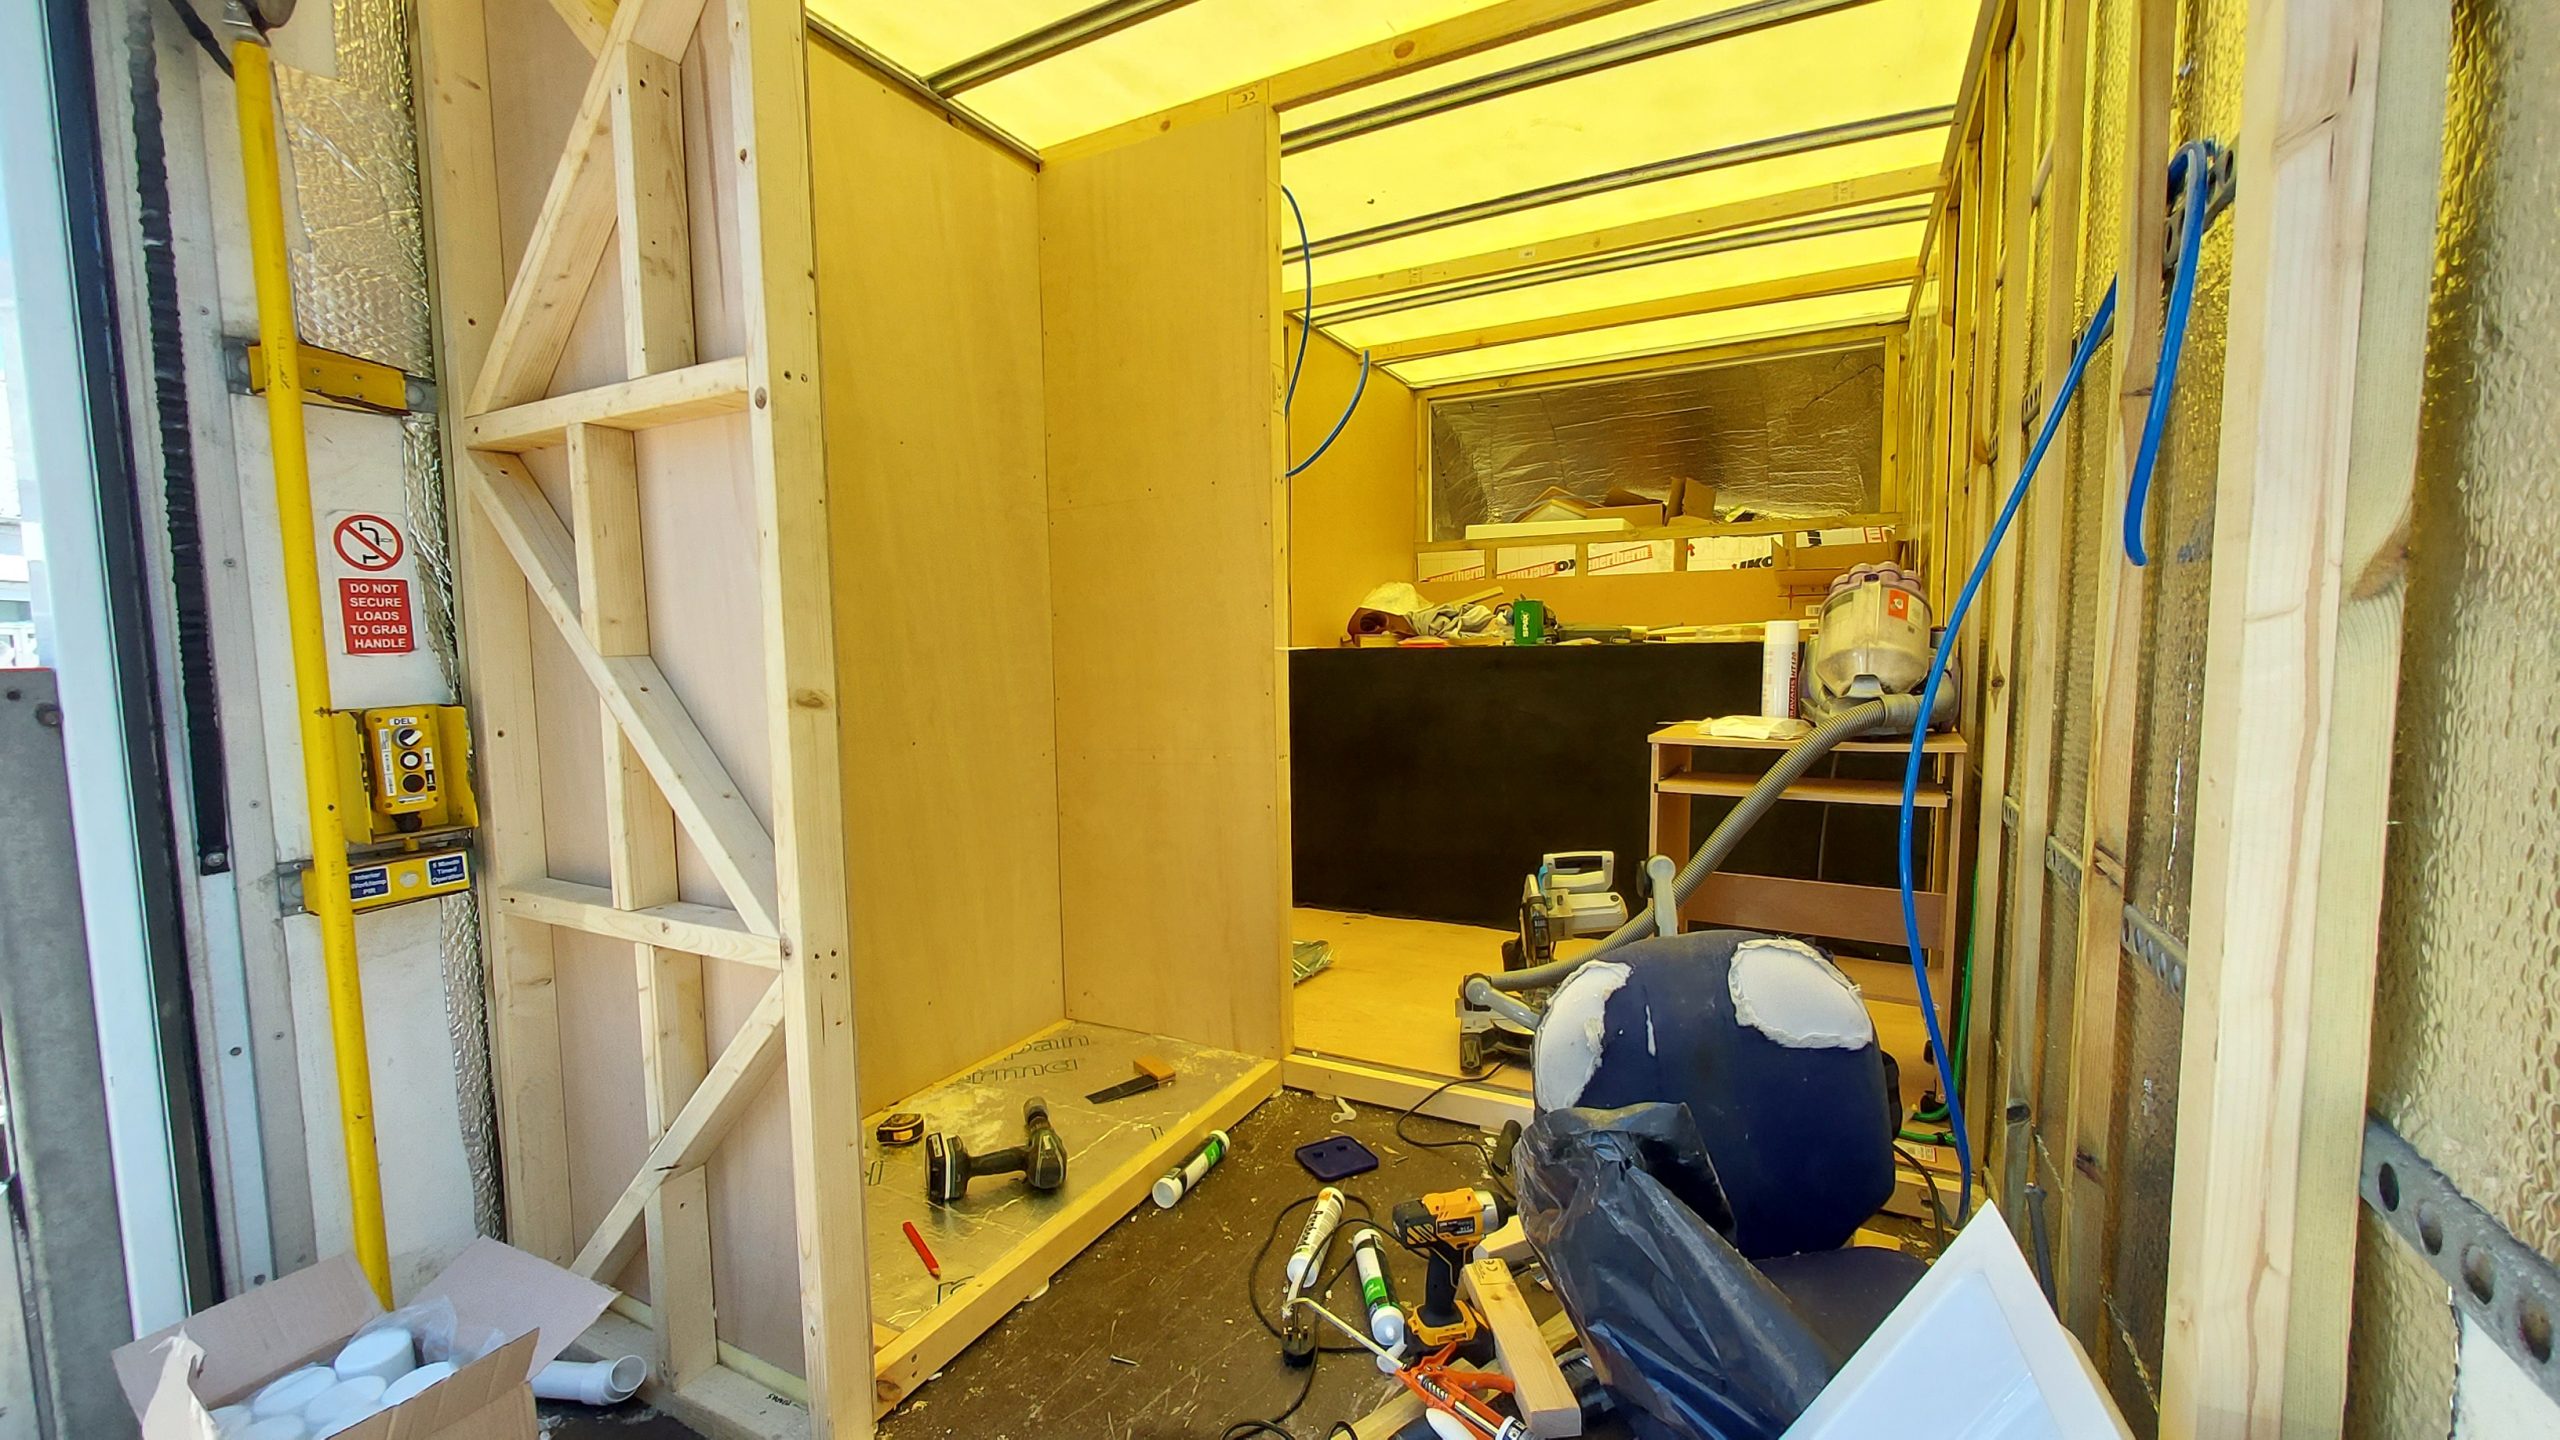
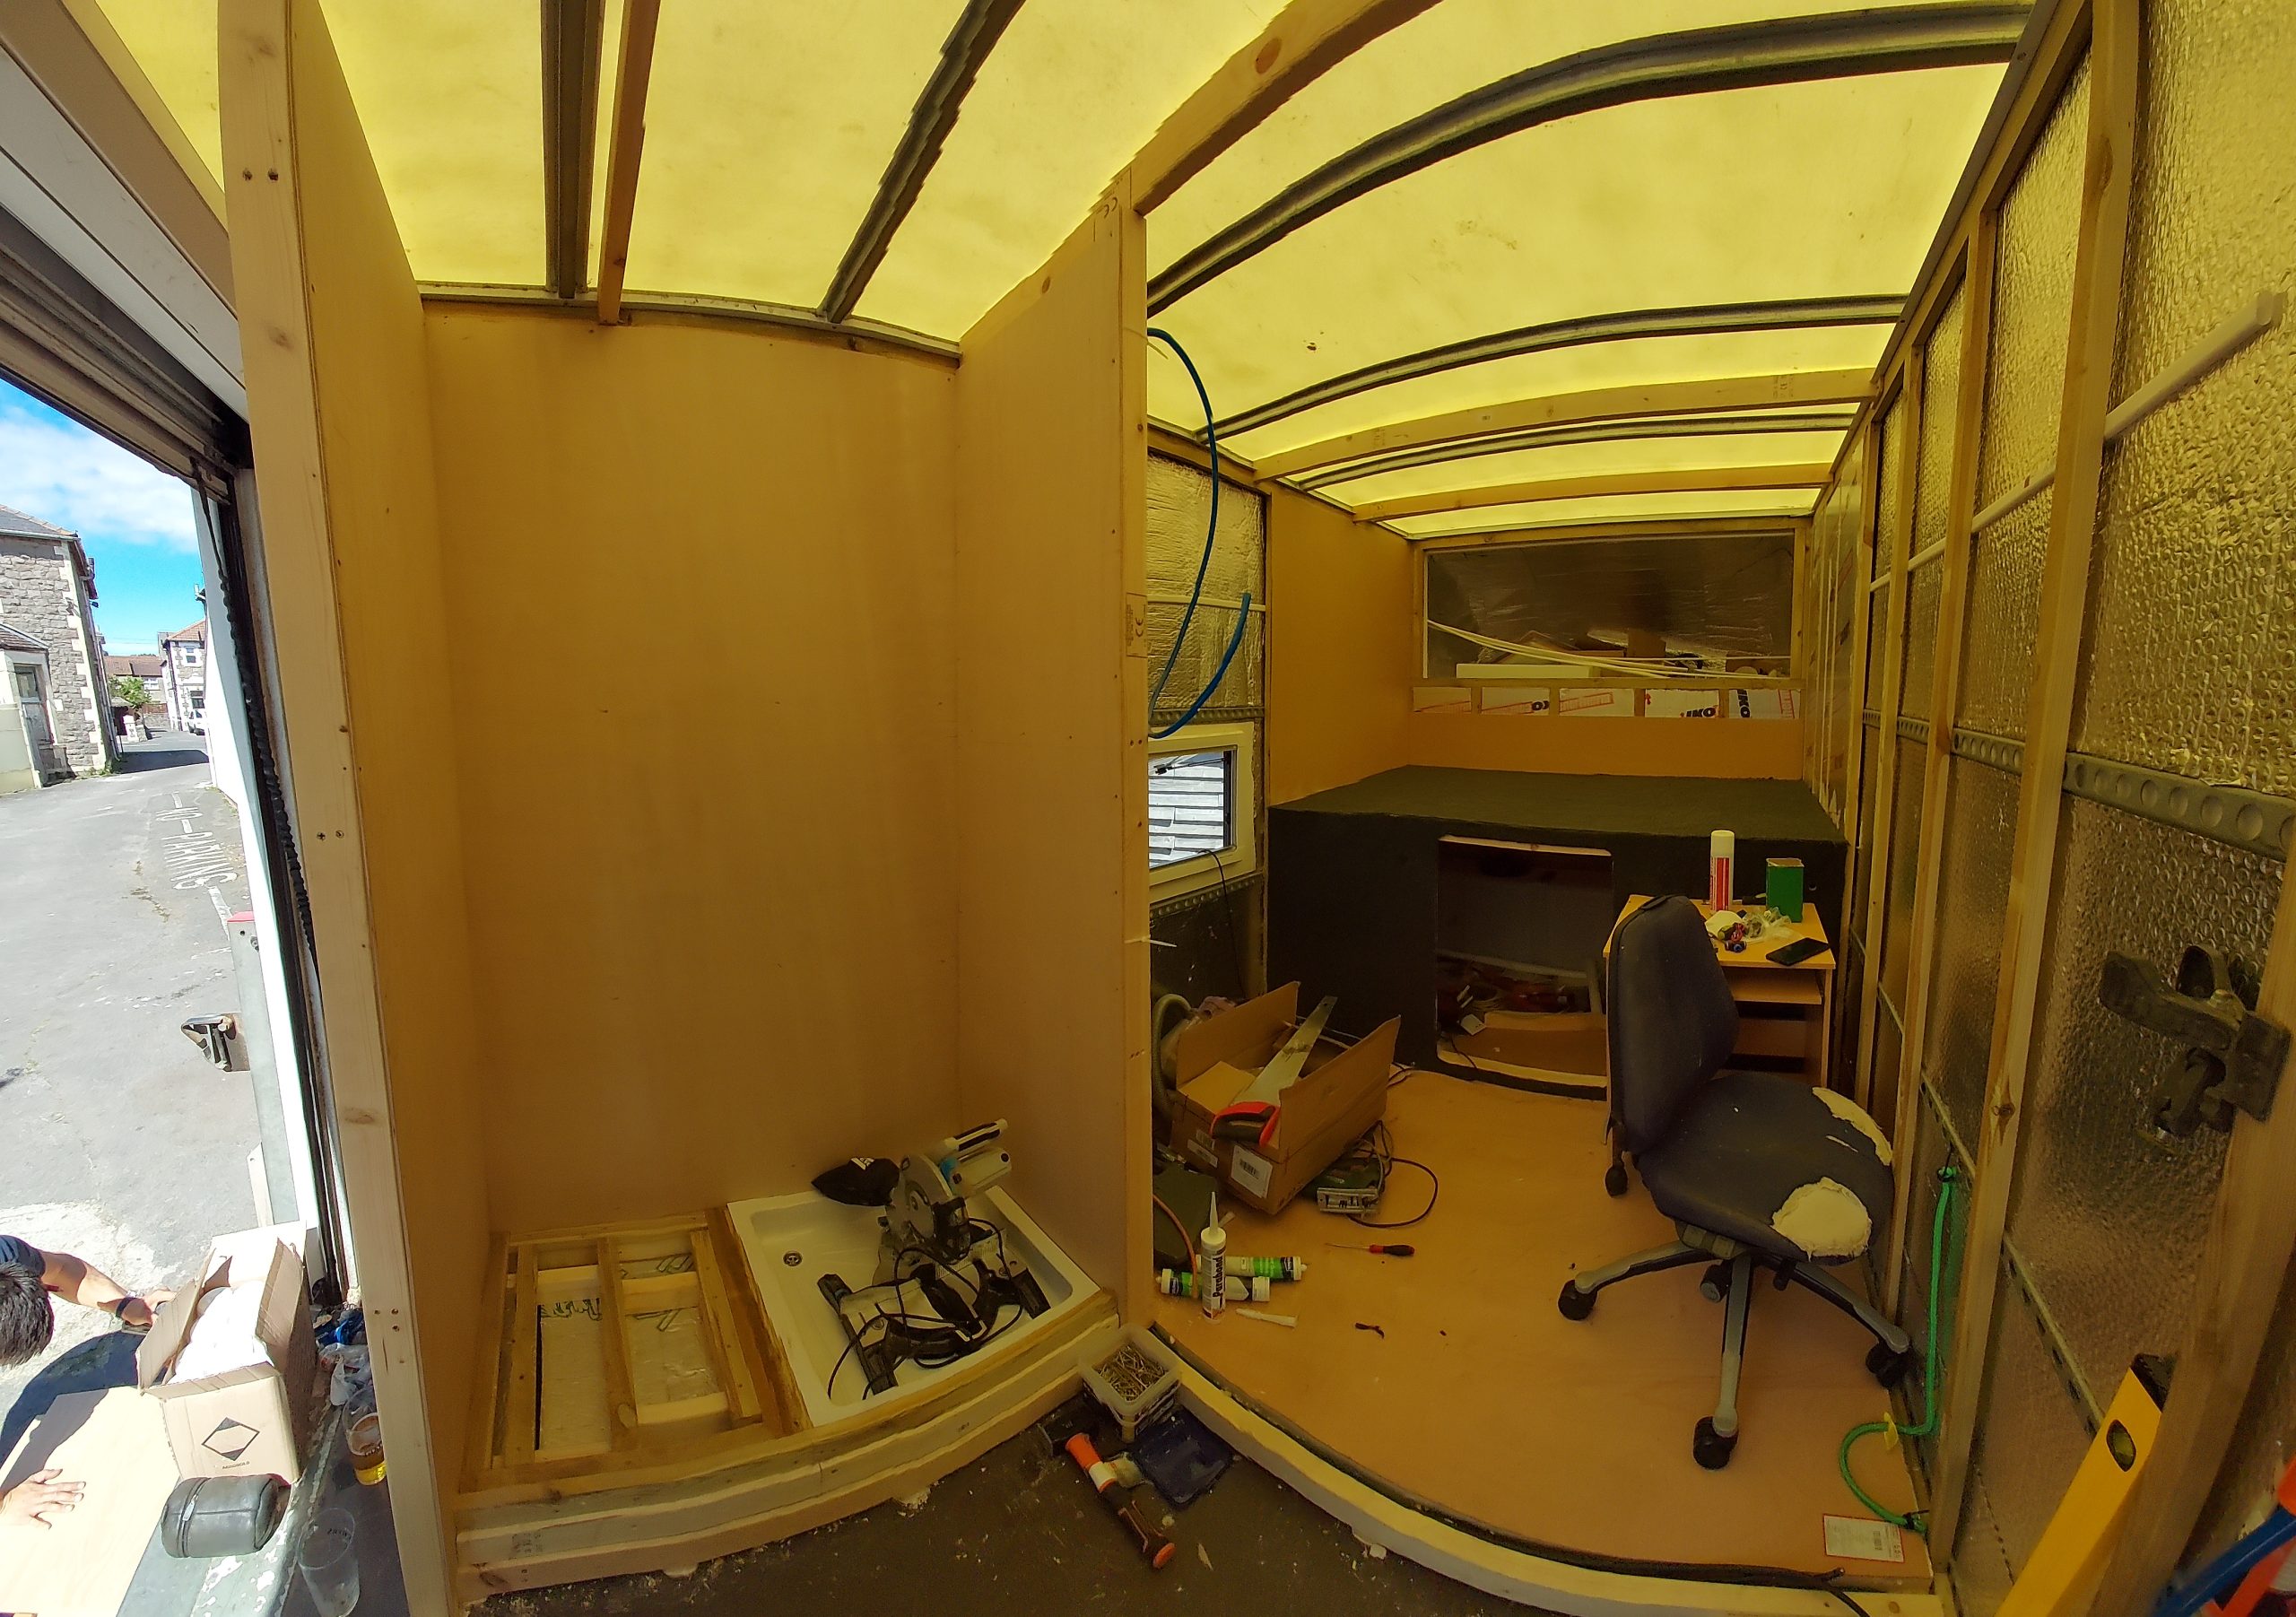
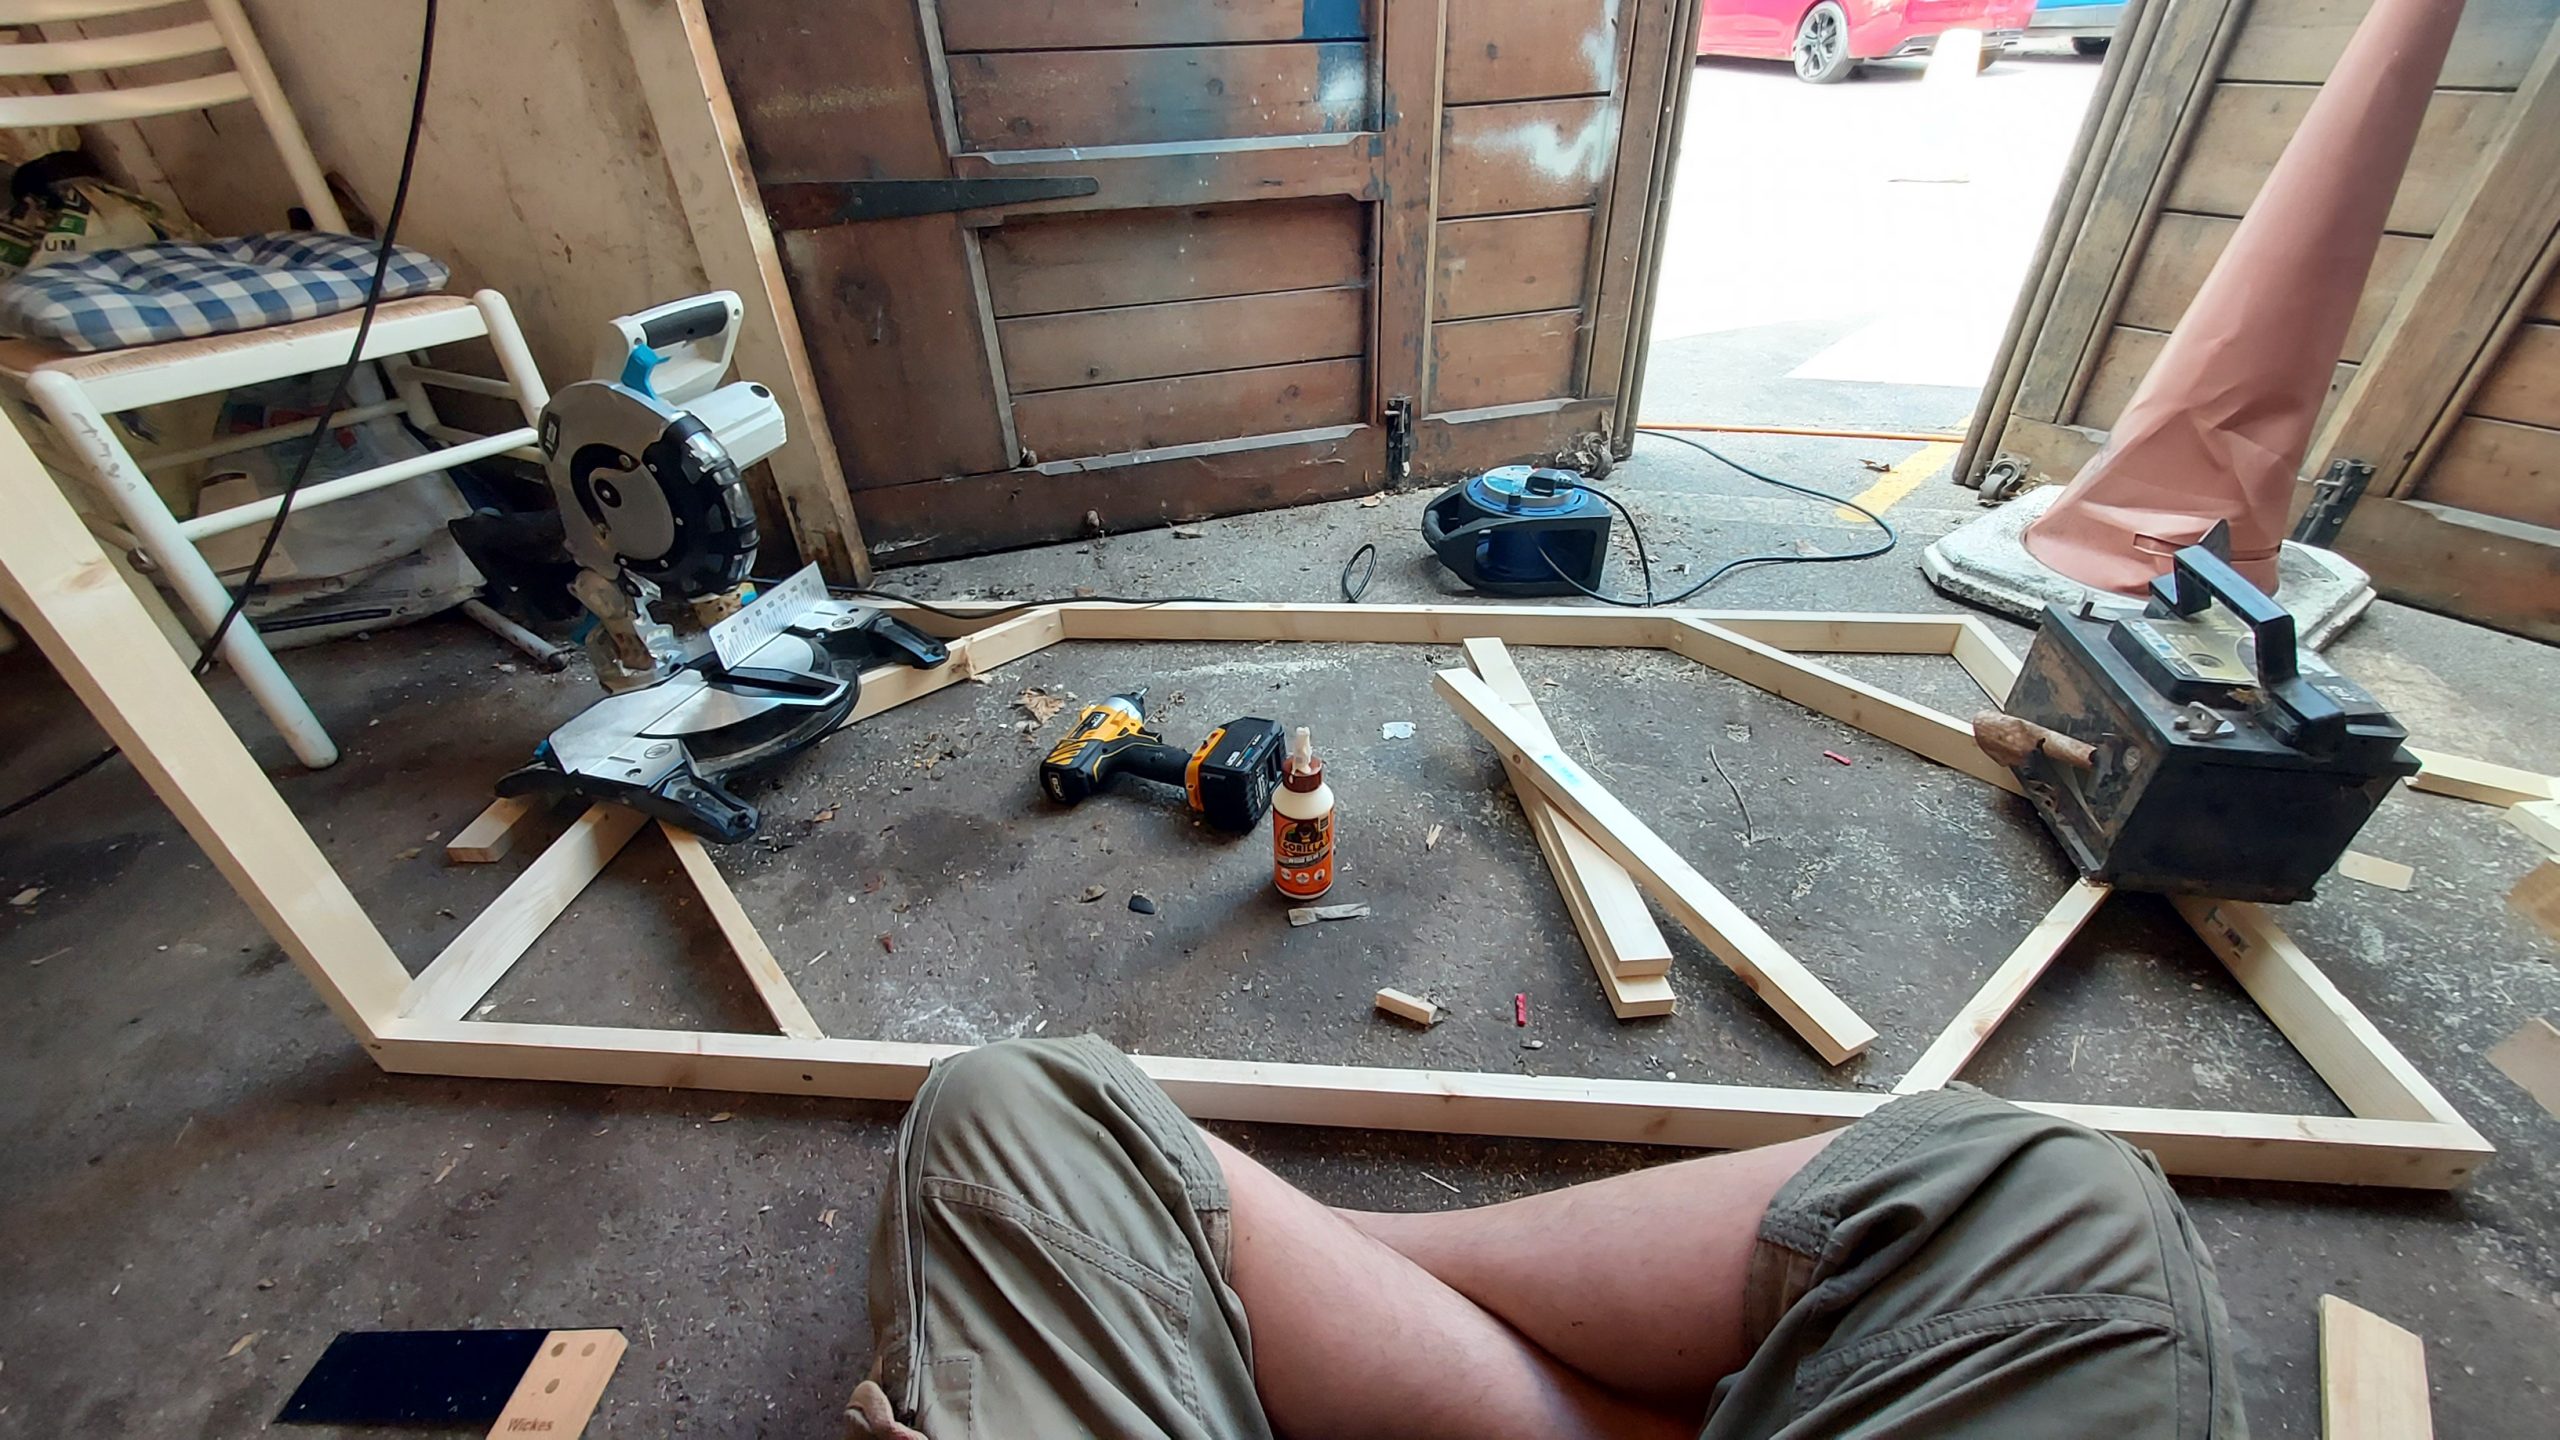
Getting started
View of the box, almost completely empty except for the gas kit I’d picked up on my travels in the old van.
Read More


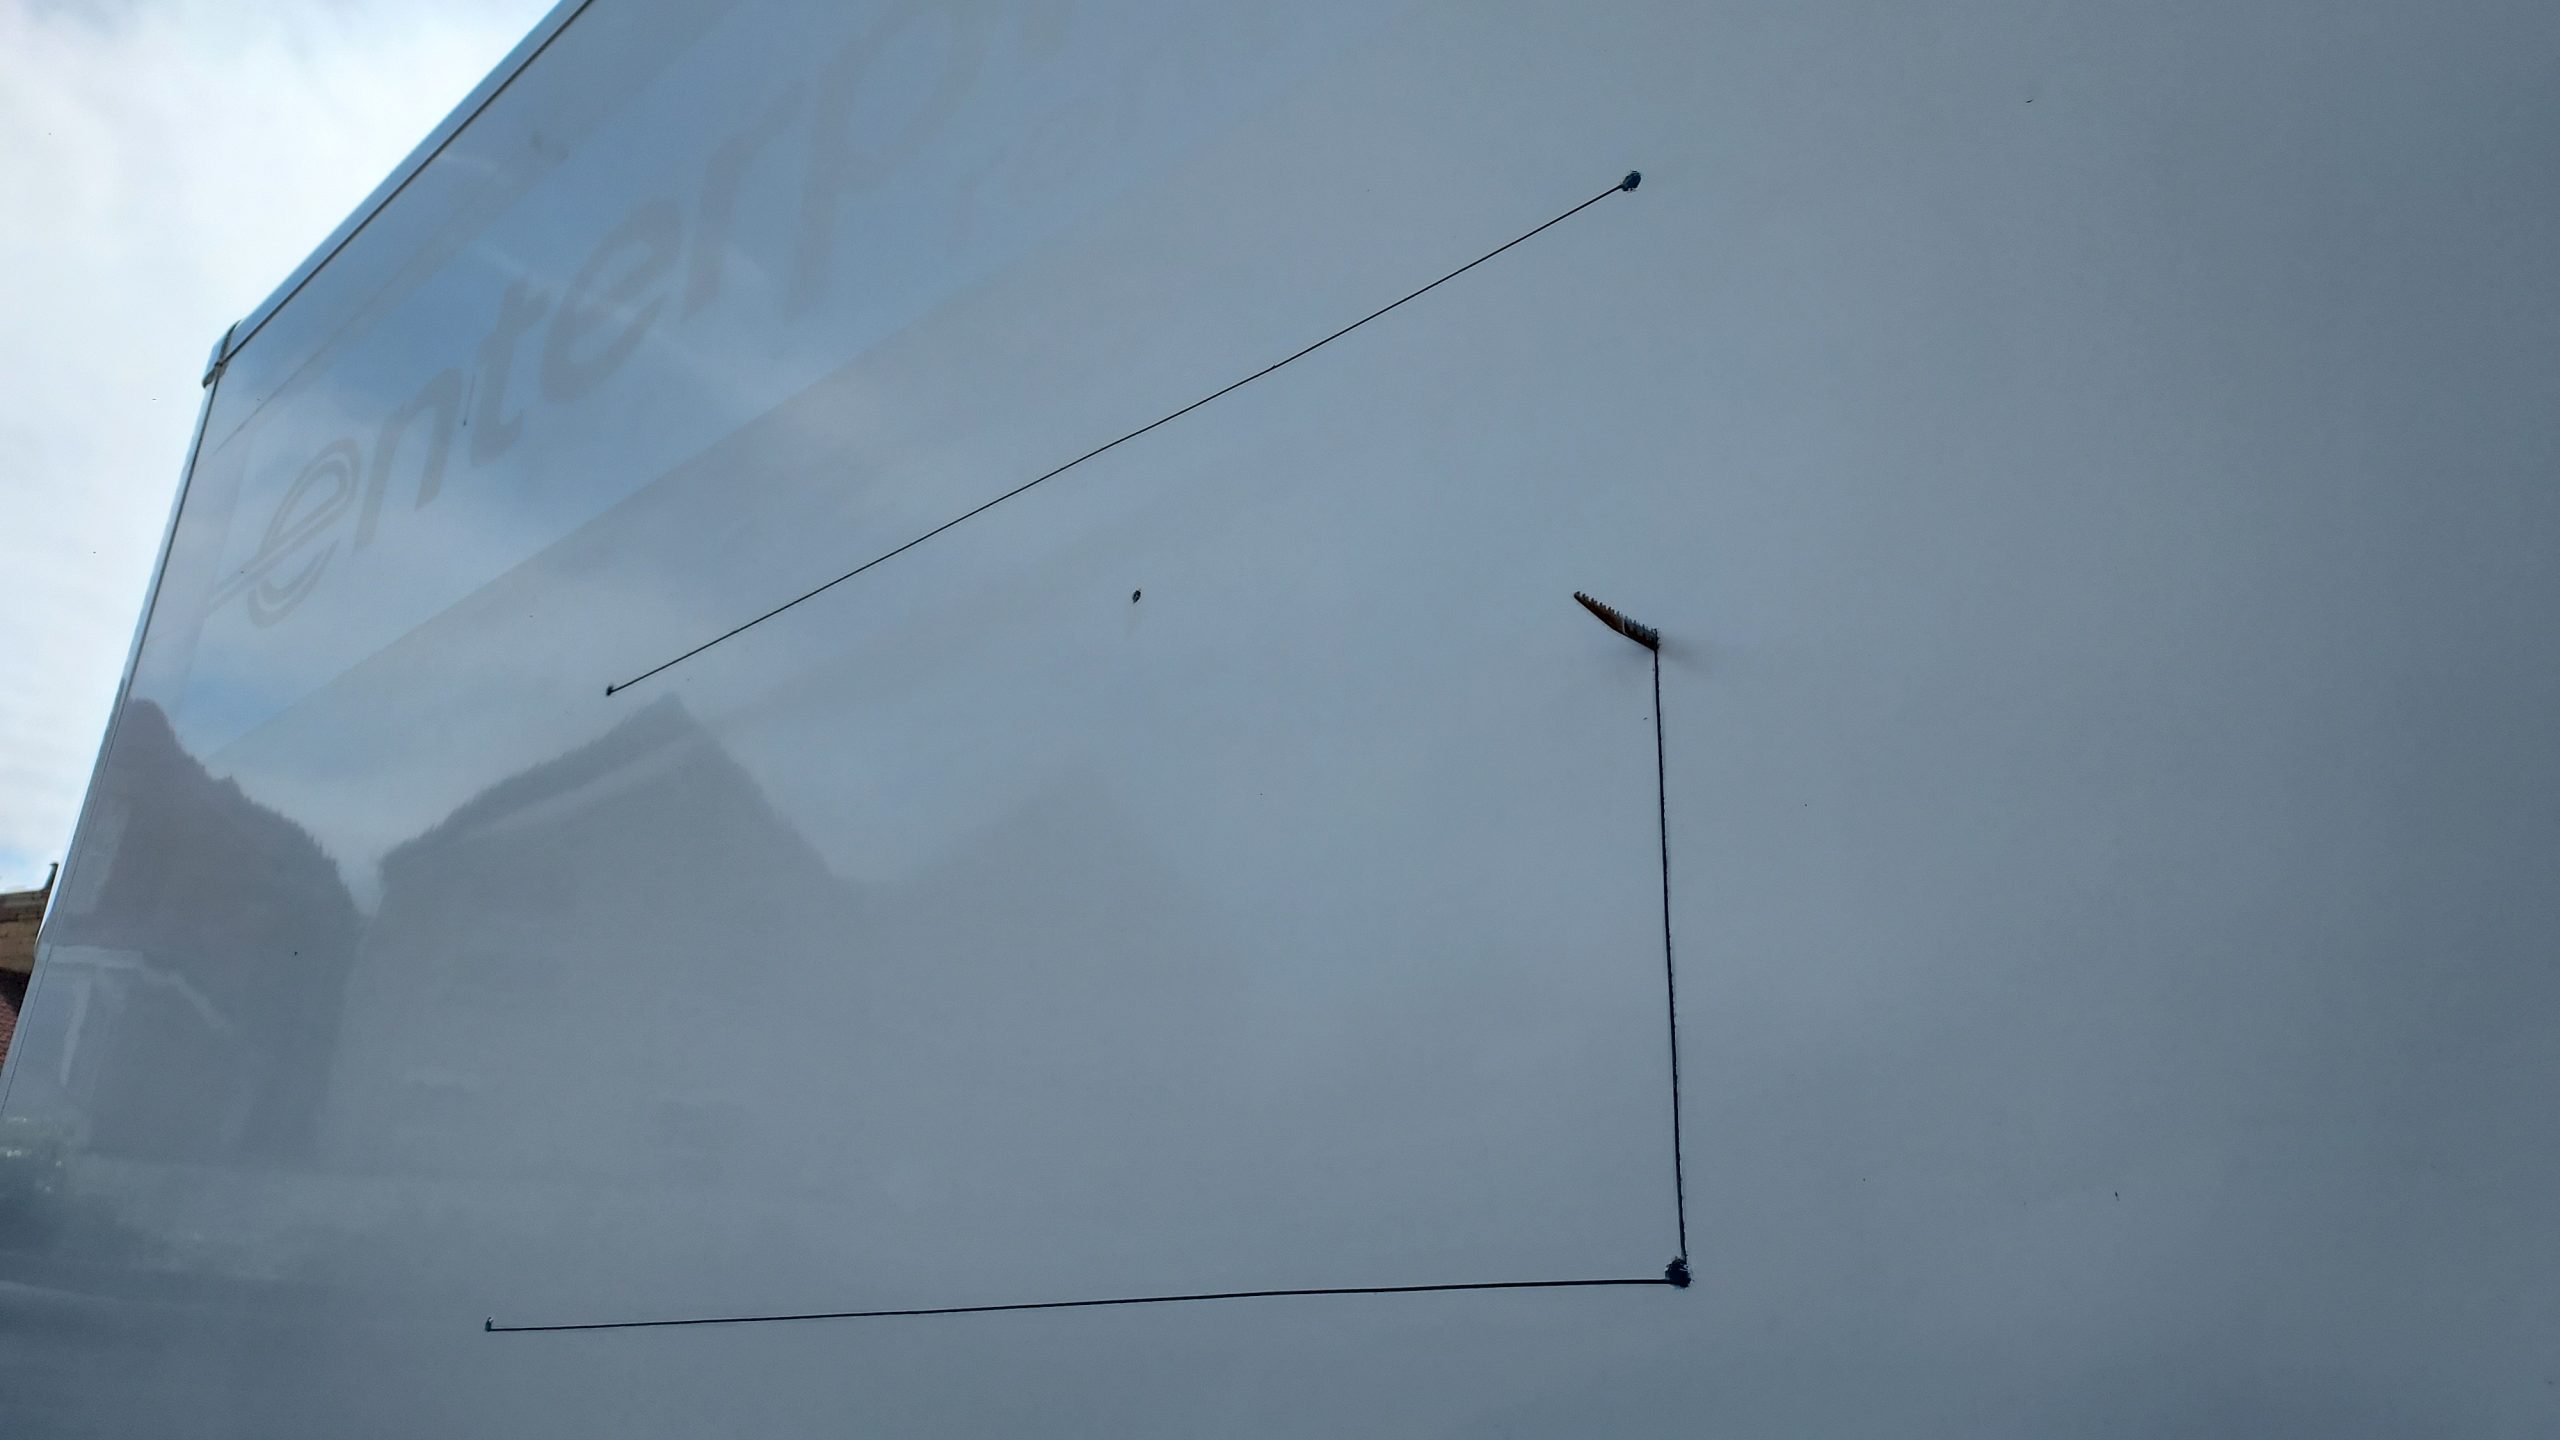
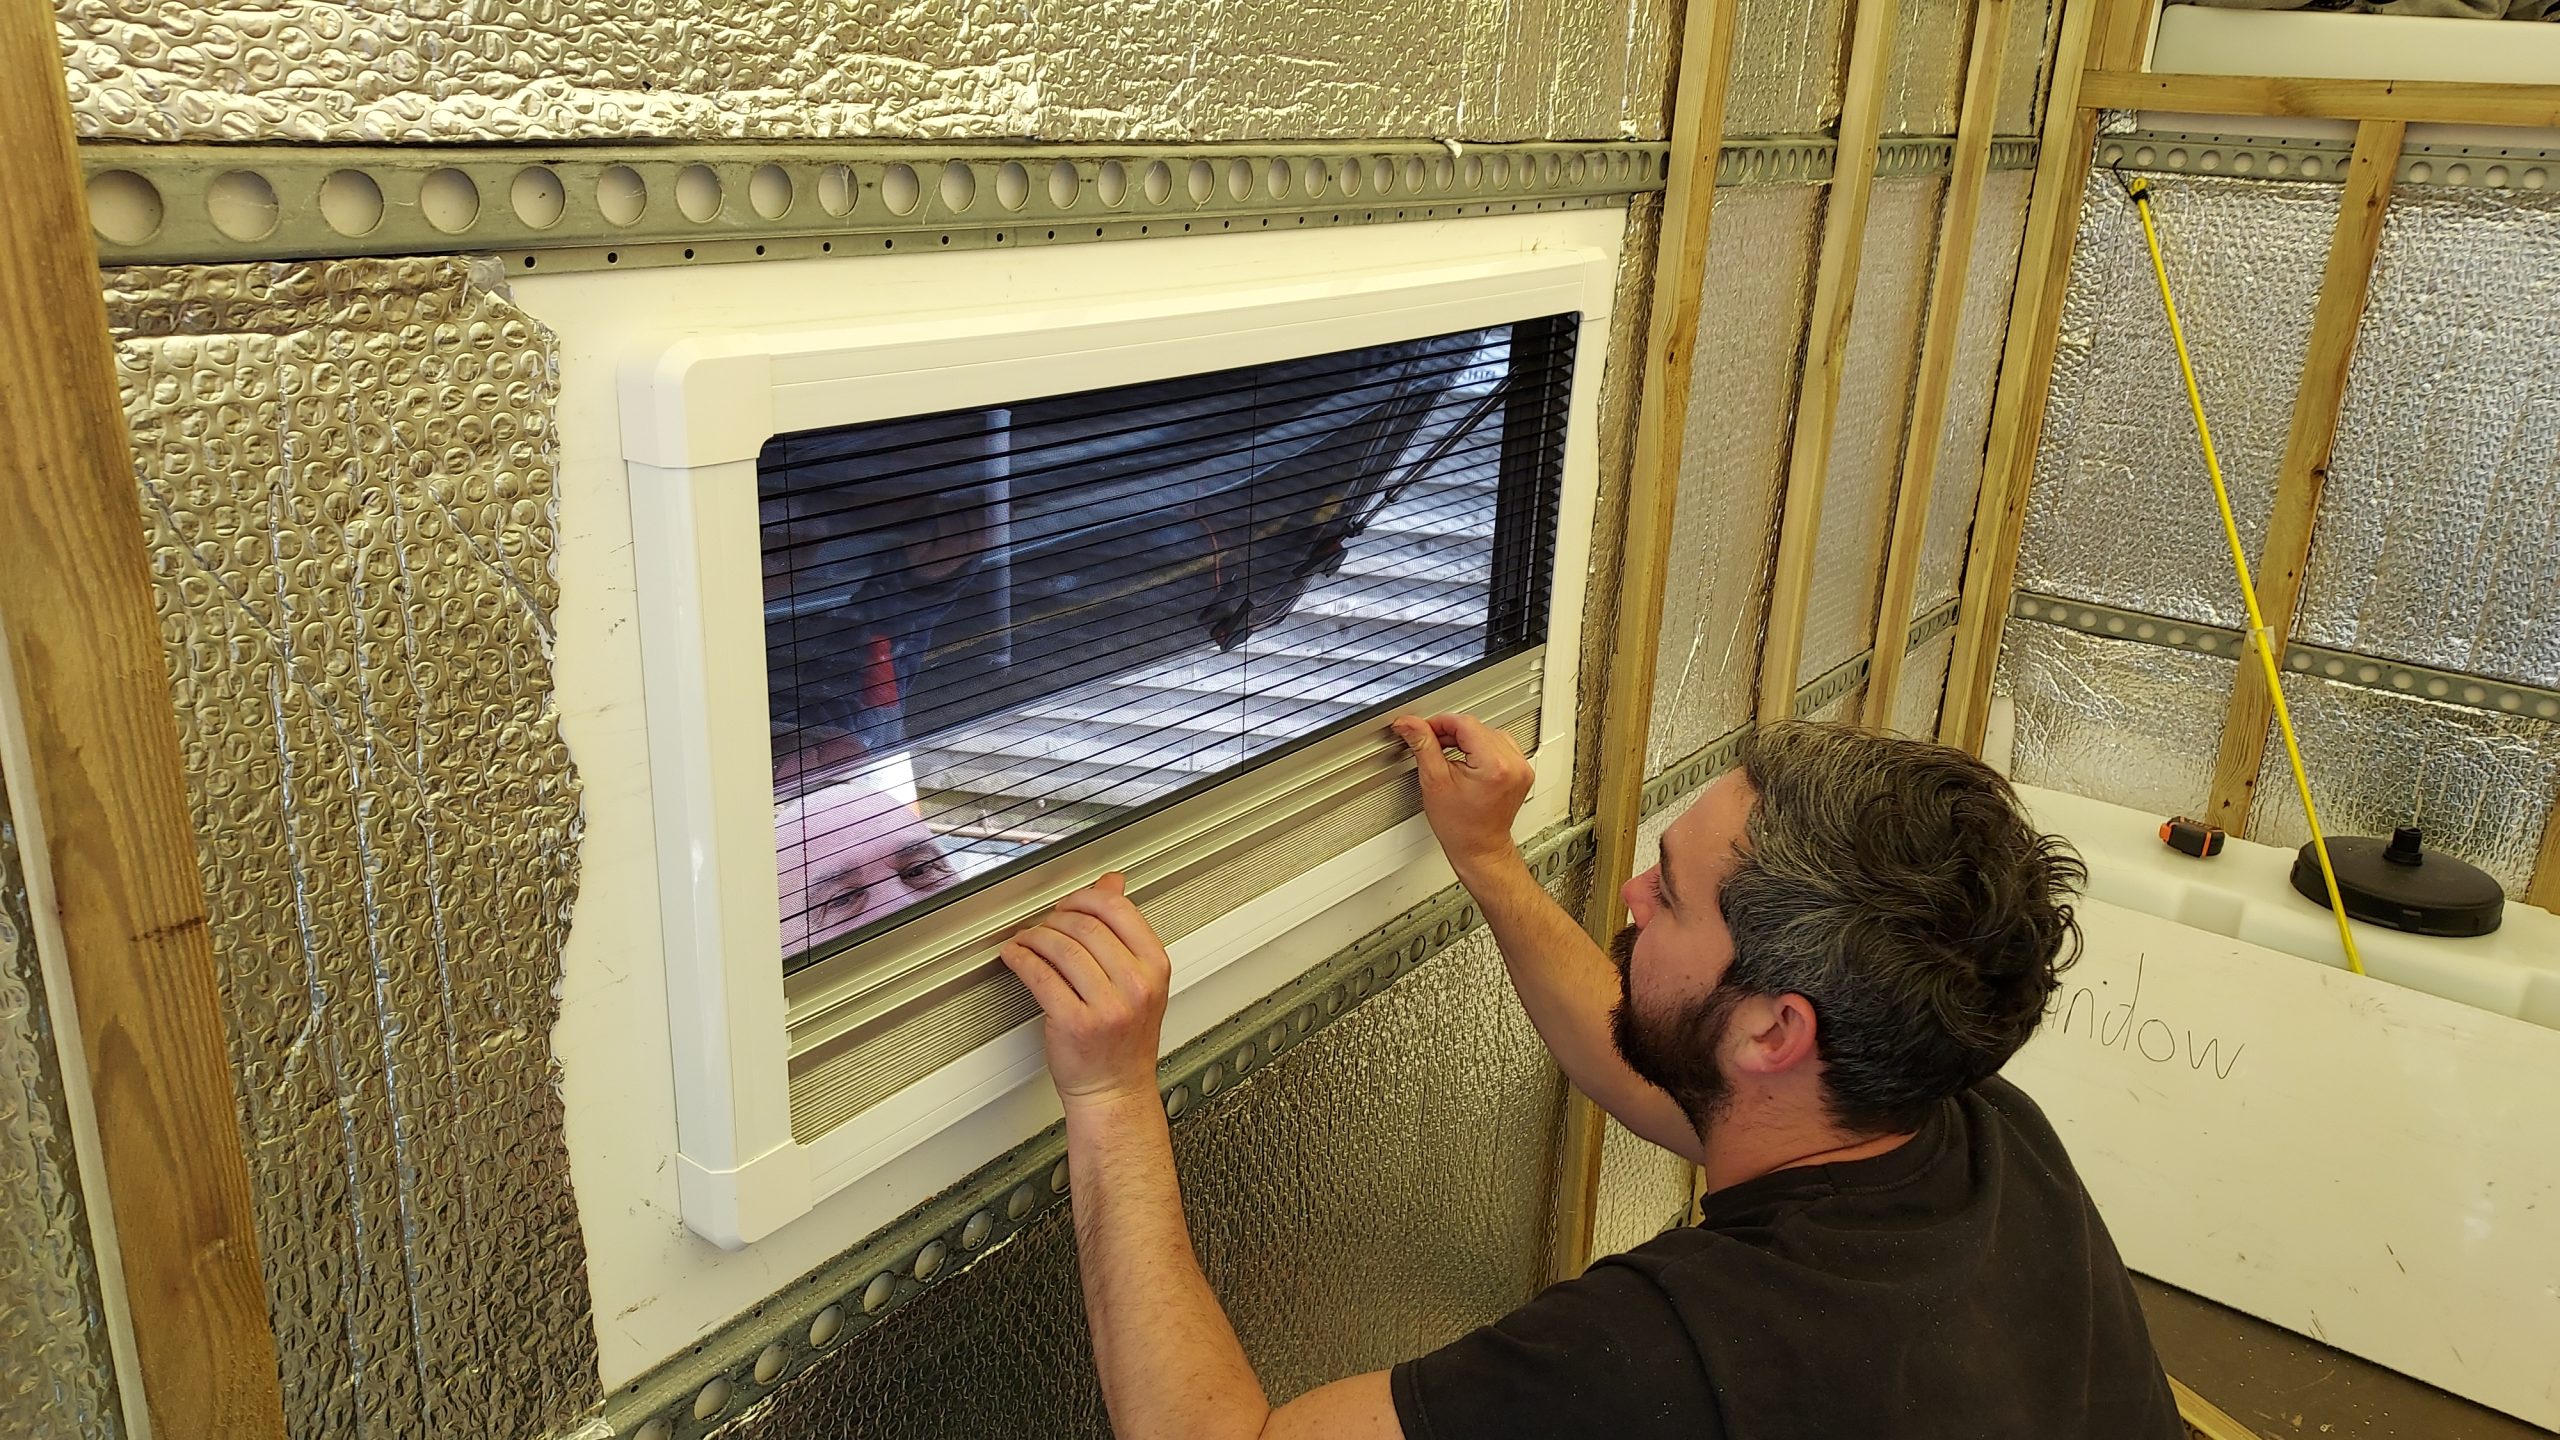
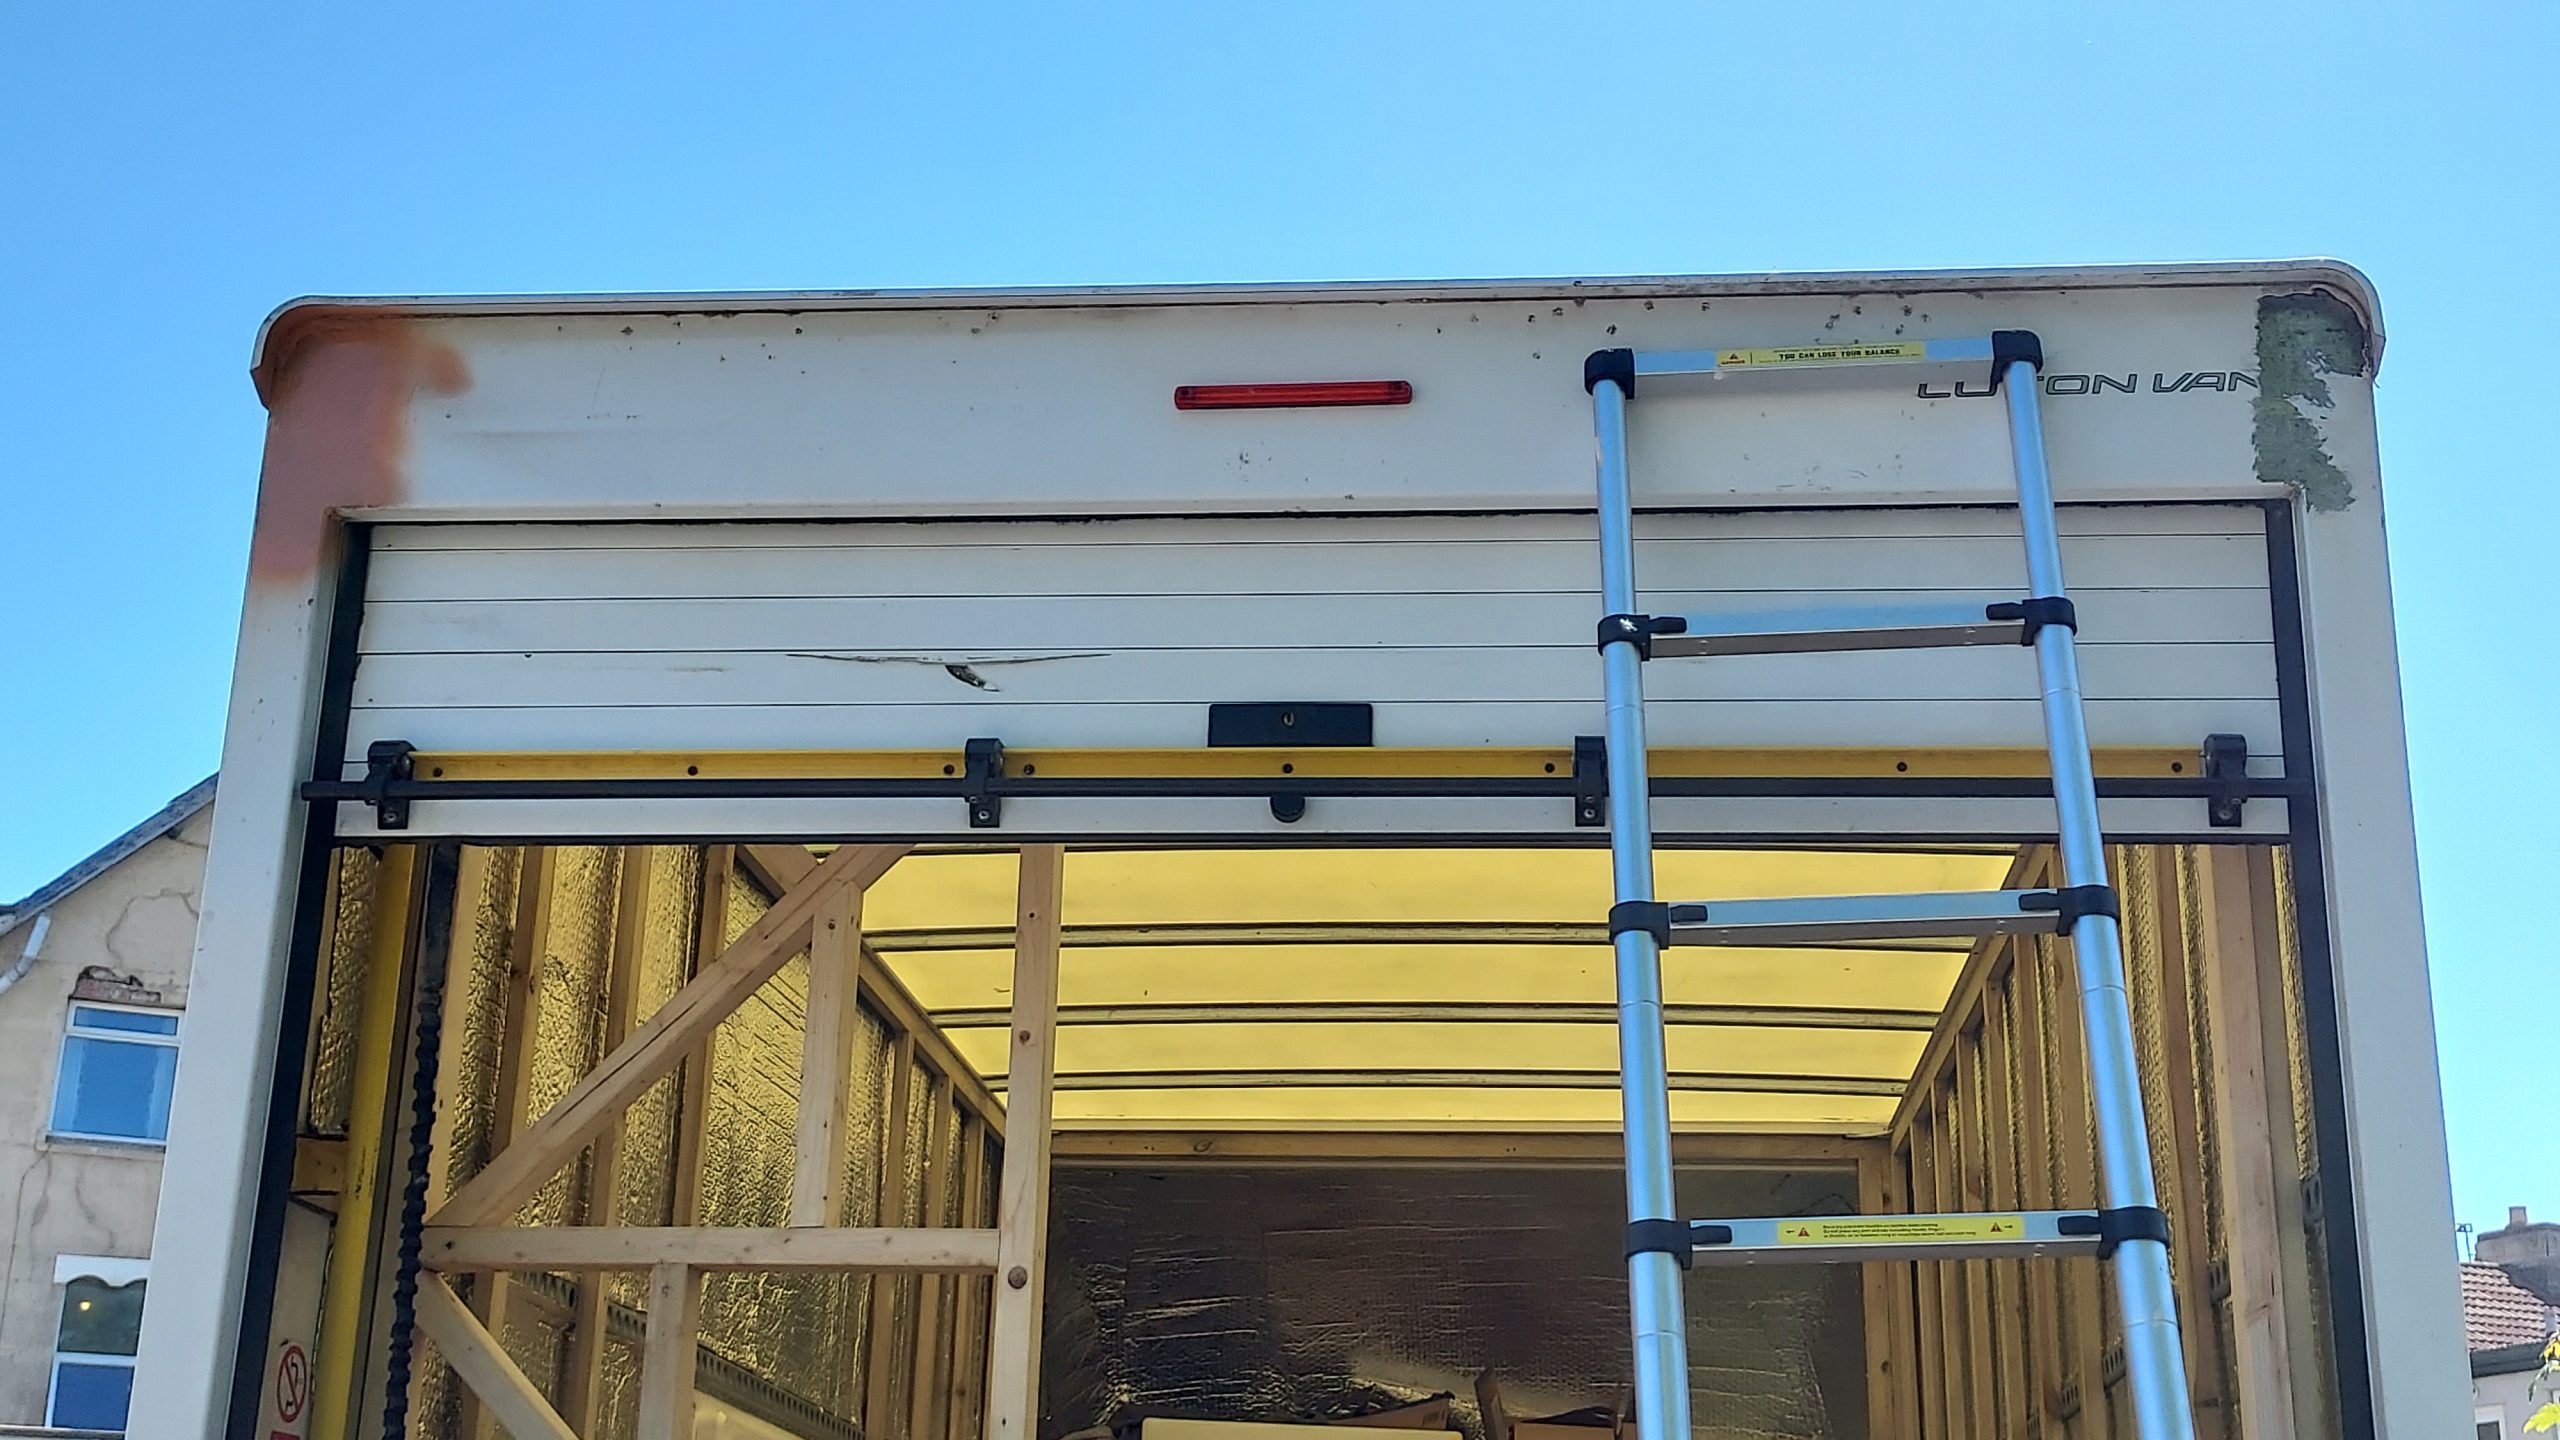
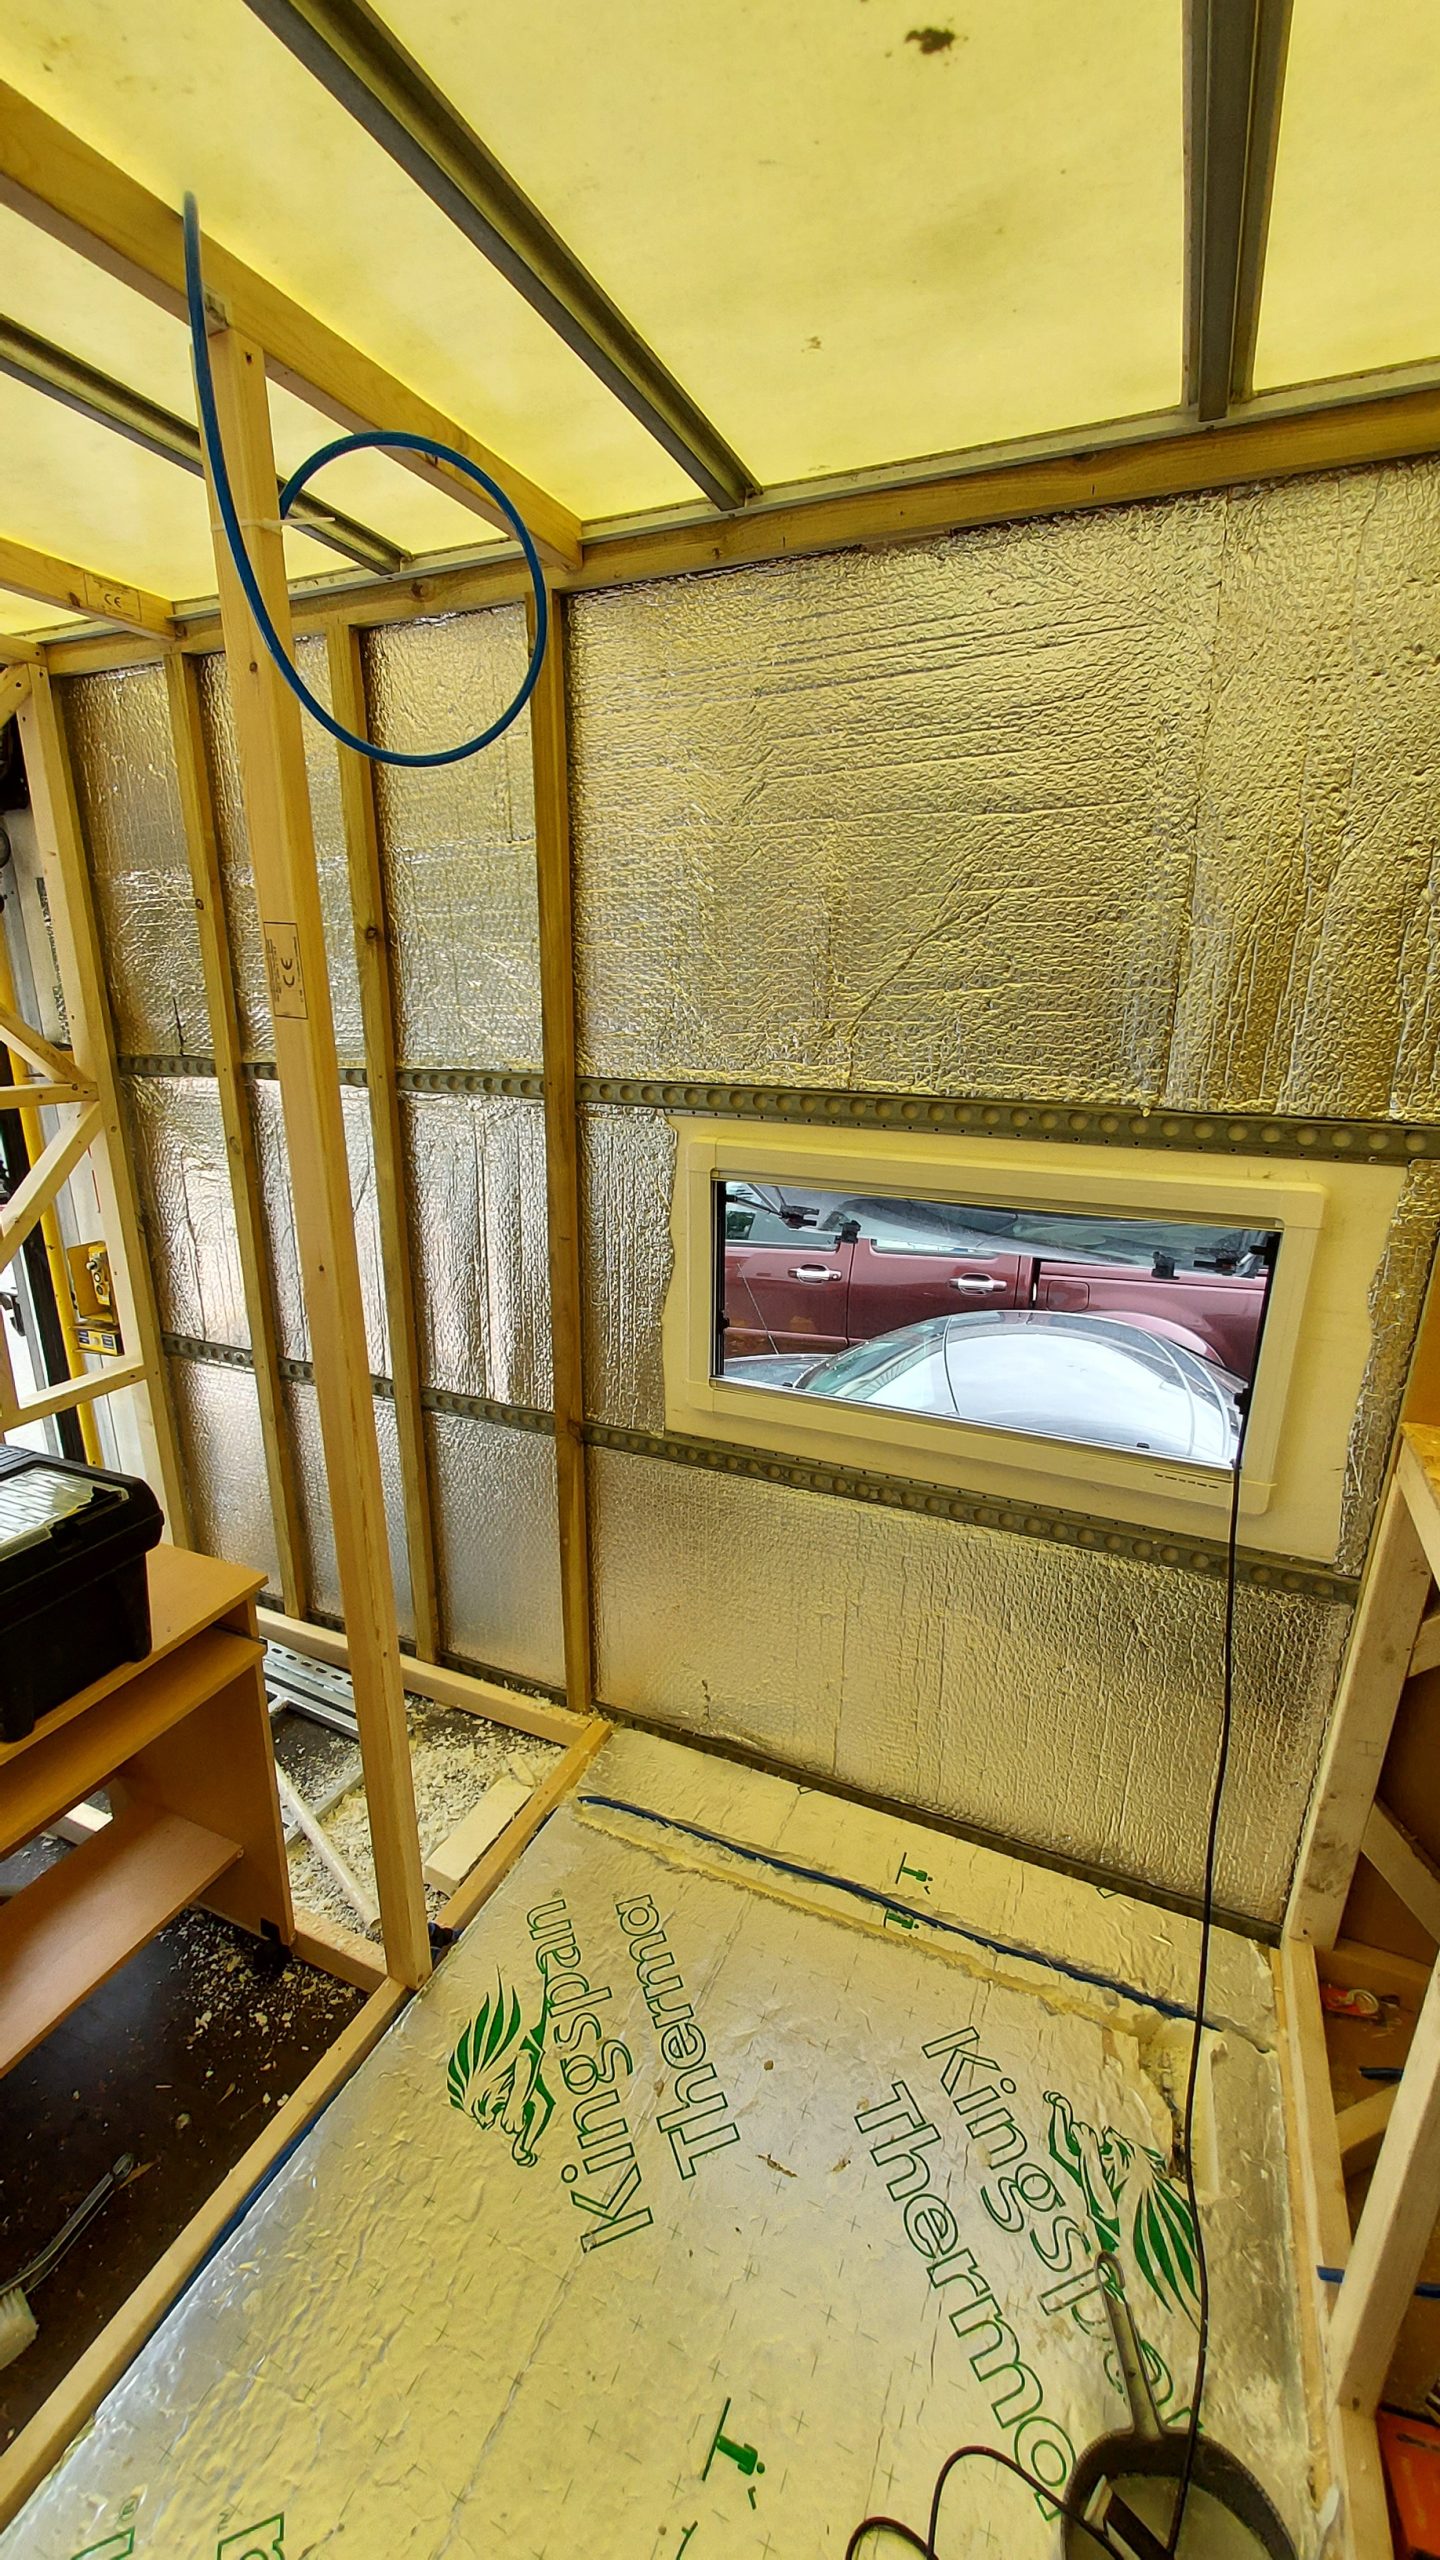
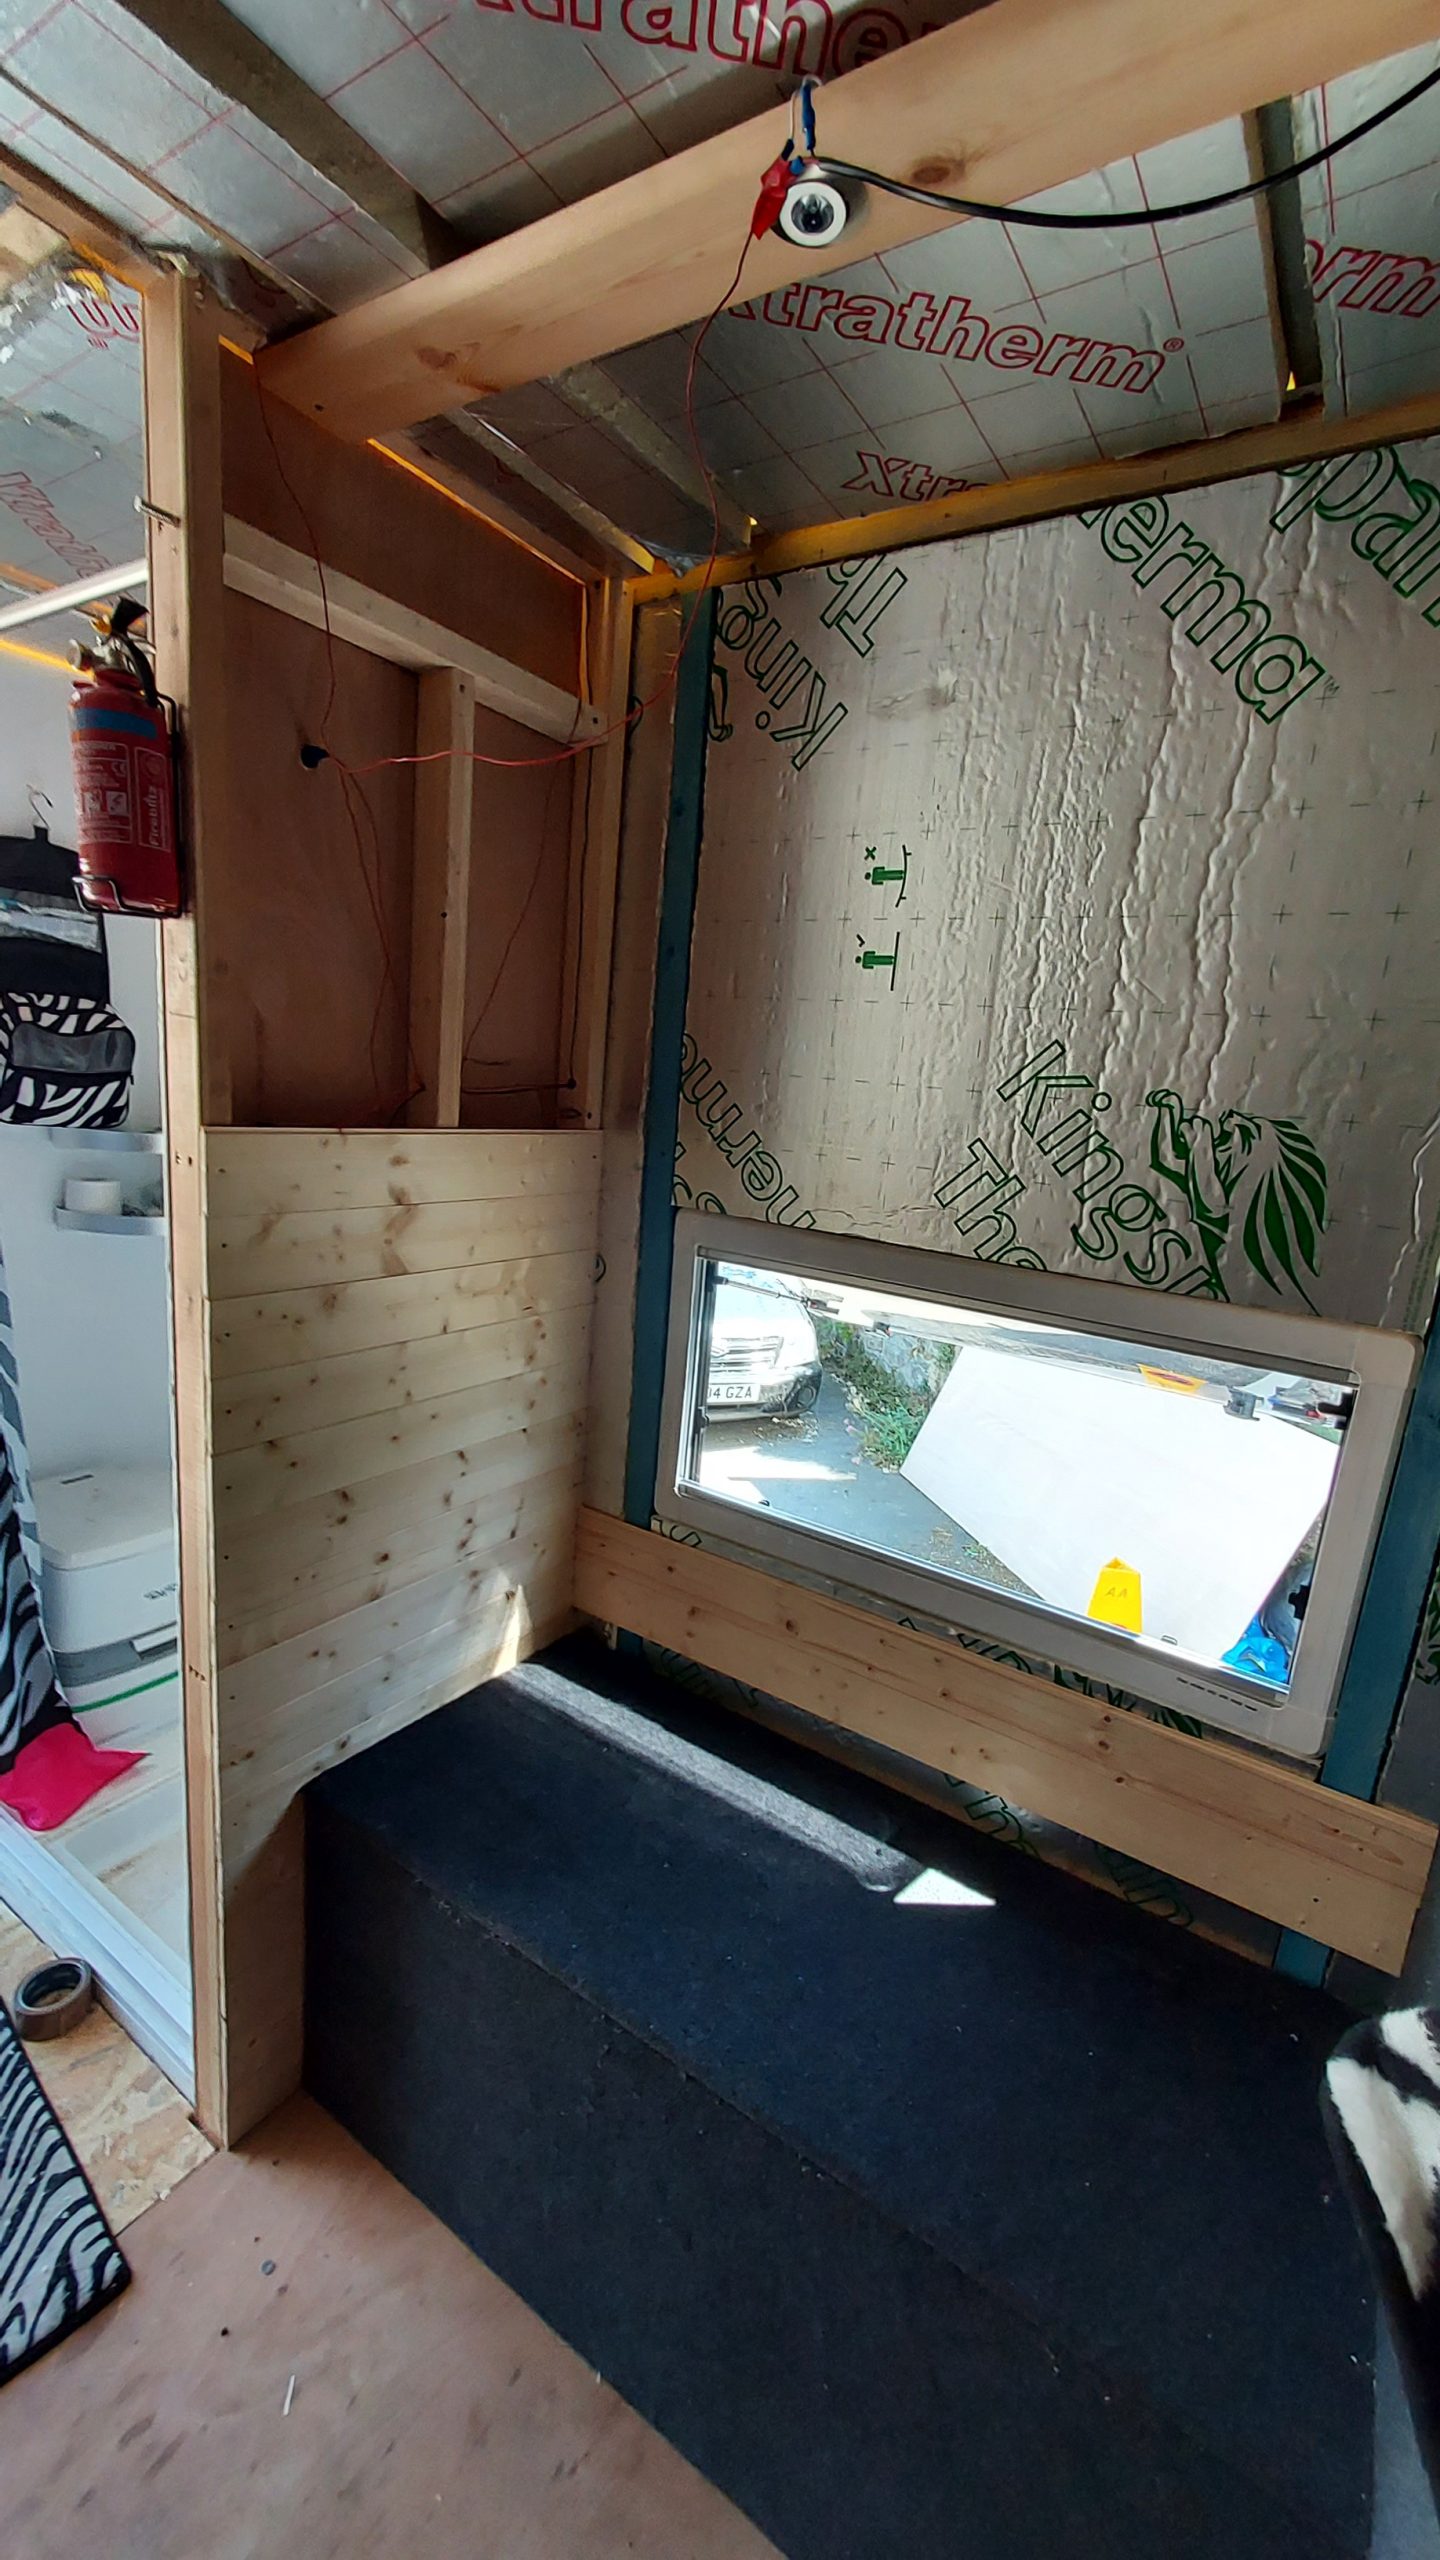
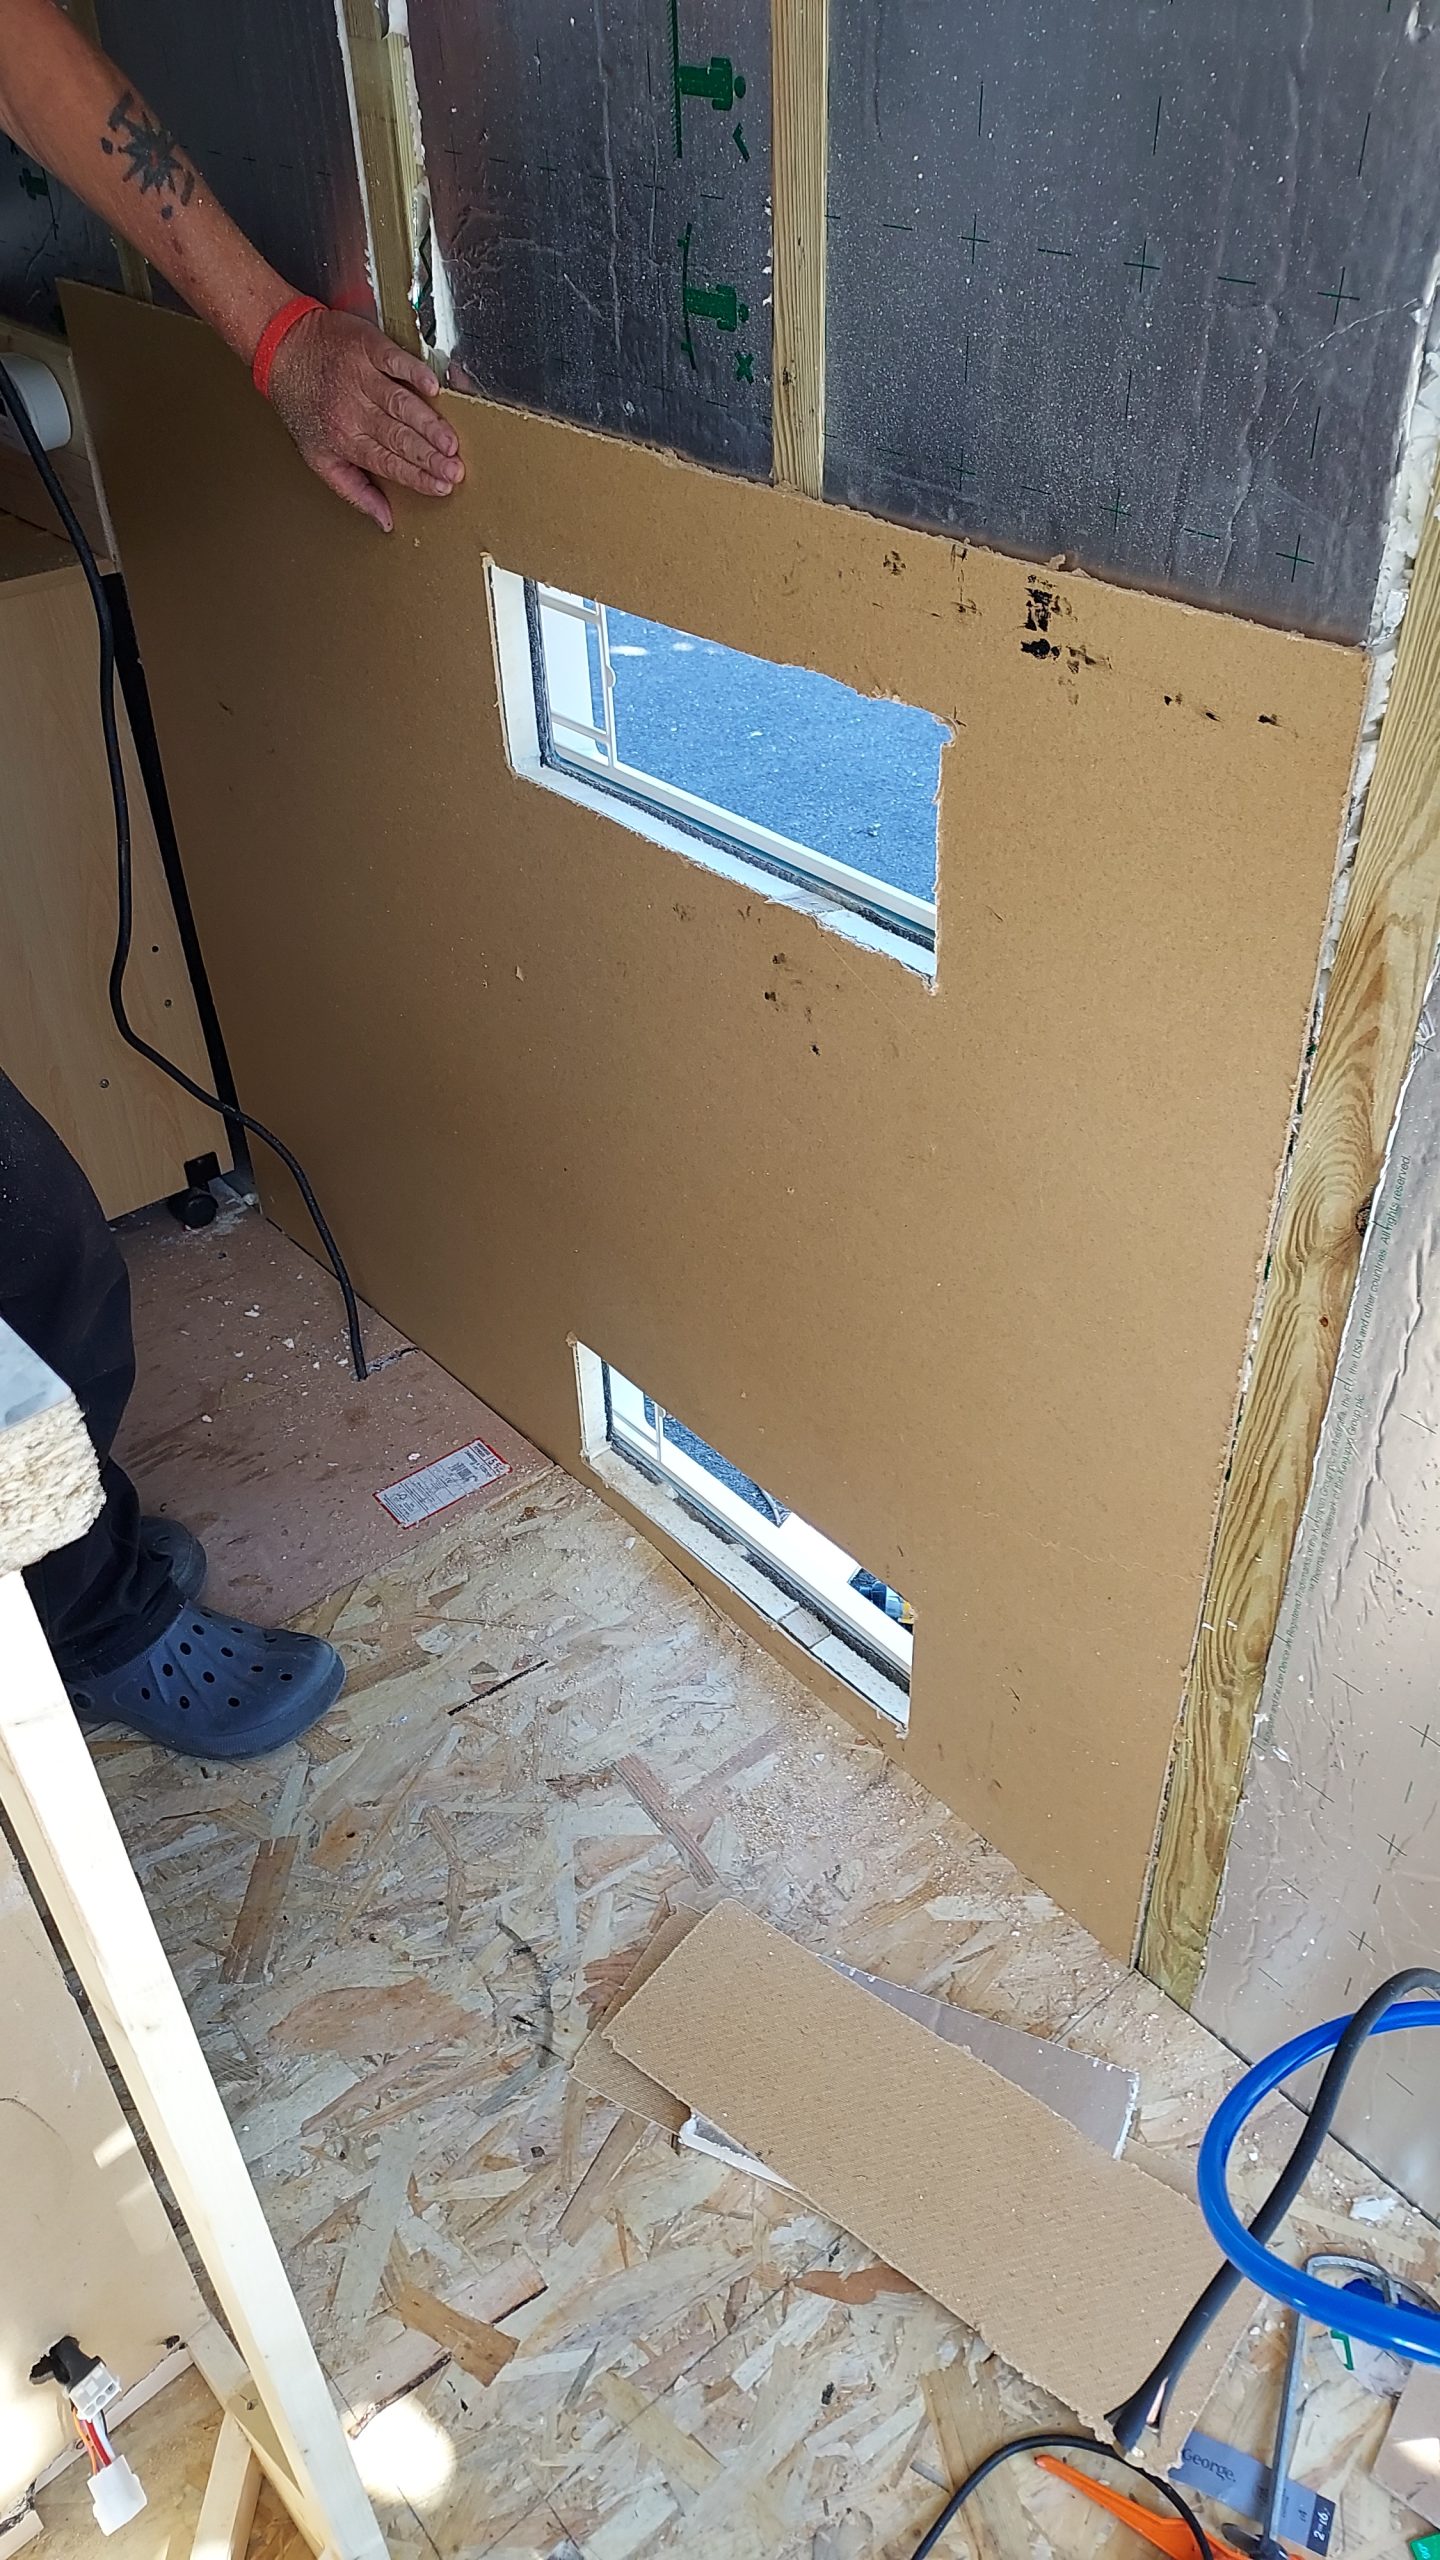
Window
Found the window I wanted online and measured up a template, drew this out so that it didn’t get batoned over.
Read More
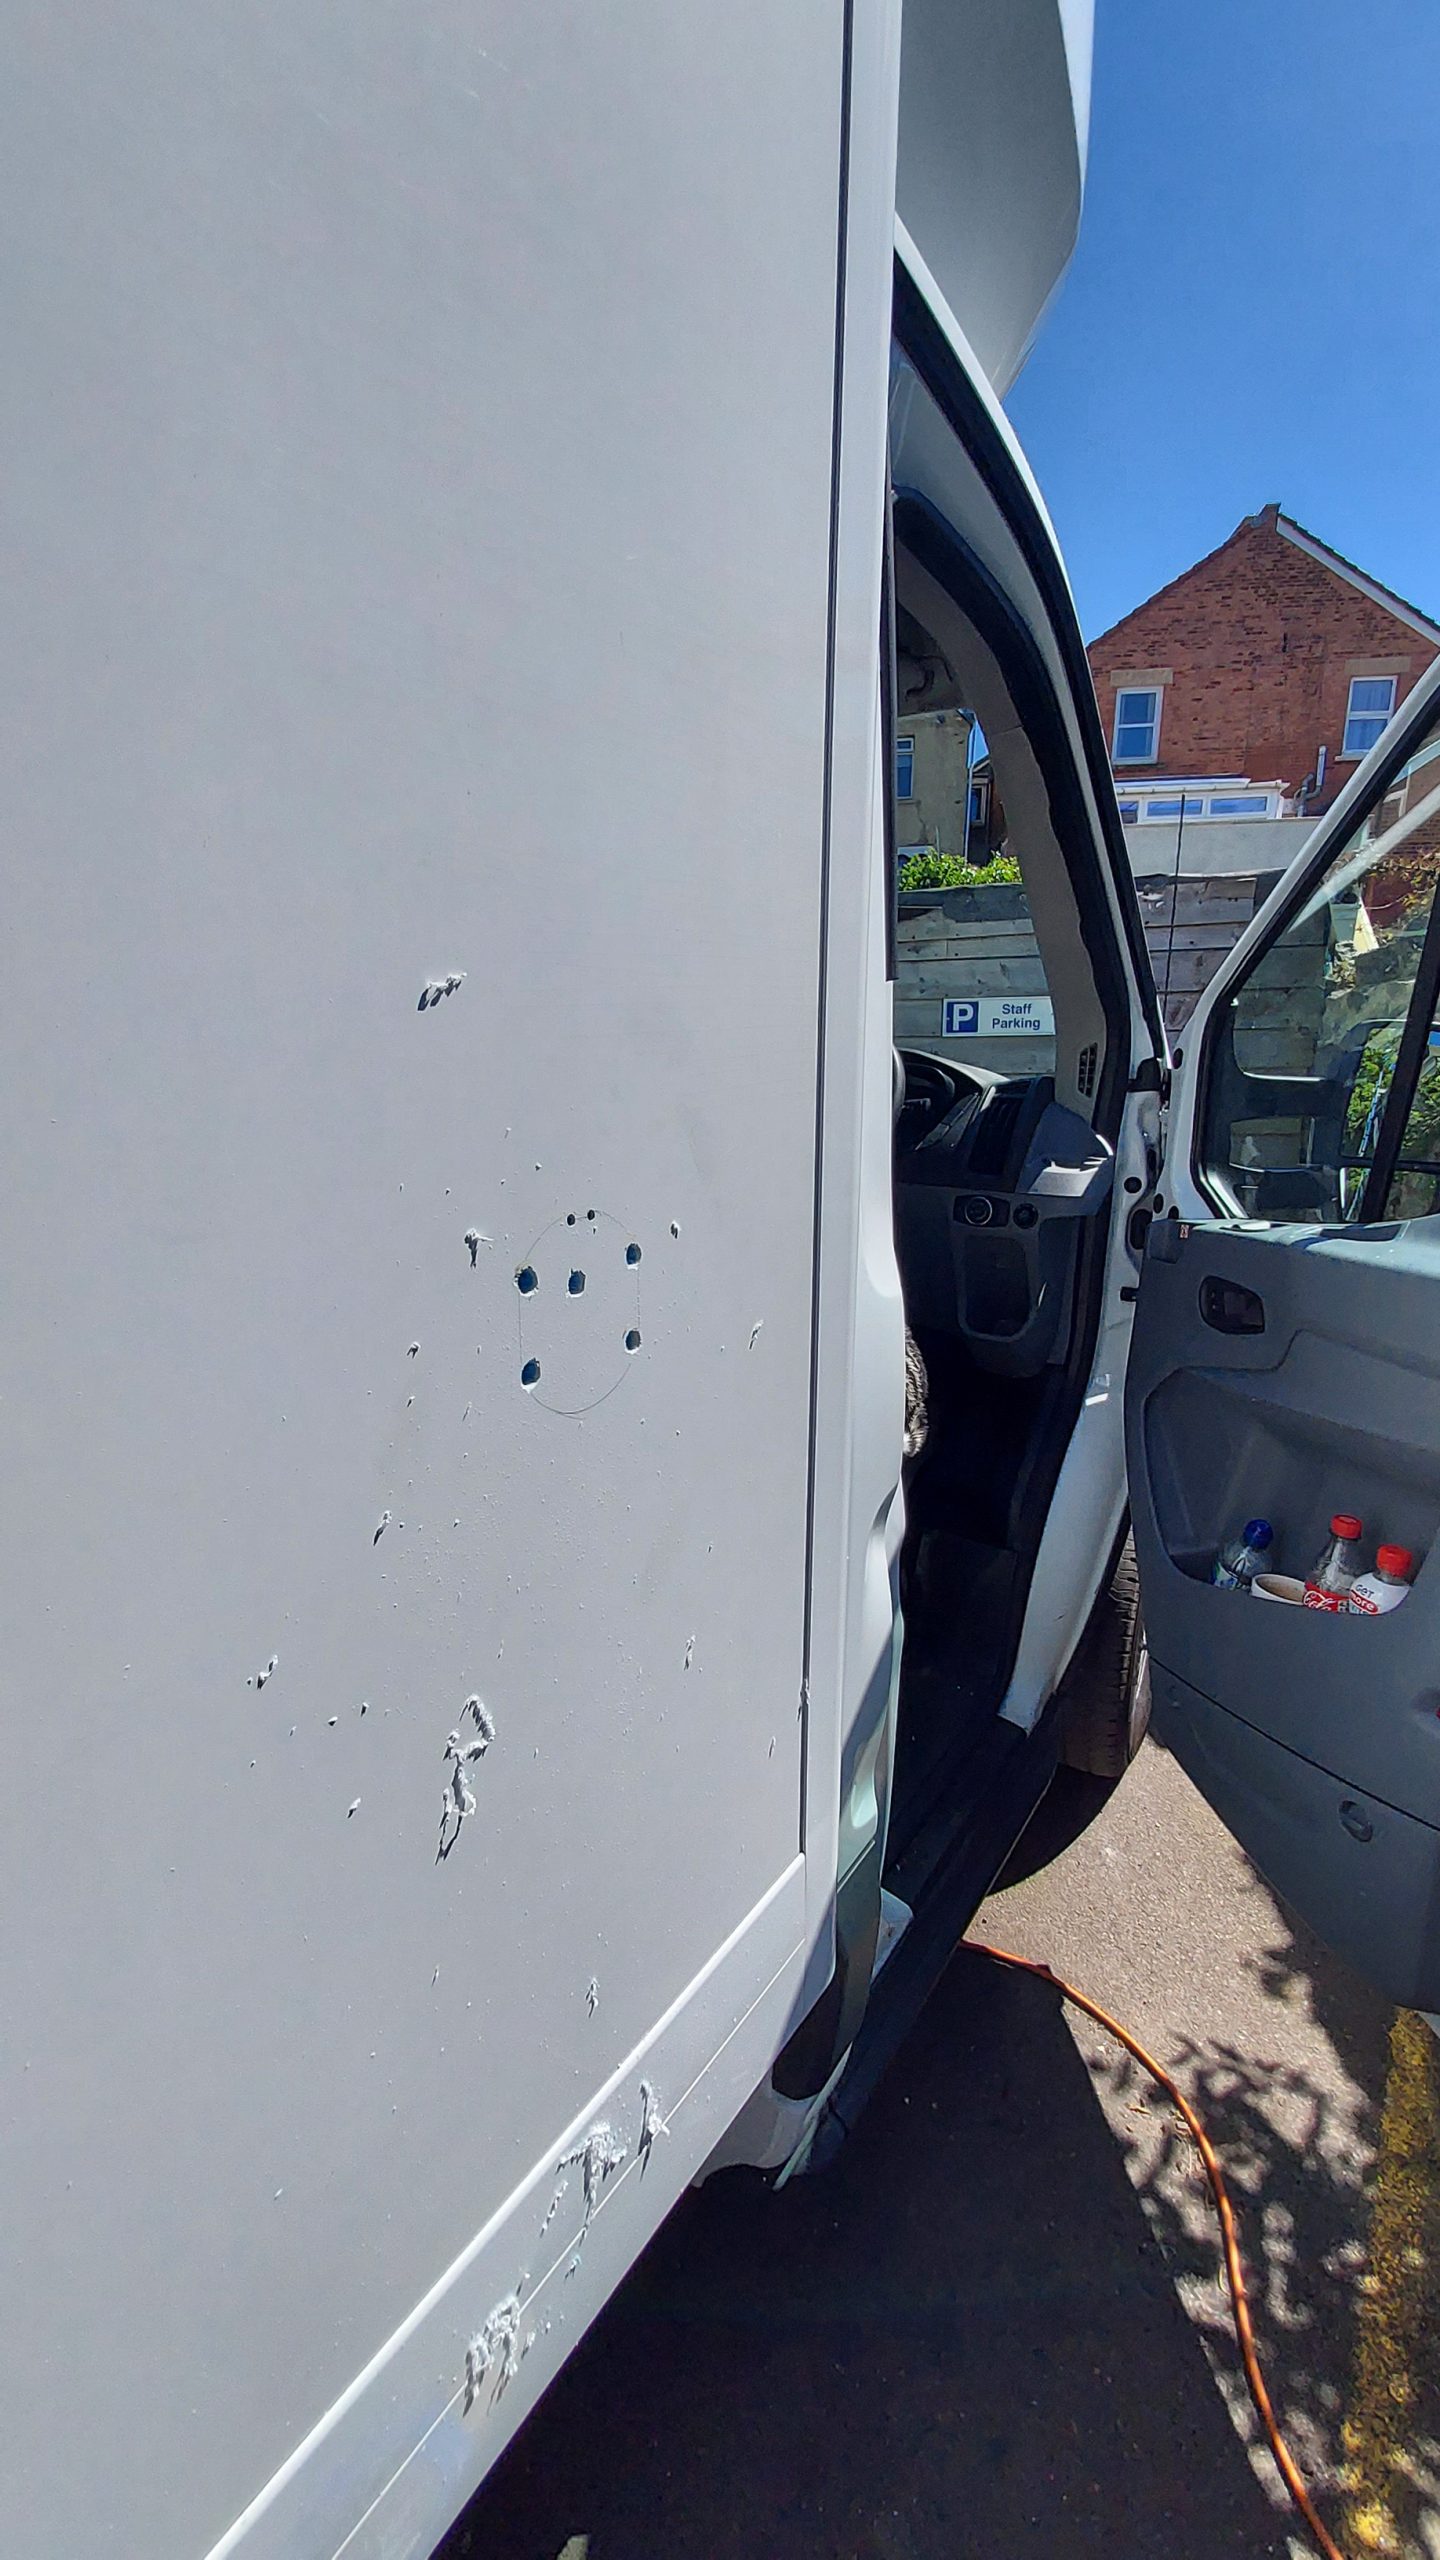
Curing rust
The box had already started to rust in the top corners, ground this back to metal, primed with anti-rust primer and matched Ford frozen white
Read More
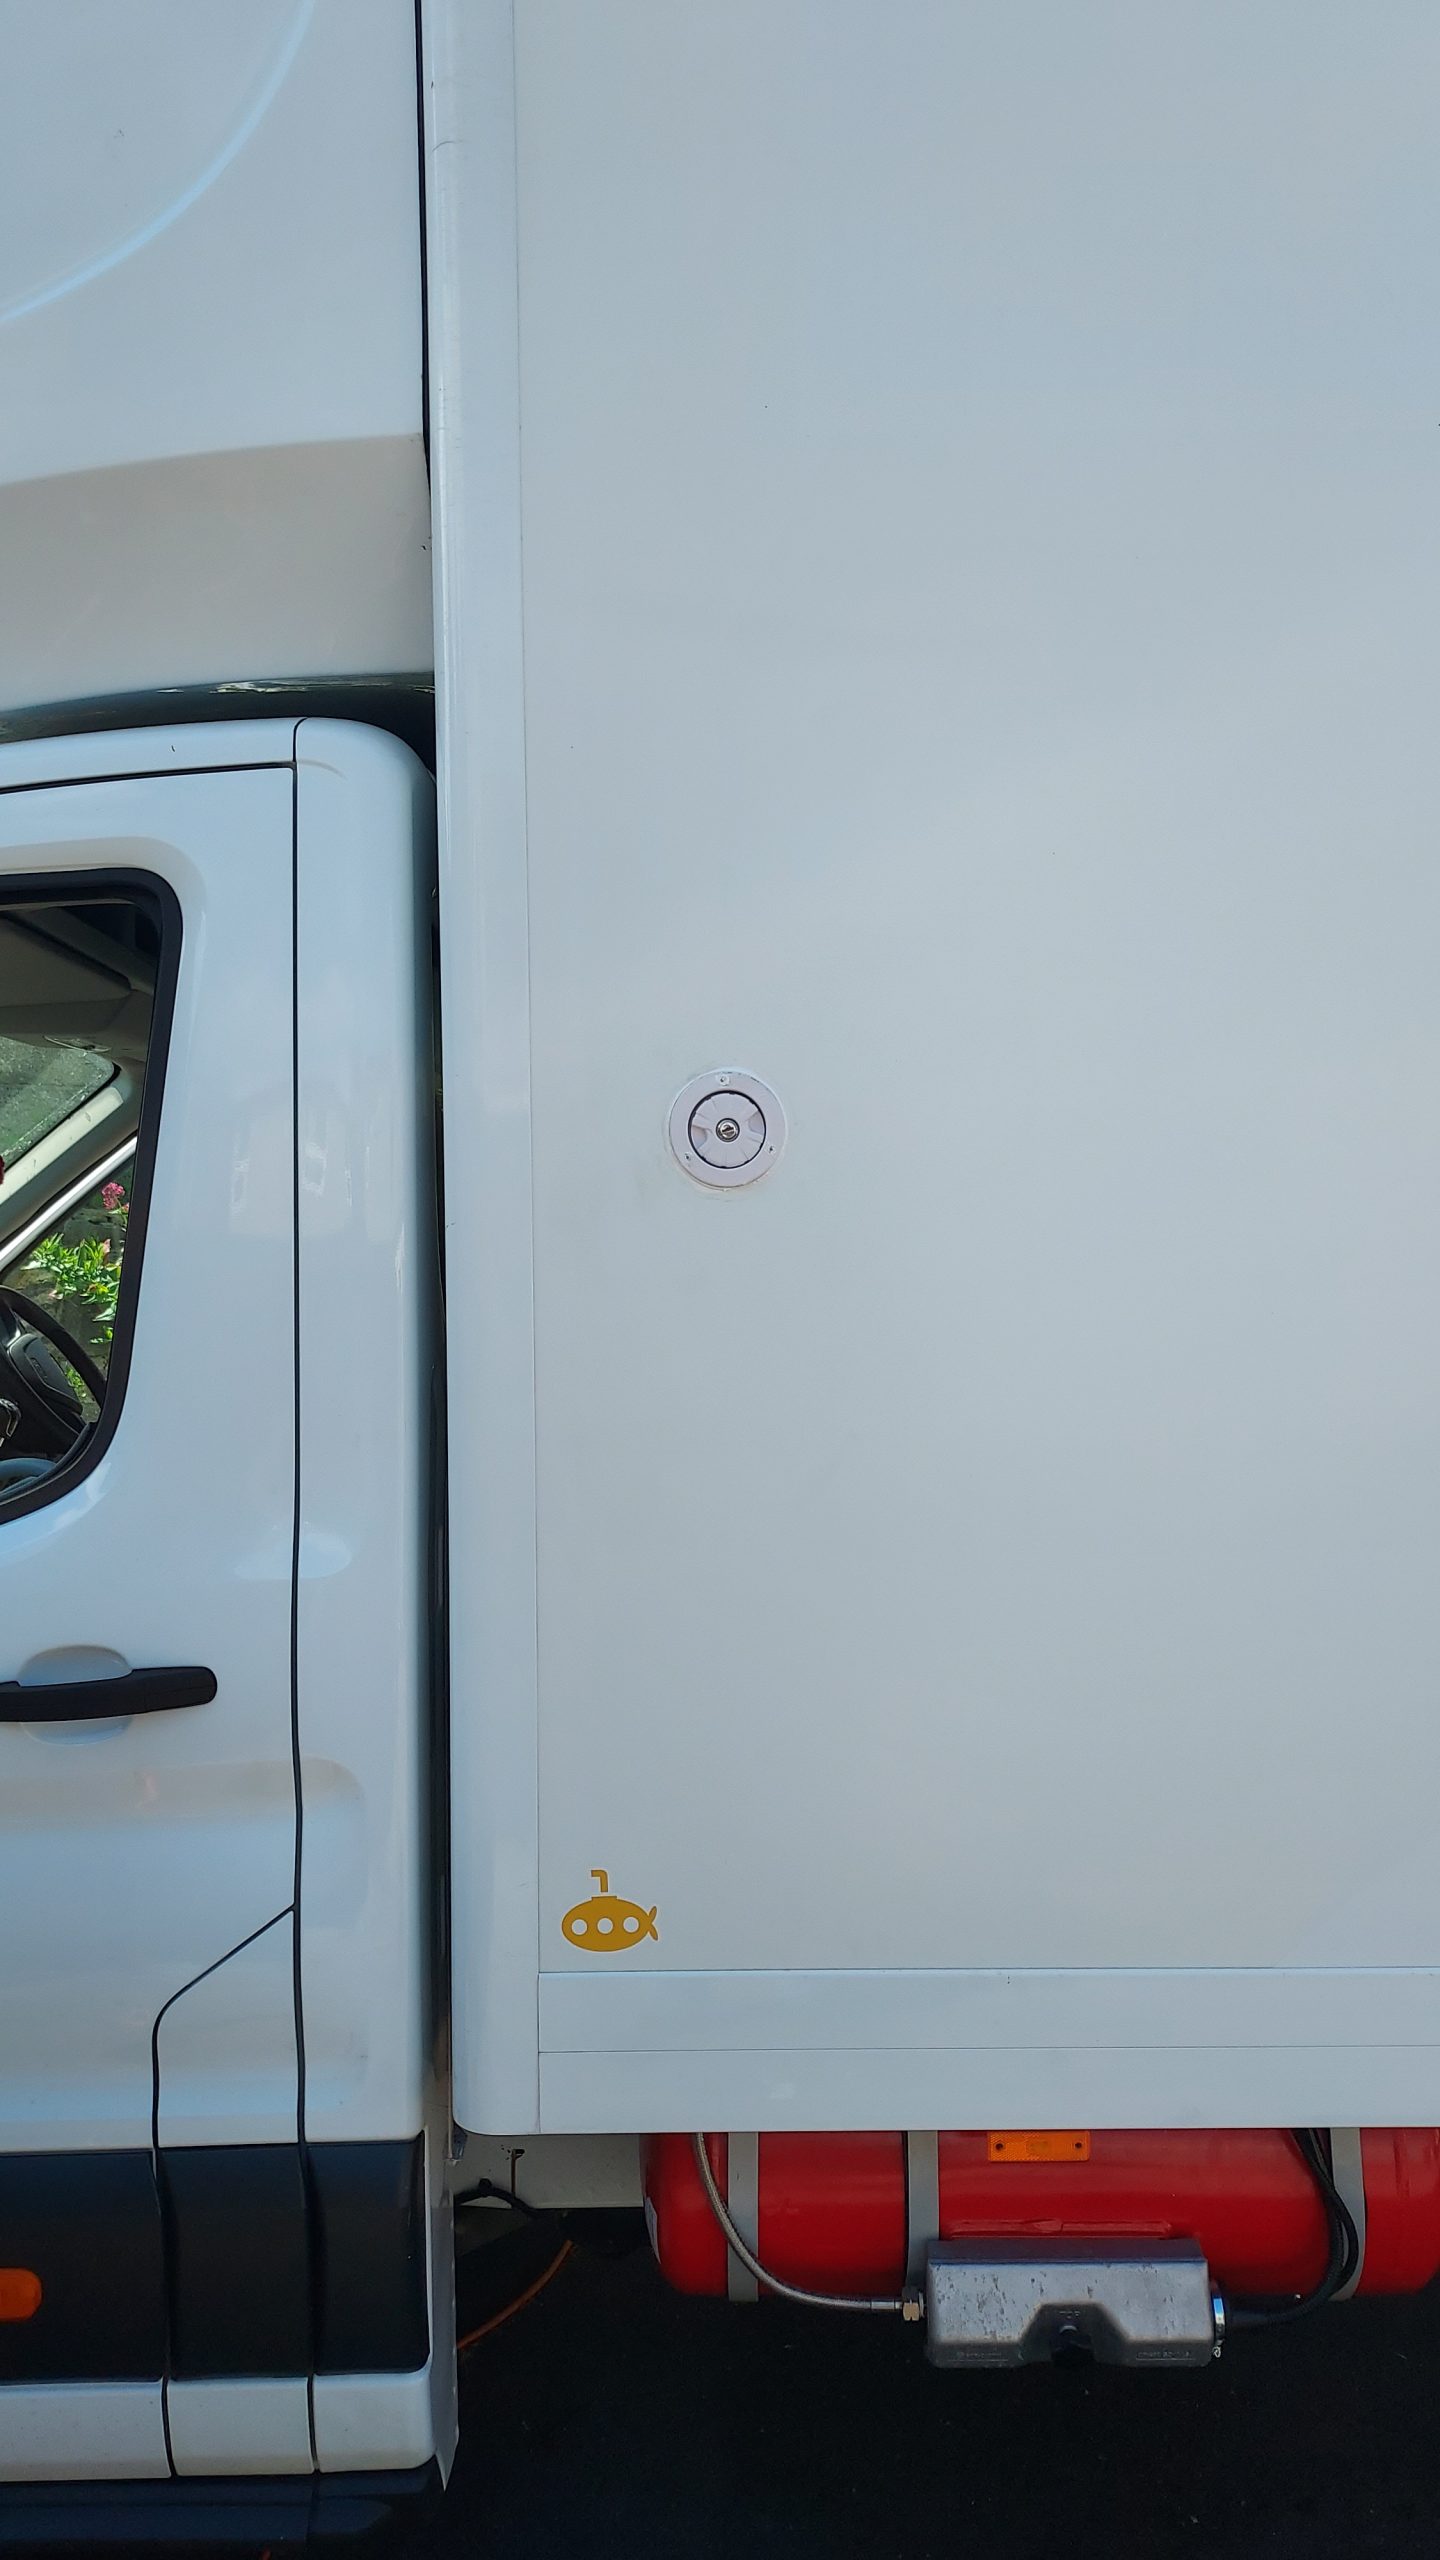
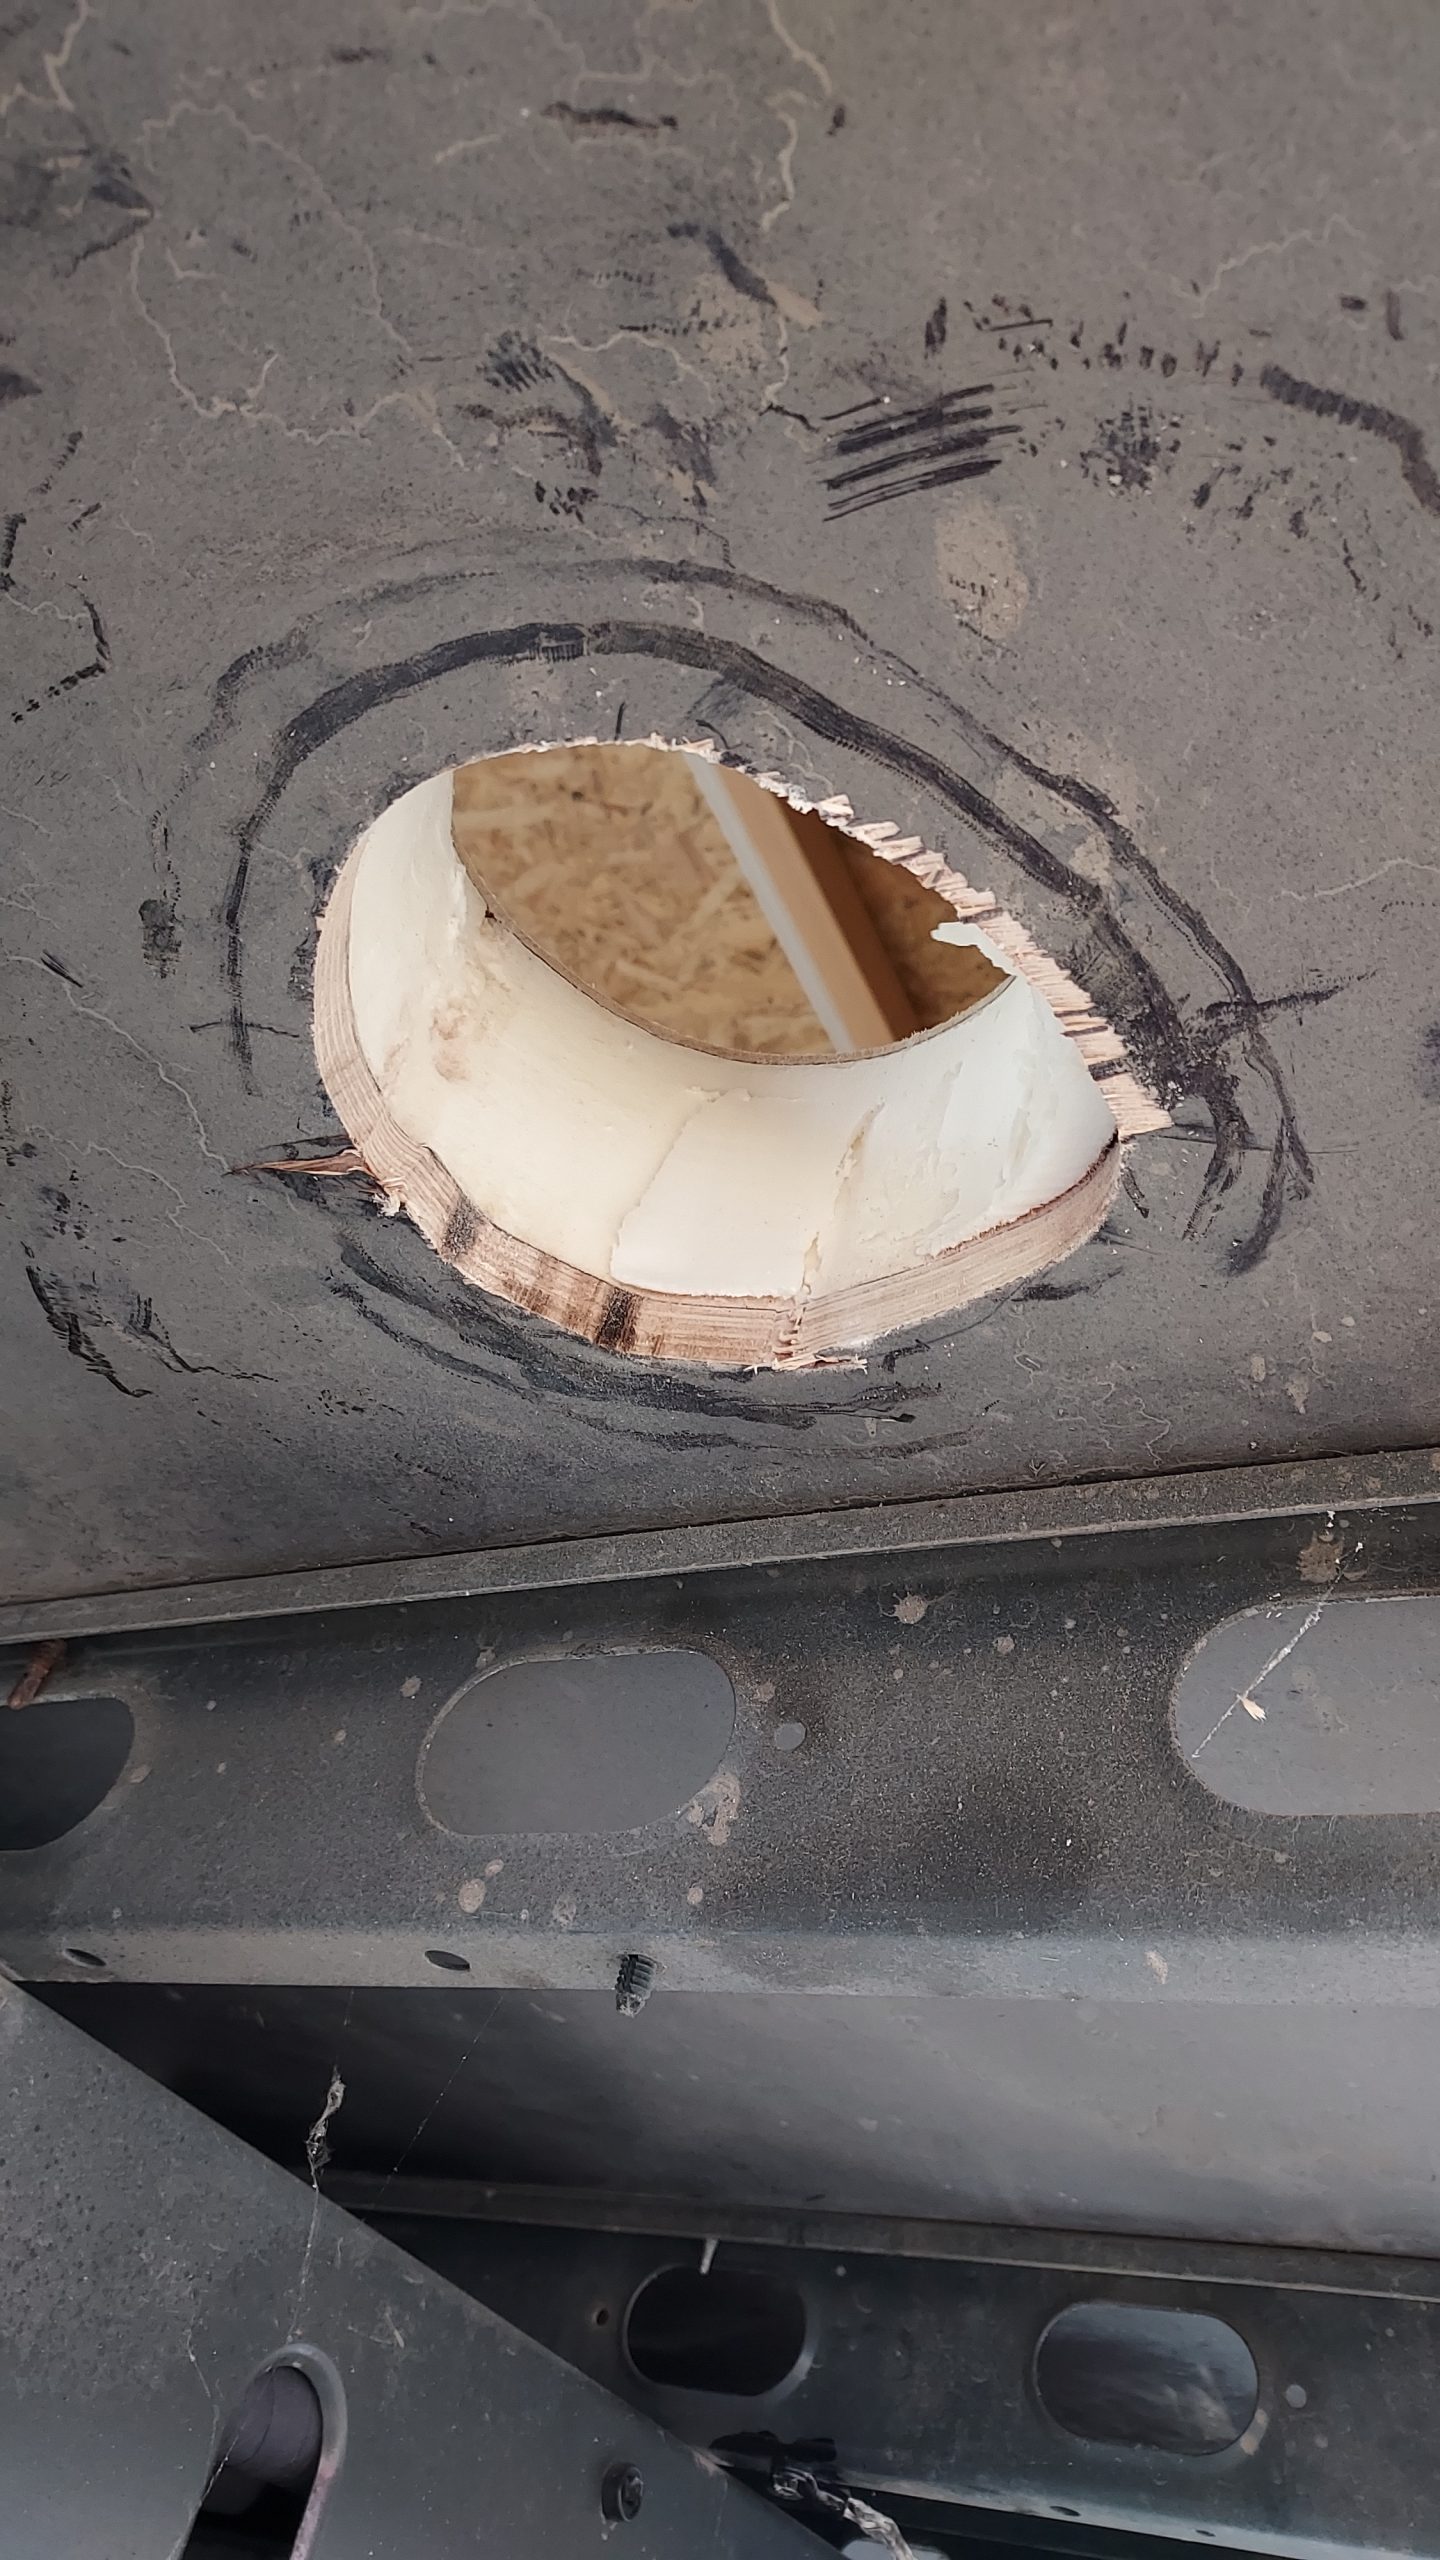
Fitting hookup socket
Drilling and jigsawing through the Luton box’s GRP to fit the 240v hookup socket.
Read More


Consumer unit
Wiring the consumer unit up to the hookup socket (work in progress – do not copy this!).
Read More

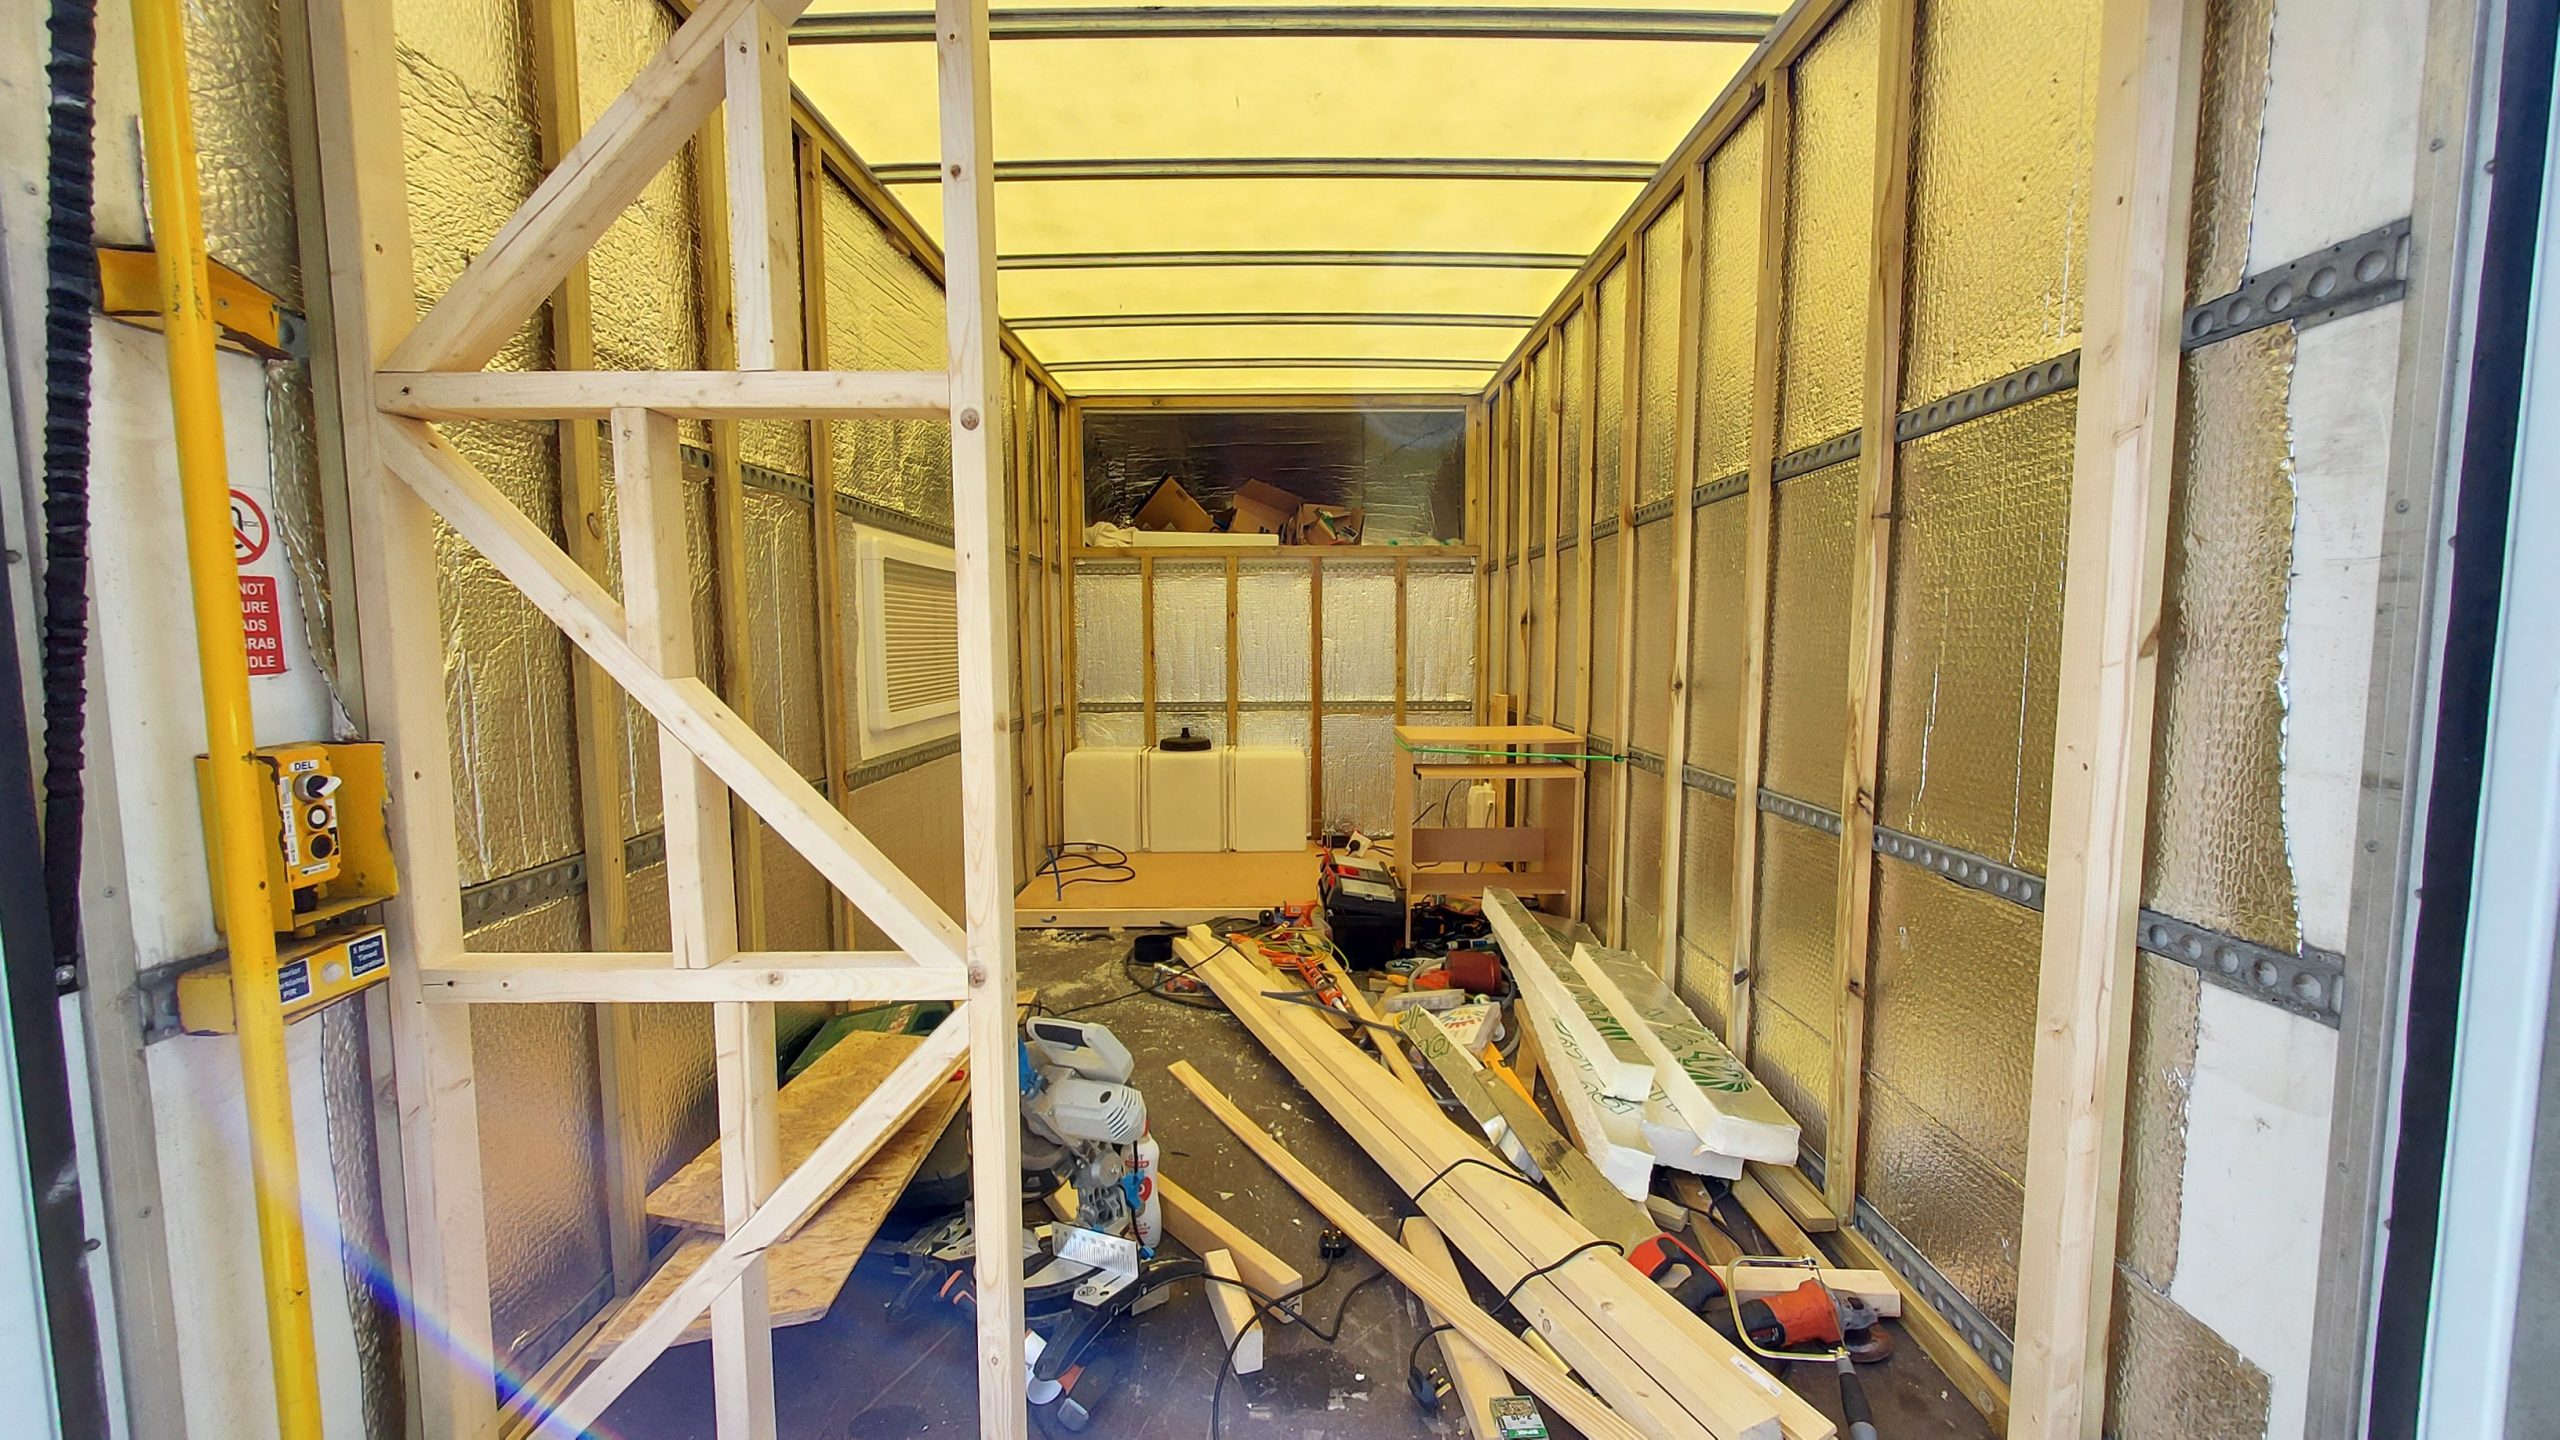
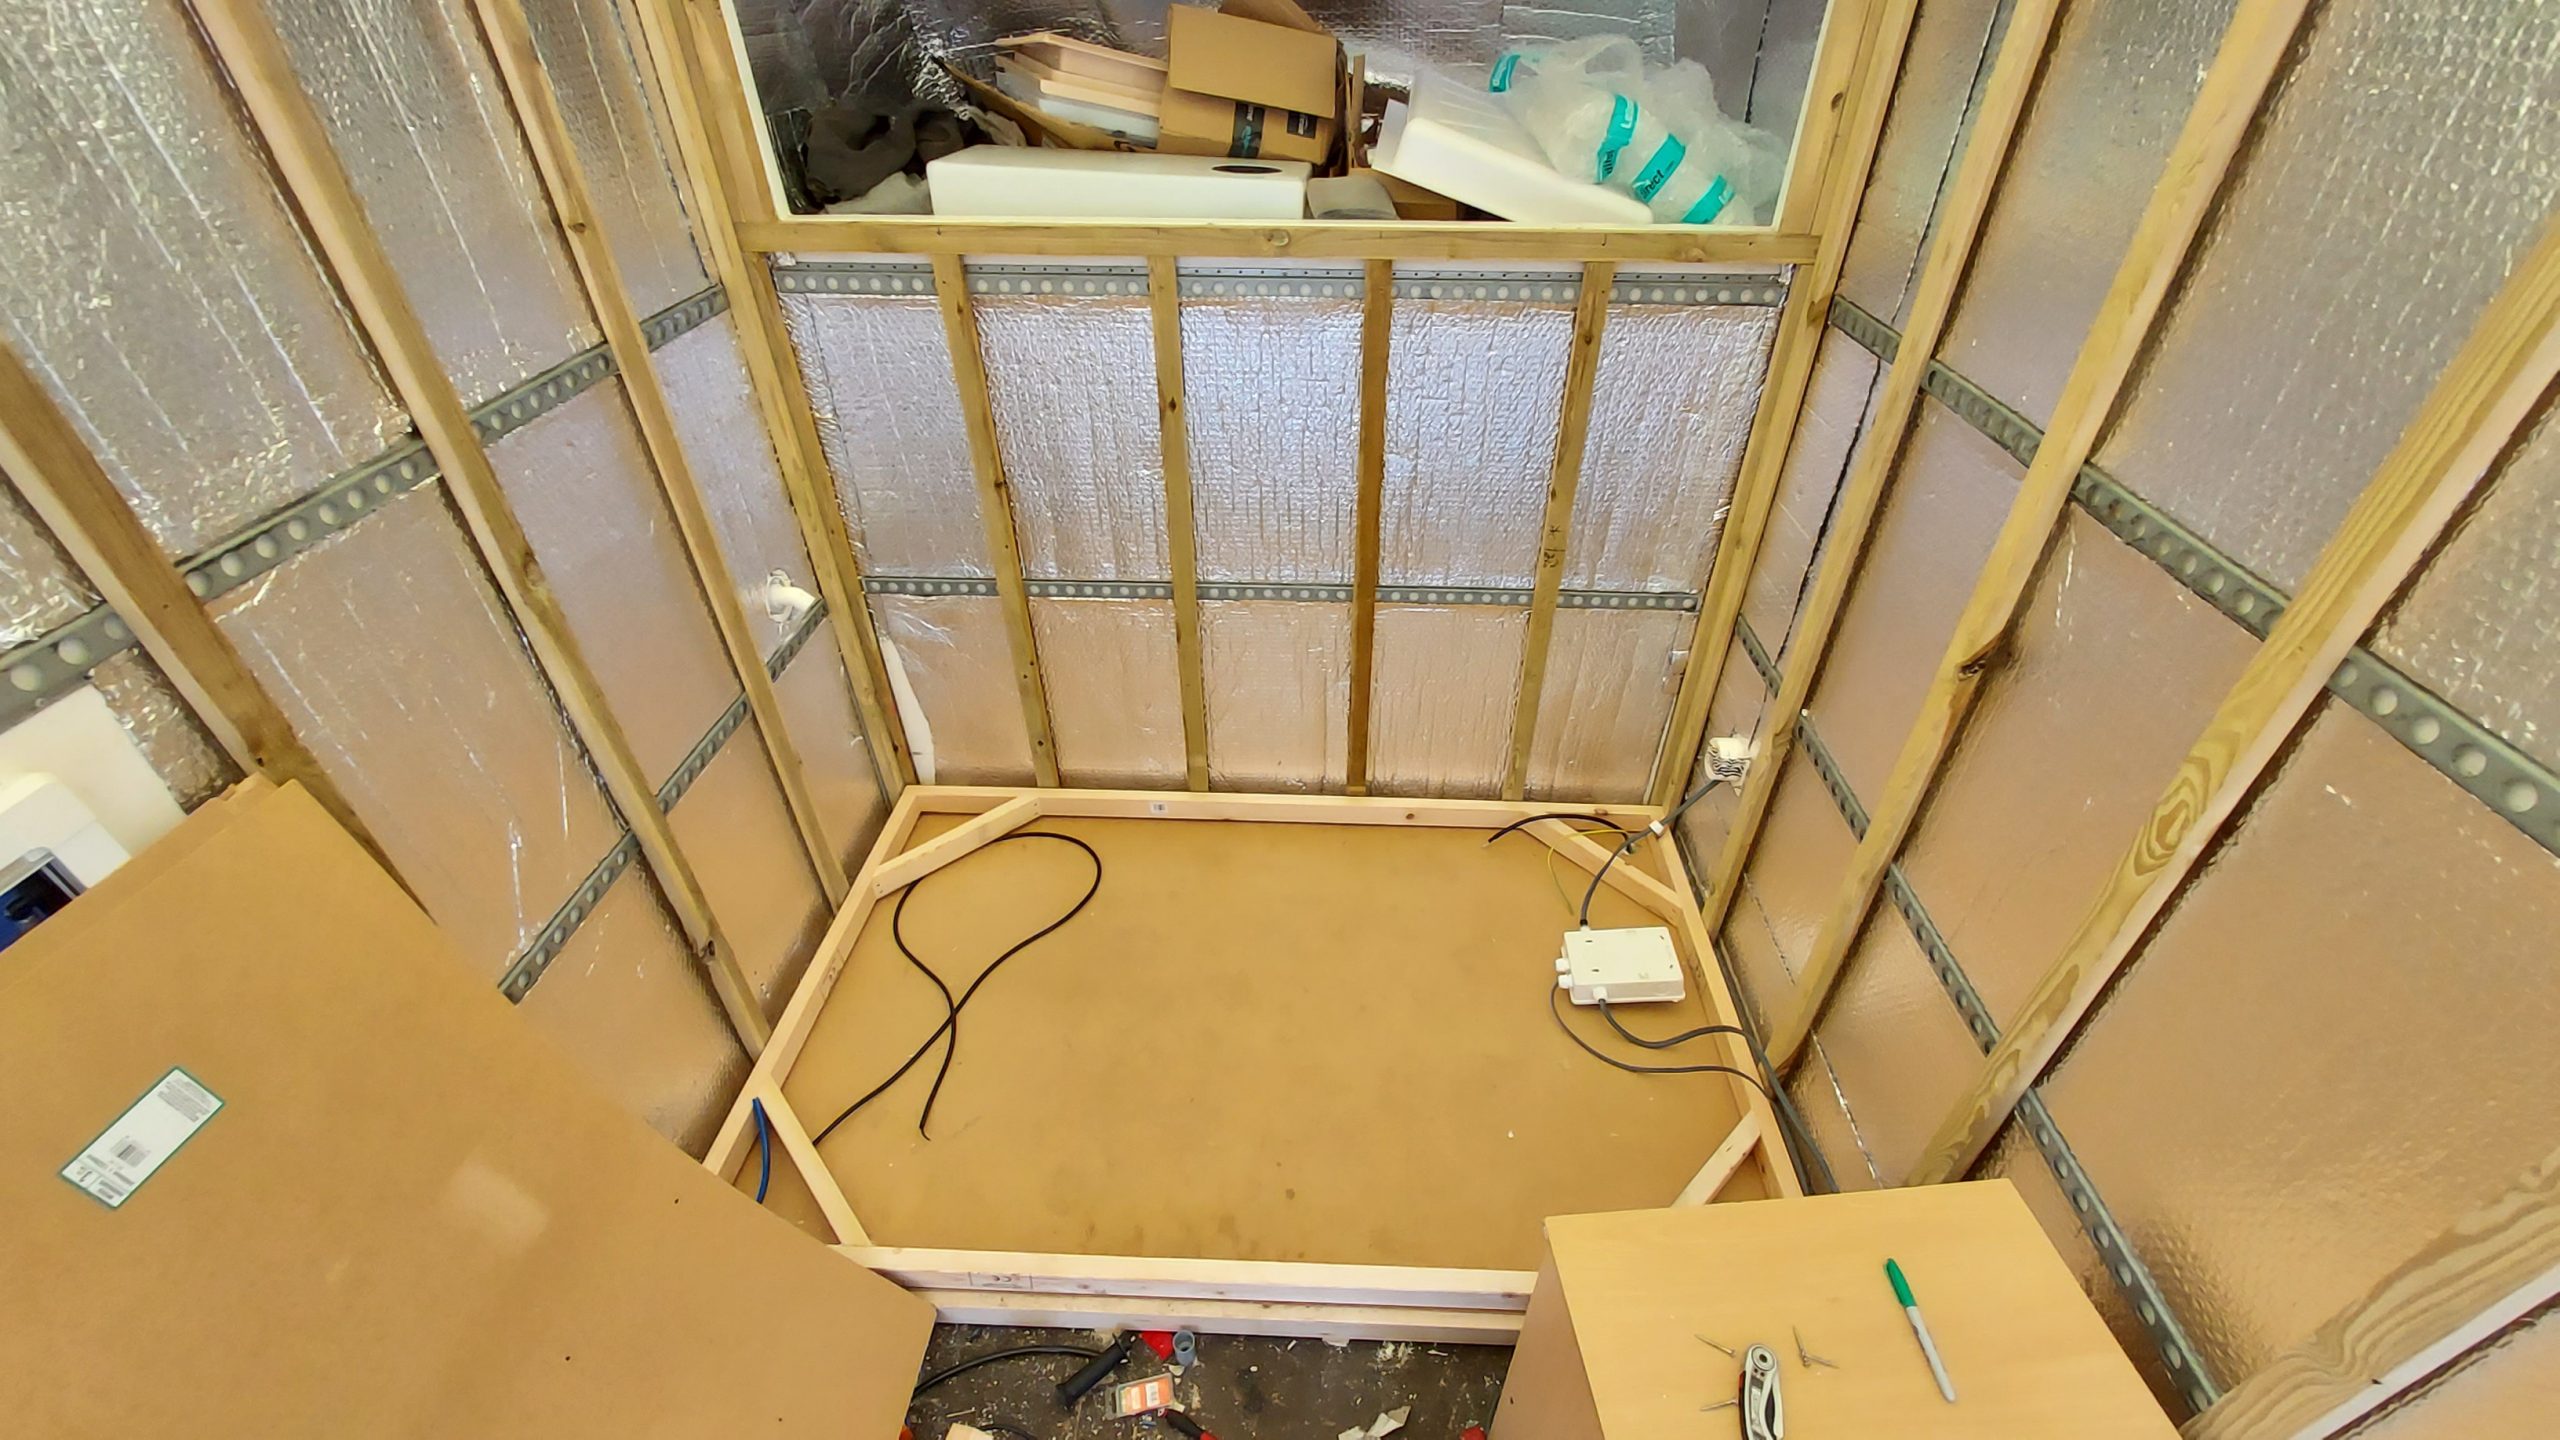
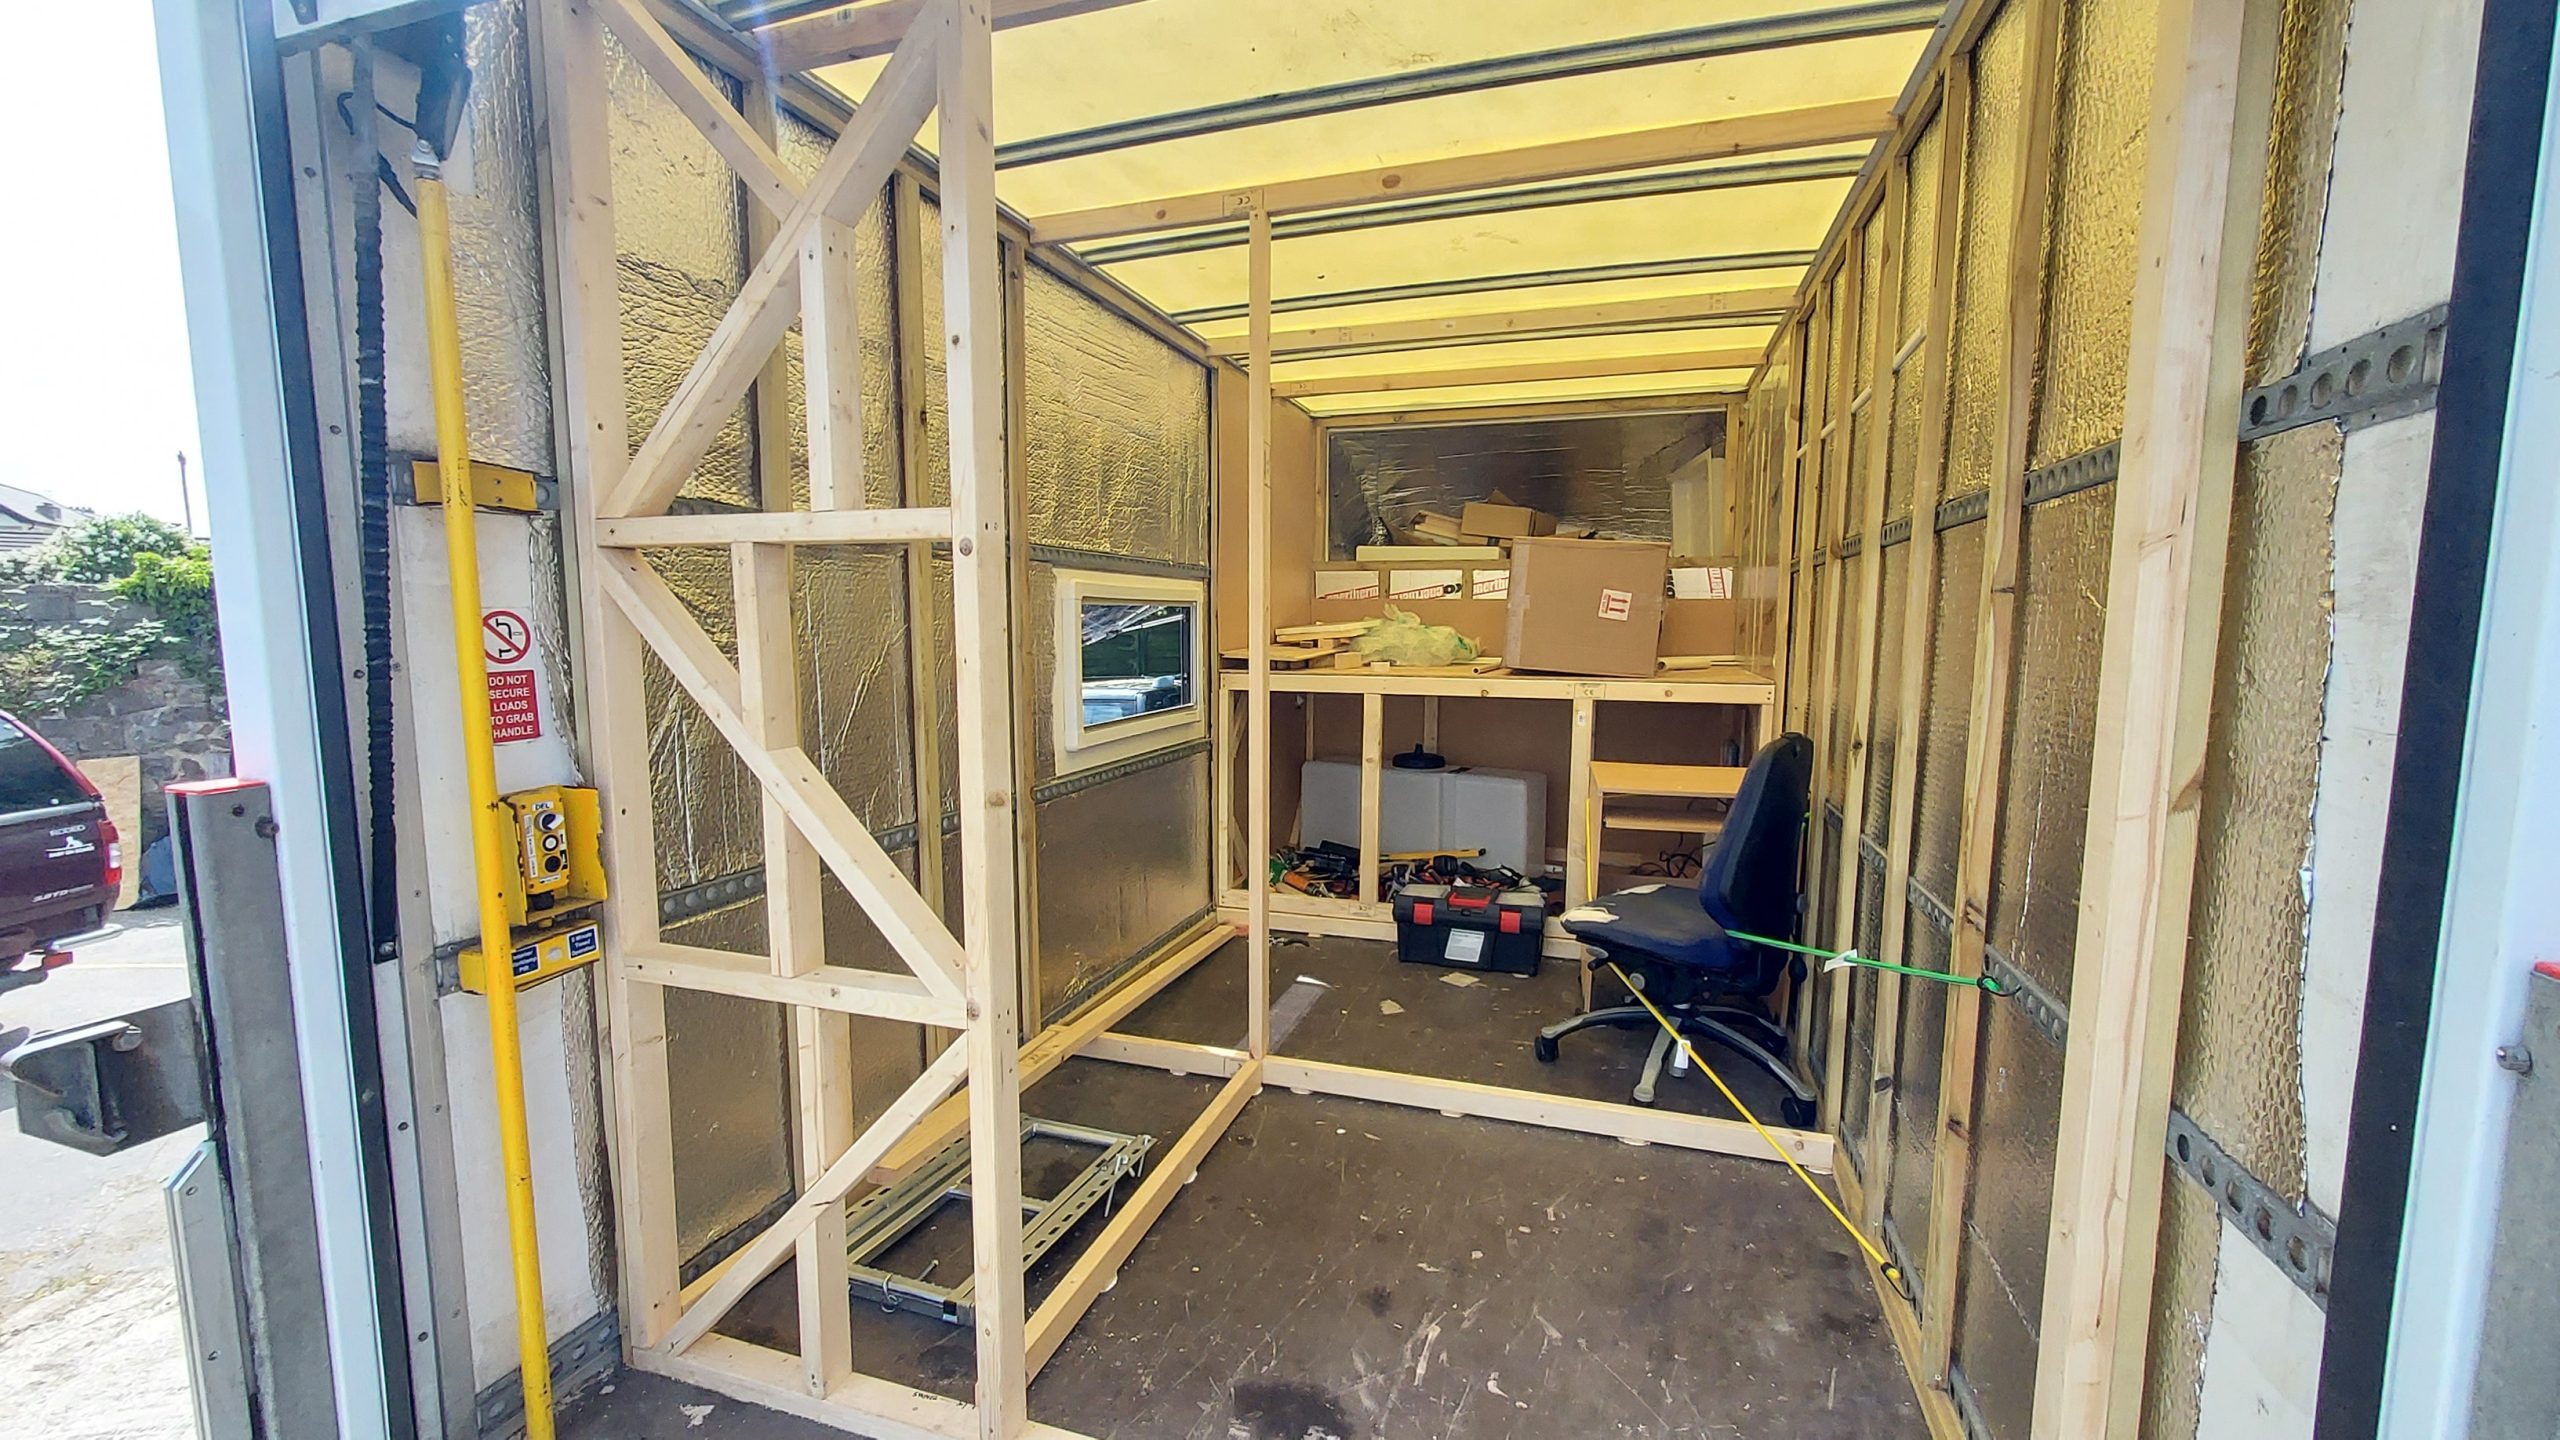
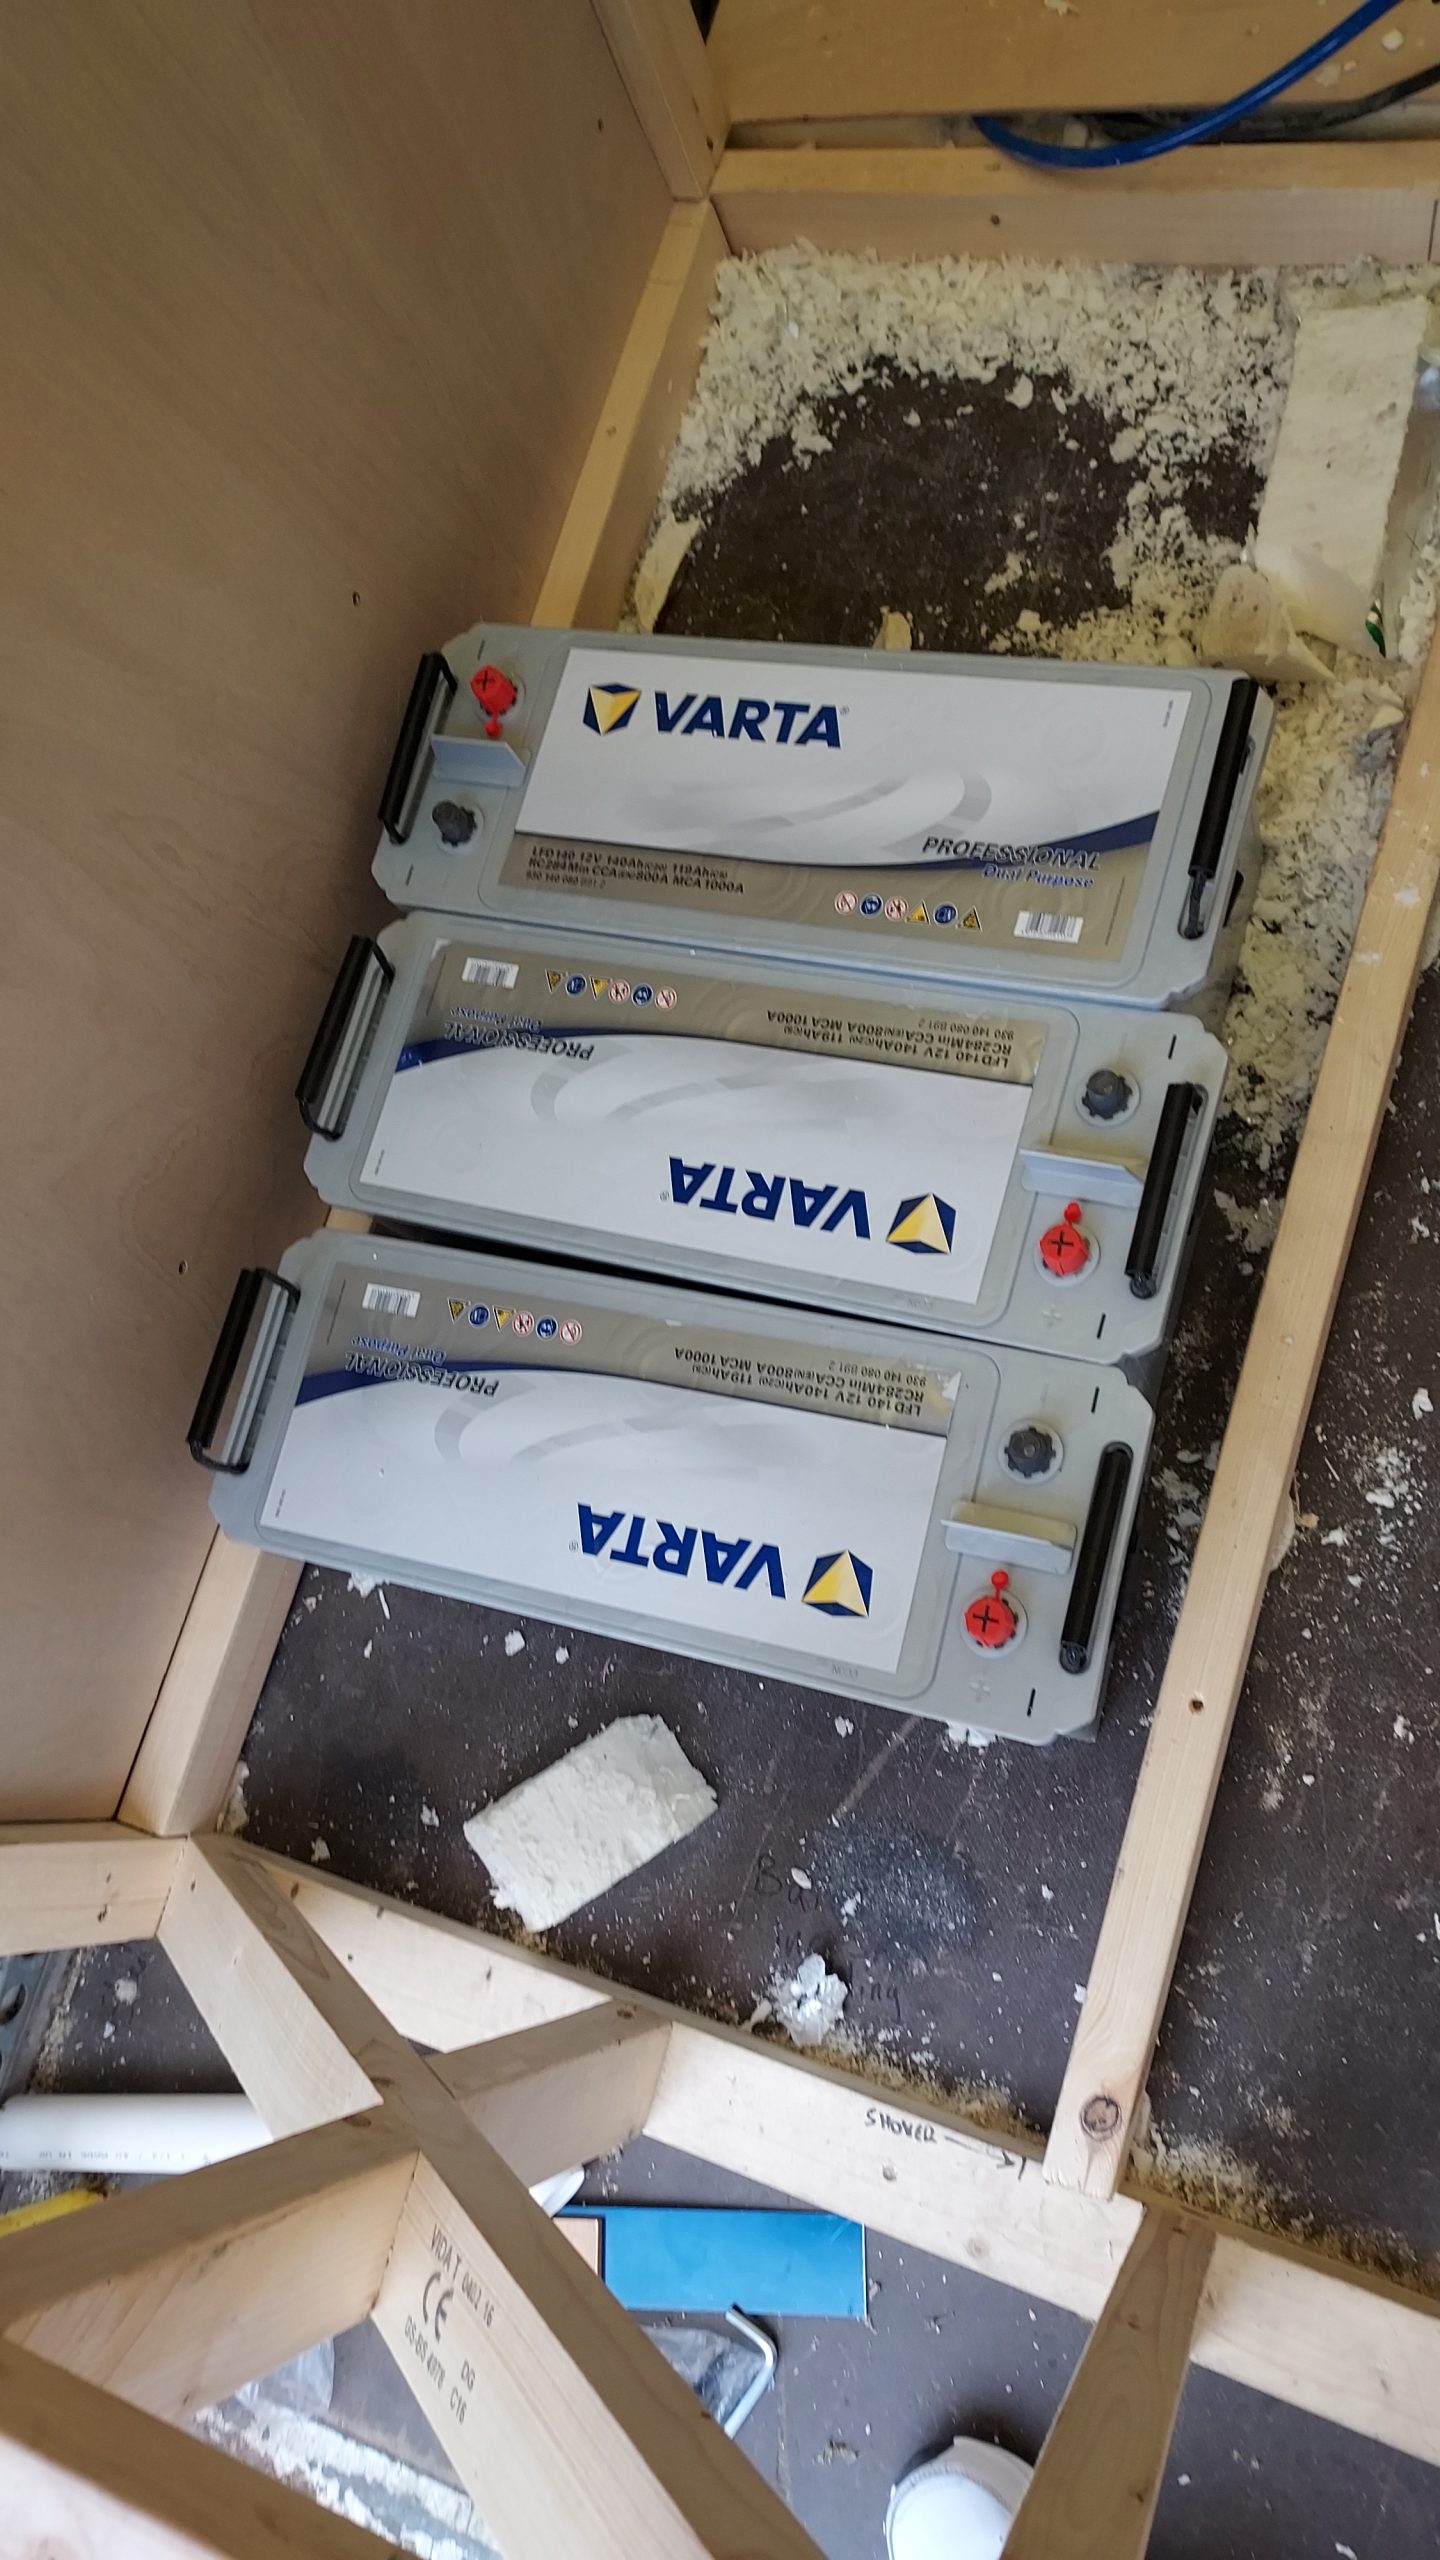
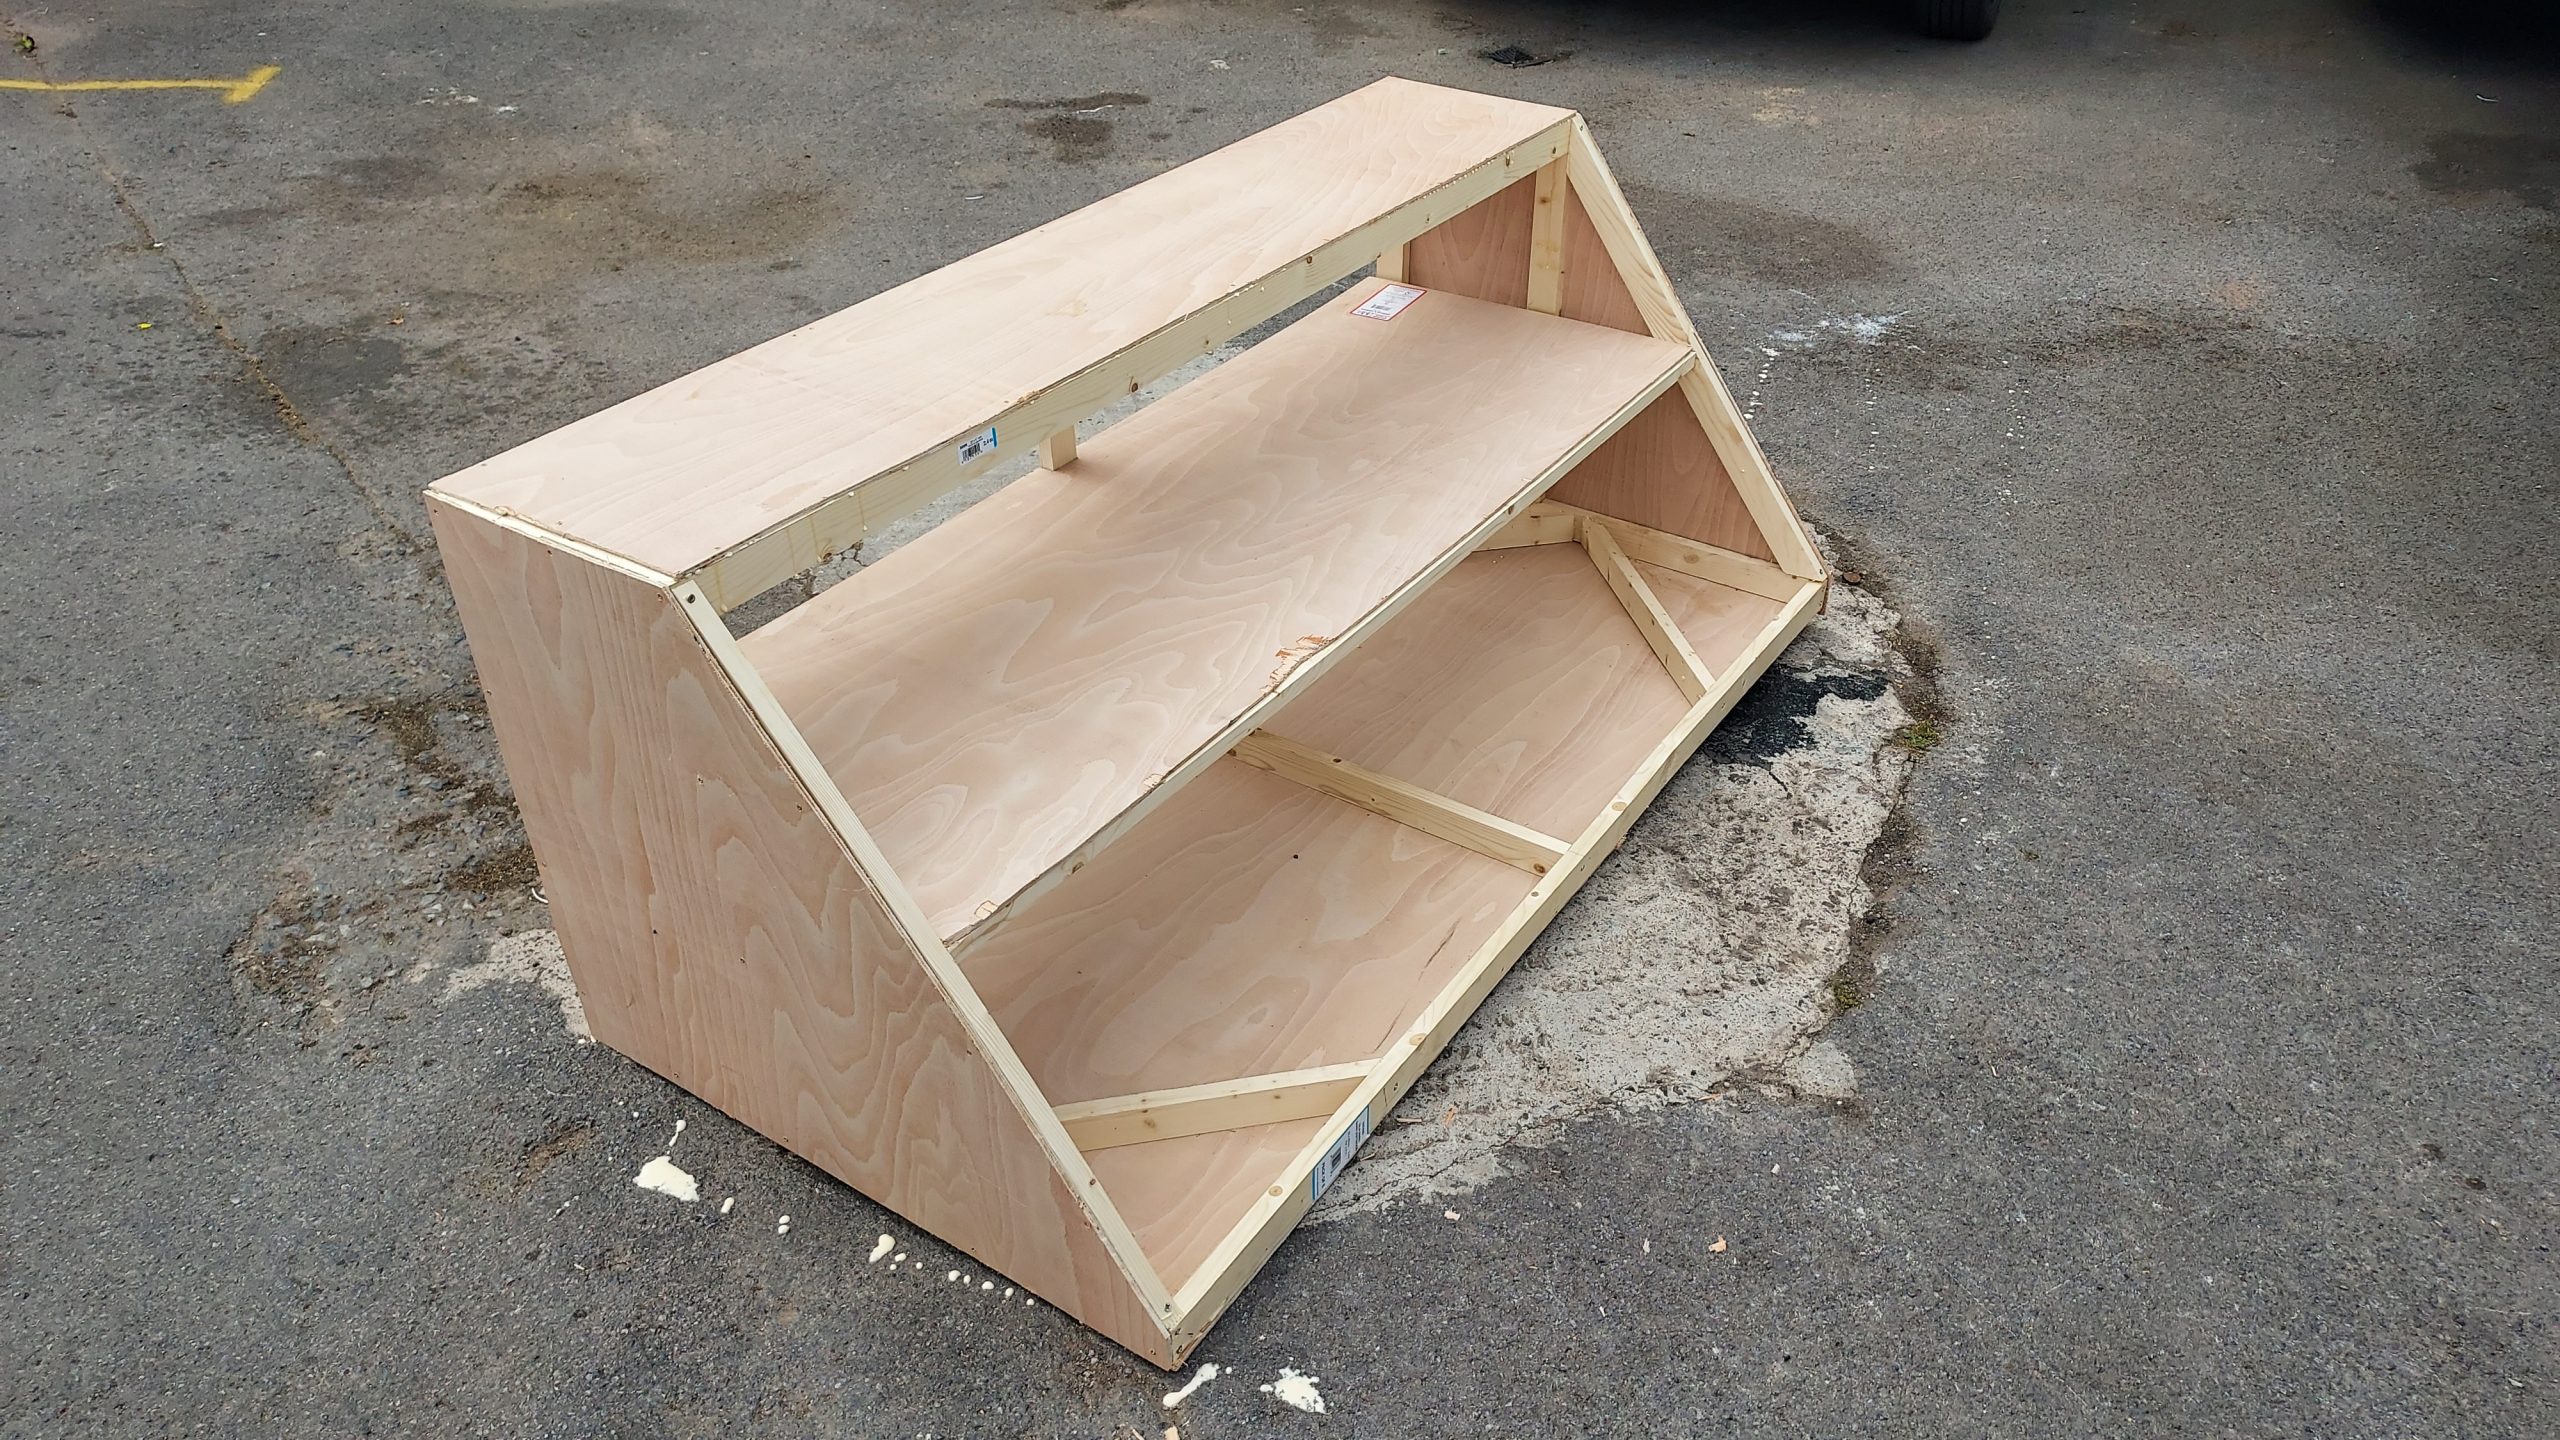
Starting the bed box
Laying the CLS to support the water tank and batteries, laying down the floor insulation for underneath the bed box.
Read More

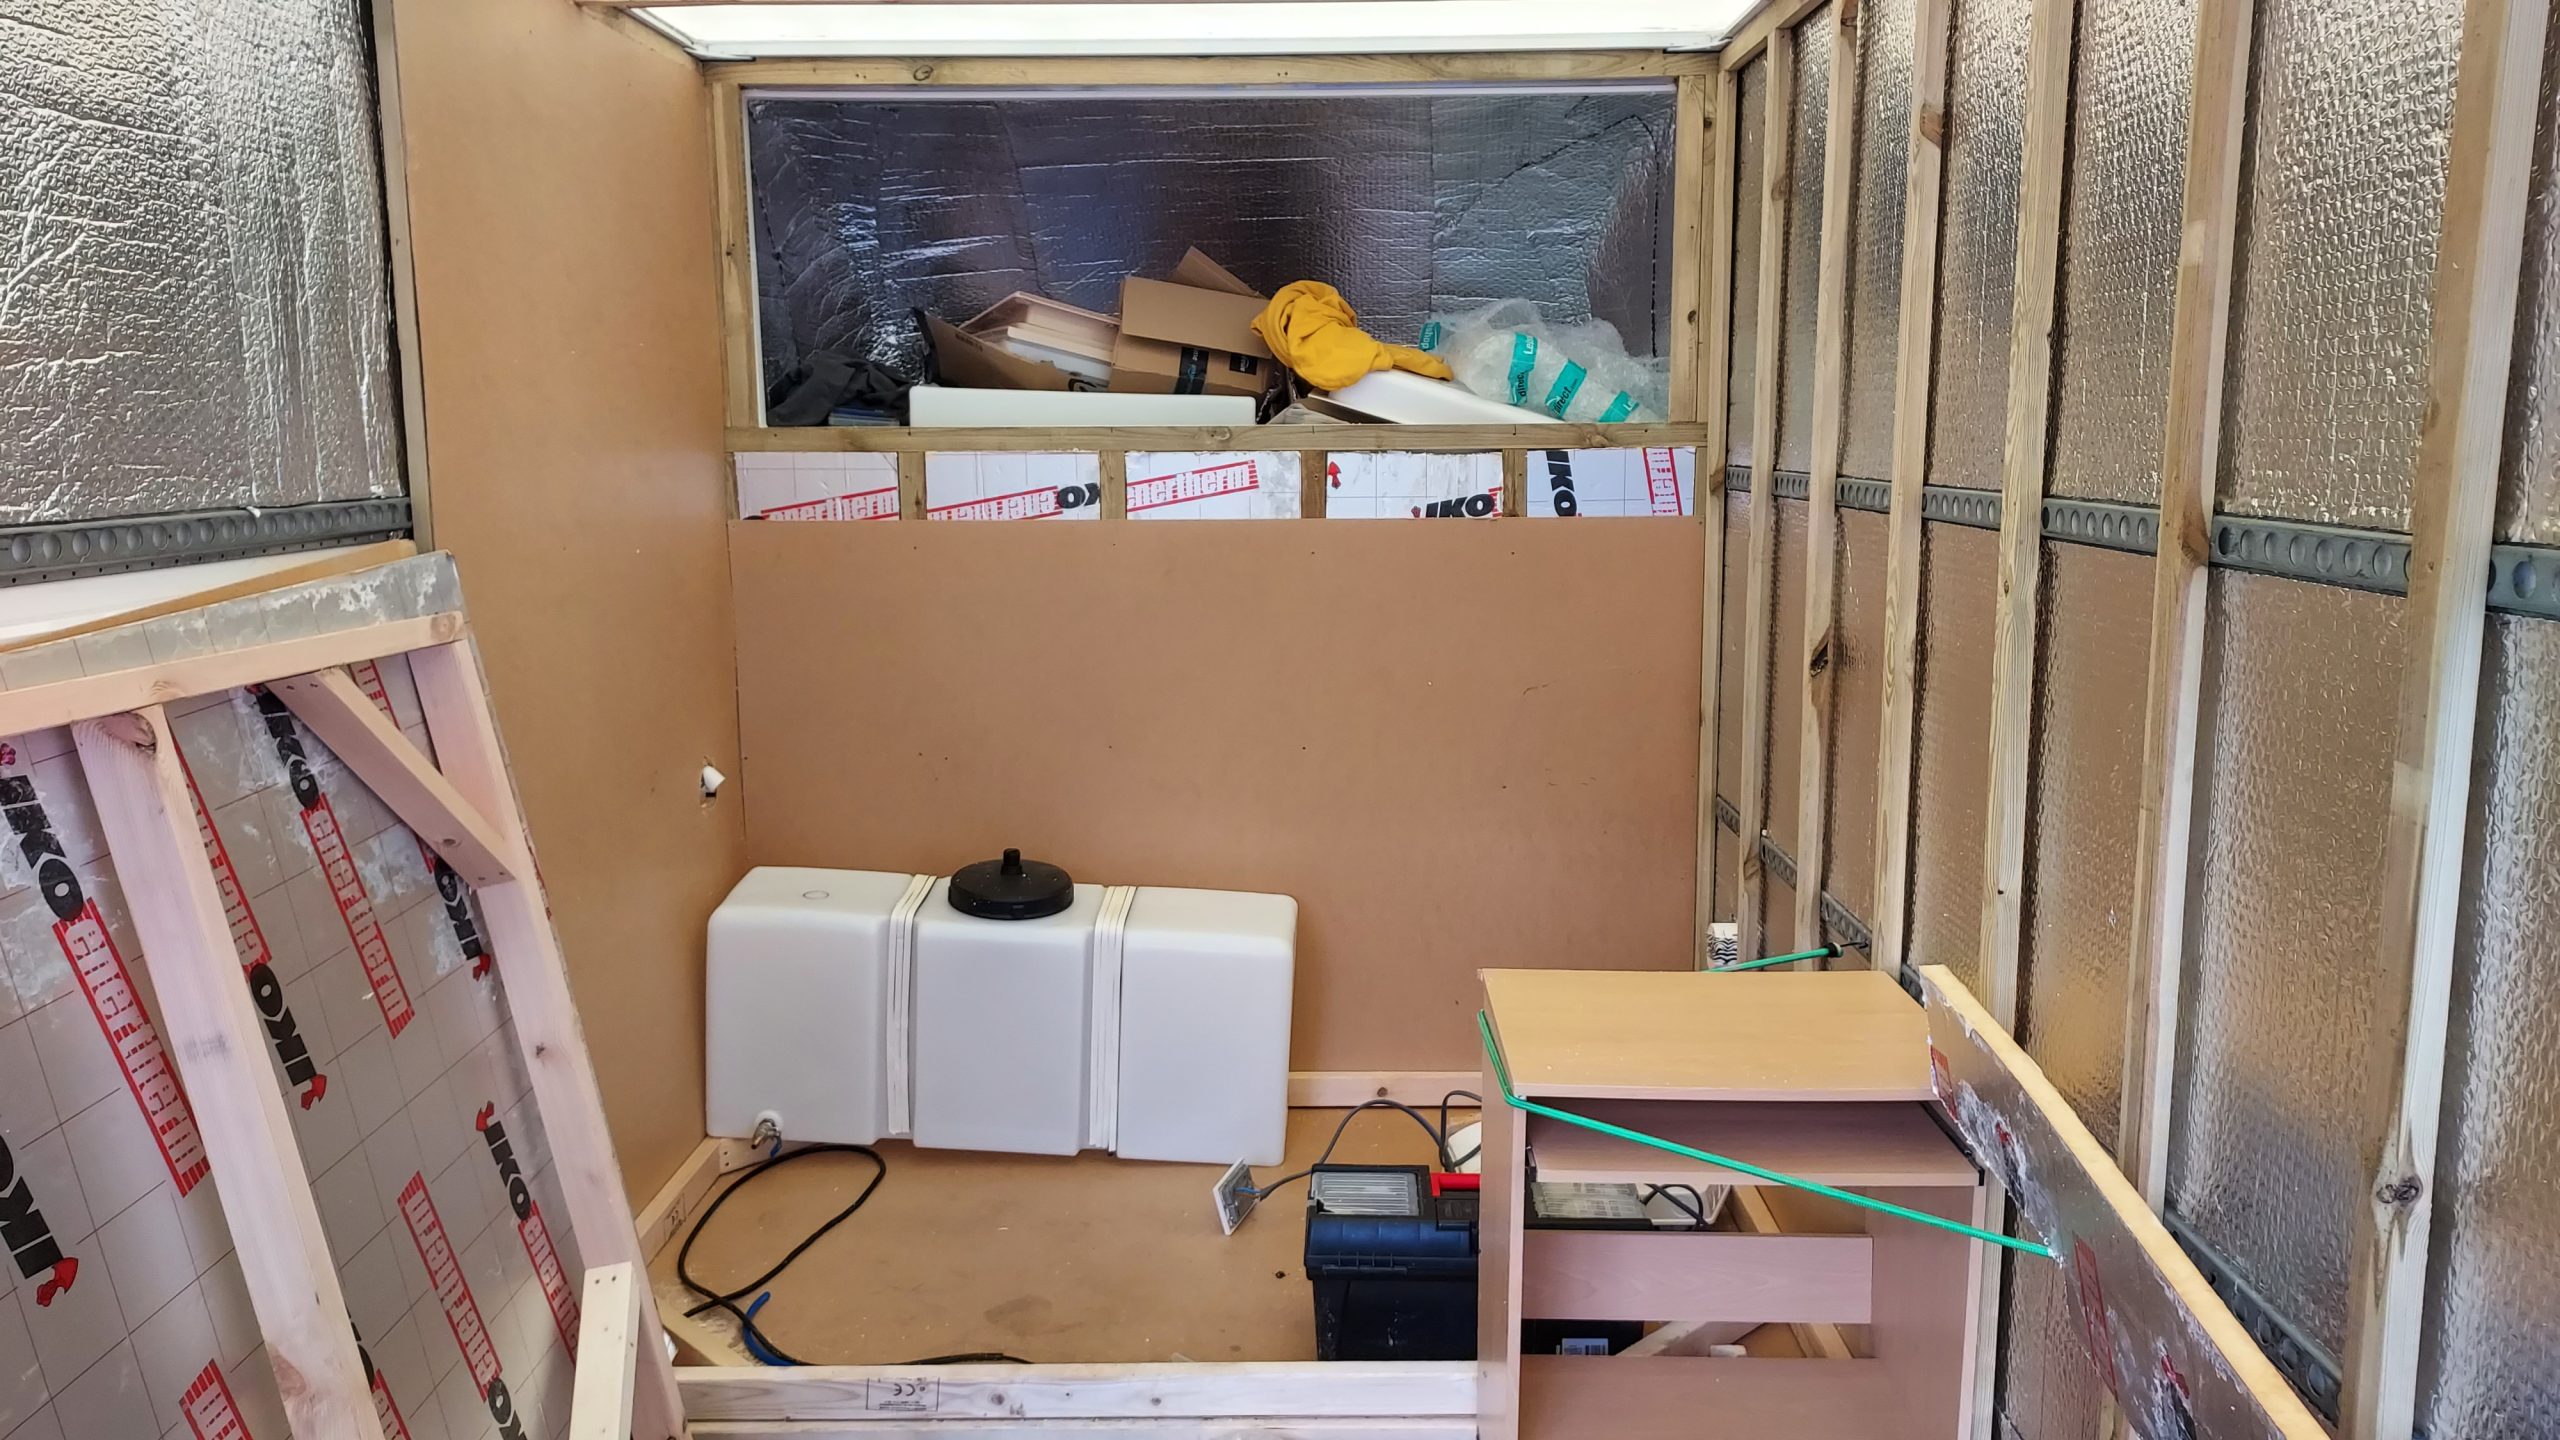
Fixing the water tank
Floor cladded with thin ply, water tank in place with some temporary fixings. Computer desk in place.
Read More
Checking bed frame base
Checking that the bed frame base is a snug fit where it needs to be before continuing.
Read More

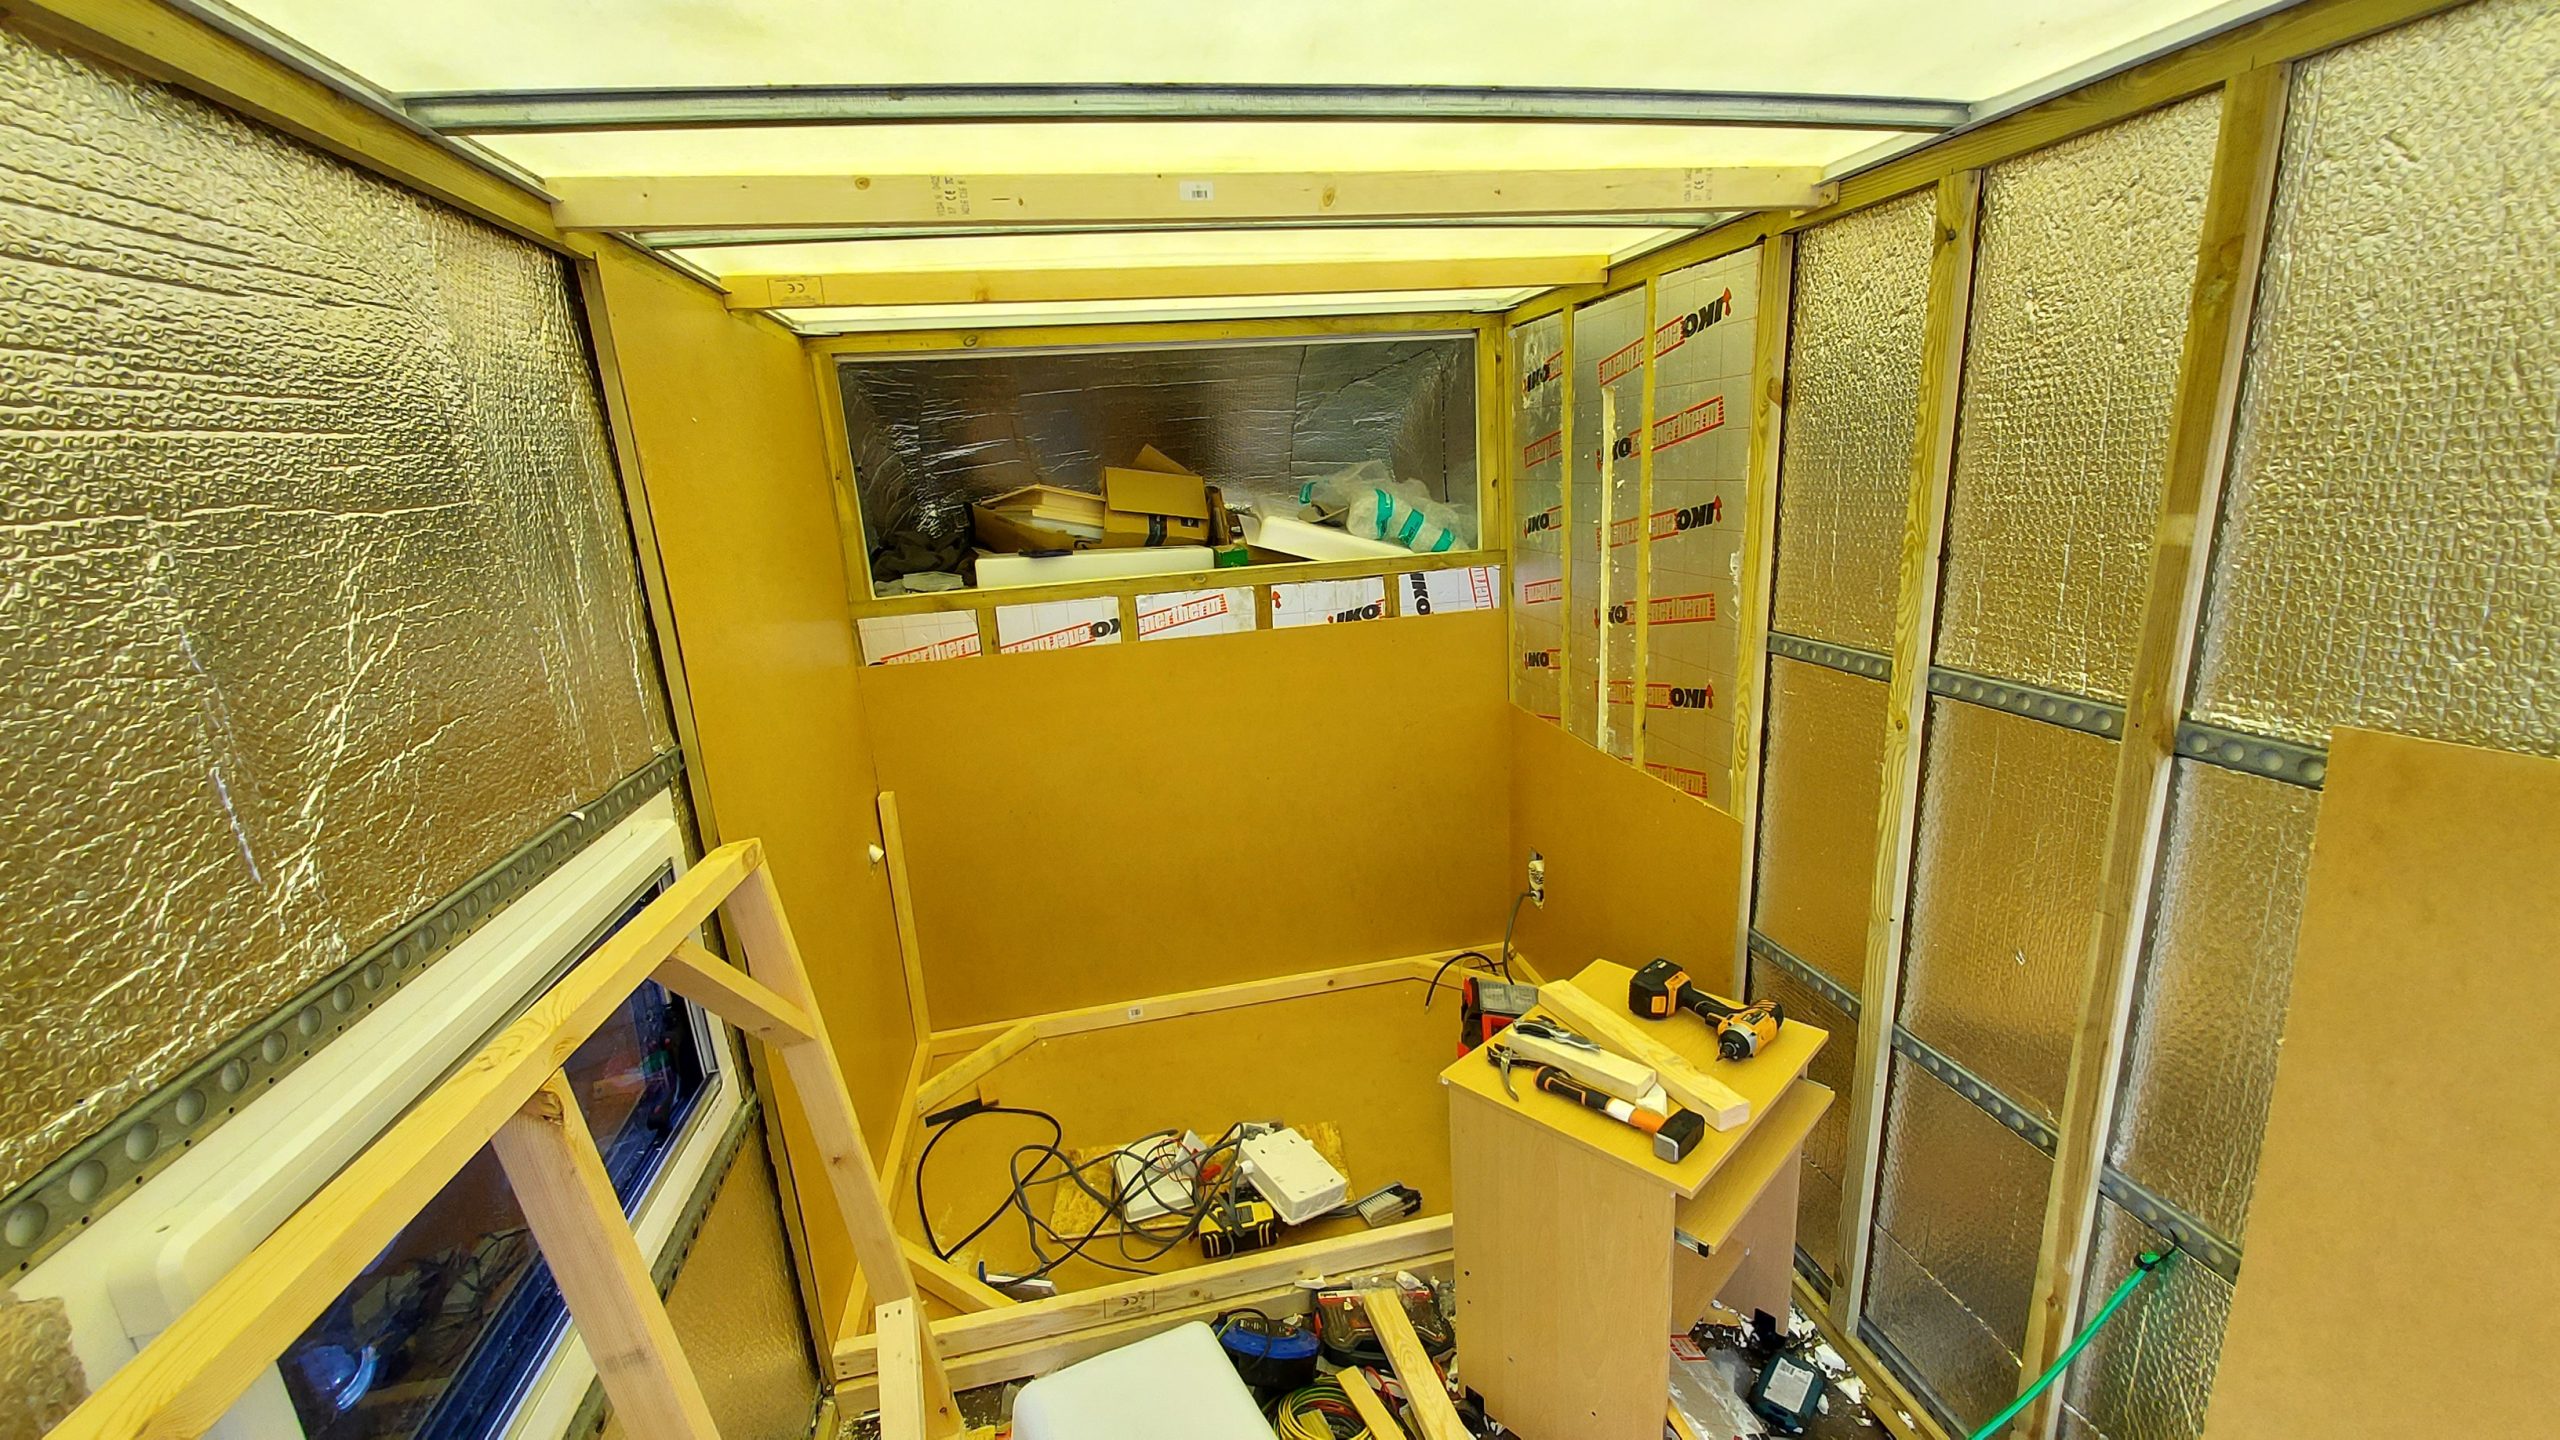
Putting it together
Cladded another wall around the bed base, figuring out how to get the water tank to work with this.
Read More

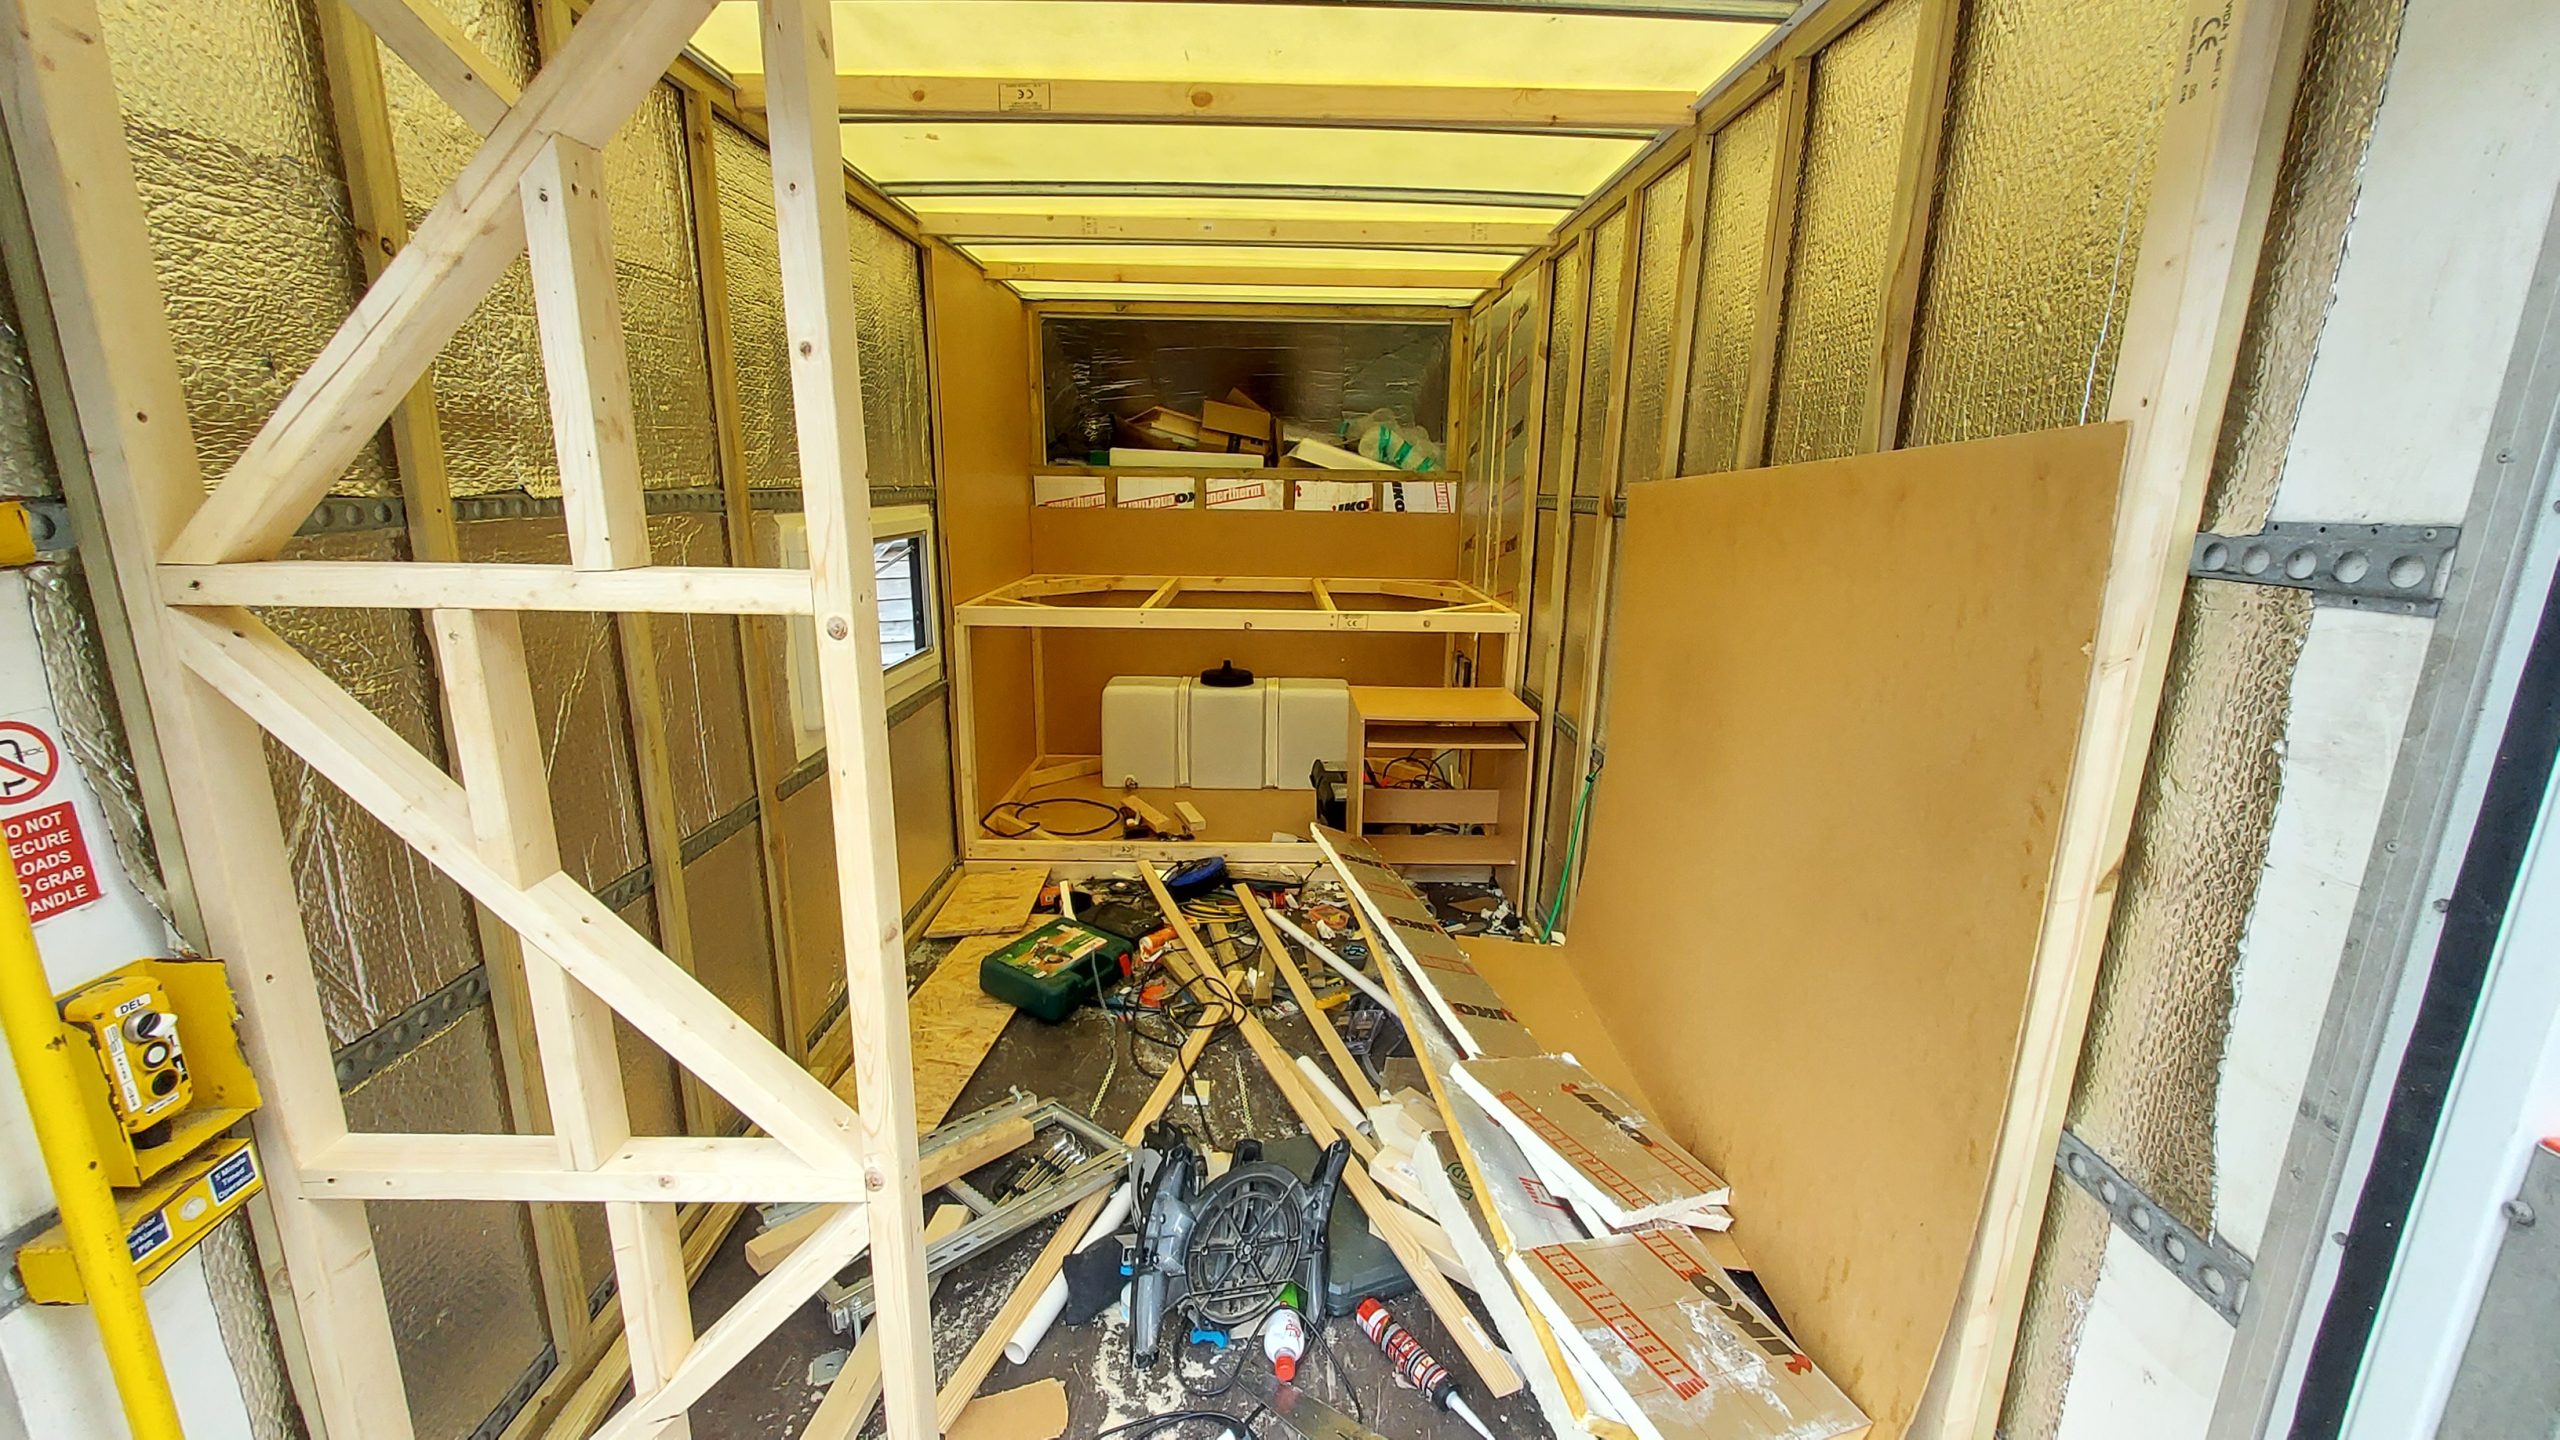
More cladding
All the insulation and most of the cladding around the bed base now done, vertical CLS to support the top of the bed box going
Read More

Corner cutting
Realising that the water tank and batteries won’t fit where I want them without taking the two bottom rear corners out of the base.
Read More

Mid-section floor cladded
Cladded the middle of the floor with hardboard to cover up the water and gas lines.
Read More

Bed box cladding
Cut OSB for the front of the bed box and cut a cupboard hole out for access to electrics and storage.
Read More

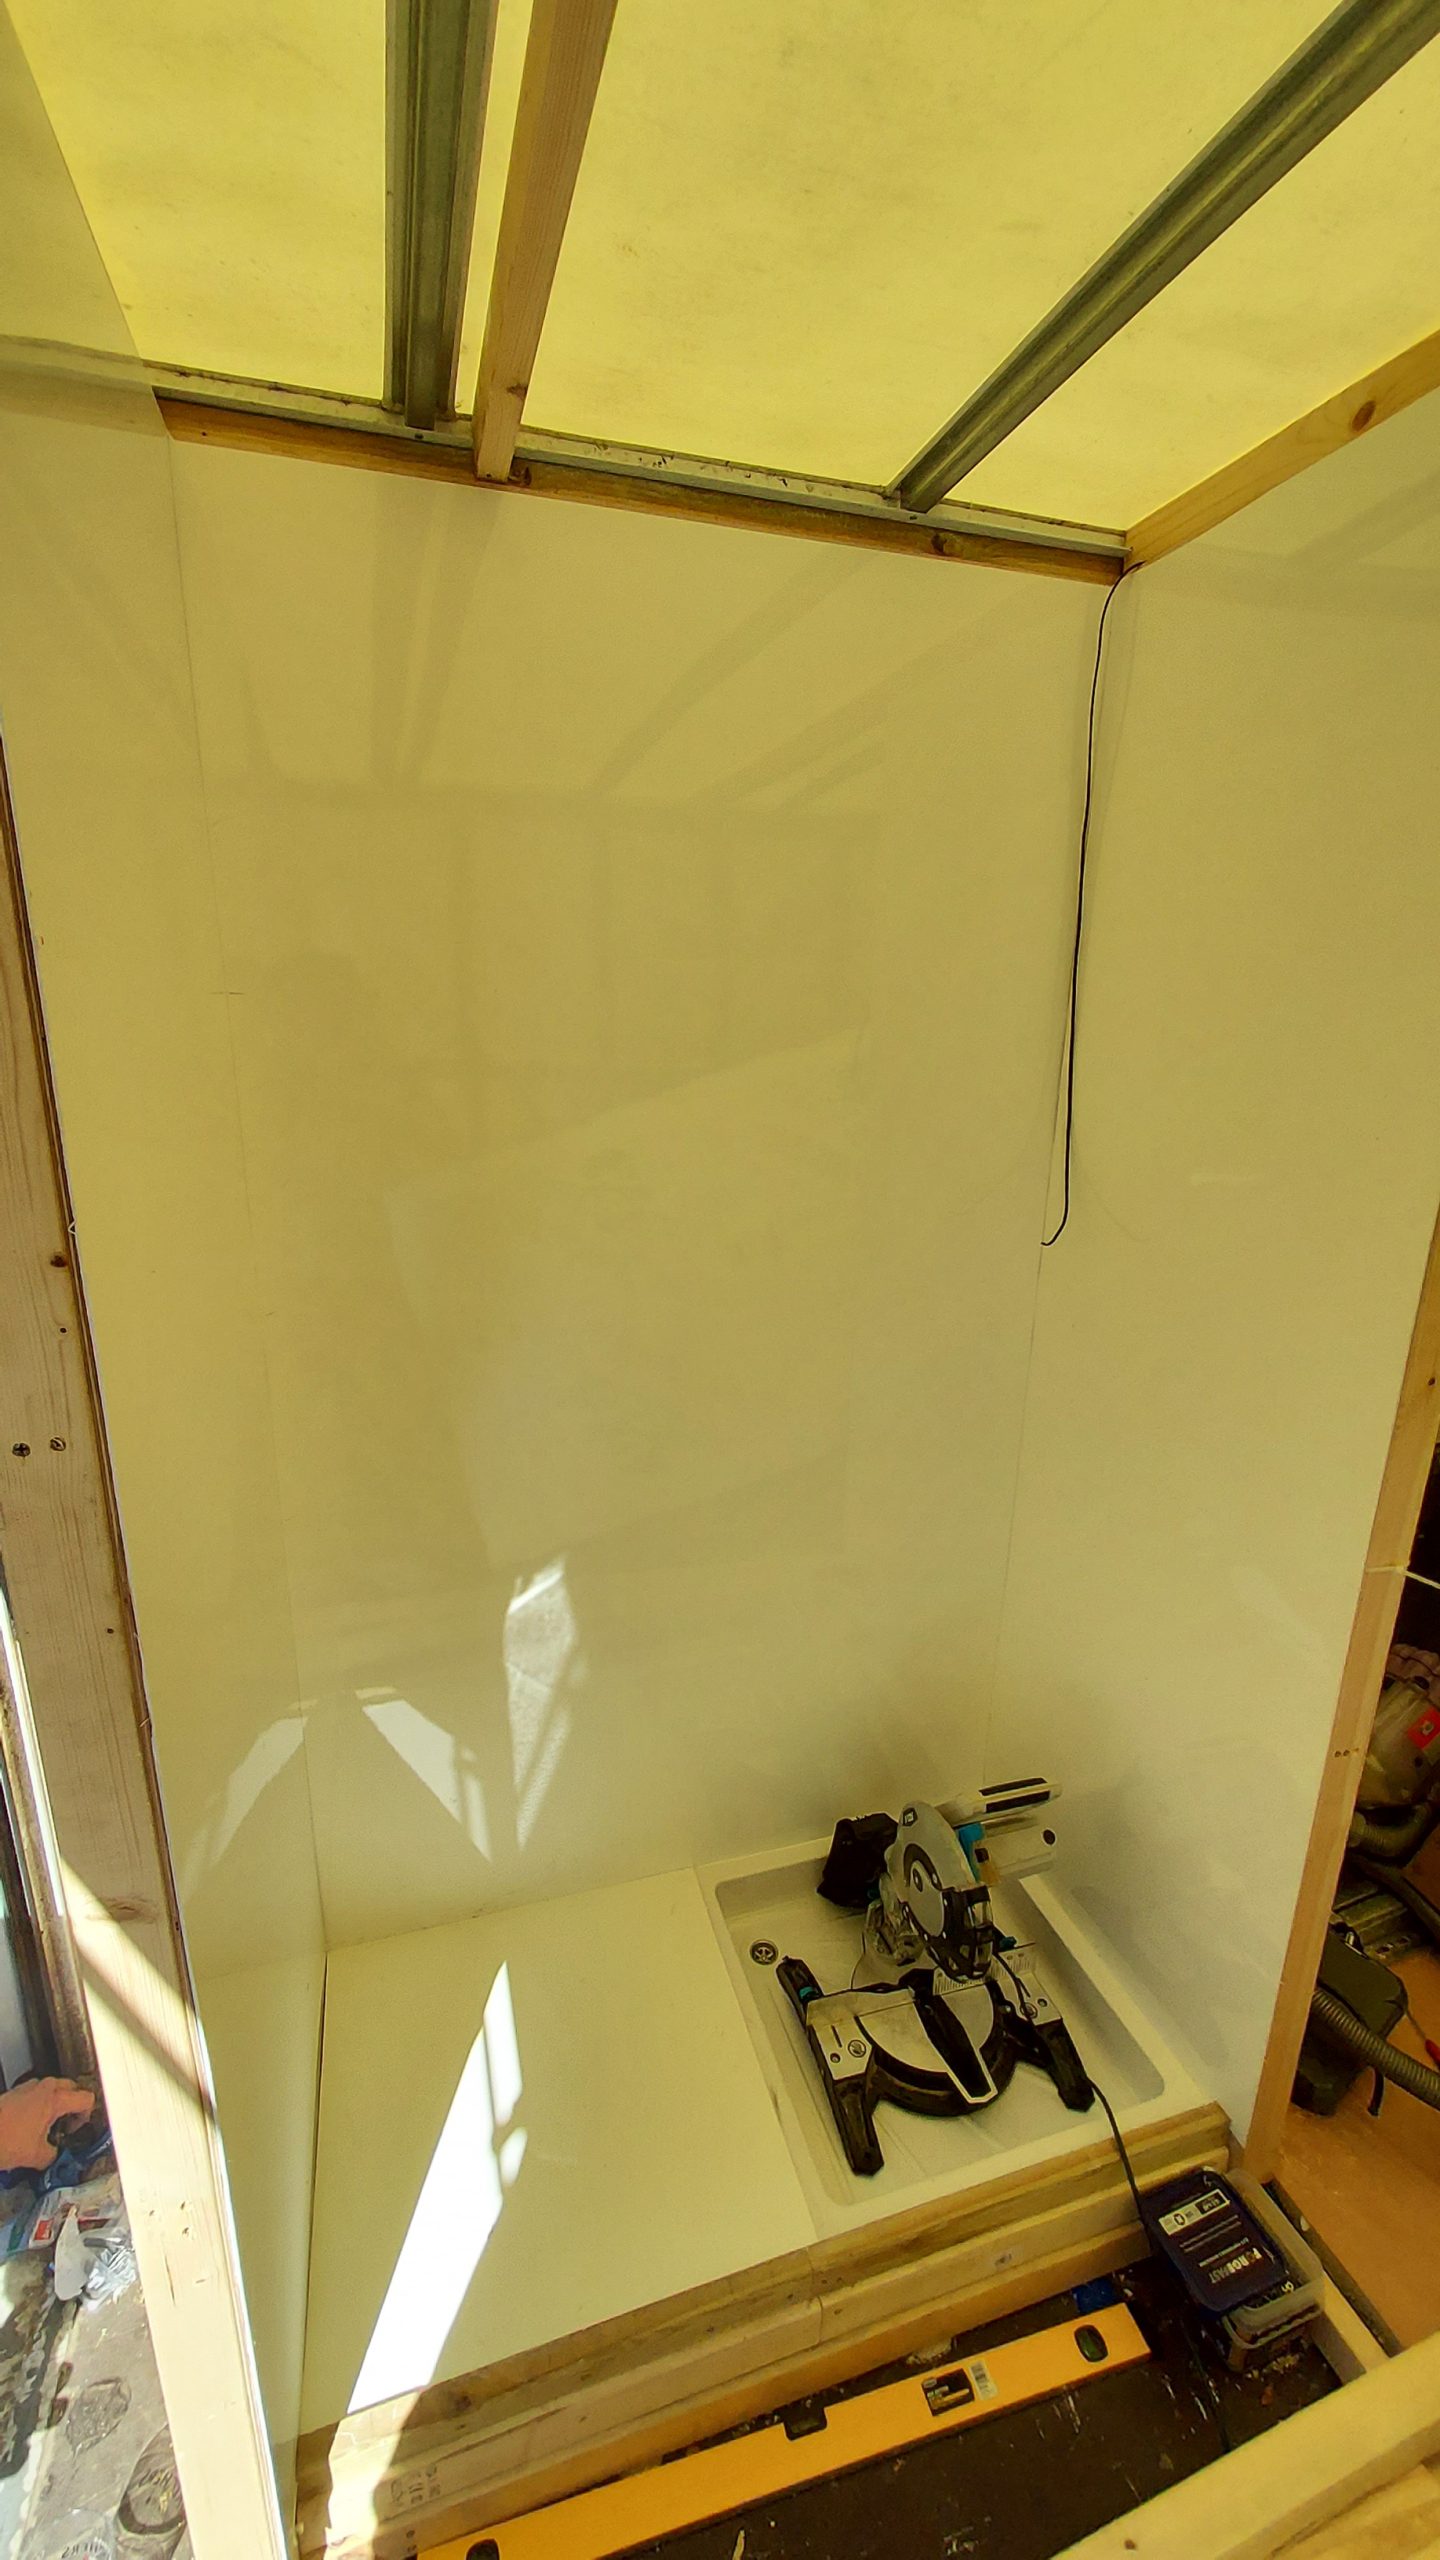
Cladding the bathroom
Inside of the bathroom box cladded, underfloor insulation ready. Stretch carpet done on the front of the bed box, ready for me to cut the
Read More
Tray installed, more carpet.
Bathroom floor studwork done, shower tray installed and curing. Bed box now completely carpeted.
Read More


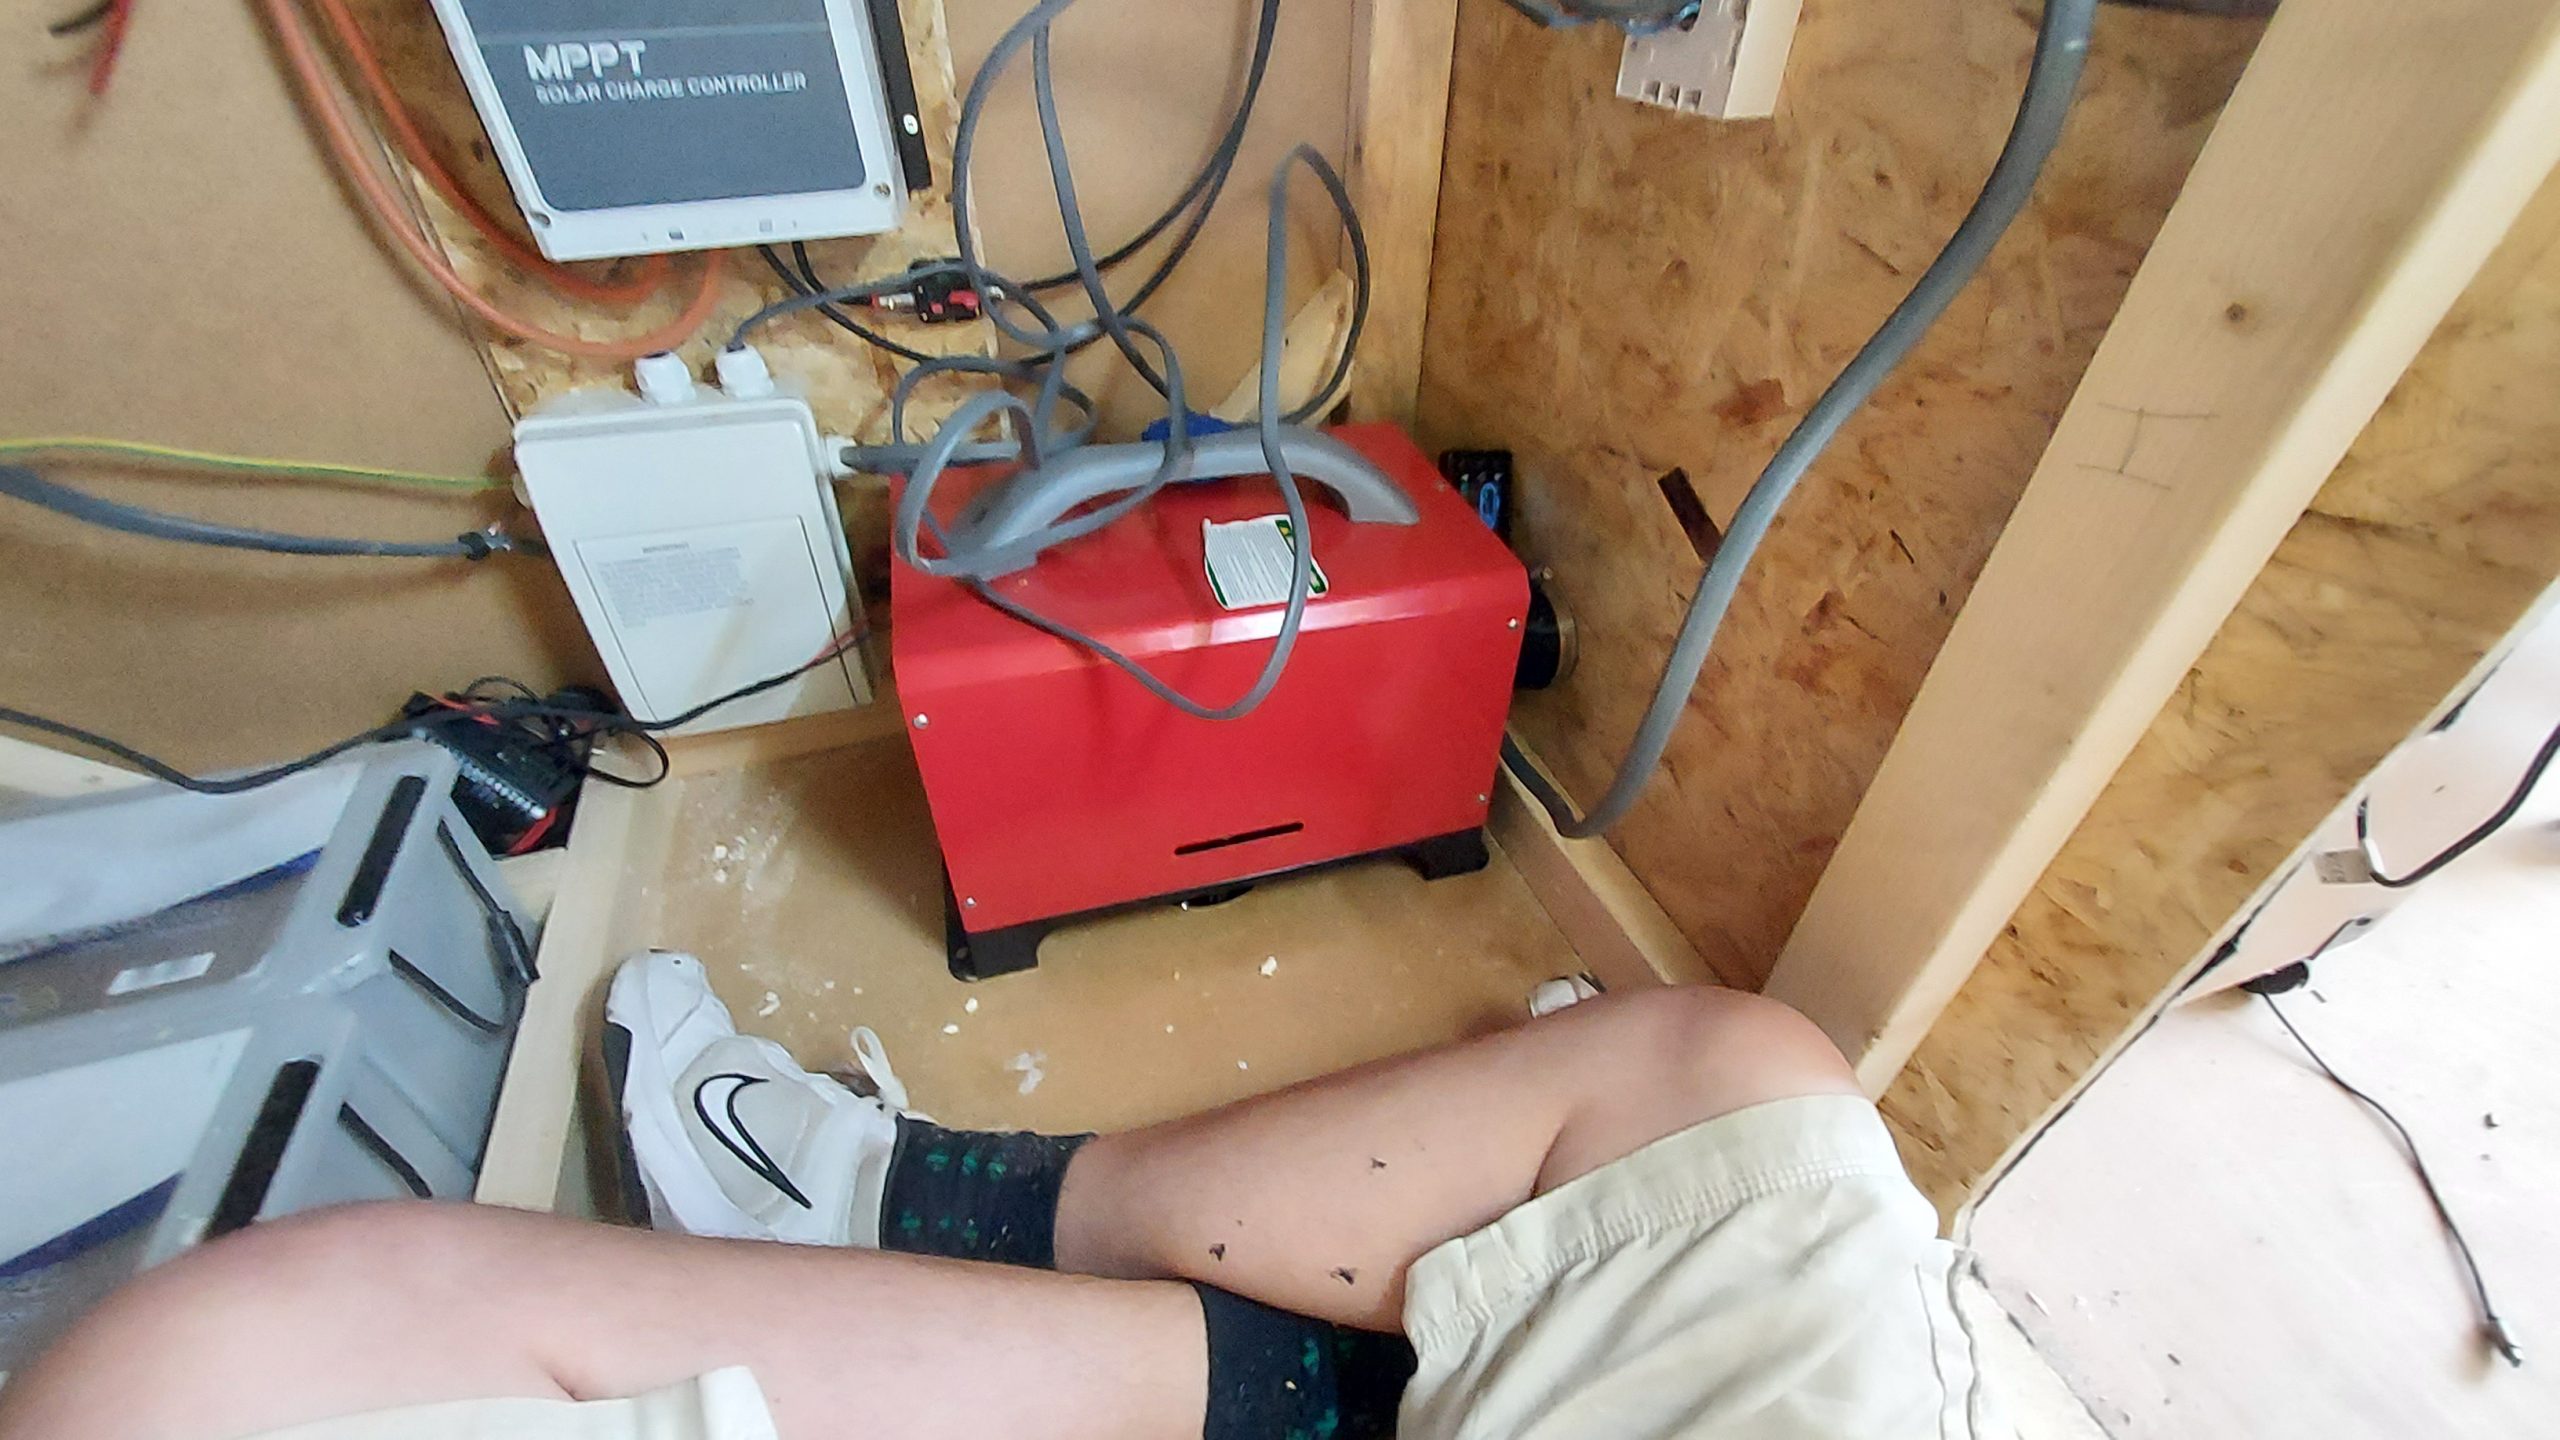
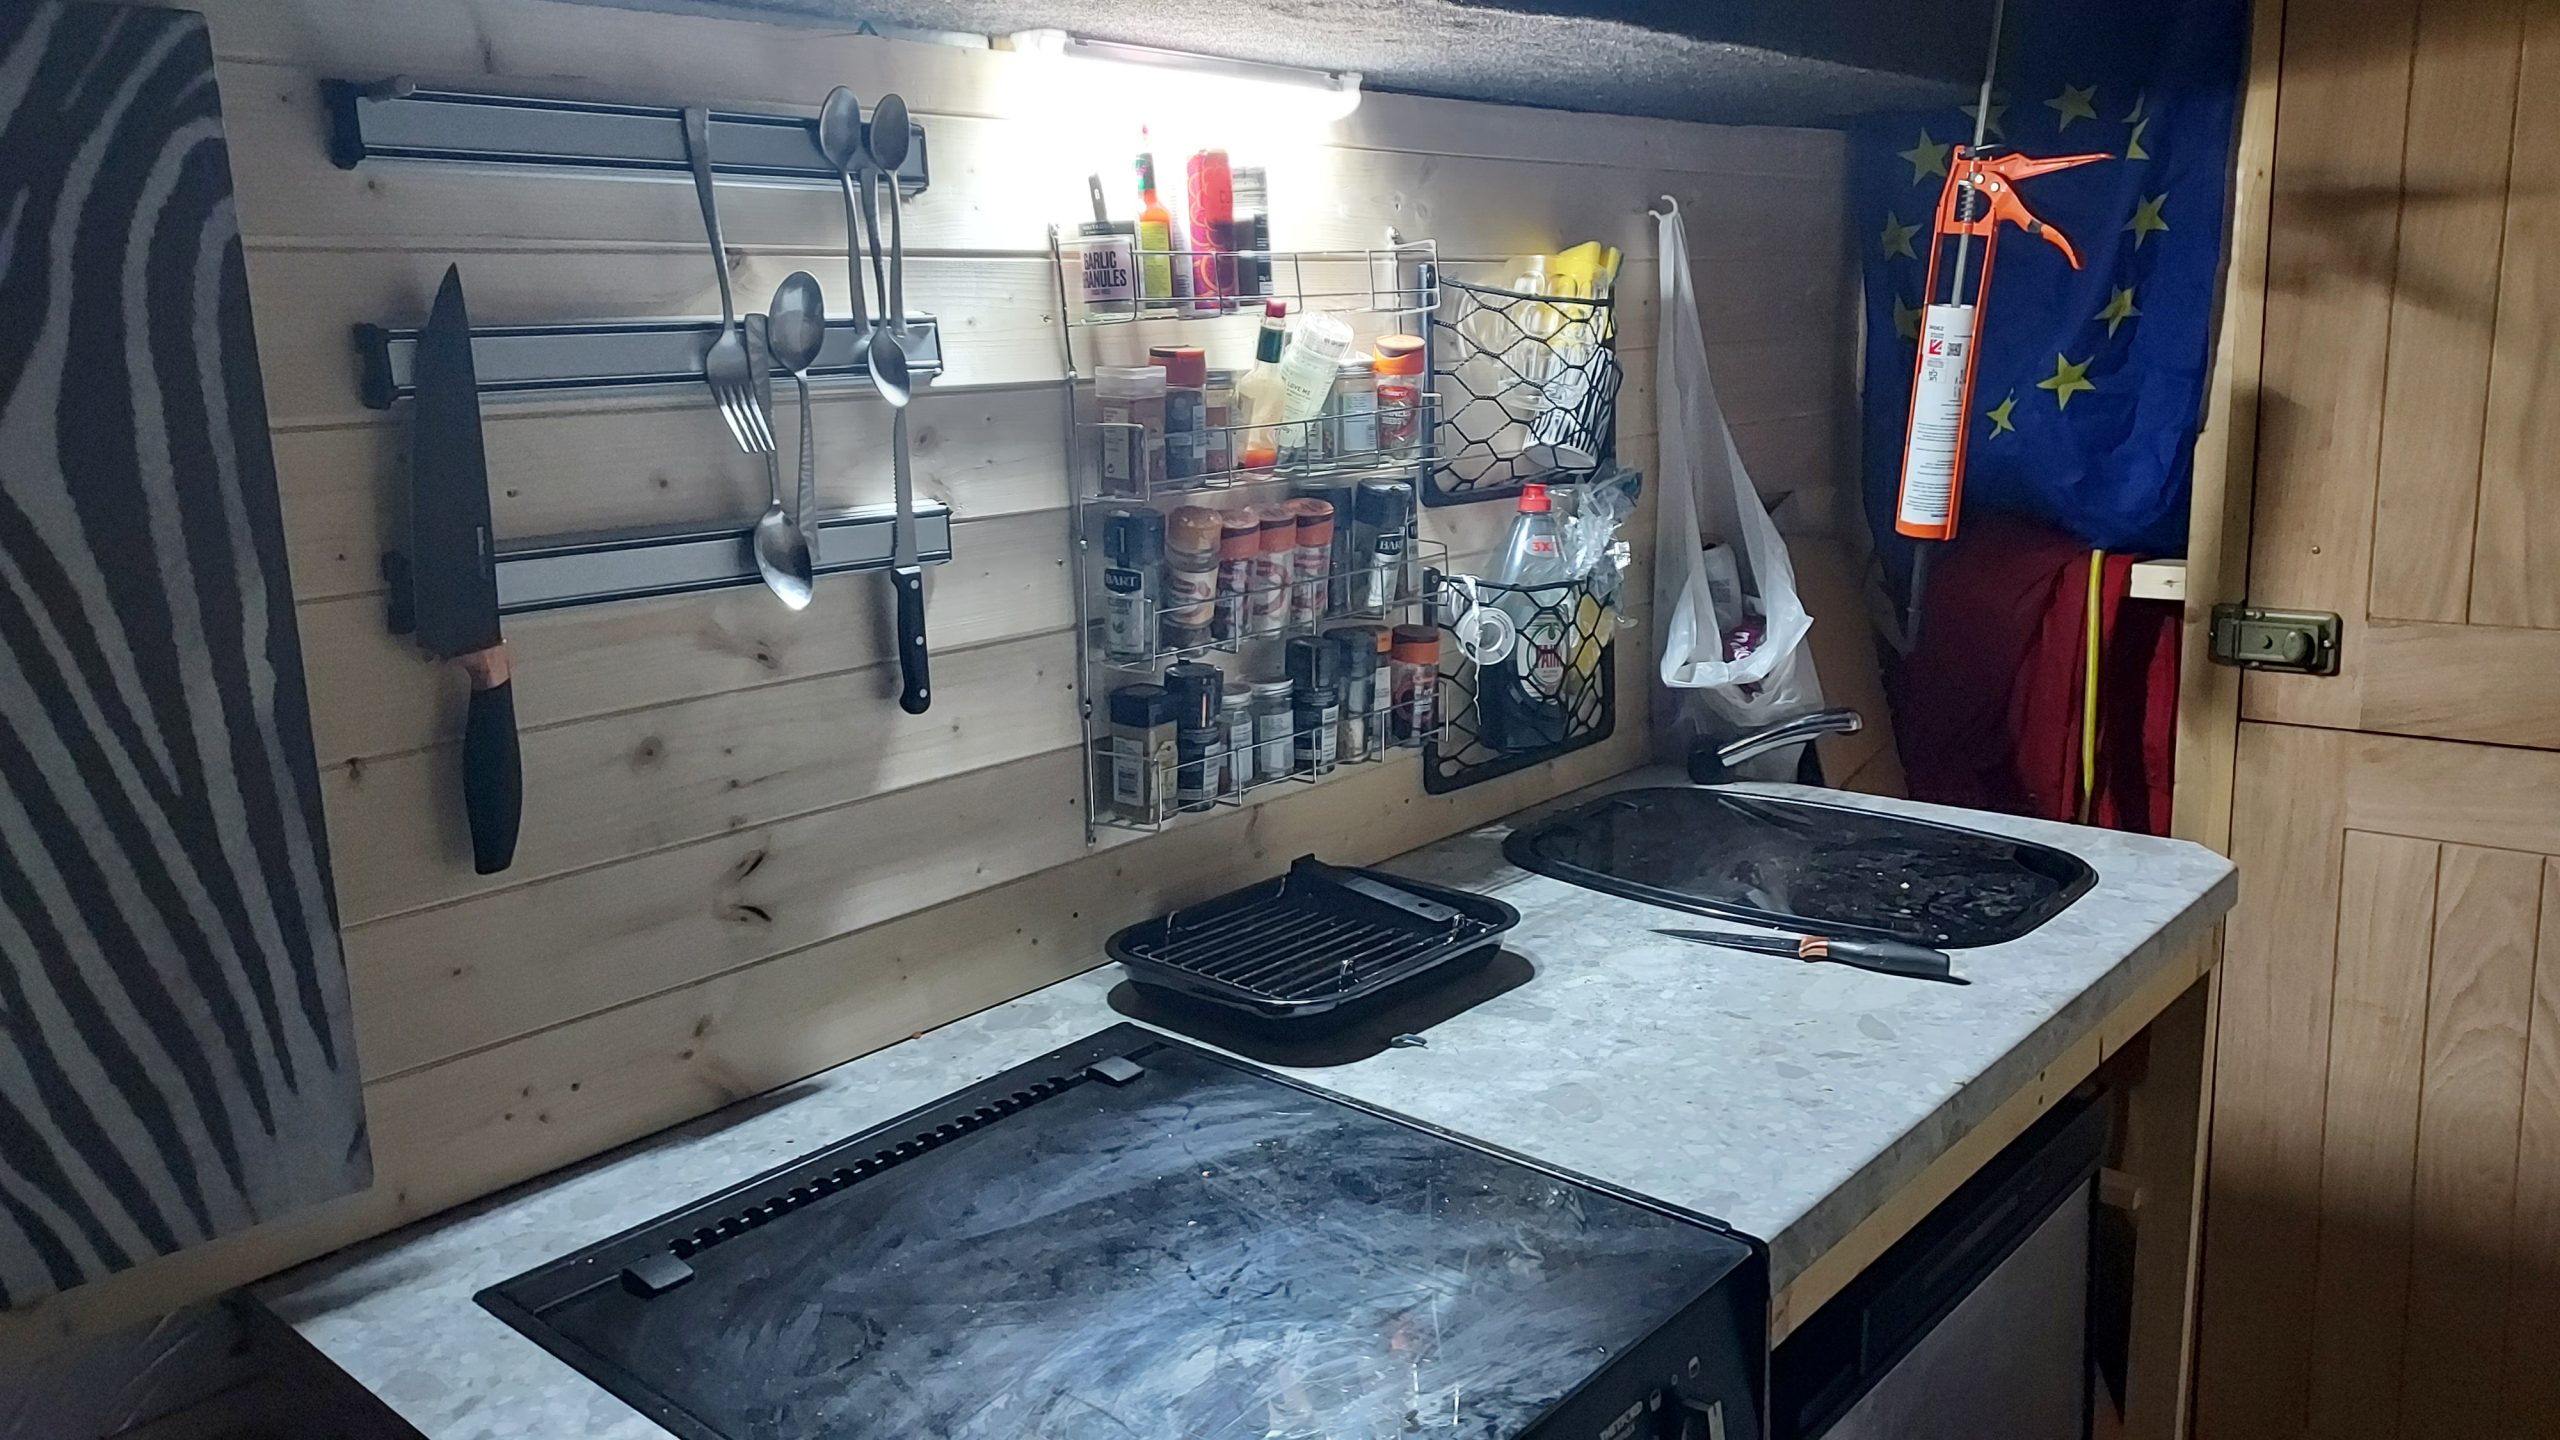
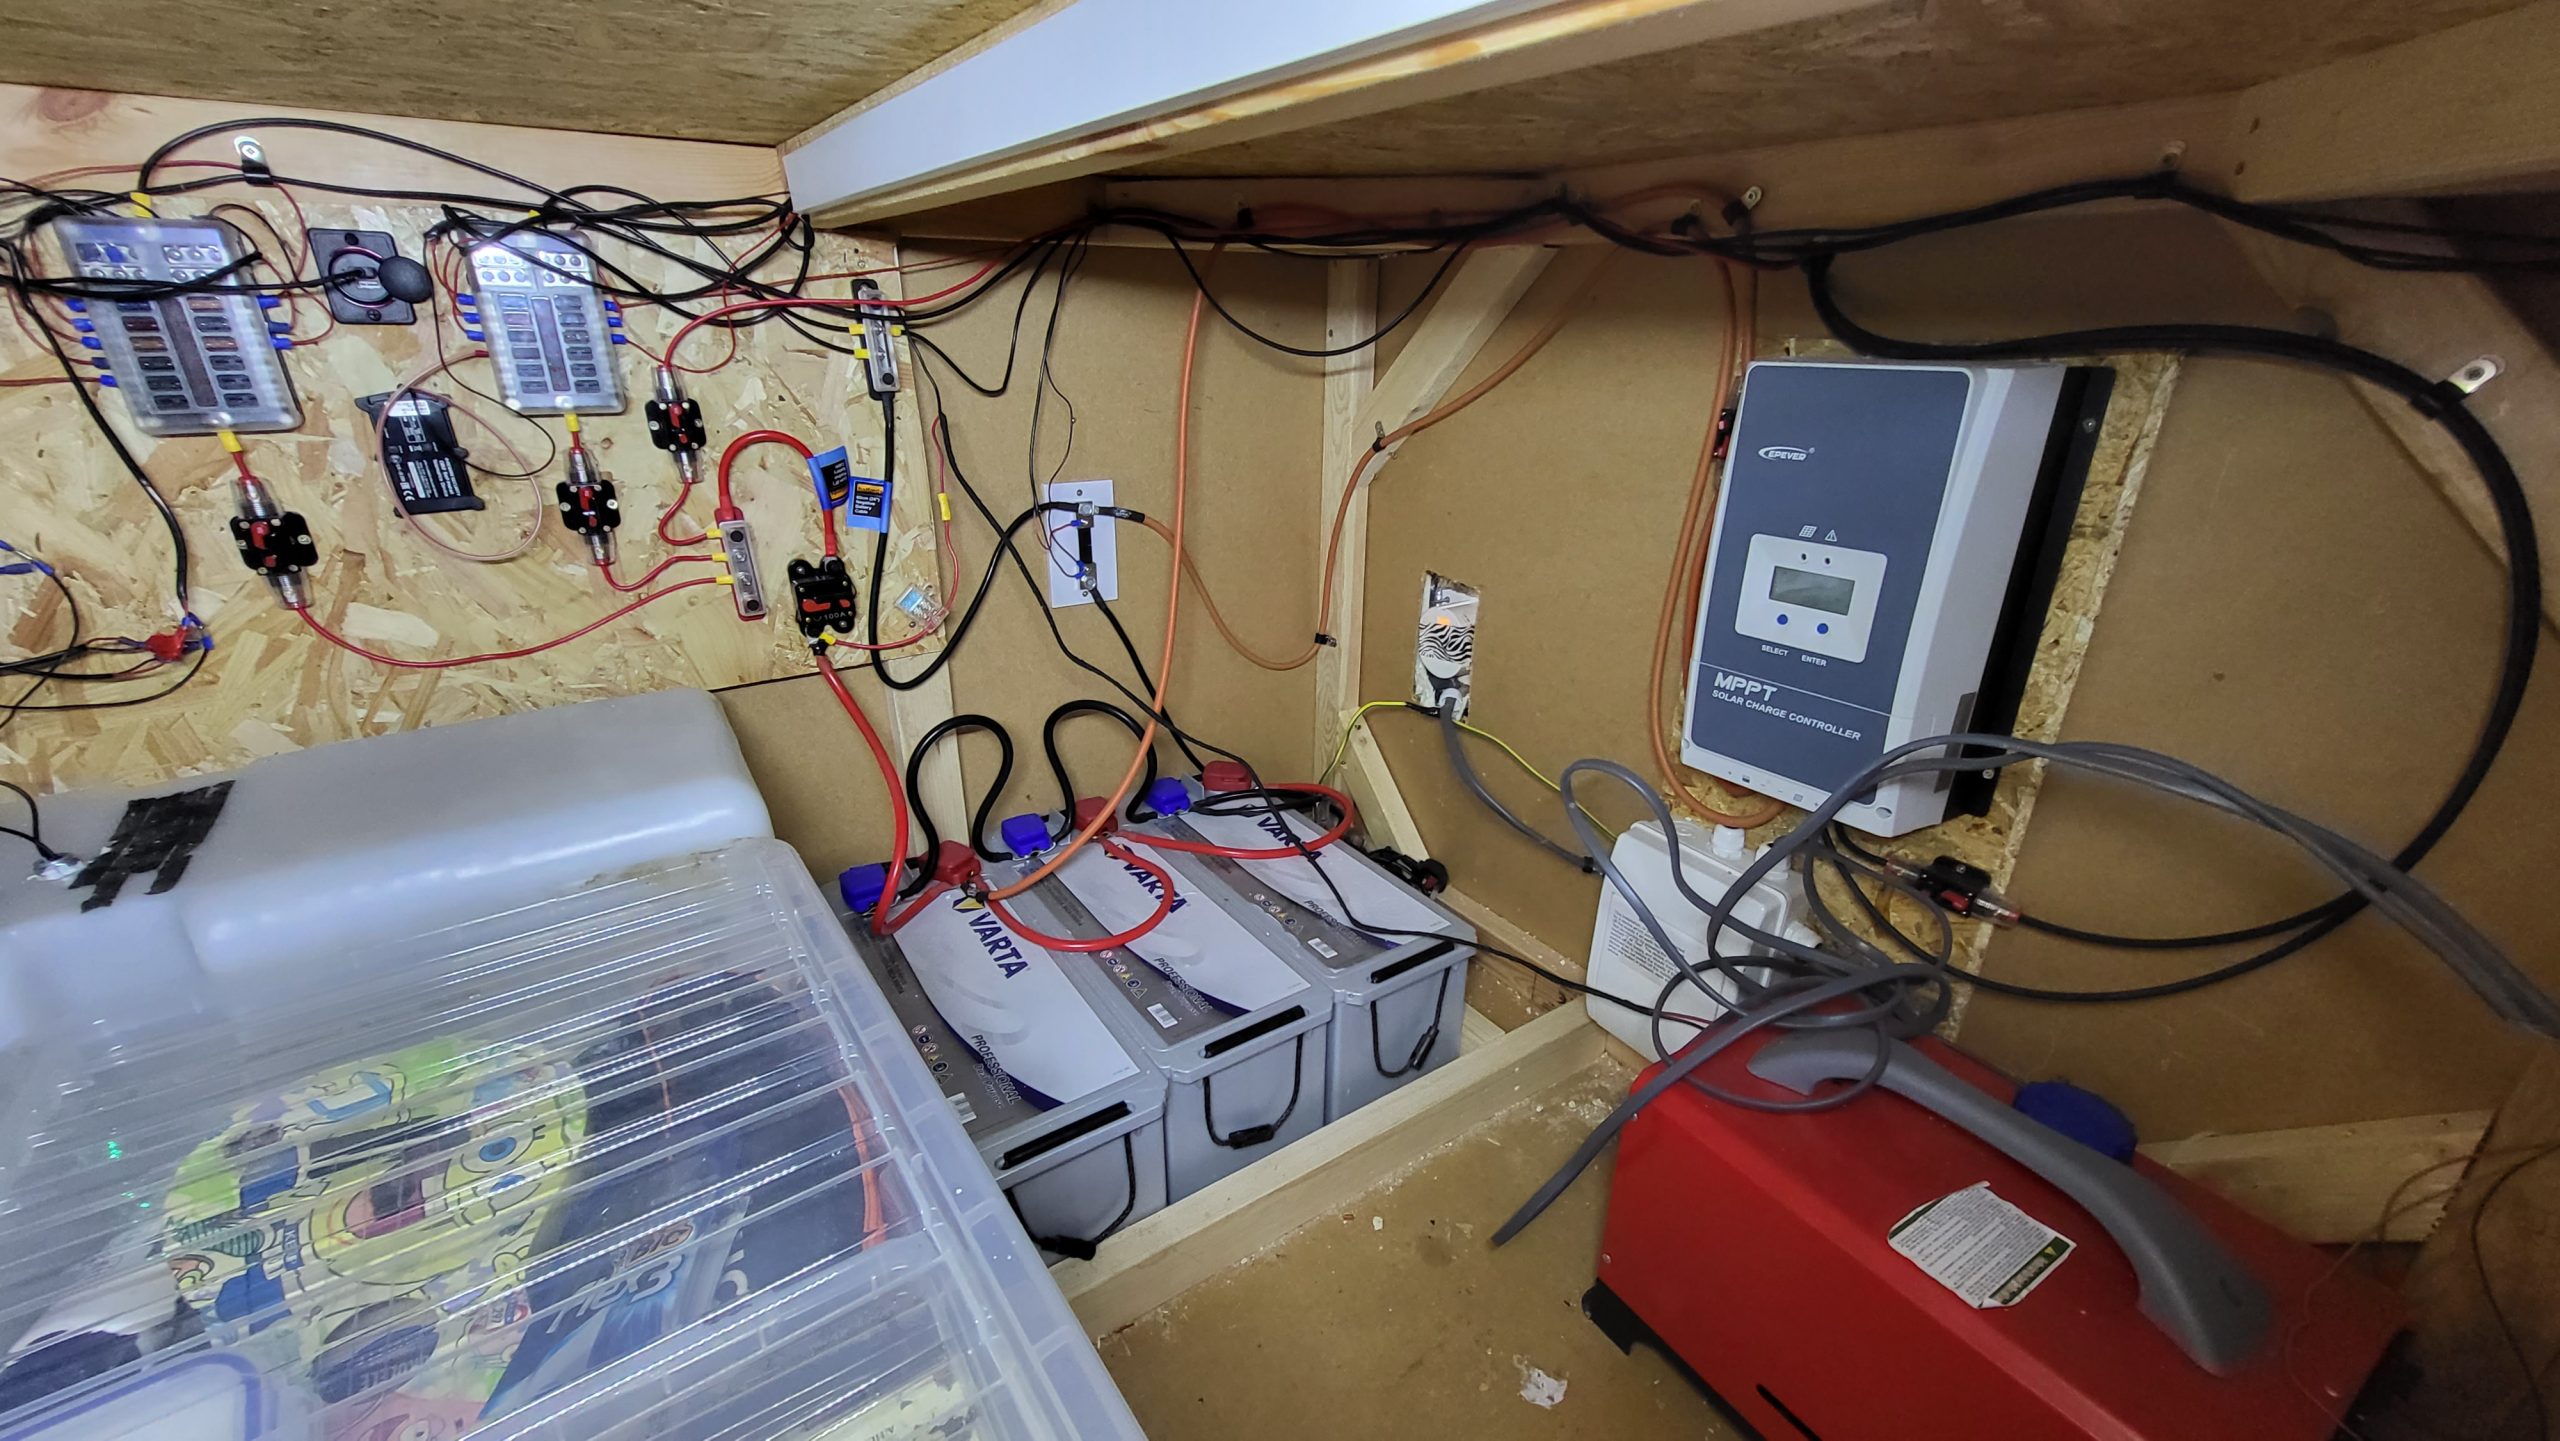
Solar controller
60A EPEVER MPPT fitted, hooked up to the power via a 60A breaker and ready to go.
Read More
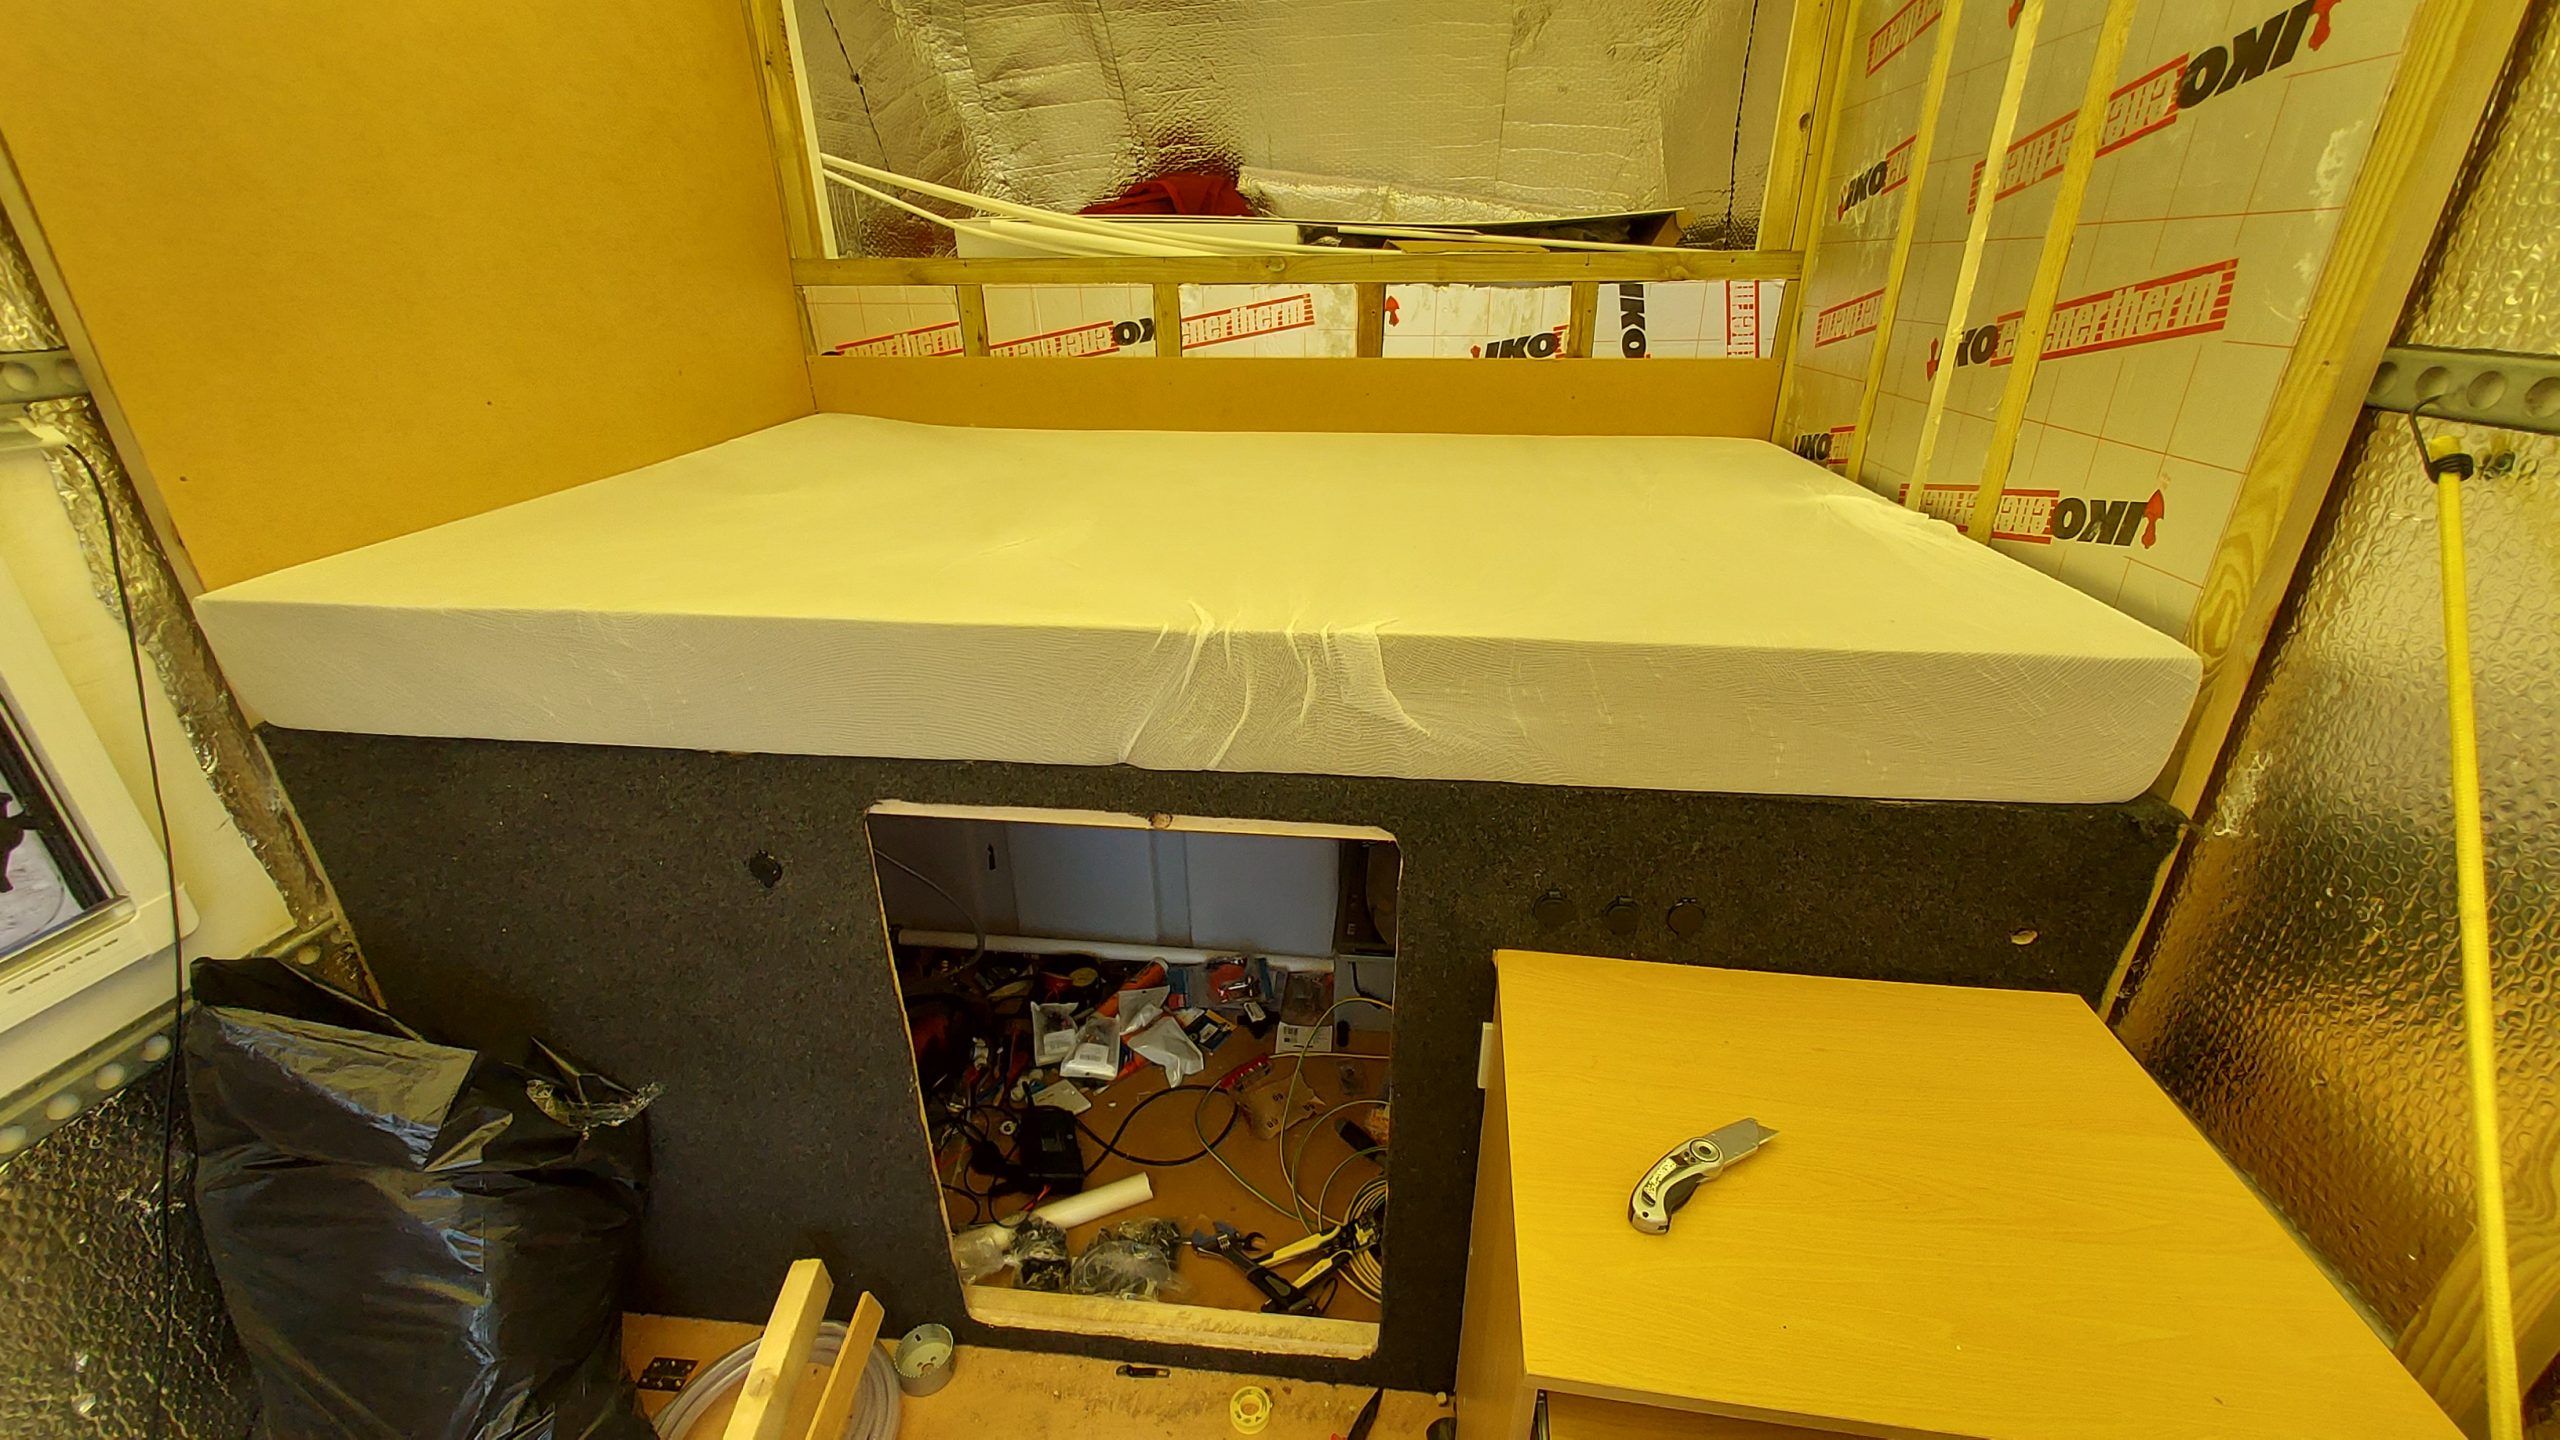
Mattress arrived!
8″ memory foam, very comfortable mattress arrived, unpacked and put on the bed box.
Read More
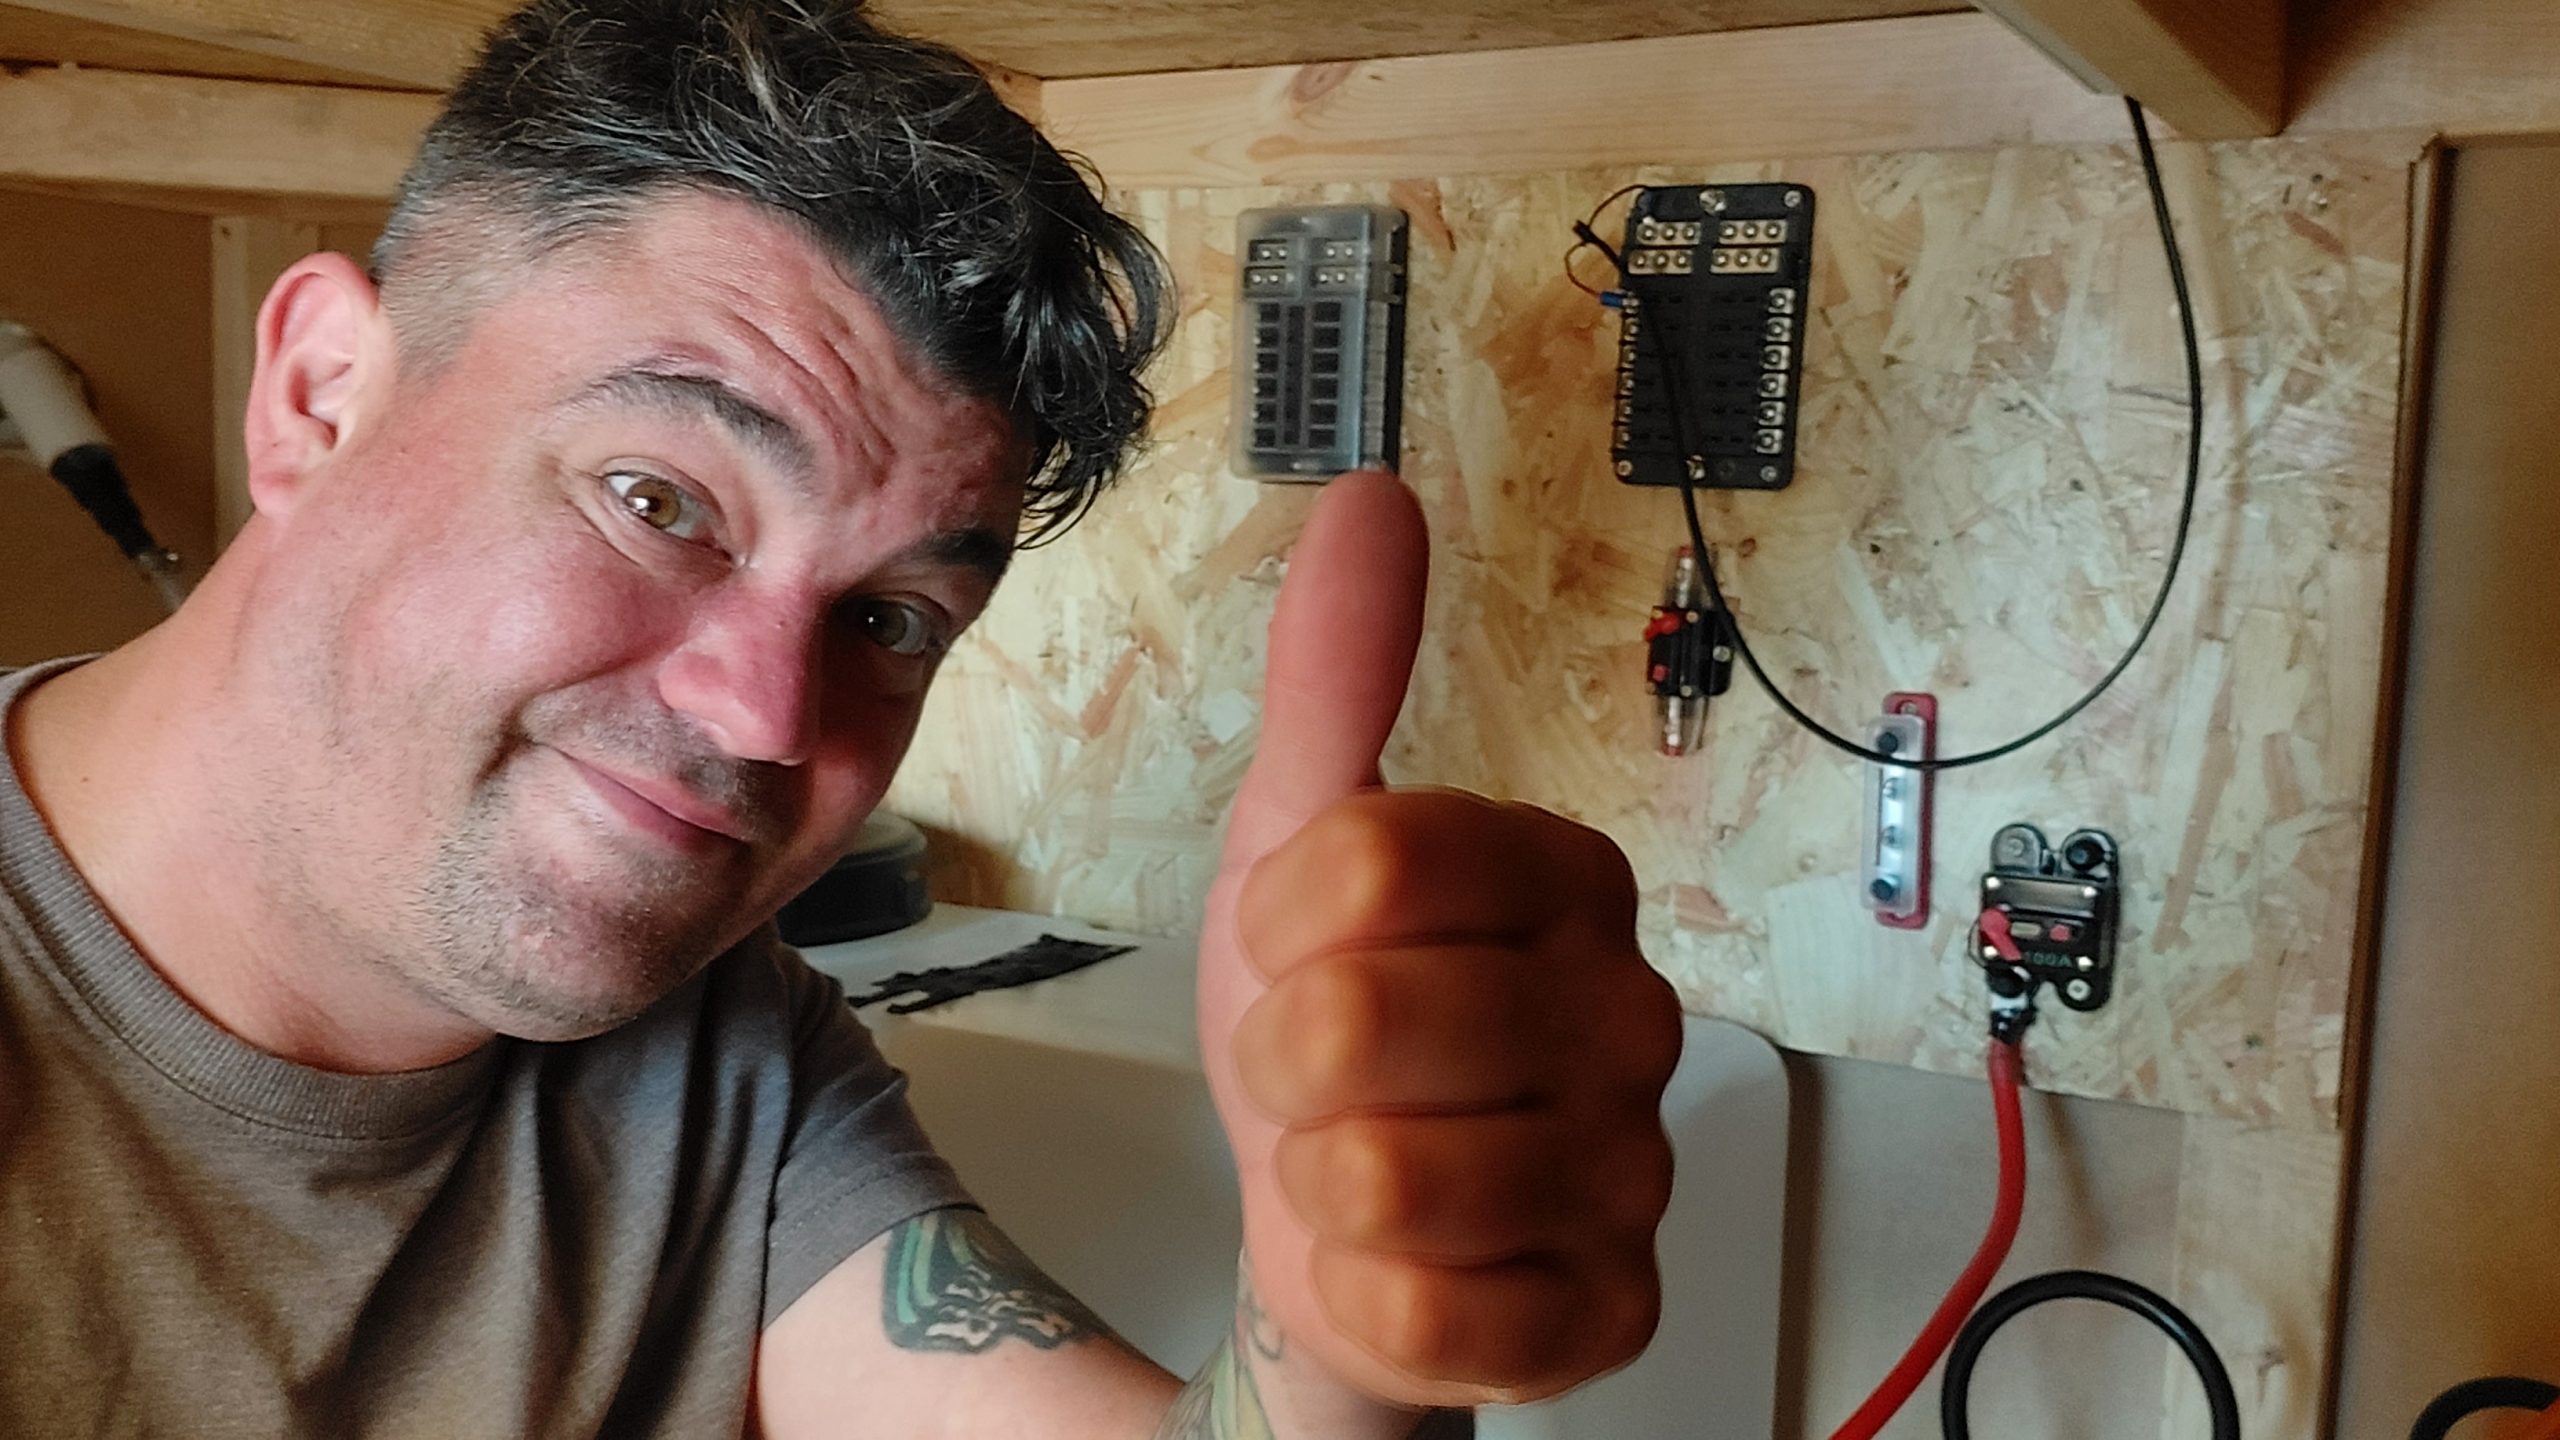
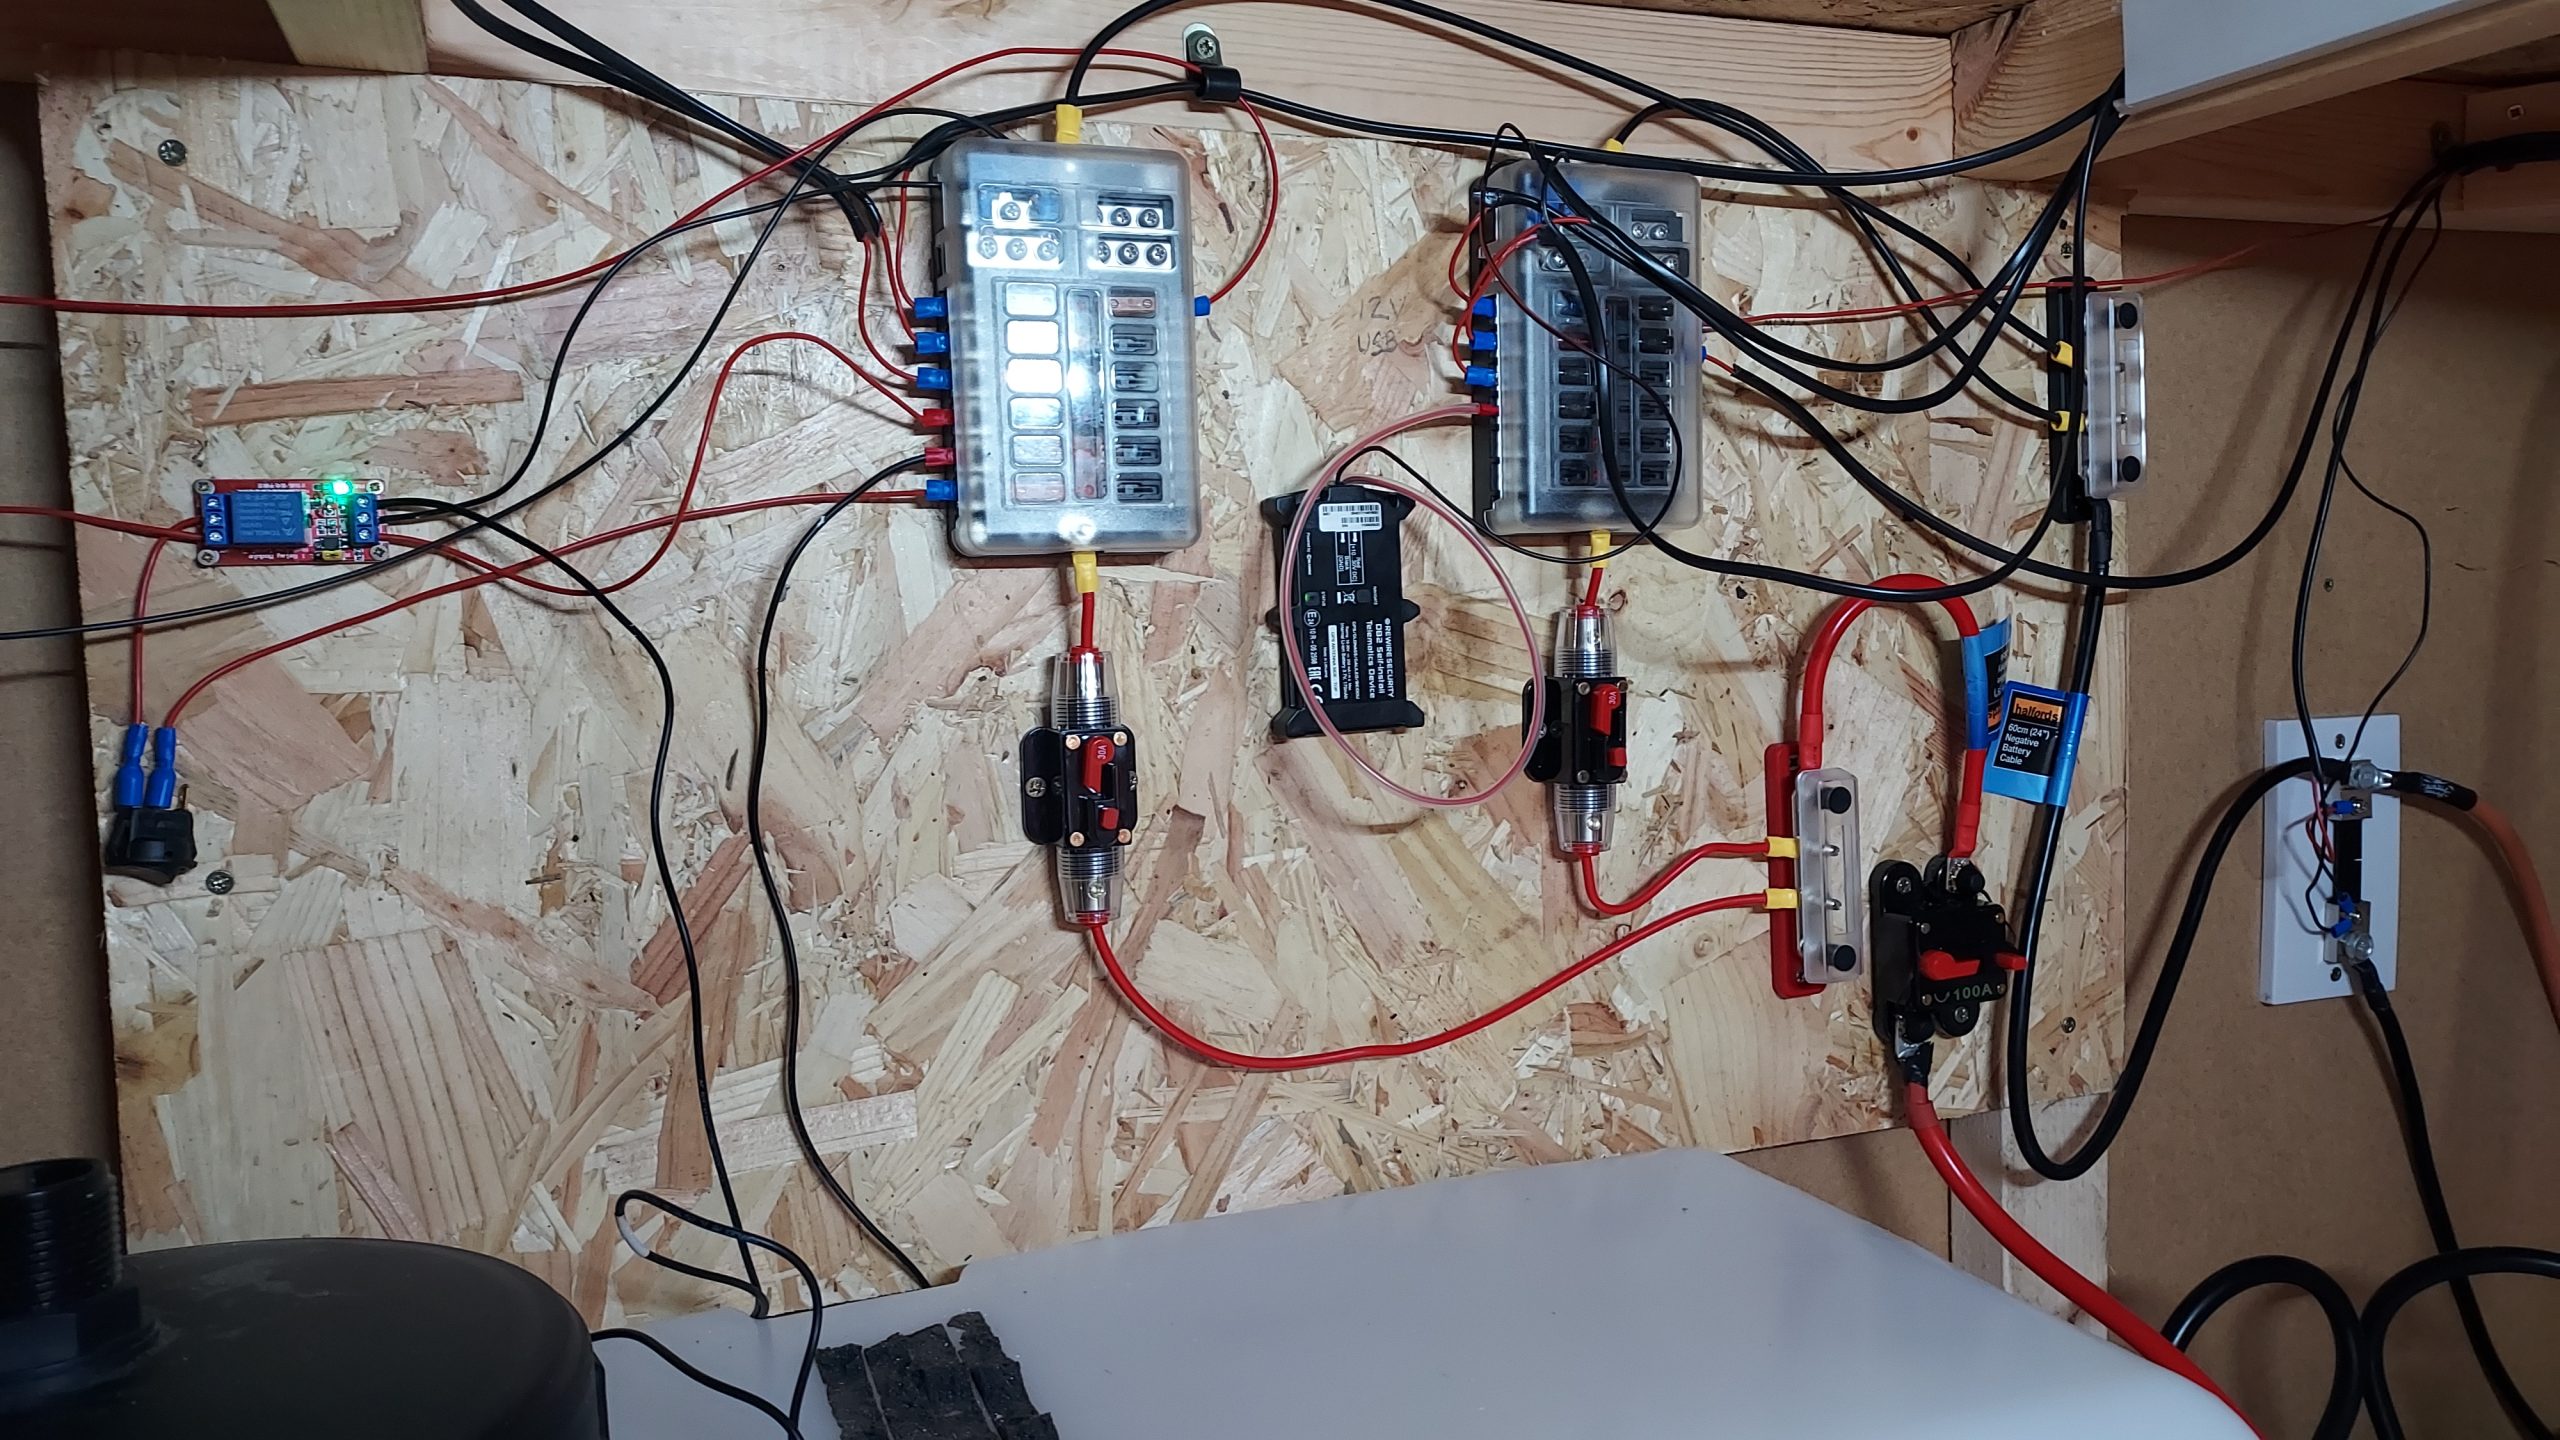
Fuse boxes
2x 30A fuse boxes ready to go to serve power to the front of the build. Pictured is a 100A master breaker and live bus
Read More

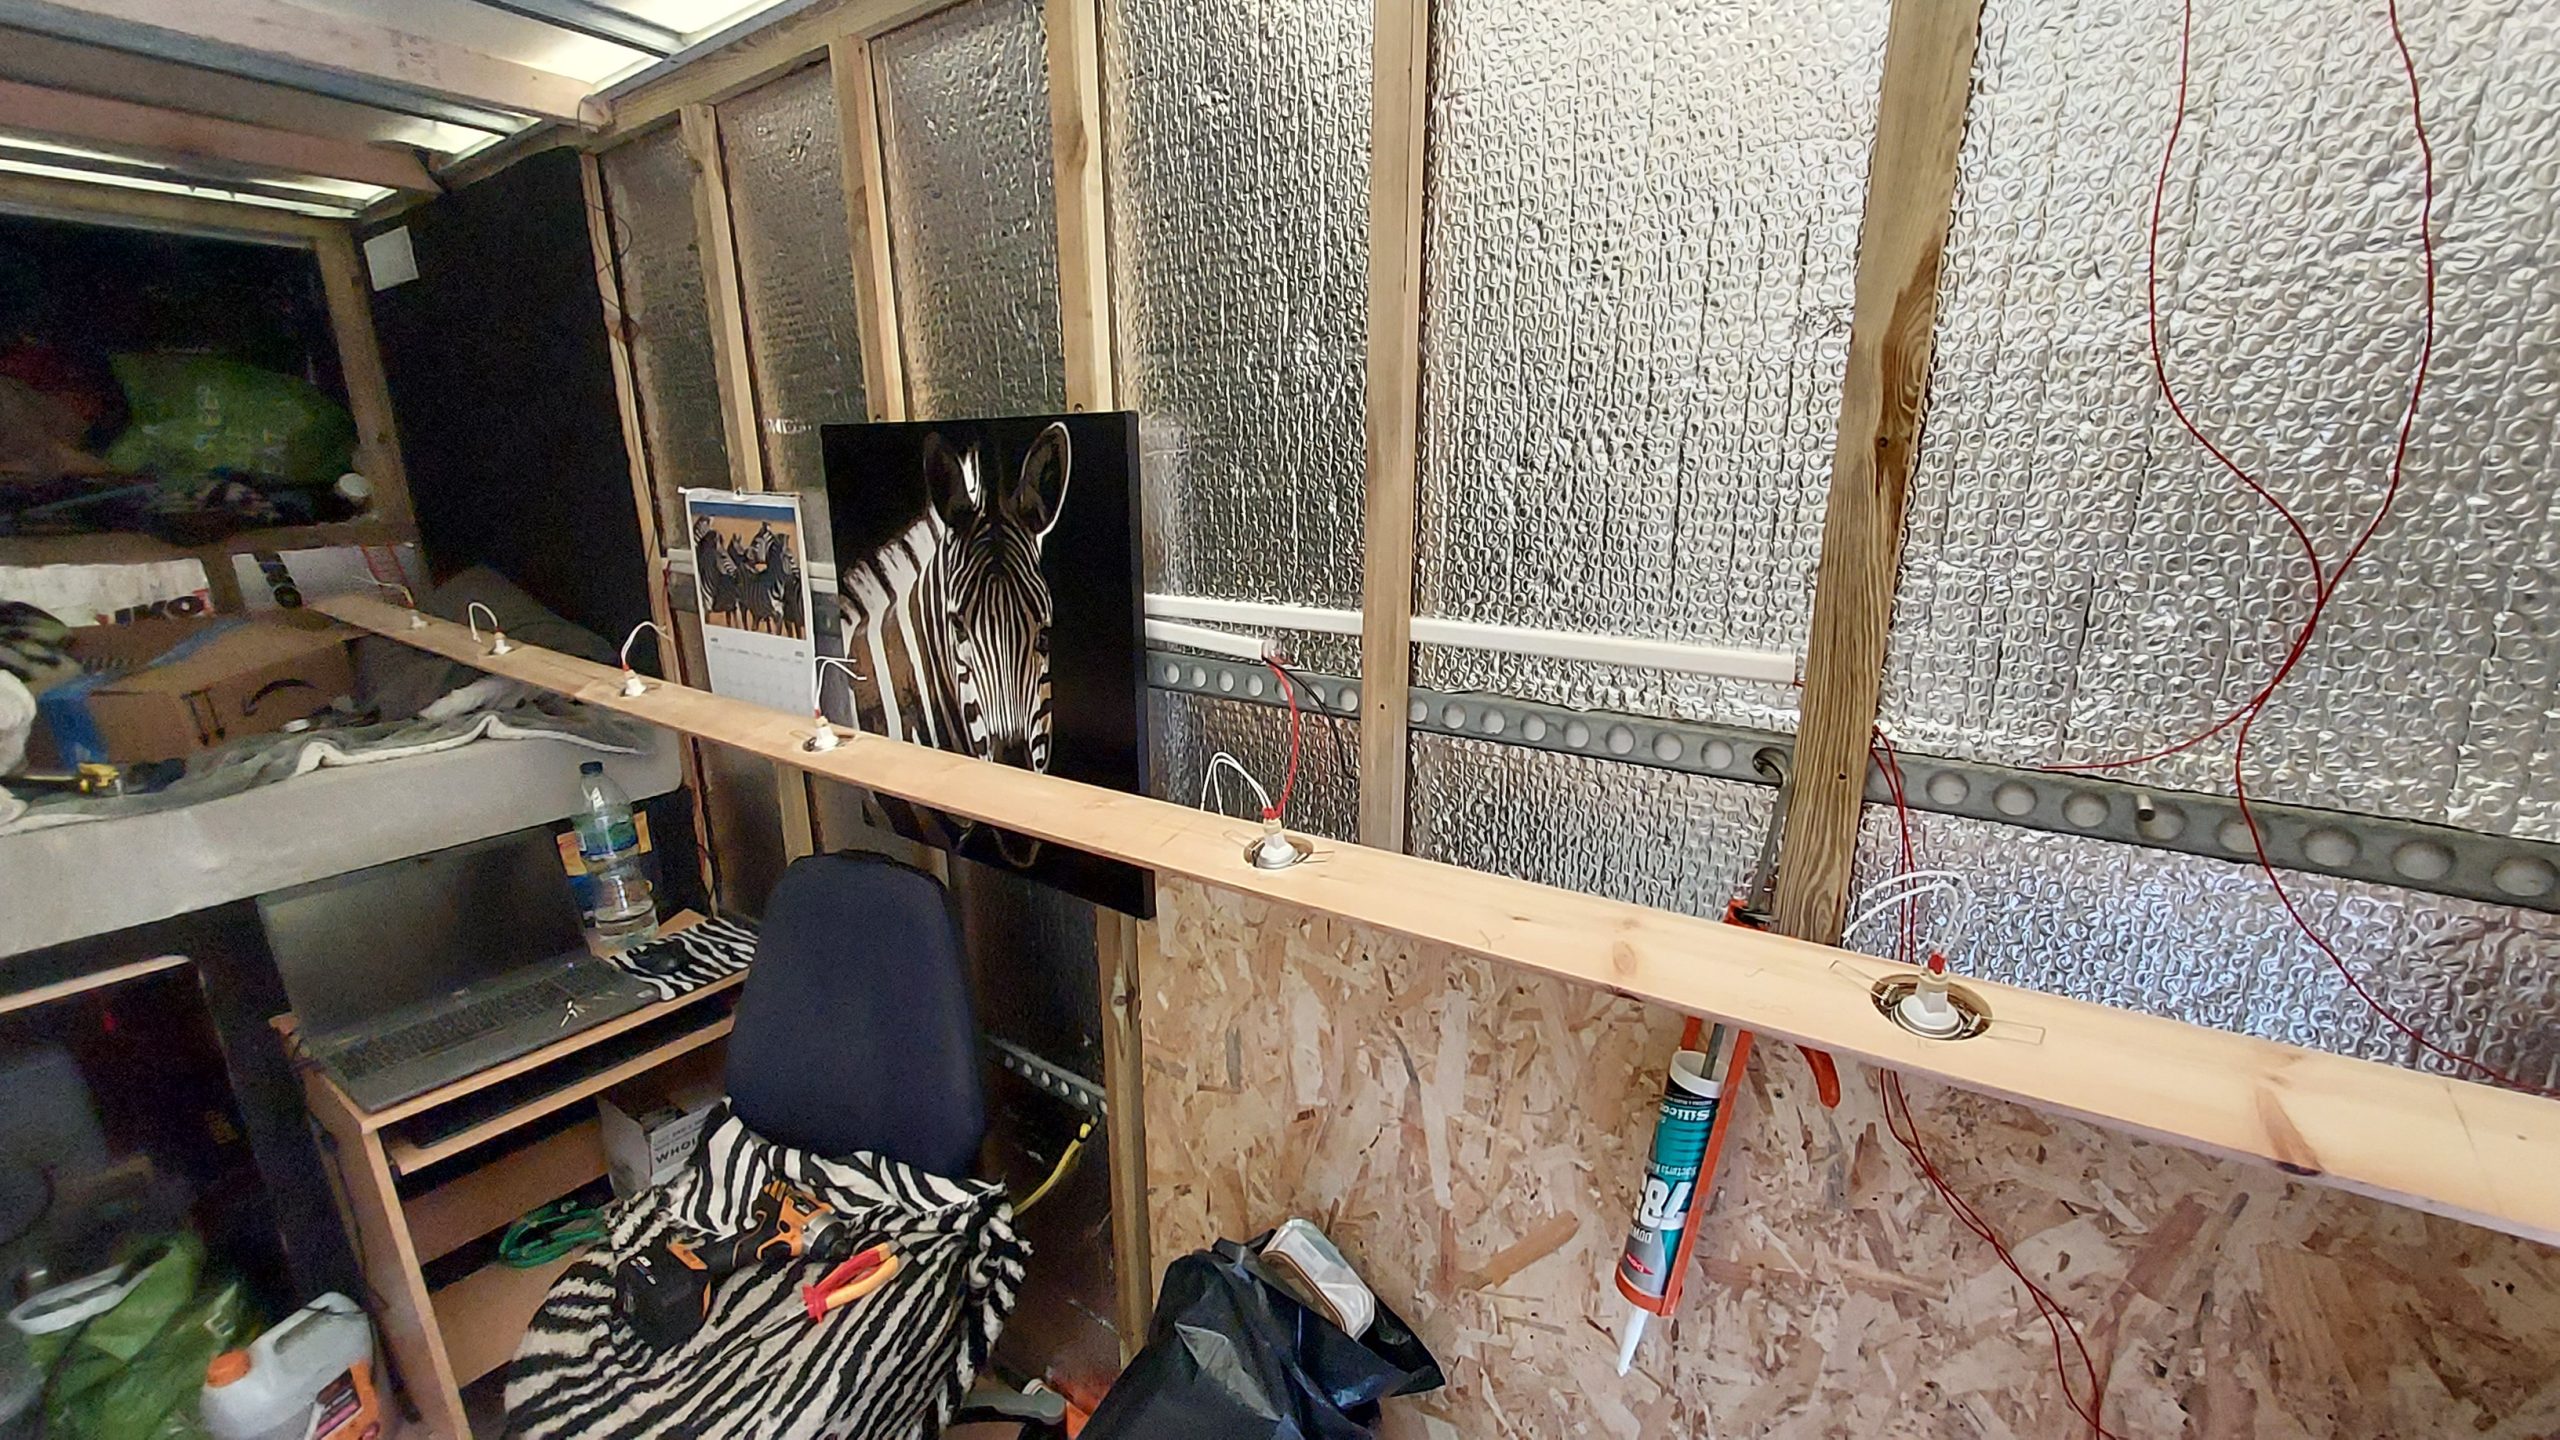
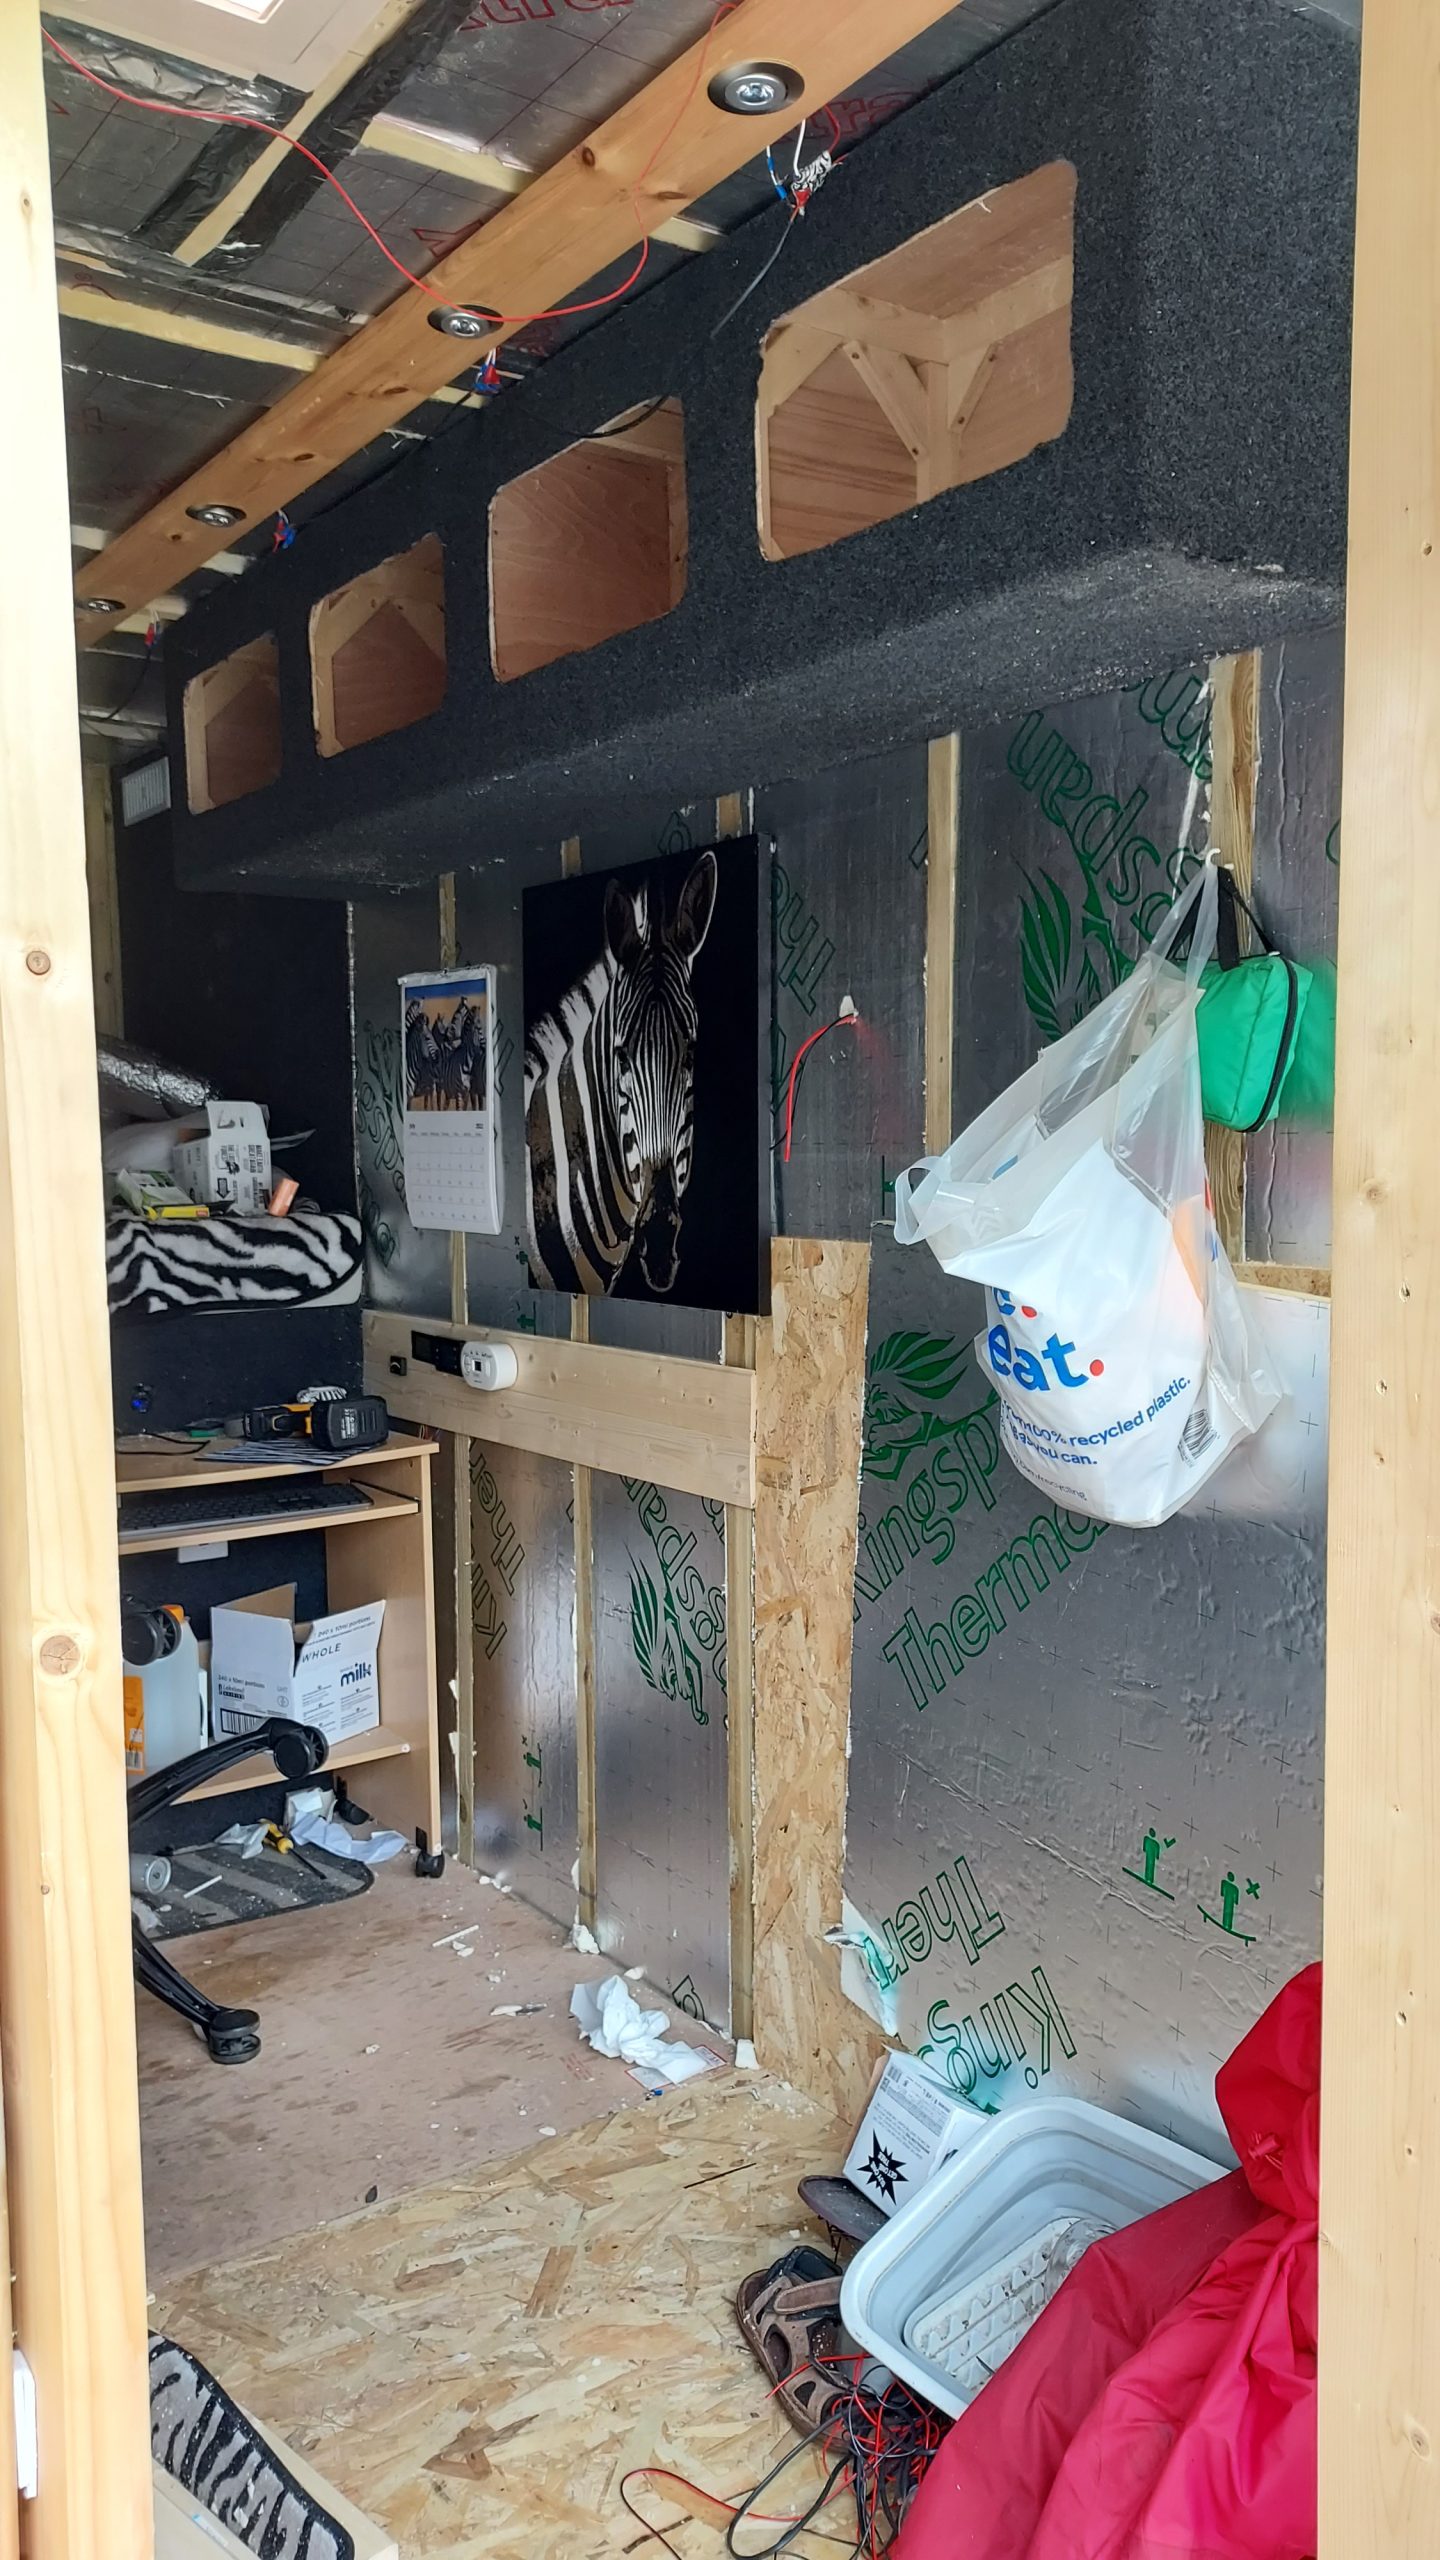
Ceiling CLS
Added CLS to the ceiling to support the cladding and insulation for the ceiling.
Read More
Power!
Wiring done for the 12v sockets and marine USB sockets, turning the breakers on for the first time and charging my phone.
Read More
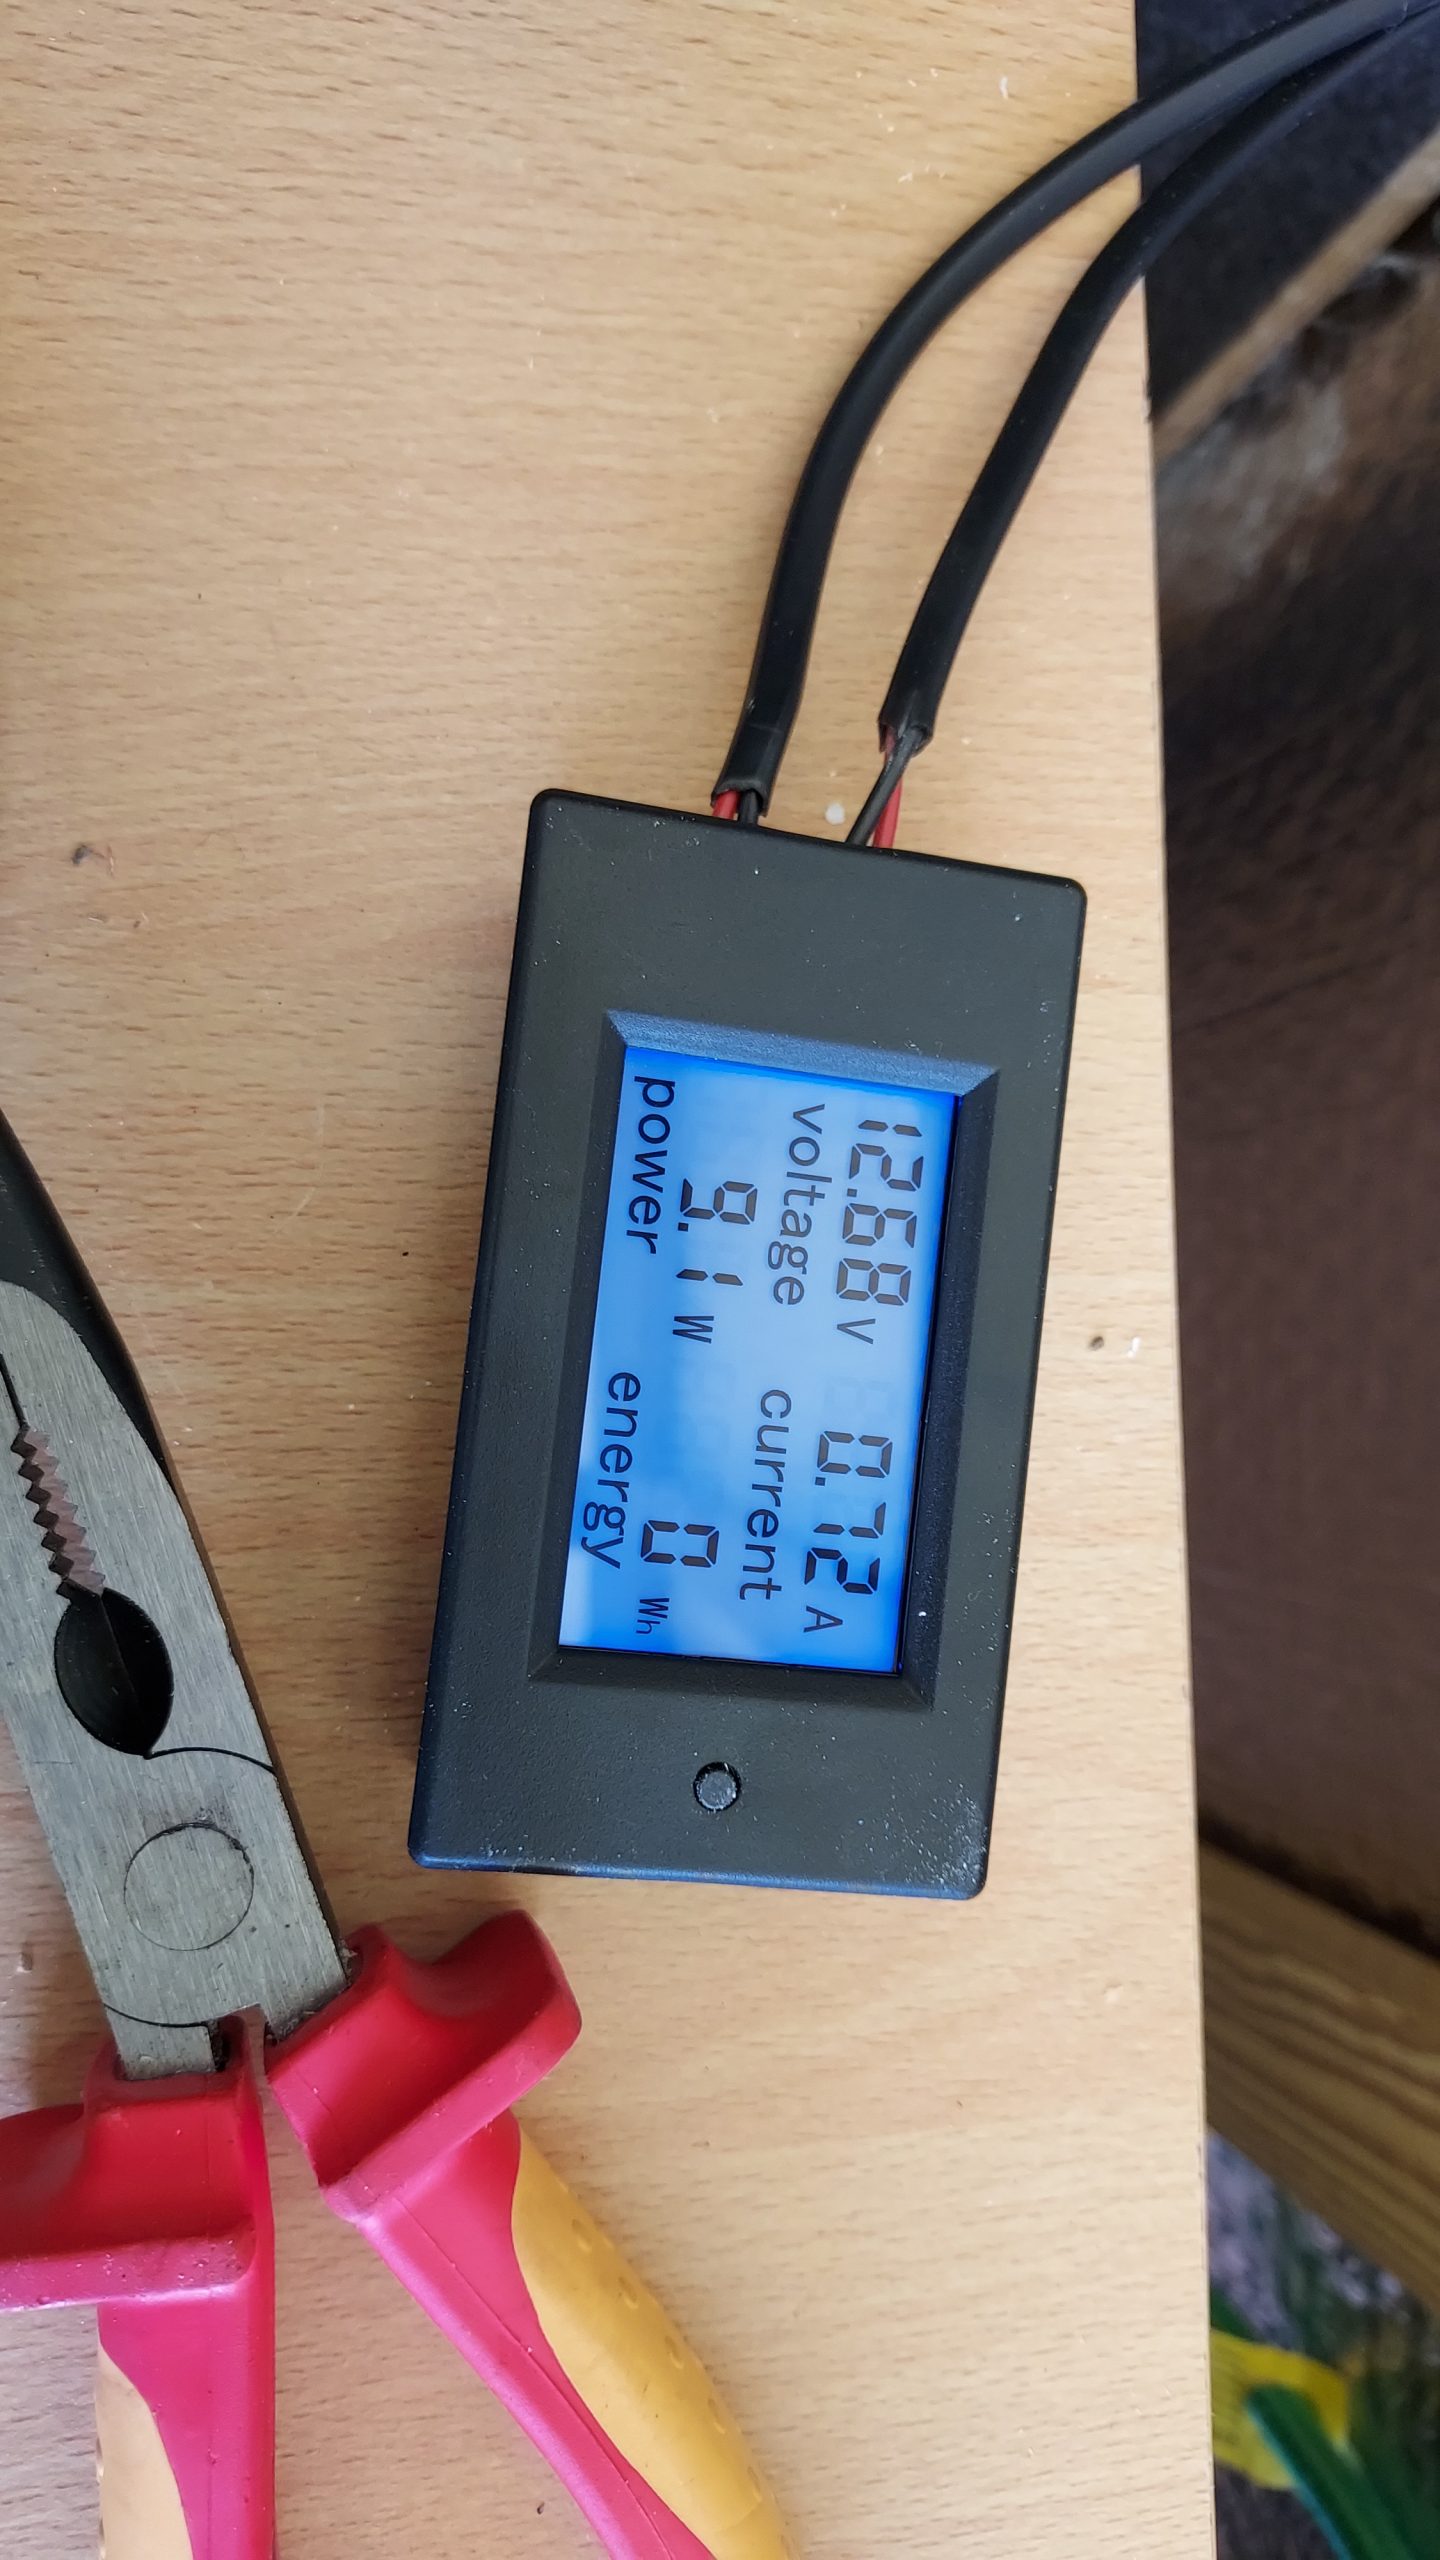
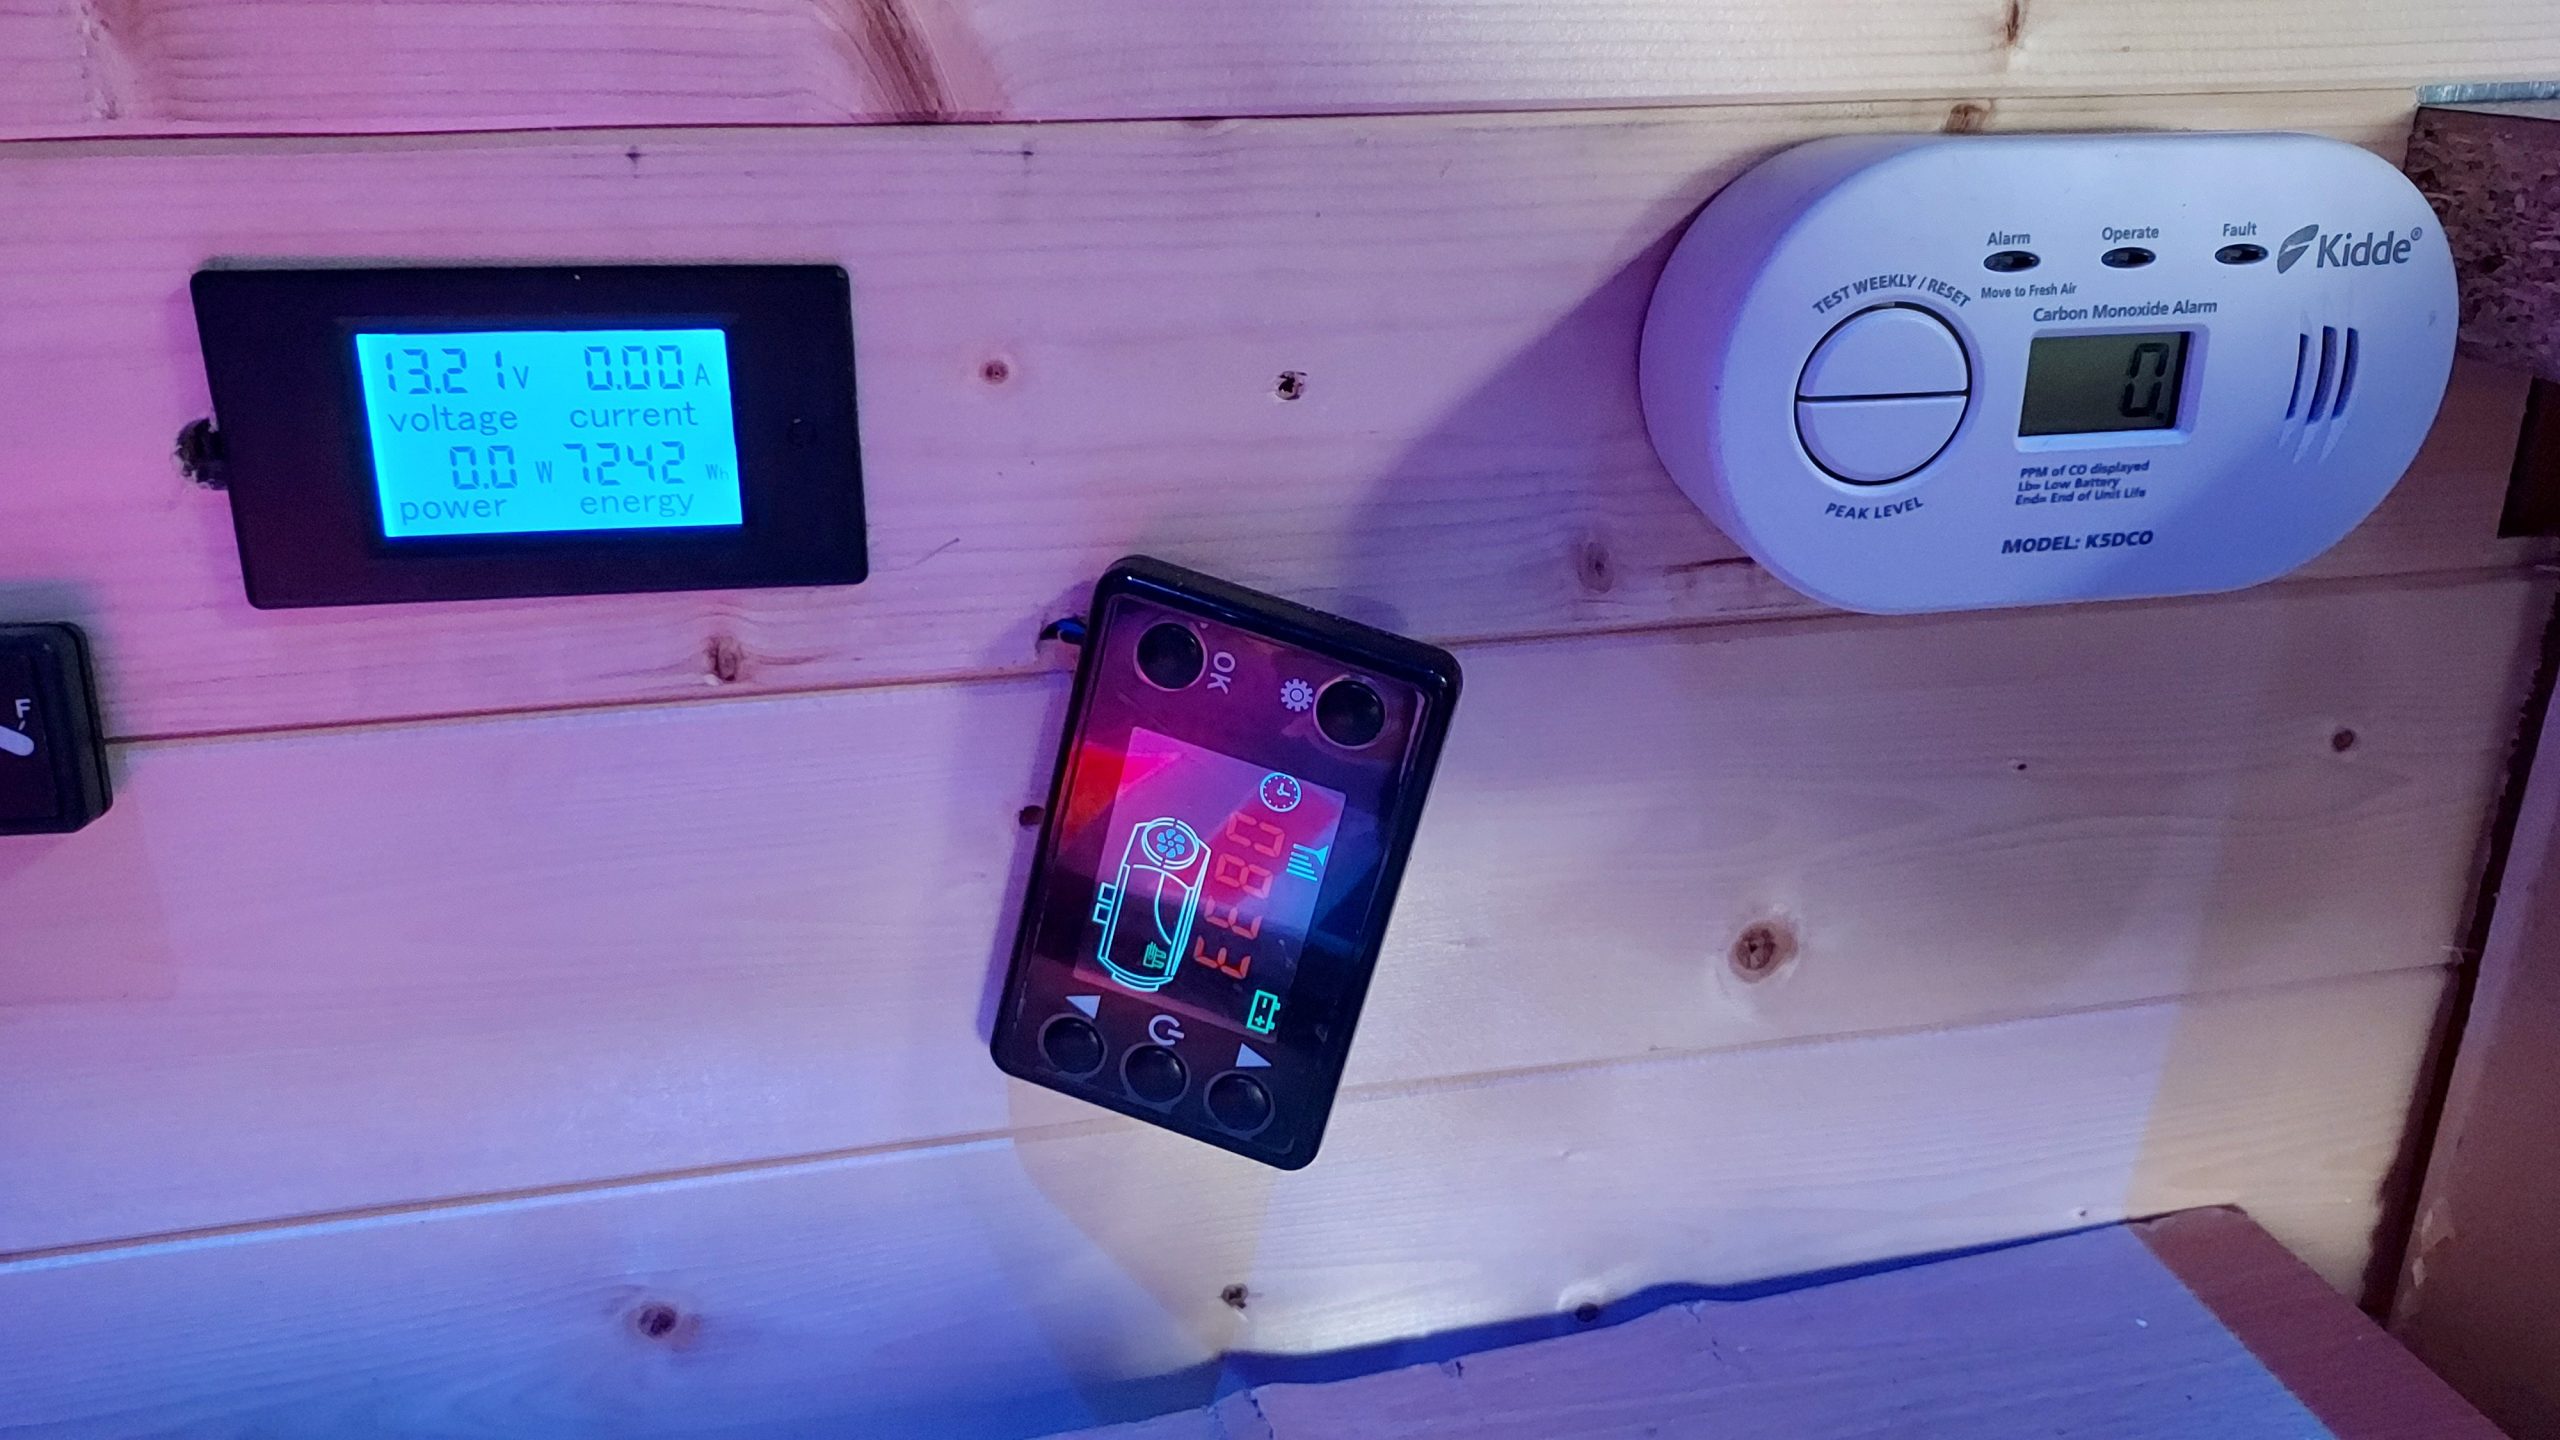
Shunt installed
Shunt installed, now able to monitor wattage / amperage usage as well as voltage.
Read More
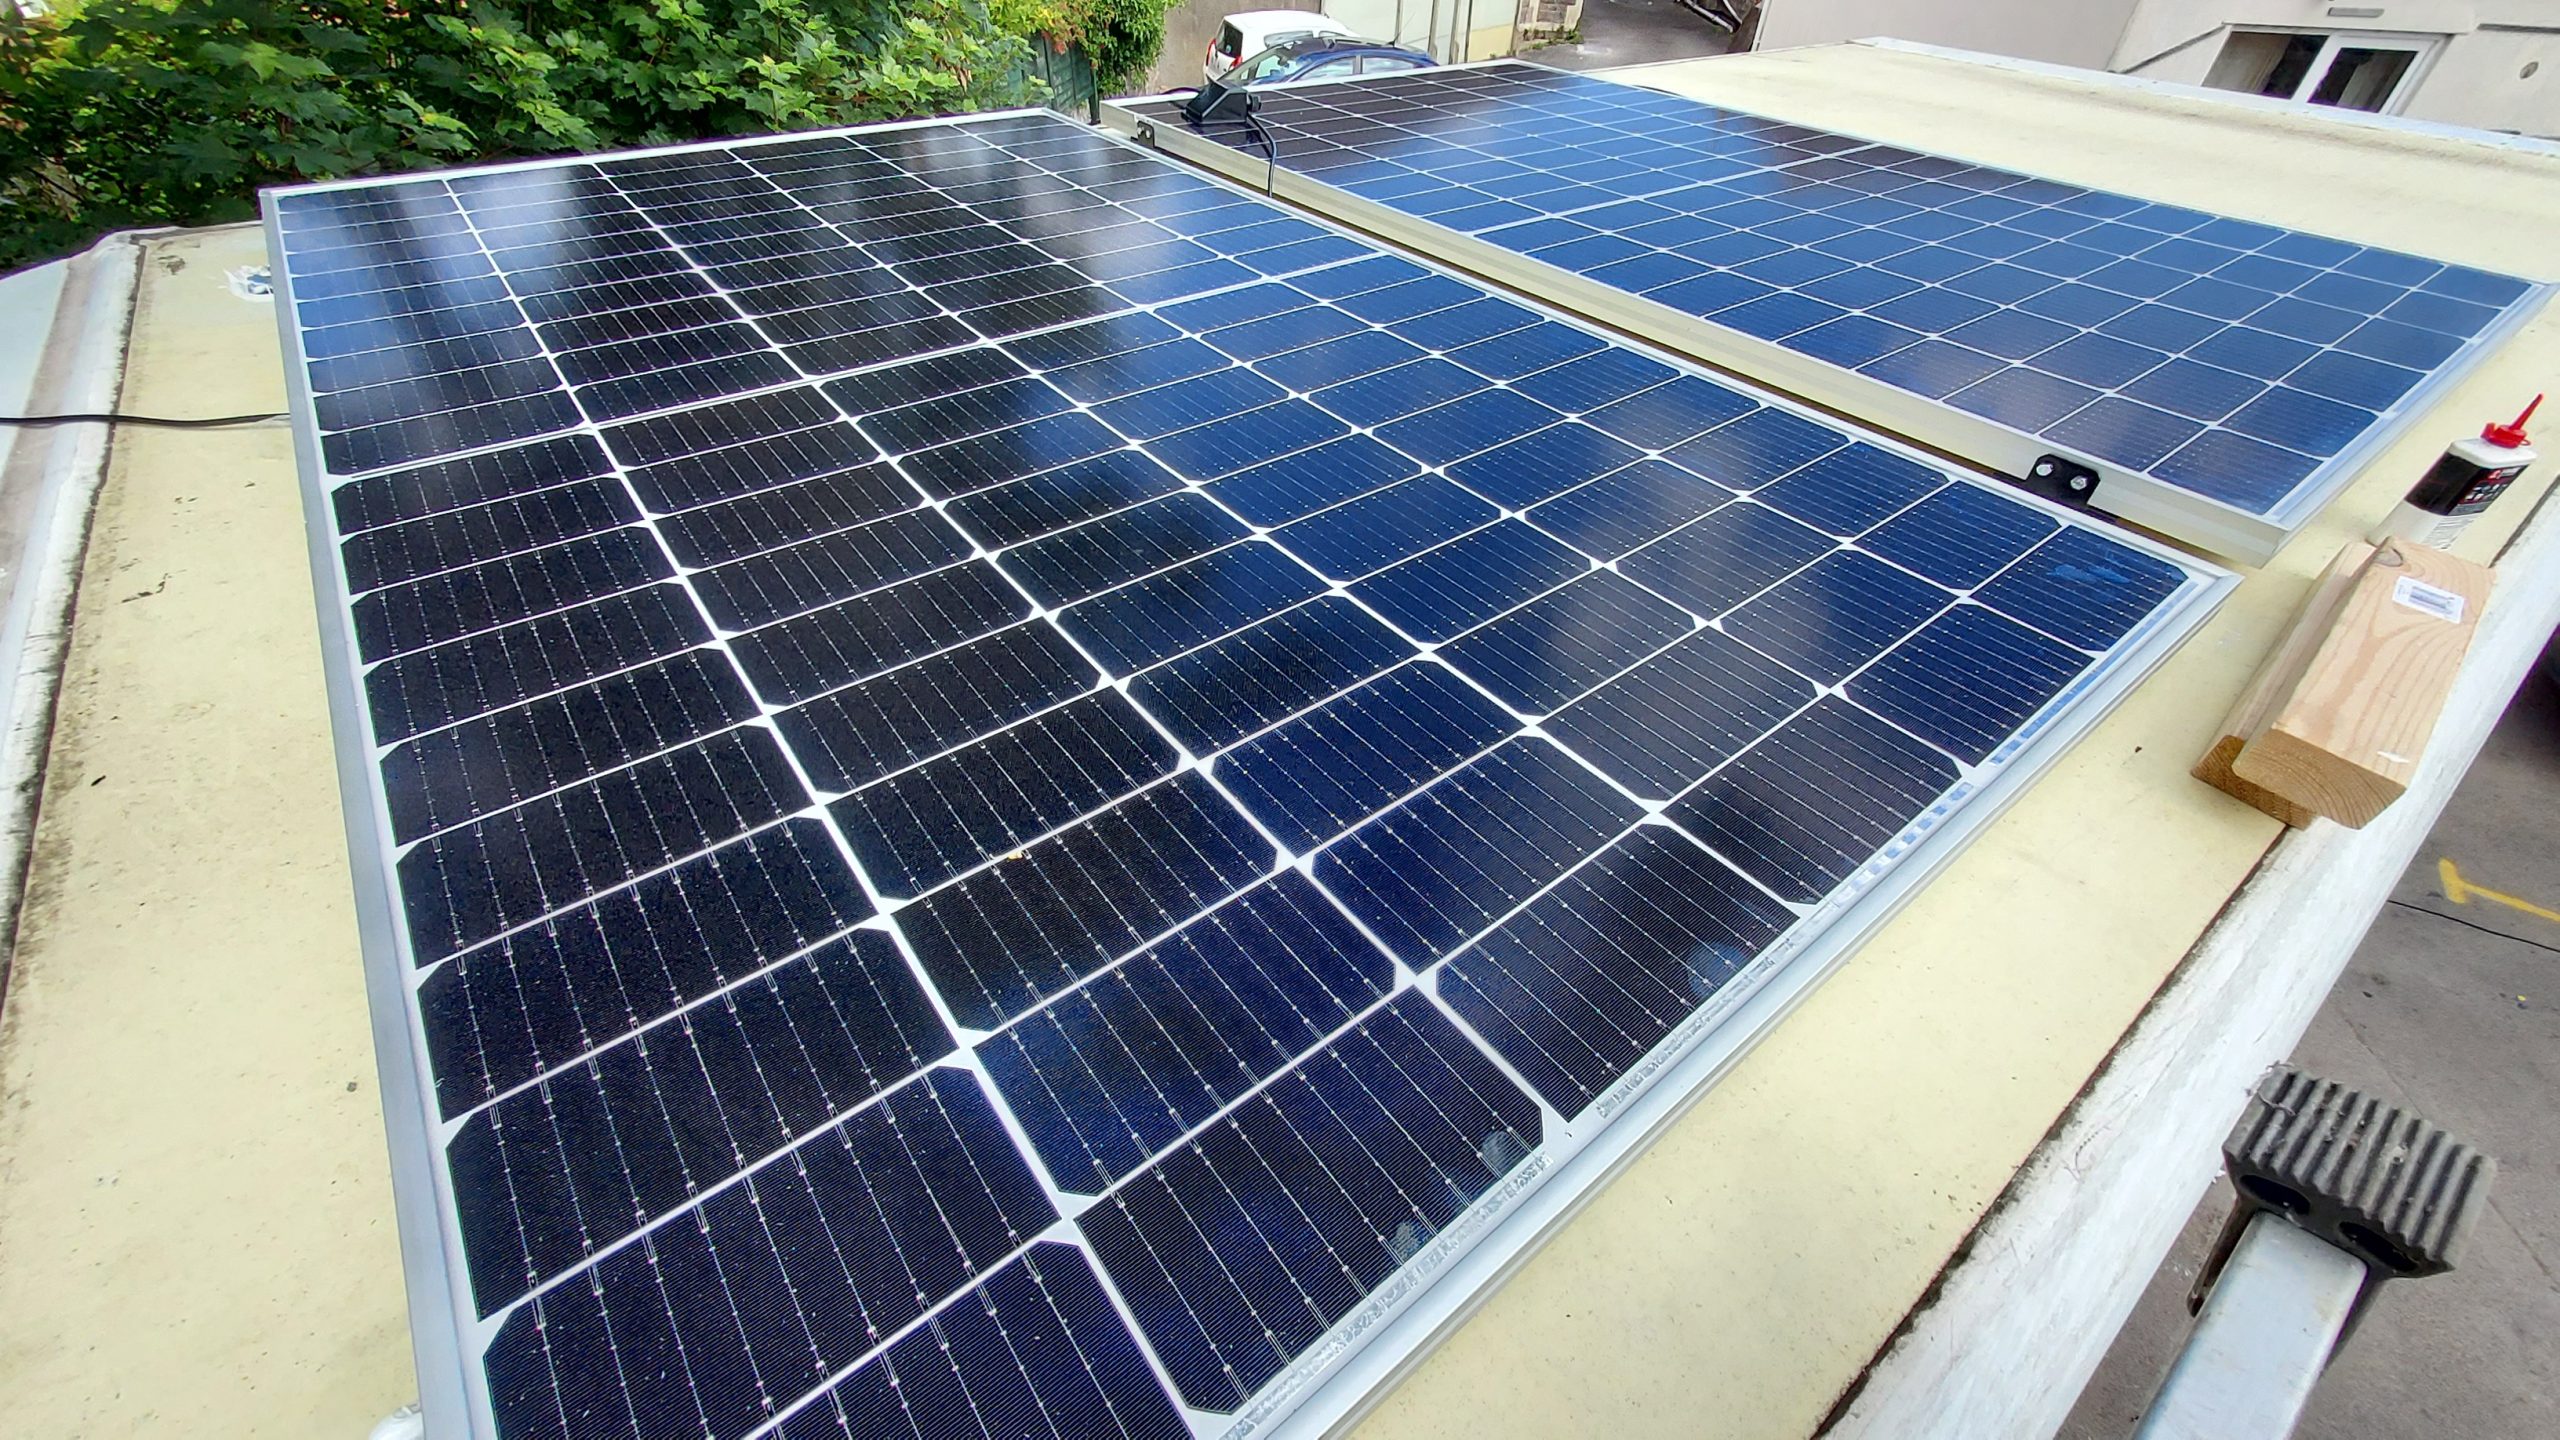
Panels installed
Absolutely monster job, 2x 400W heavy panels. Underneath the roof is 4x of metal box section, bolted to the strong Luton box frame. Solar panels
Read More


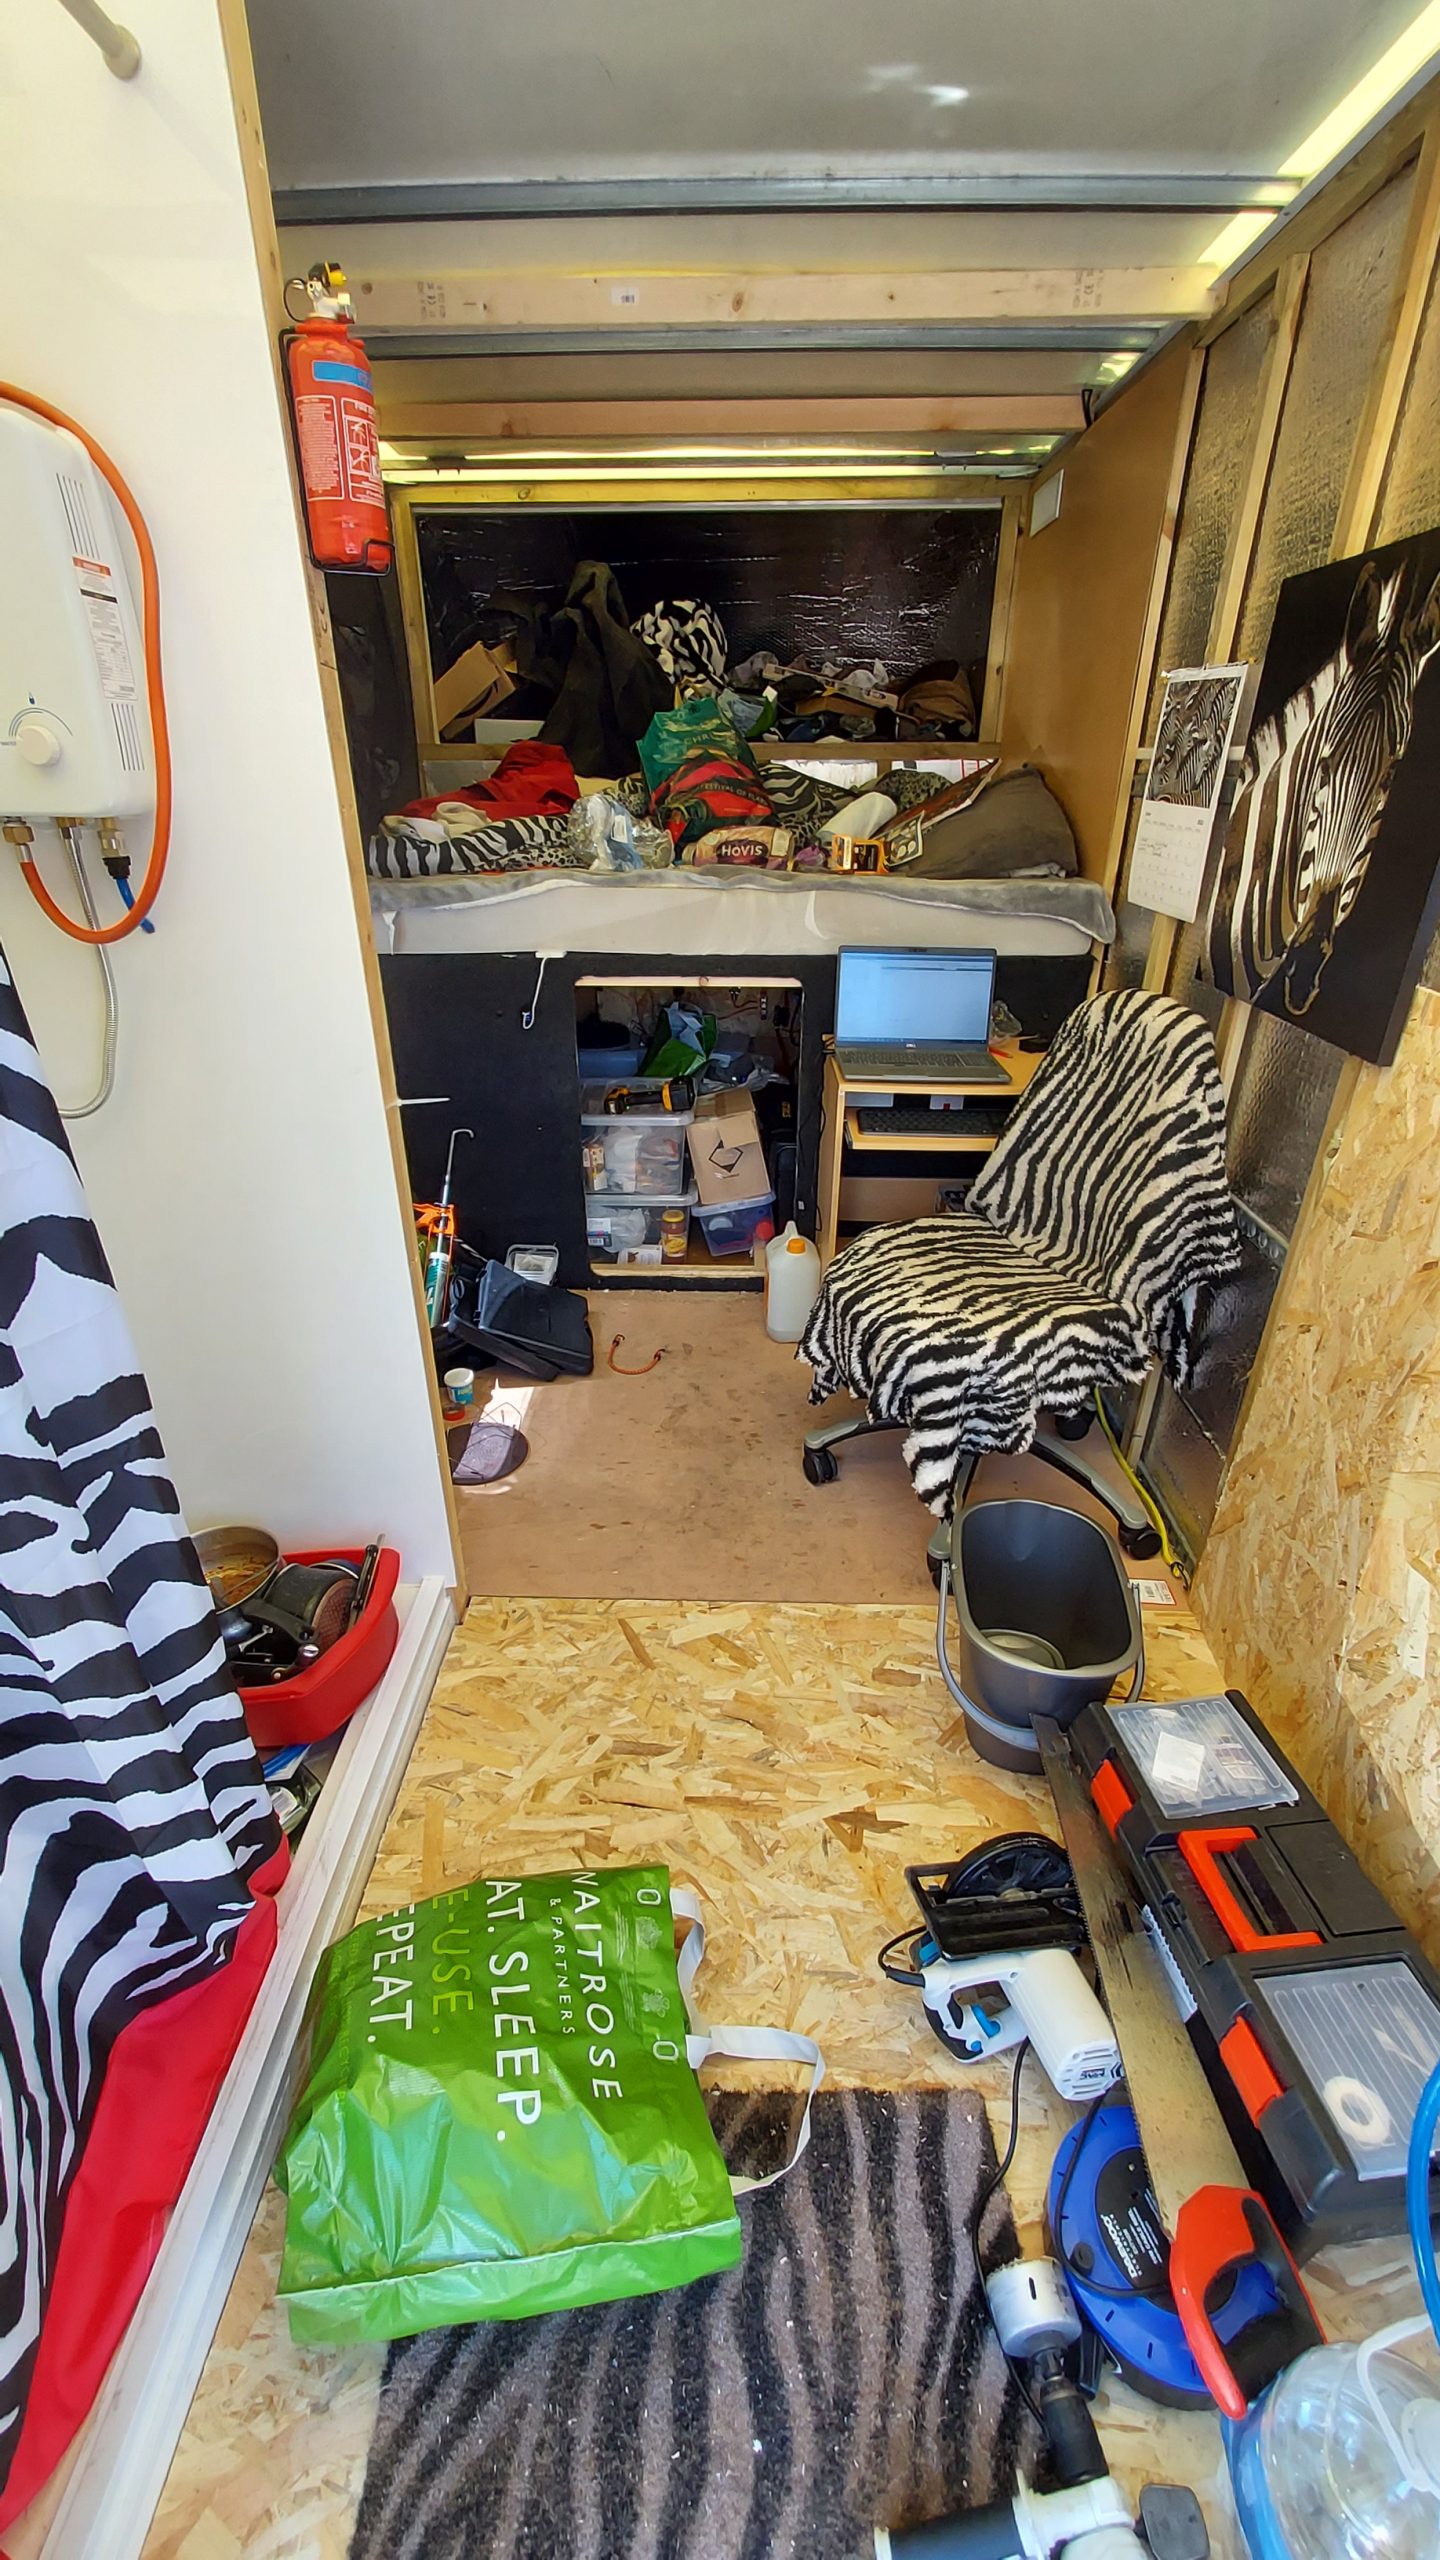
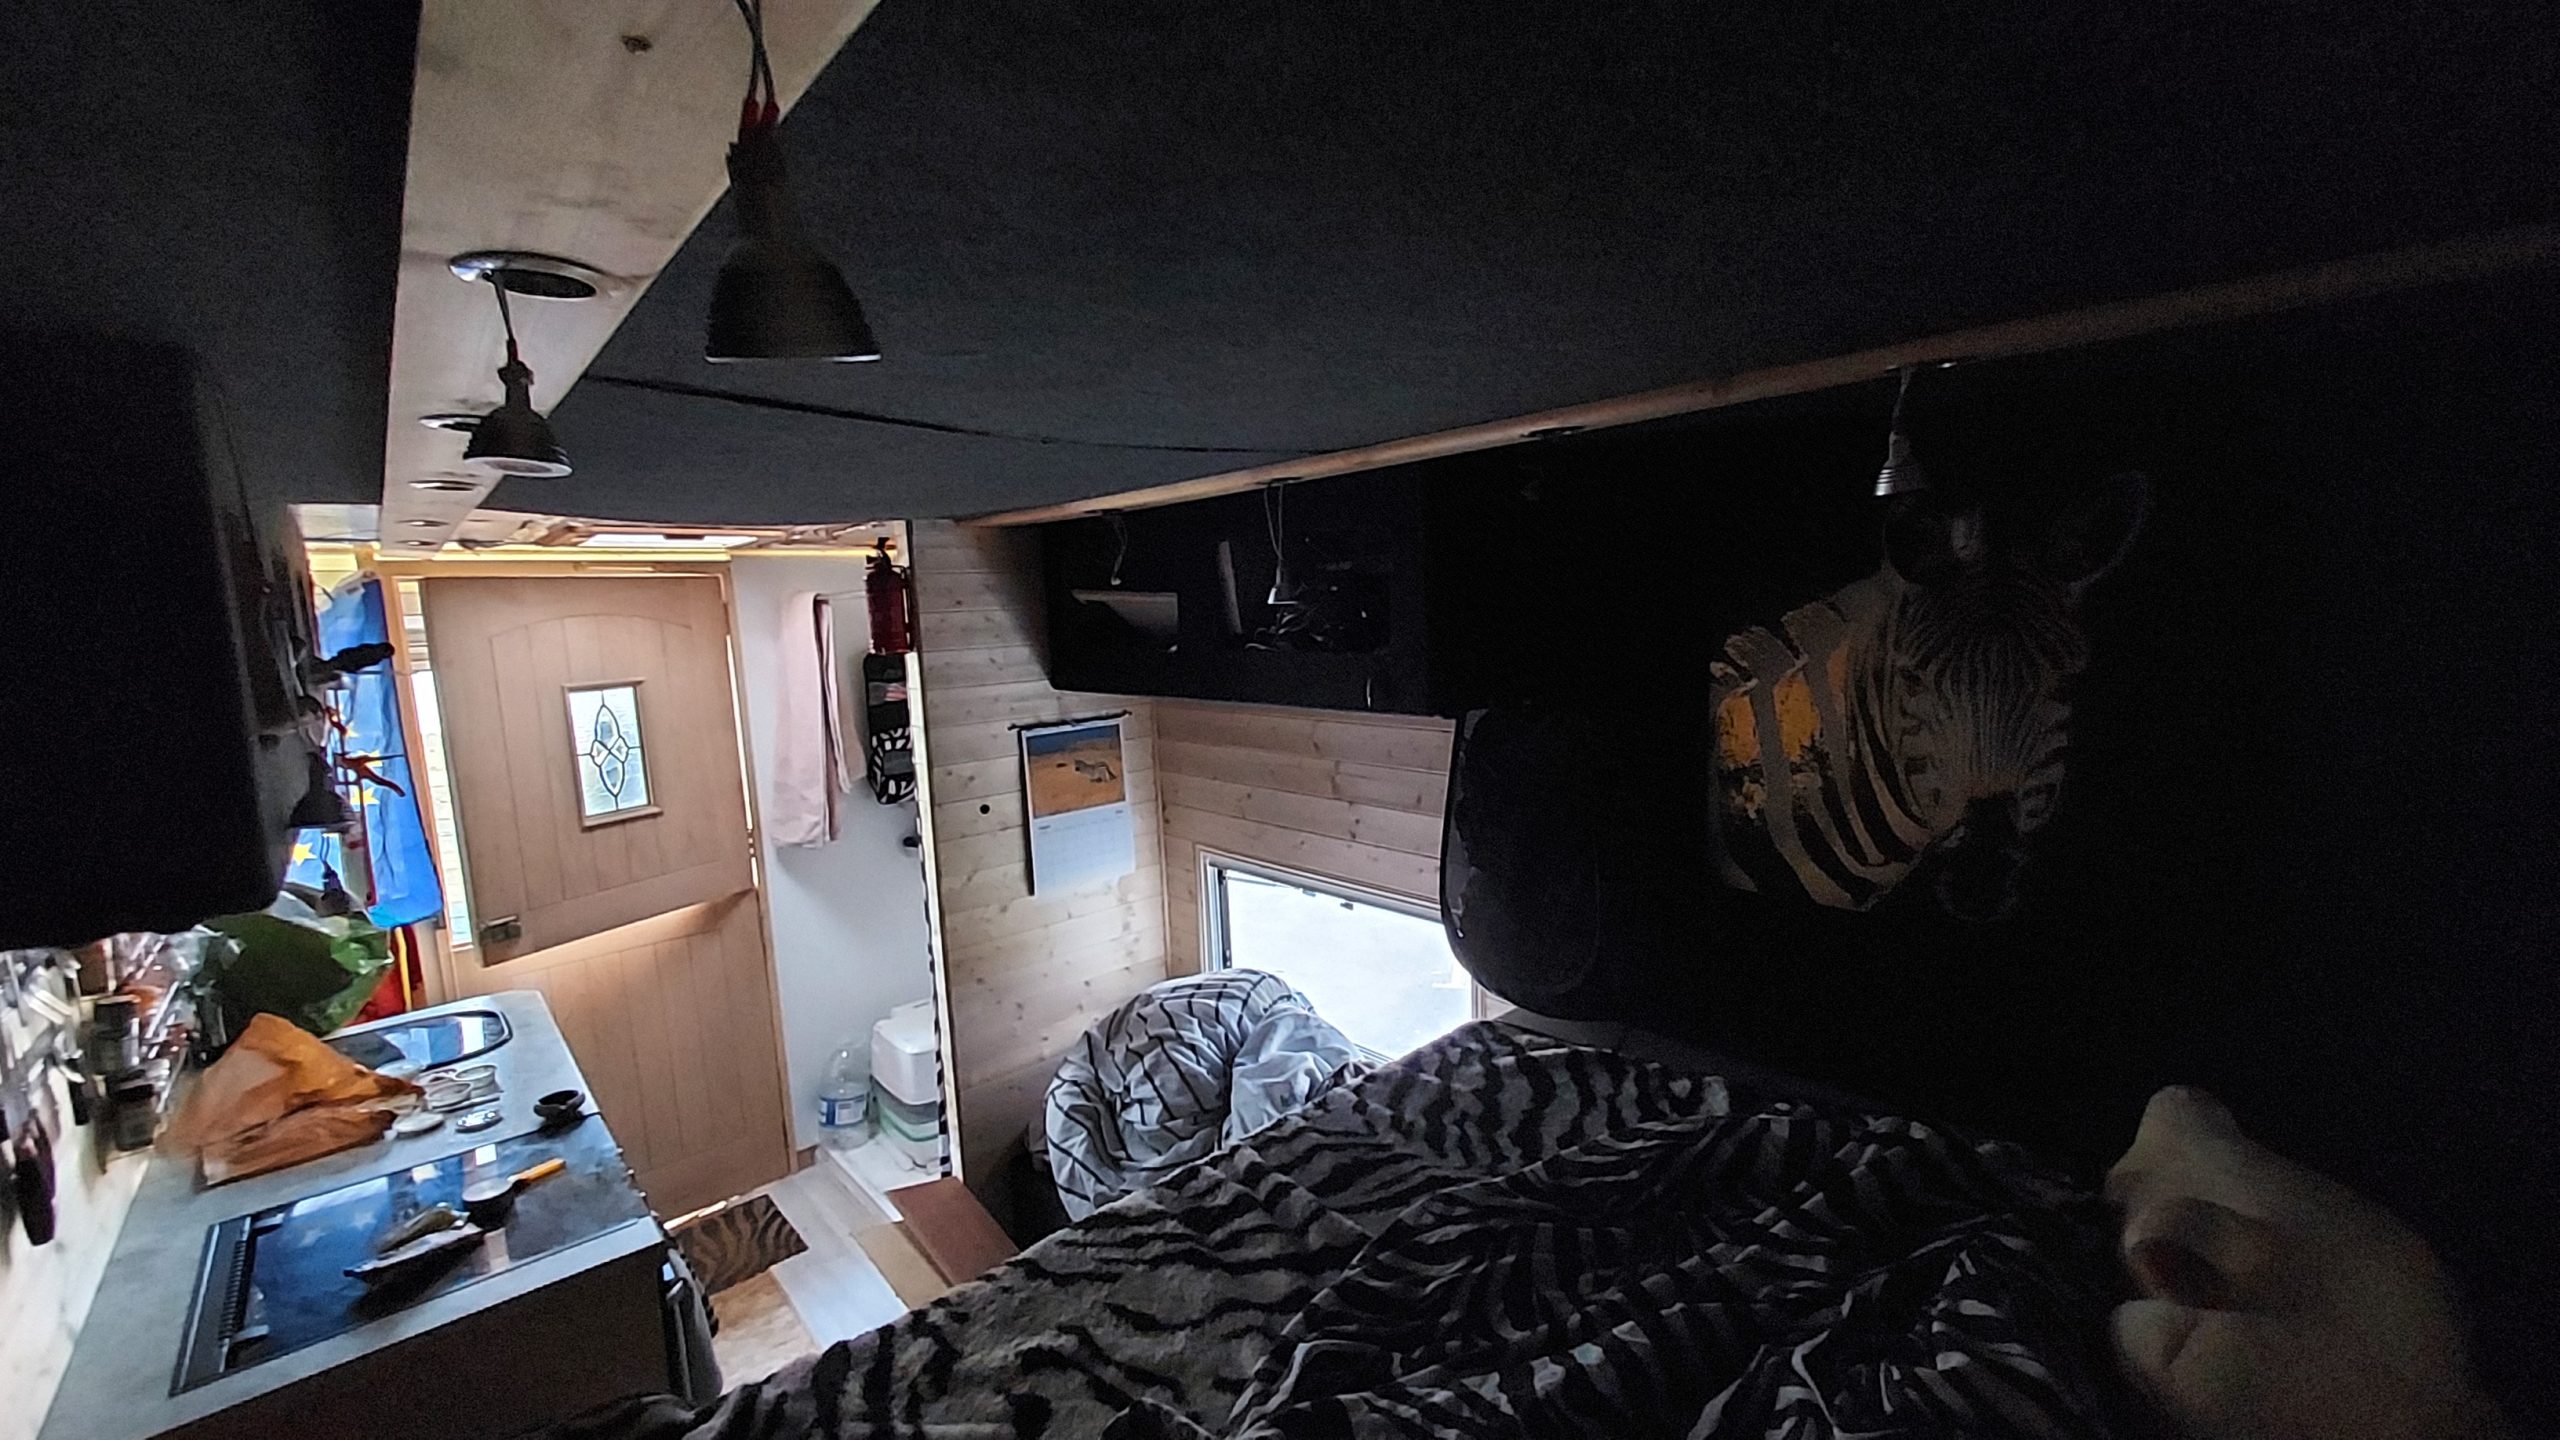
Updated view
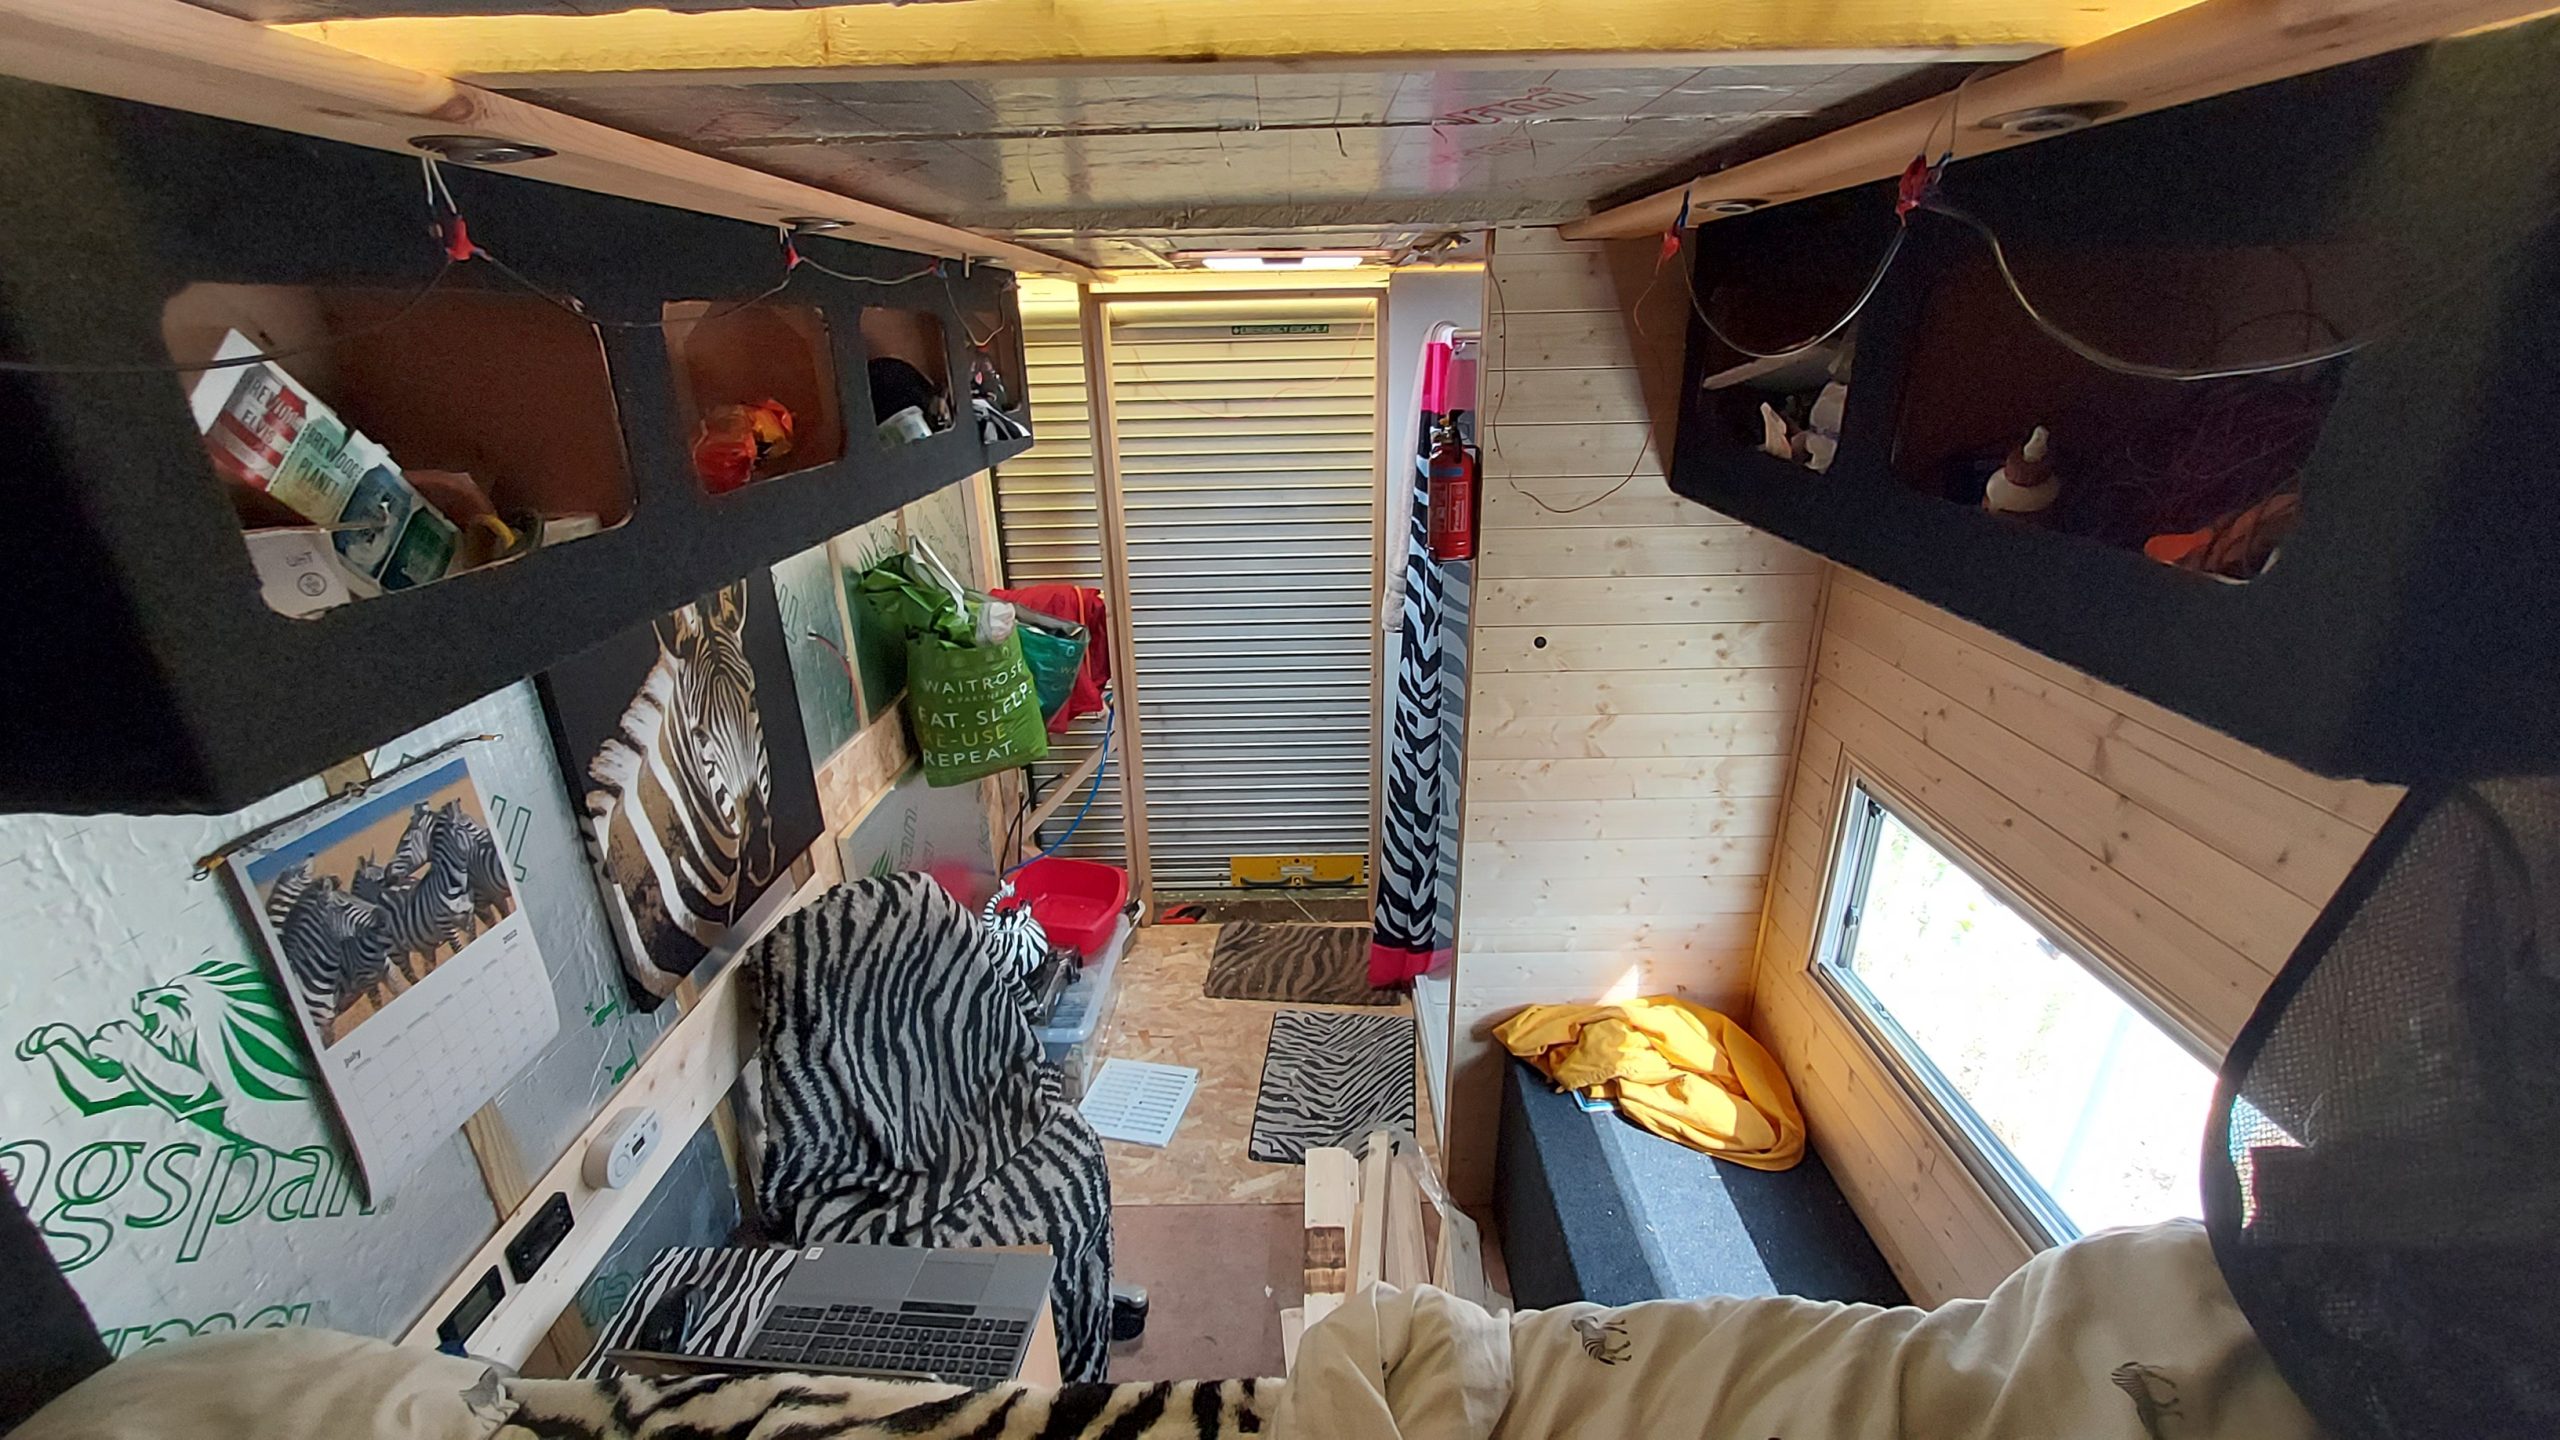
I was practically living out of the box down by the bed and some plastic boxes under the bed at this point, this was a
Read More


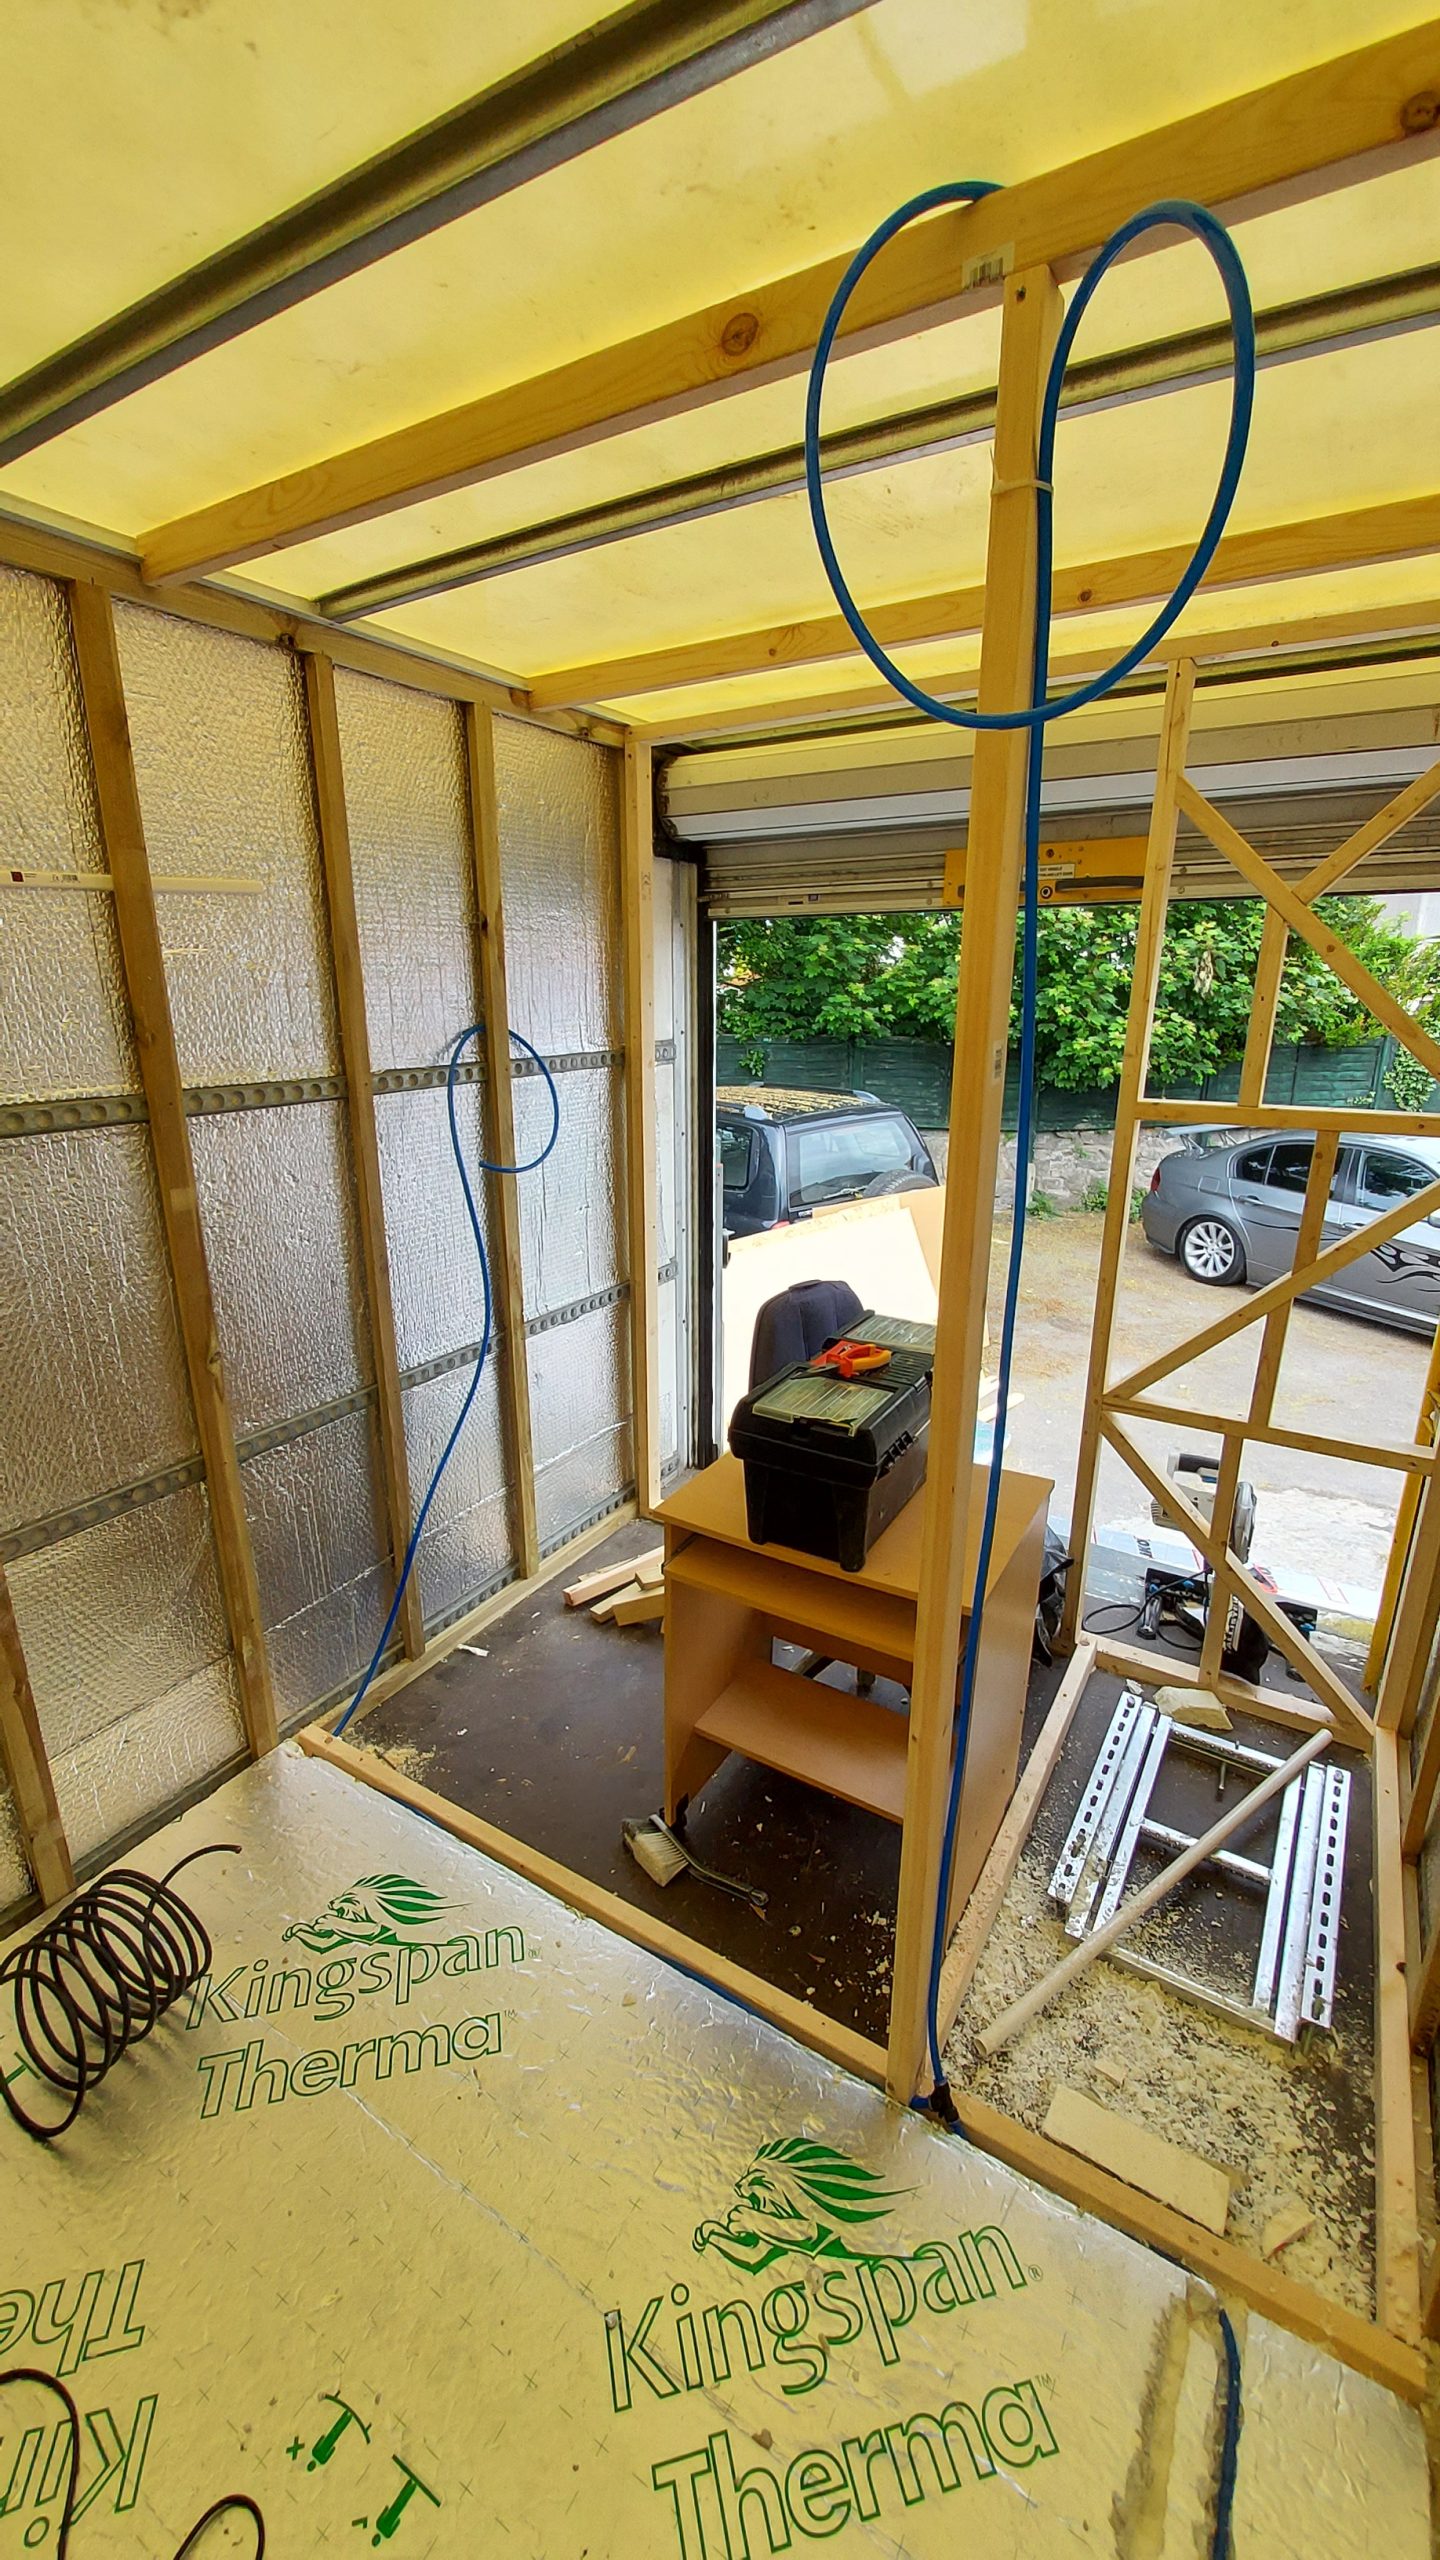
Rear studwork
Building the studwork to go the other side of the door which I’ve now measured up.
Read More

Rear studwork from inside
Note that the top of this wall is left open with no diagonal bracing, this is where a window will be installed later.
Read More

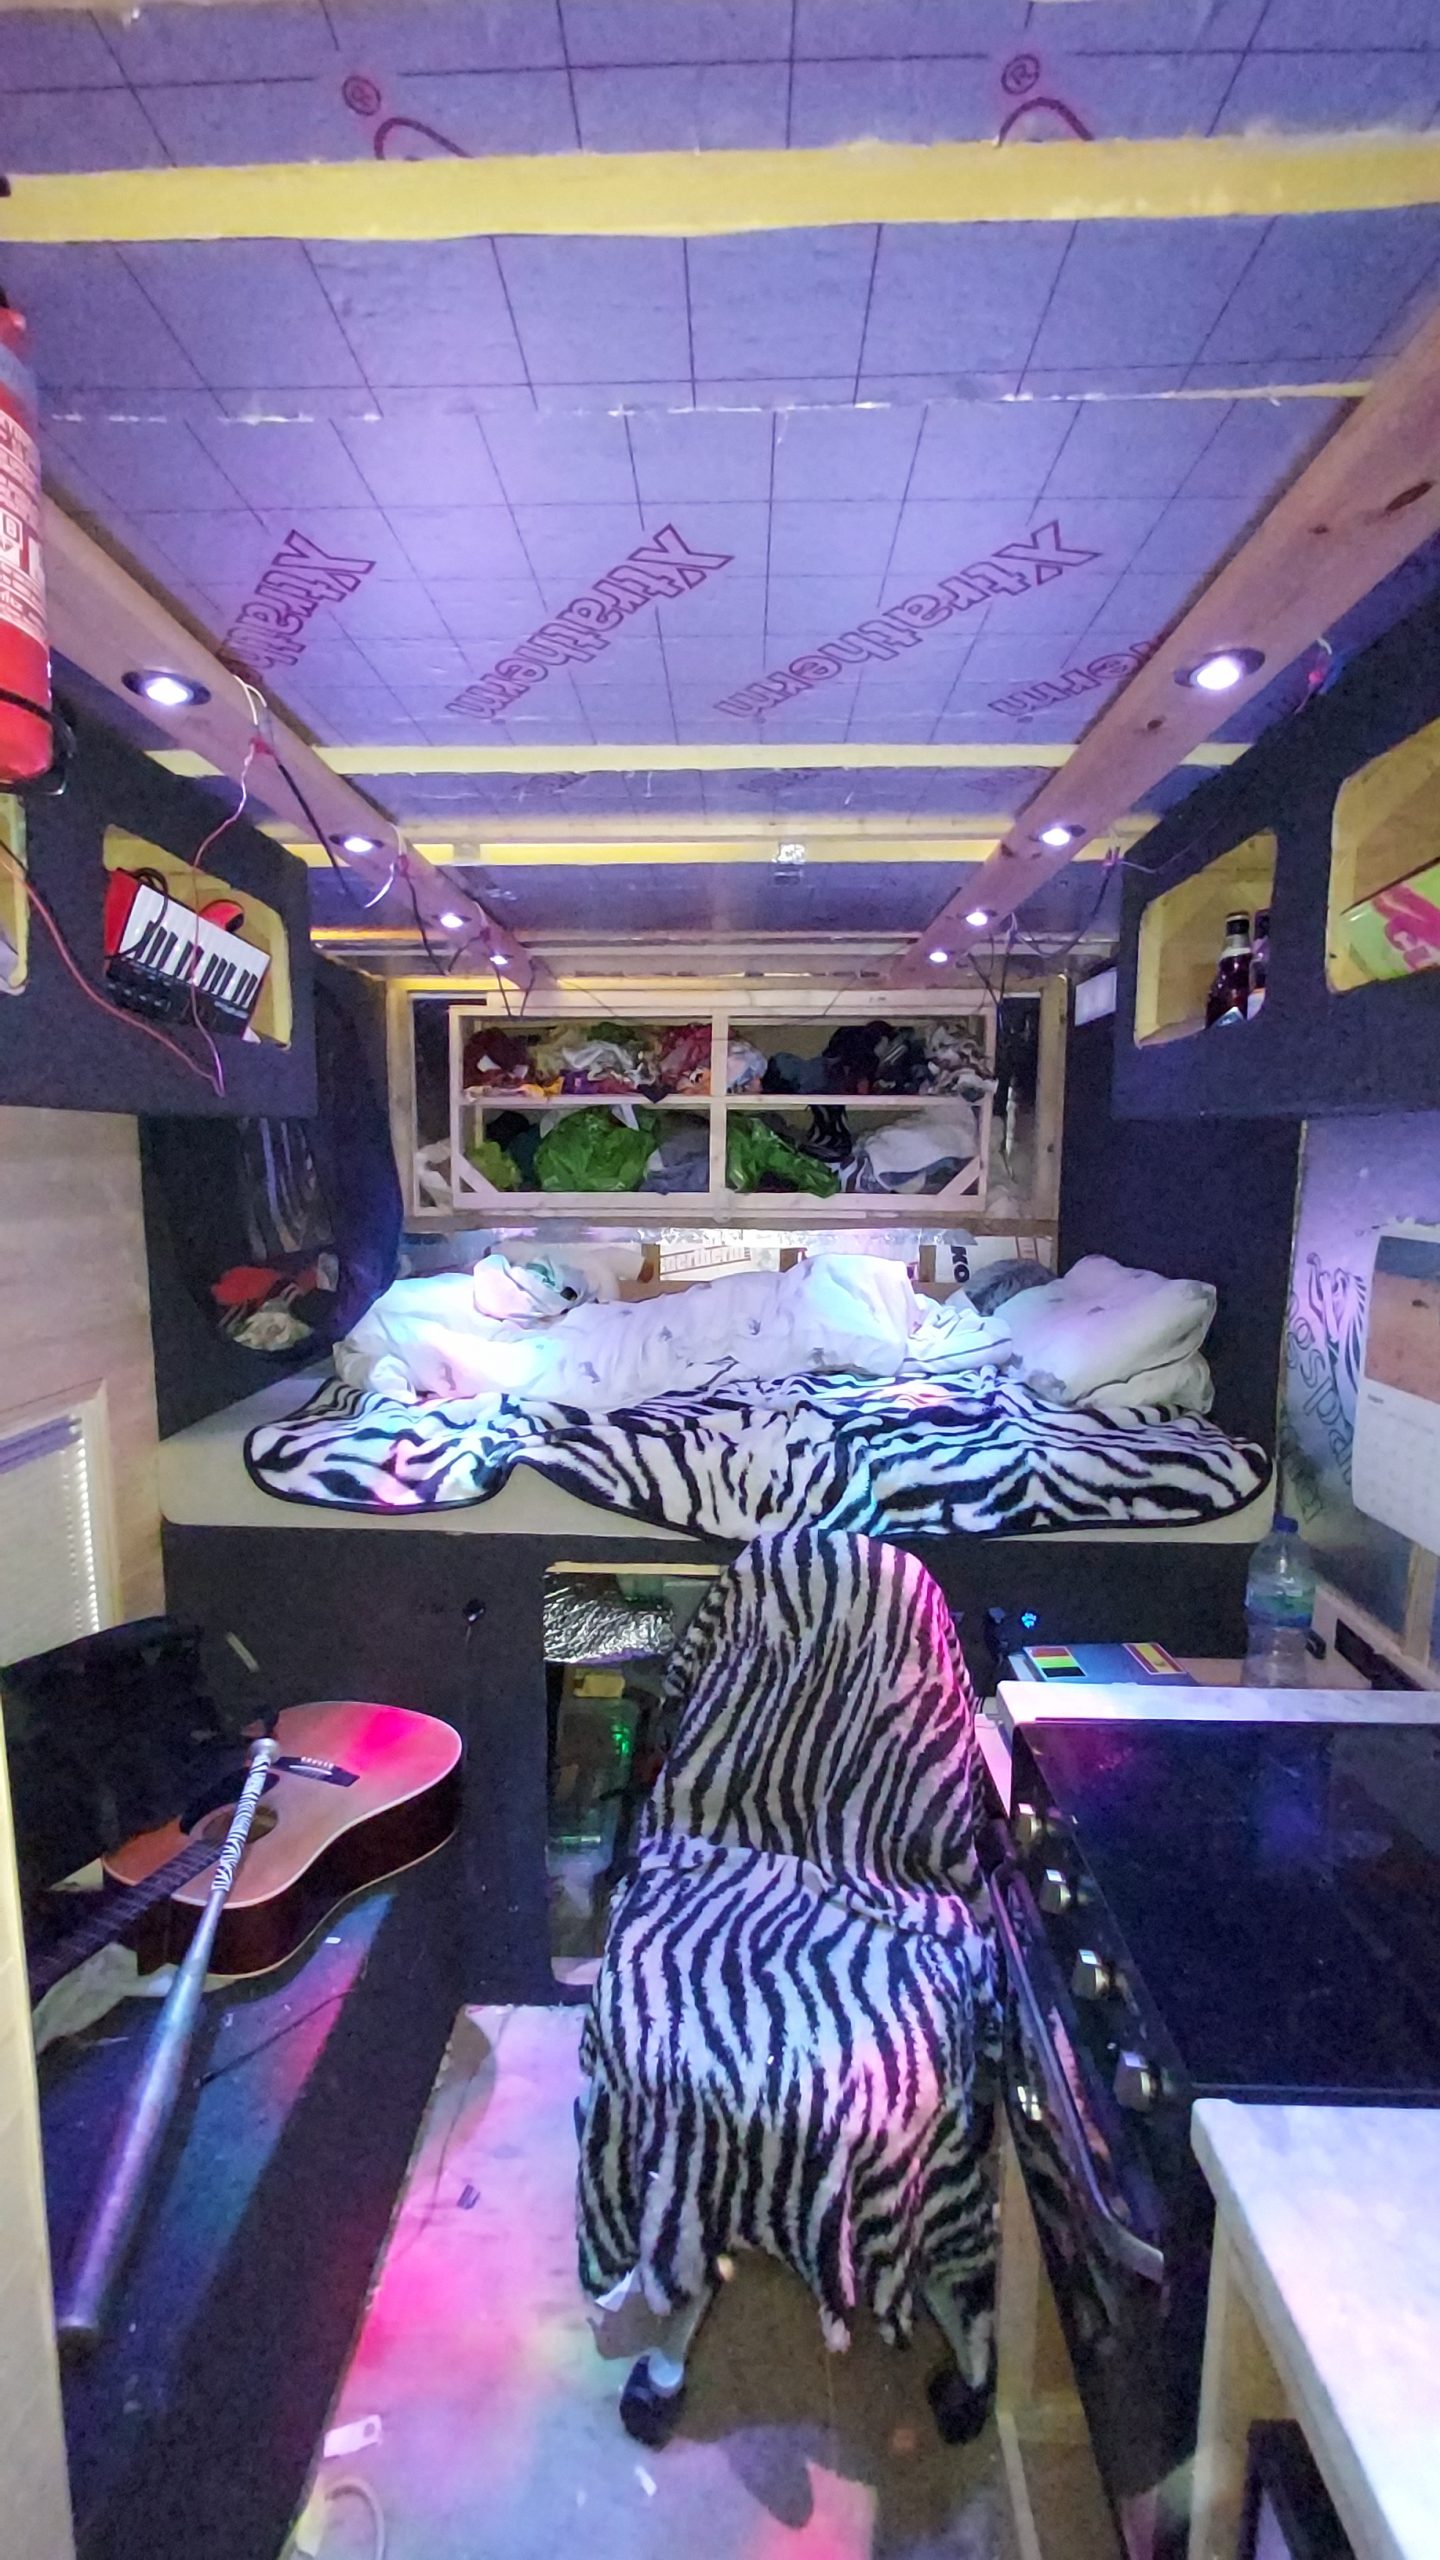
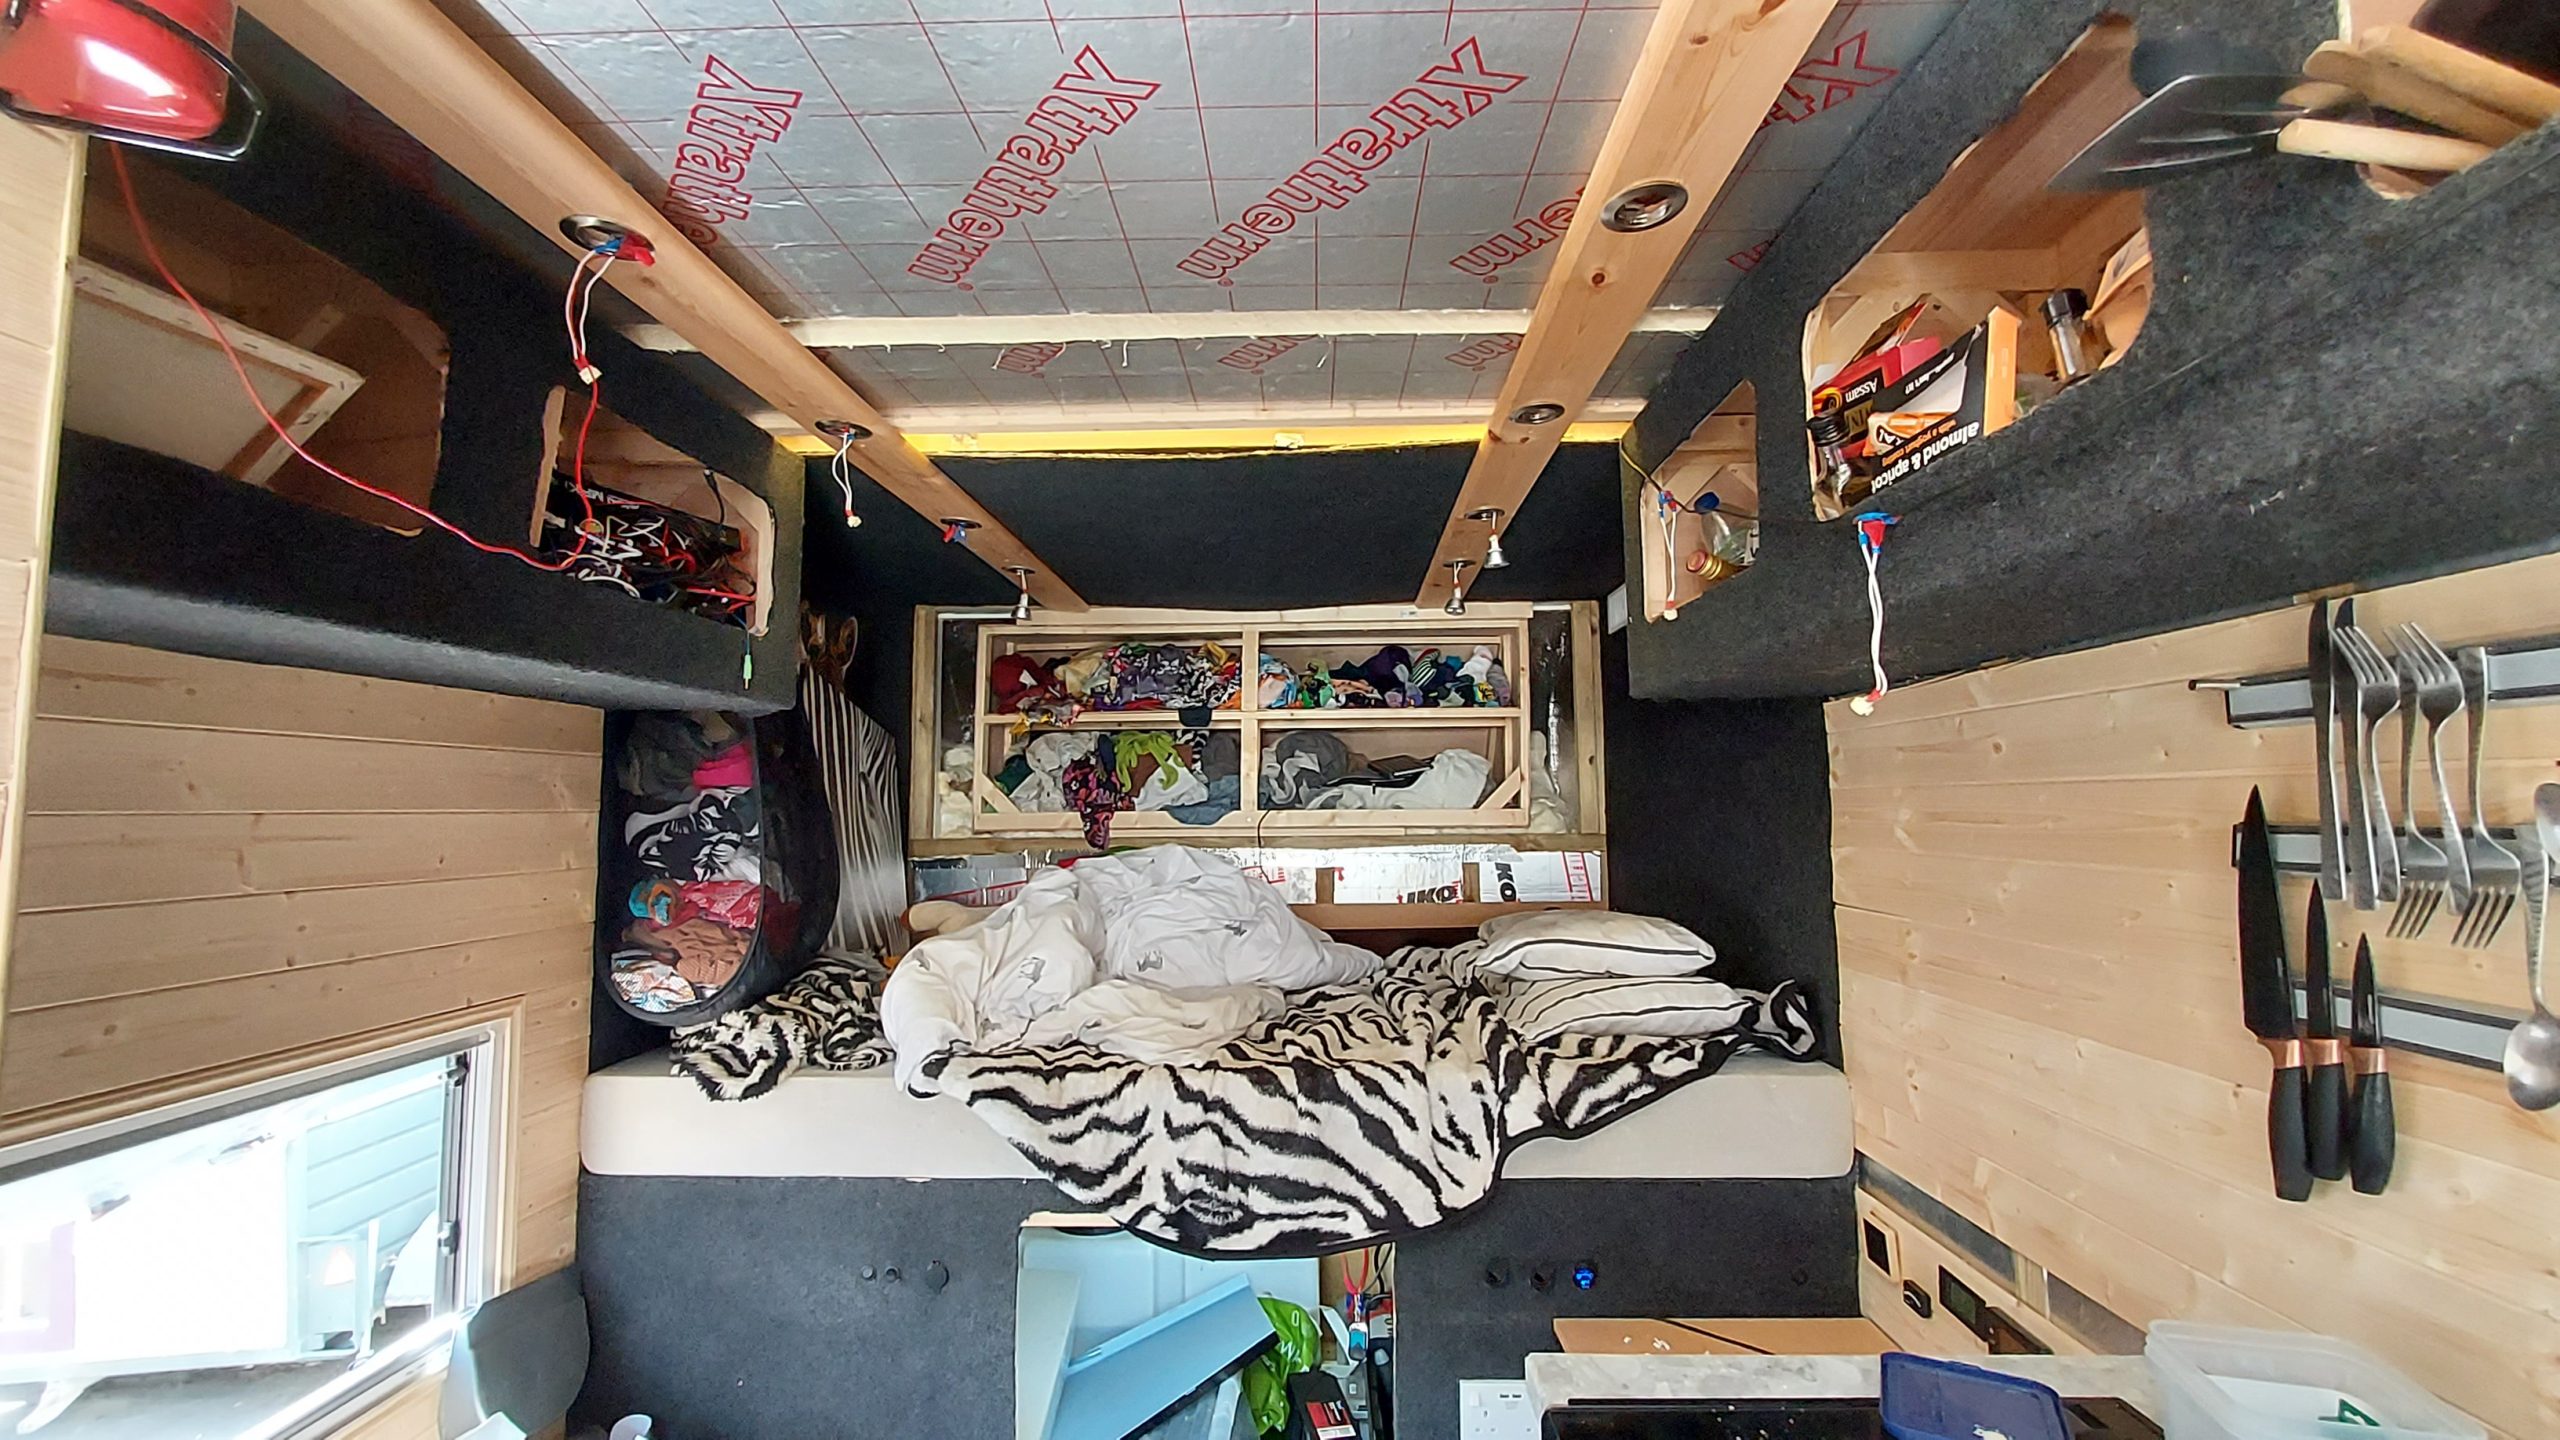
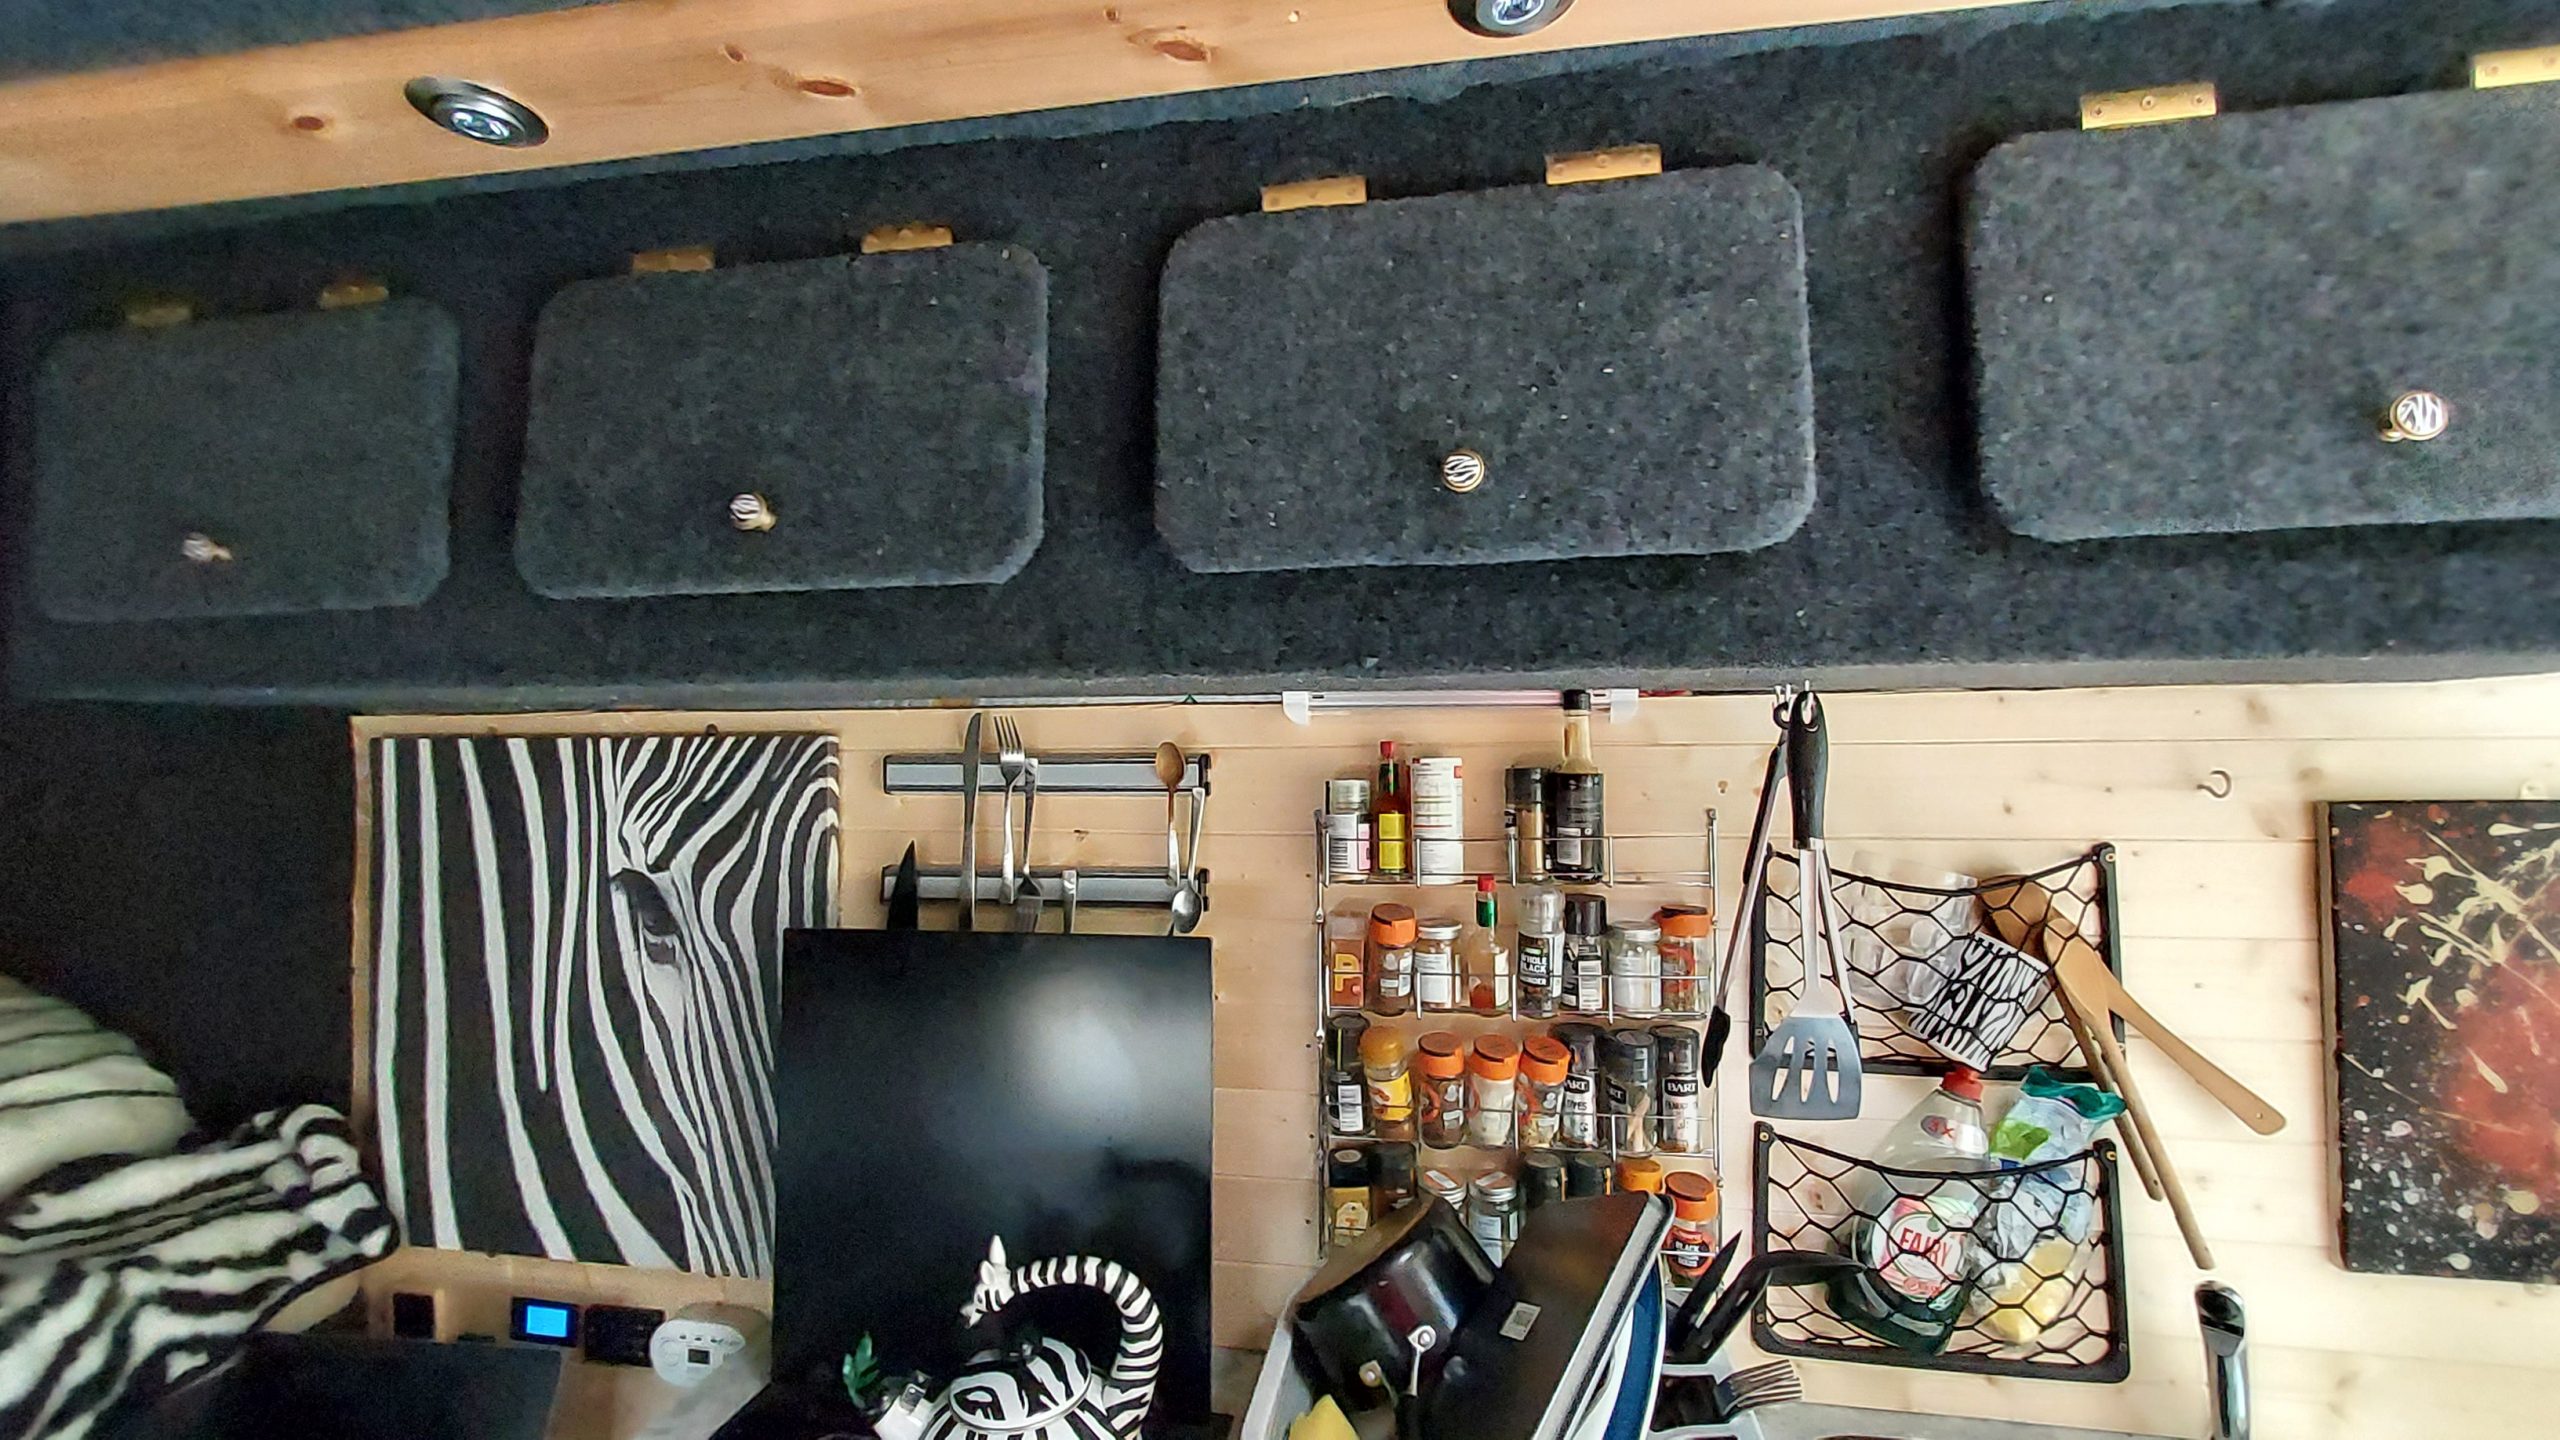
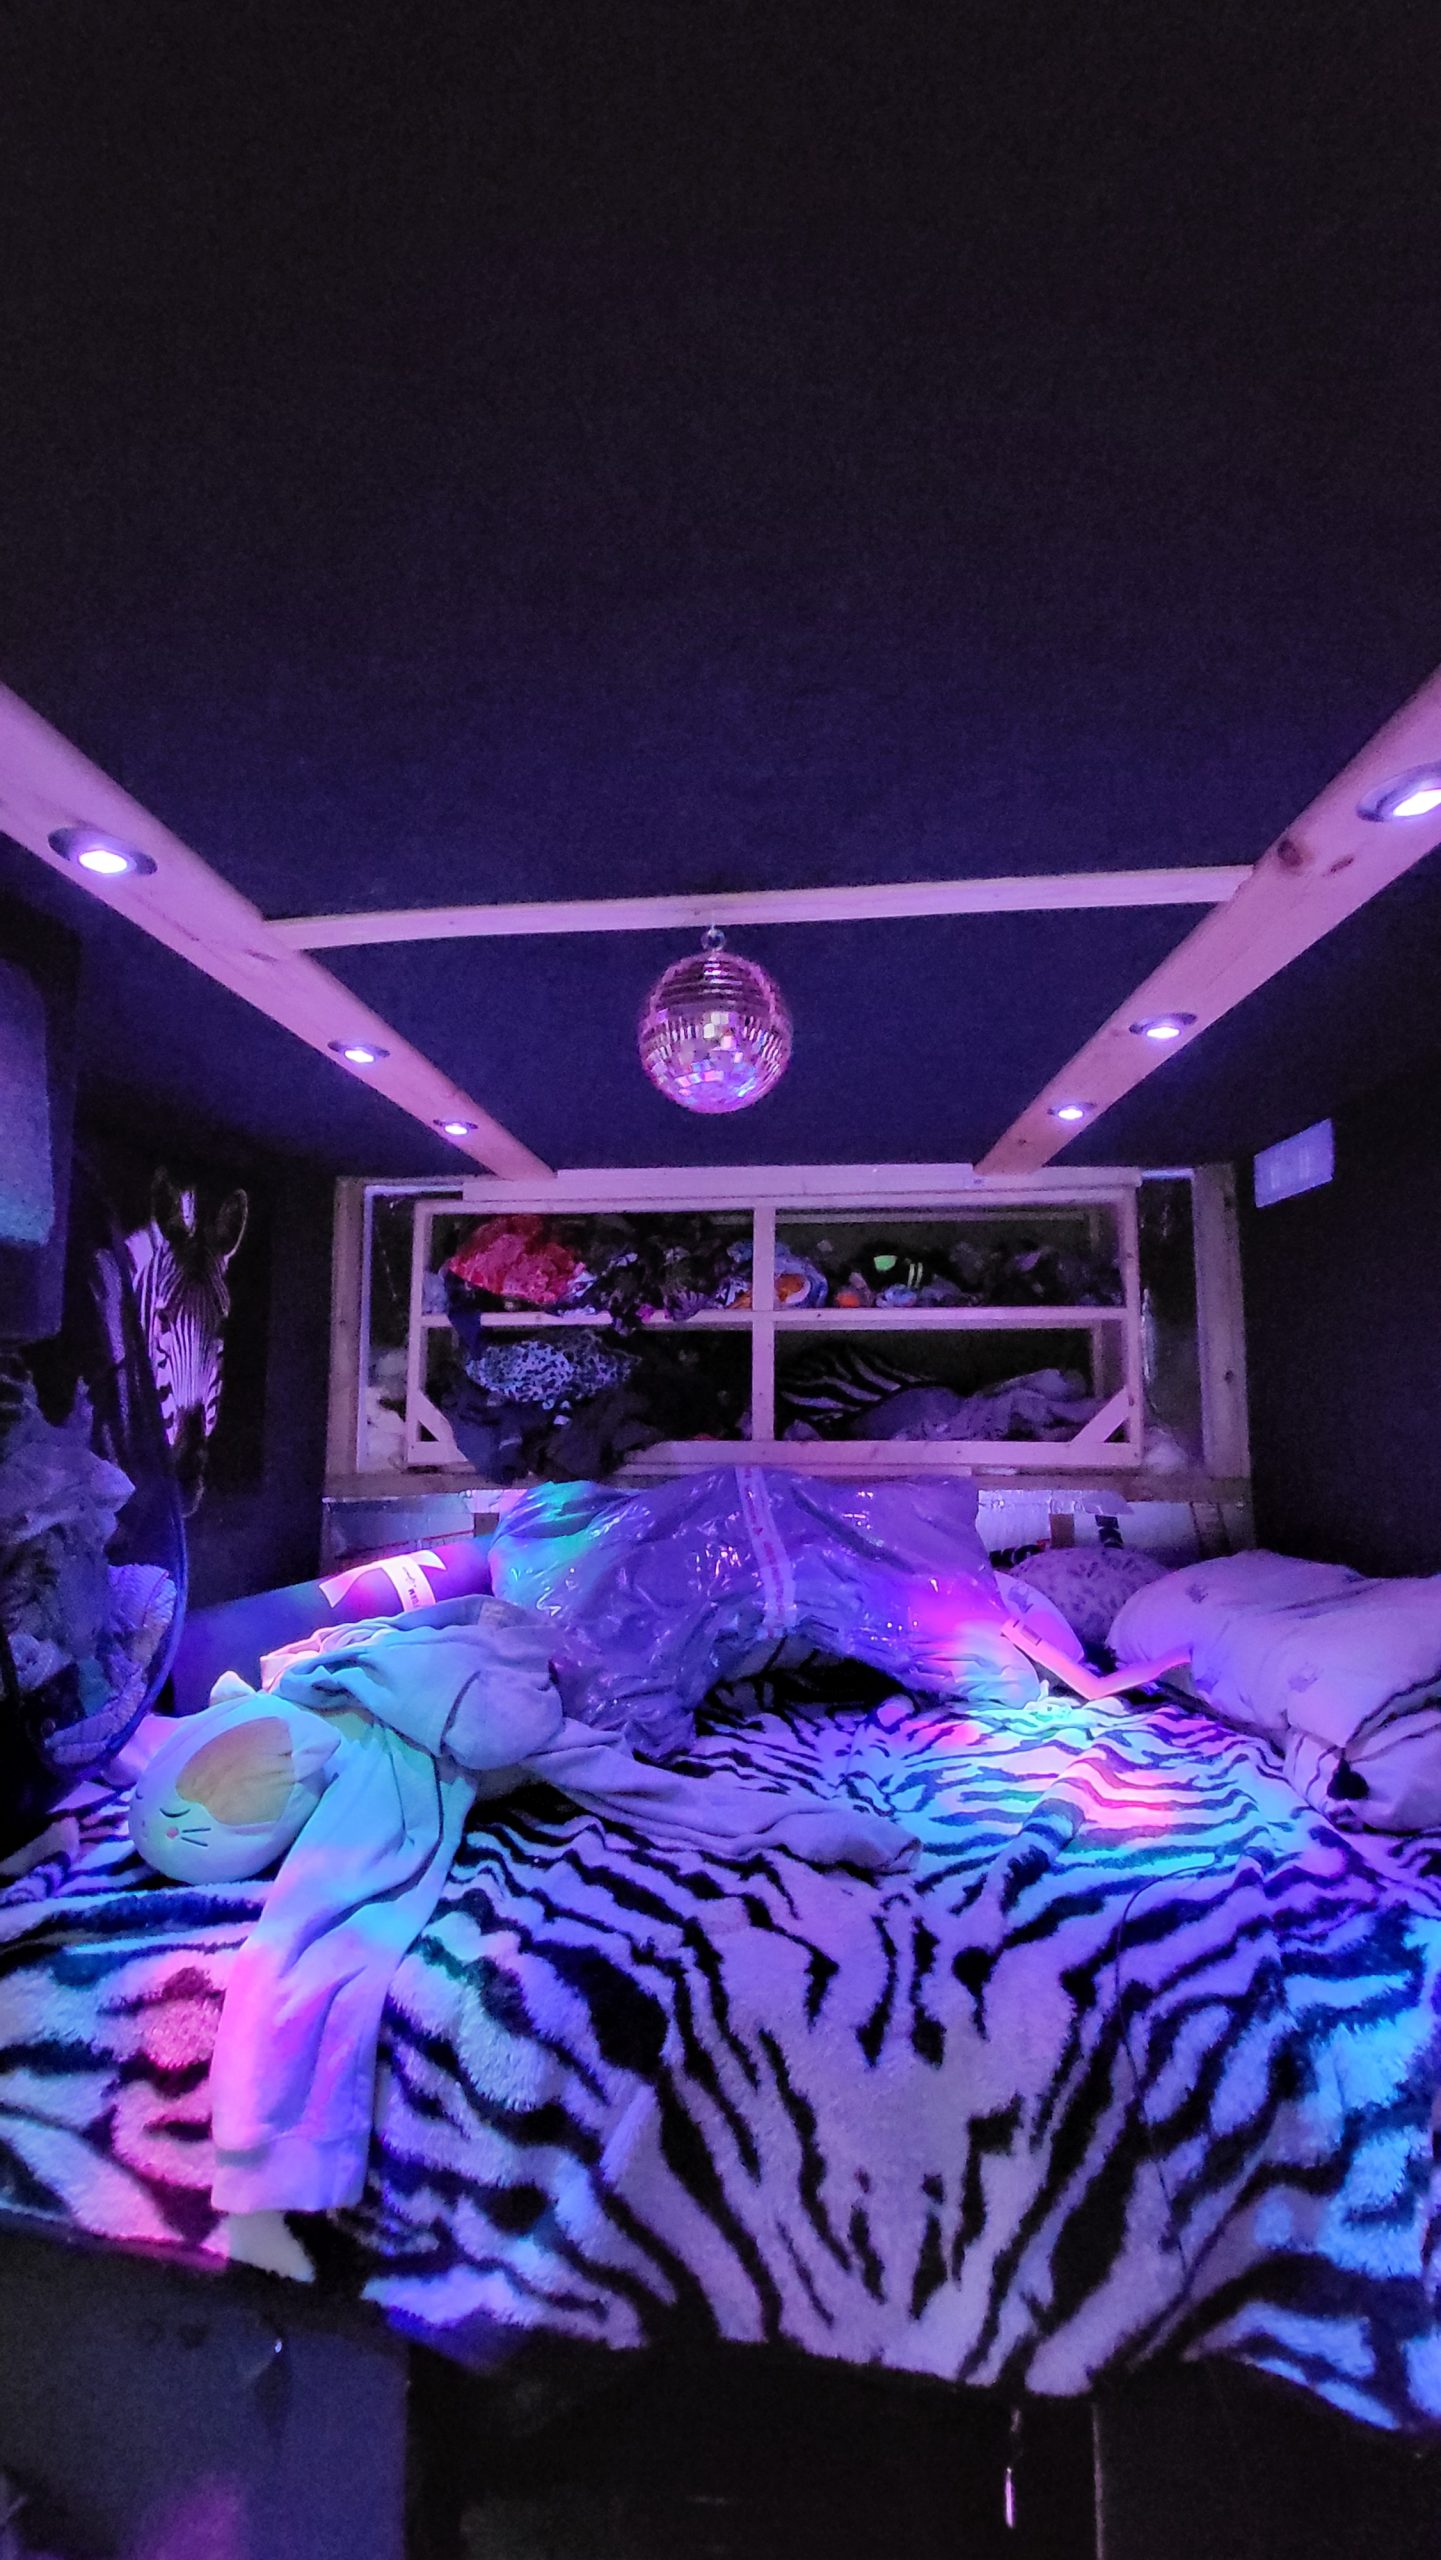
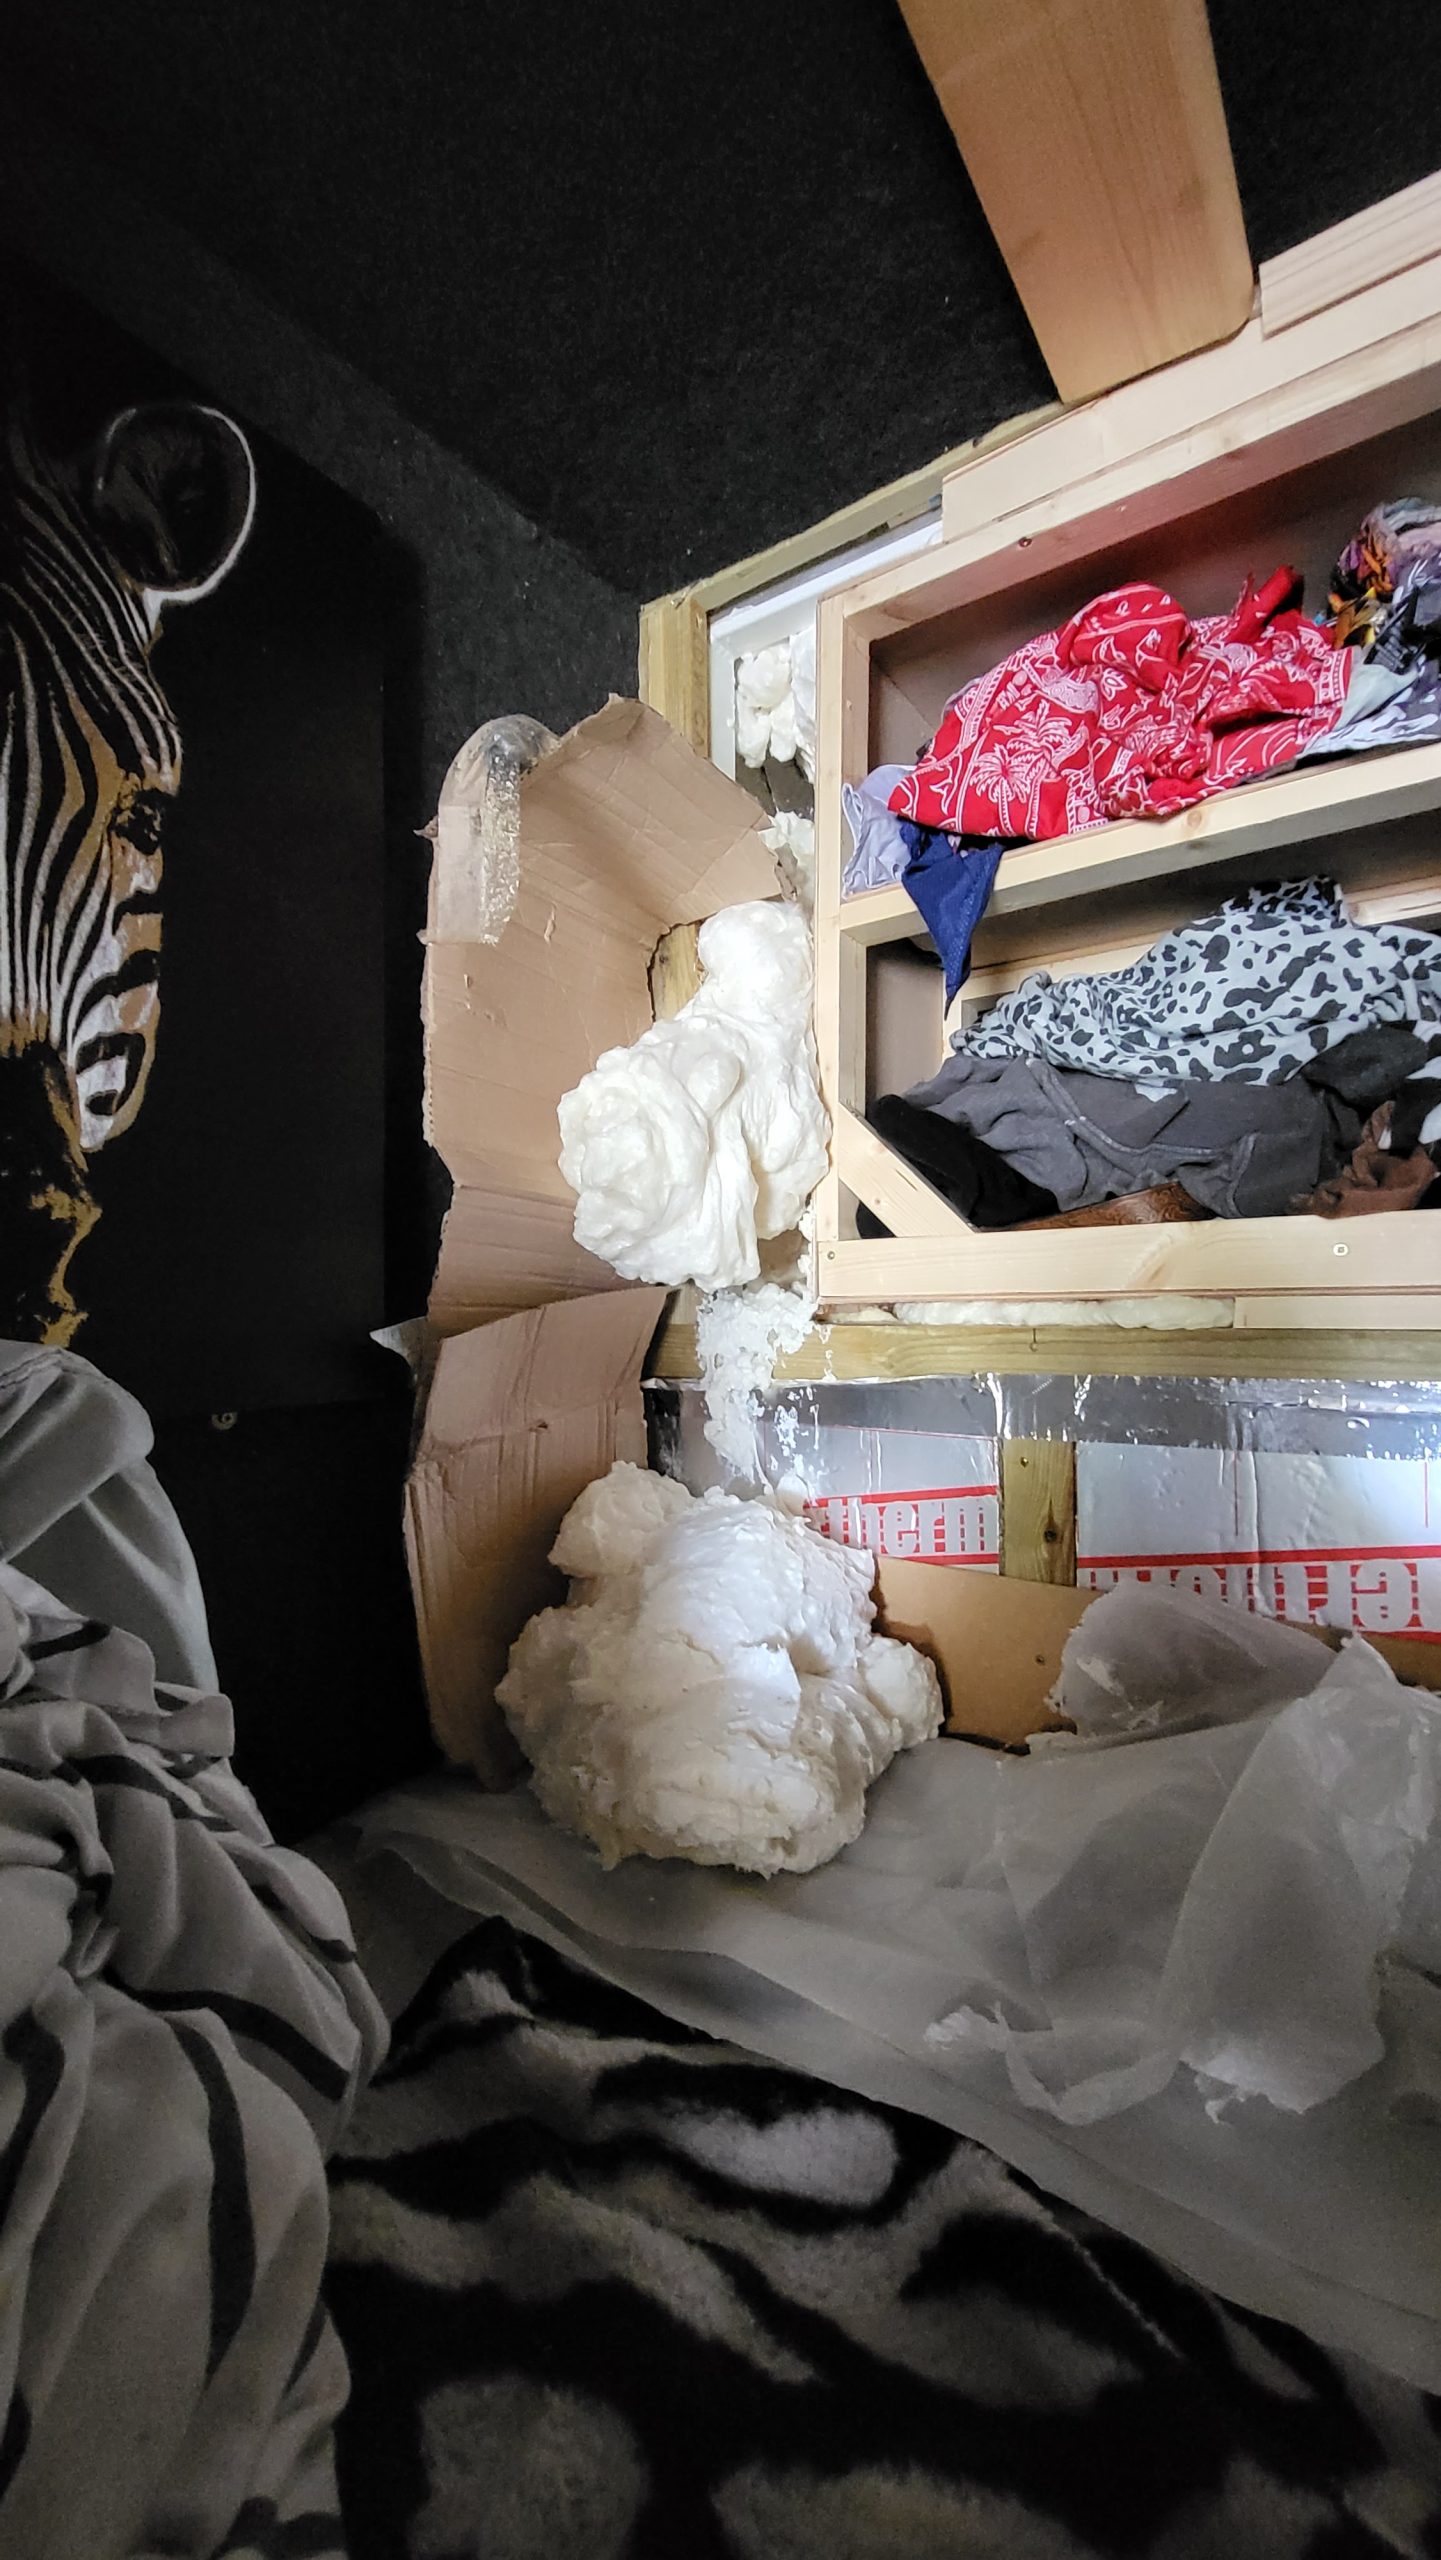
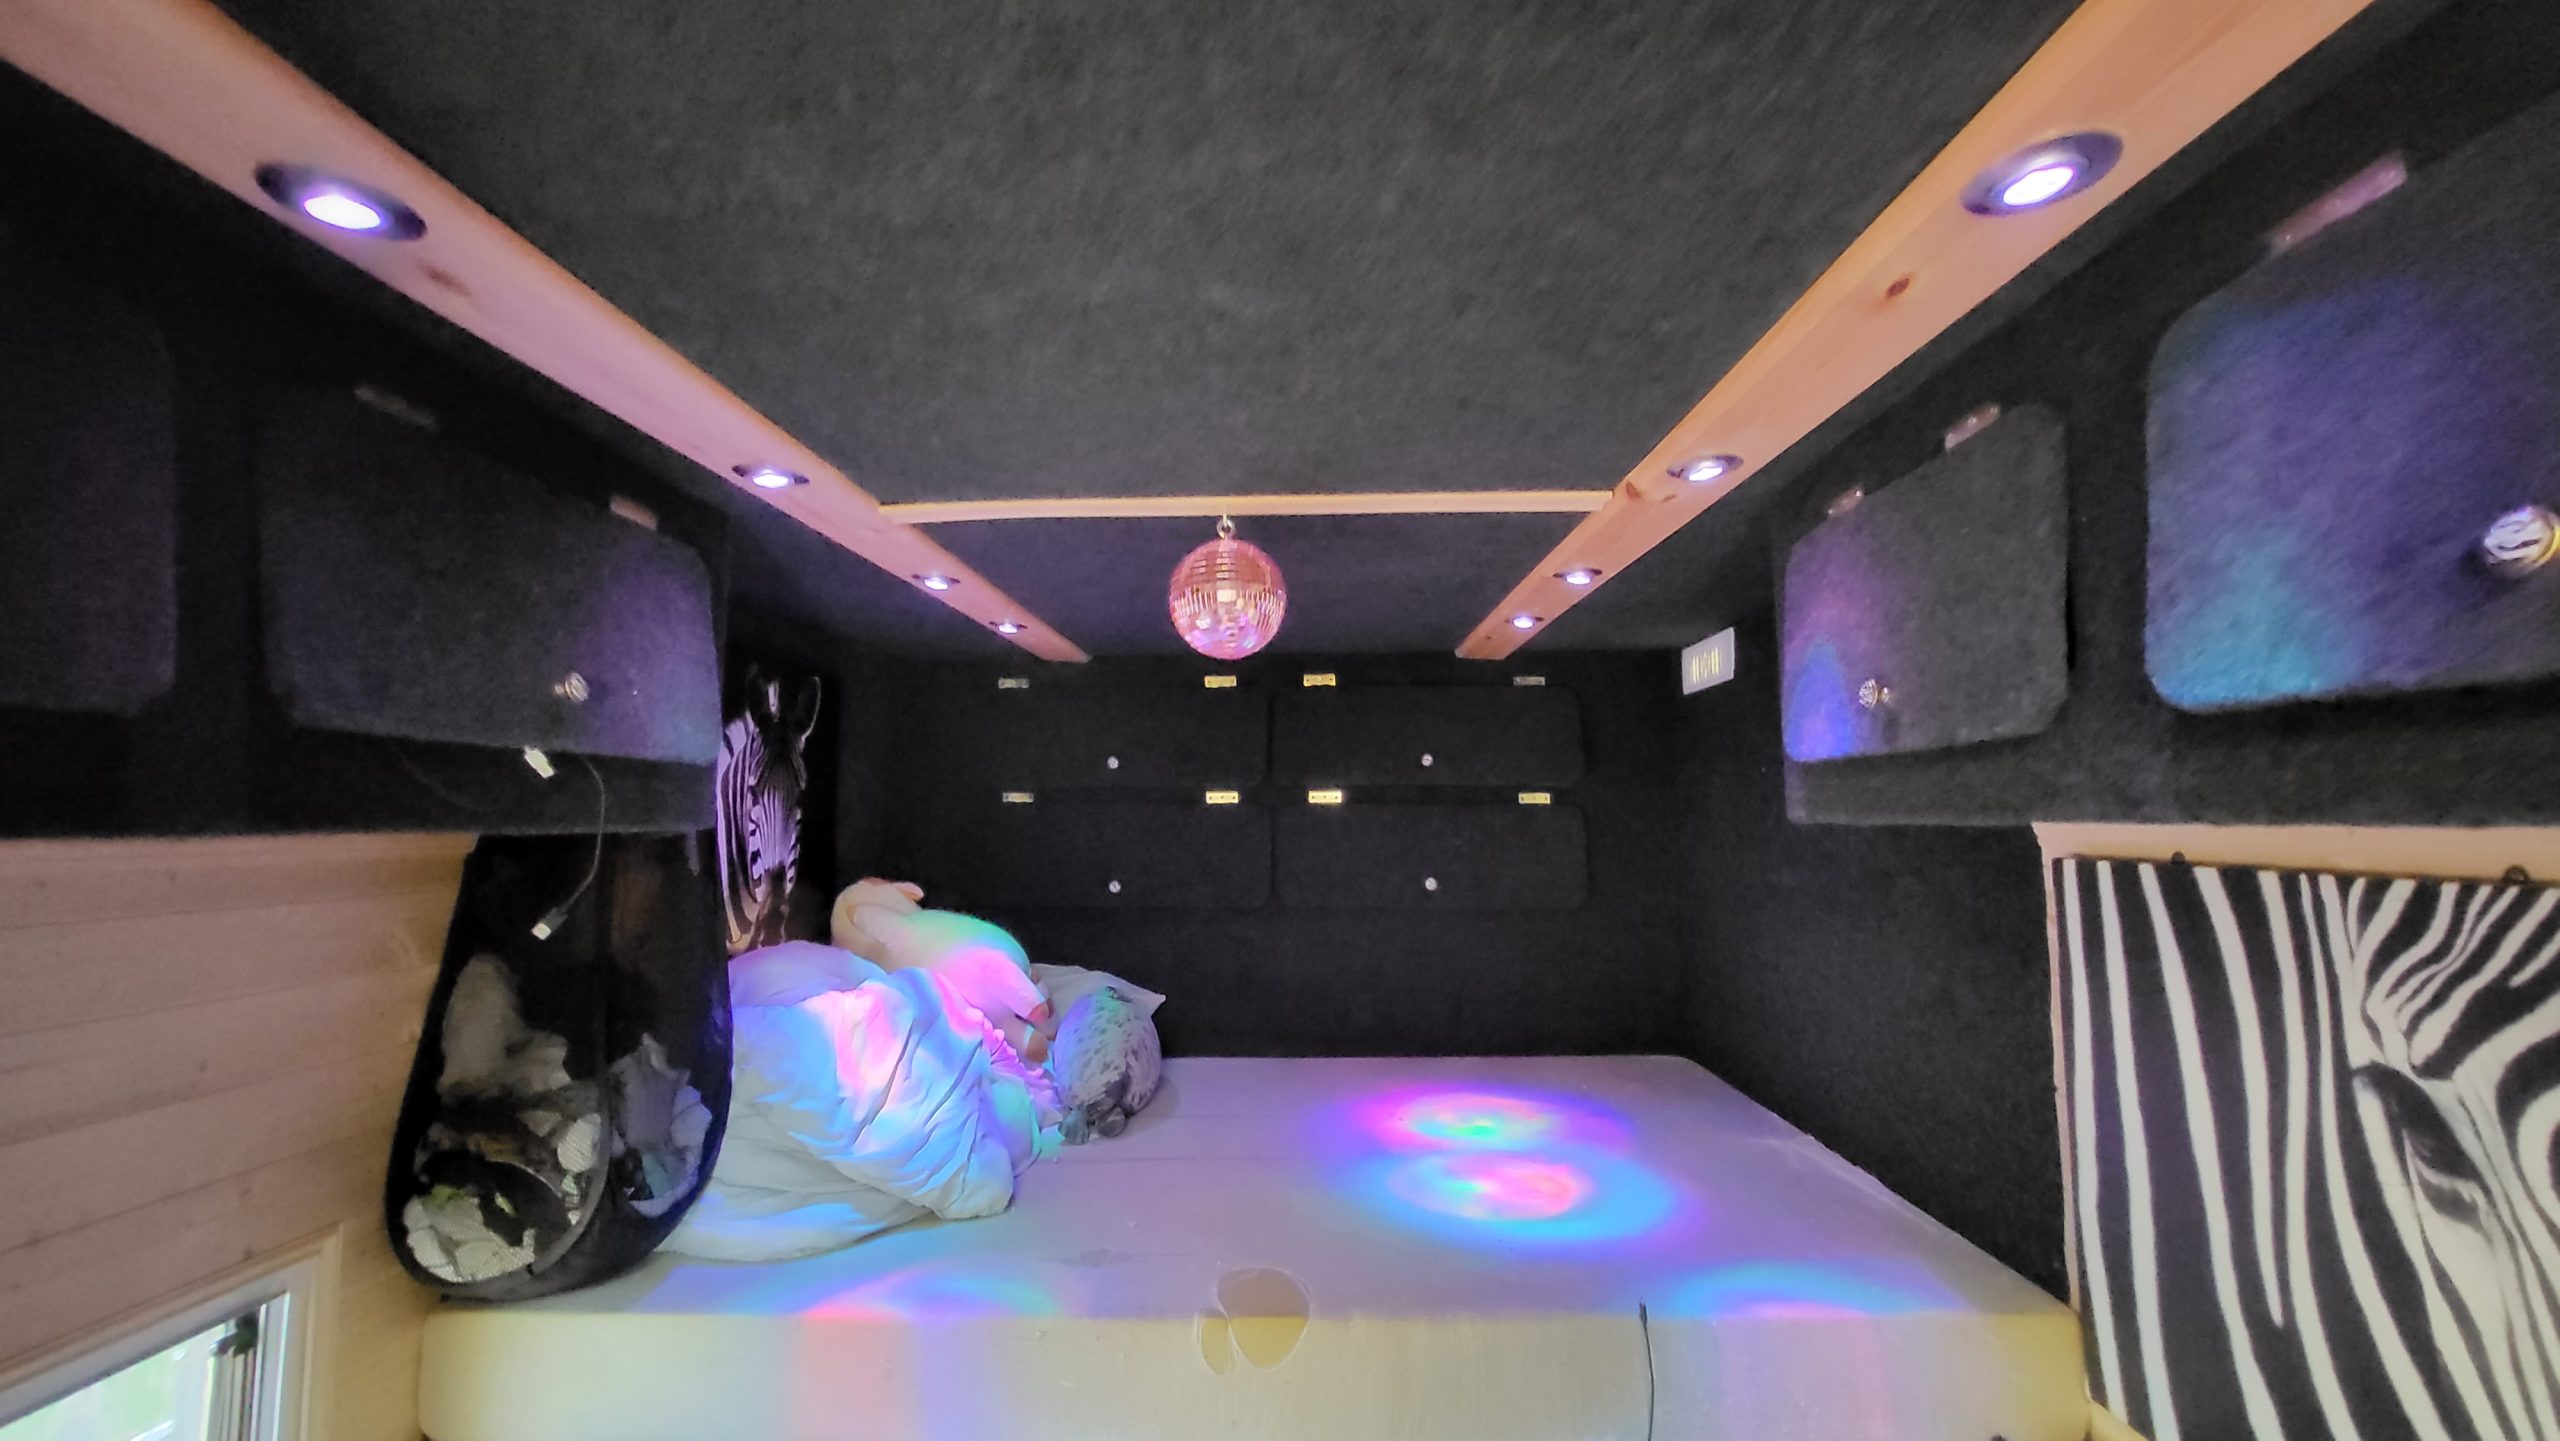
Yet more zebra
Large zebra painting installed. Also pictured is the cable trunking for the main lights 2-way switching and kitchen supply.
Read More
Wiring (mostly) done
Fuse boxes done, wiring for water pump in, wiring for filling mechanism started, GPS tracker pictured. You can also see the negative bus bar and
Read More

Turret installed.
Turret for the diesel heater now installed. Usually these are fitted the other way up, but my flooring and insulation are so thick that I’ve
Read More
Heater fitted
Diesel heater fitted with duct running to where my feet usually are under the computer desk. Controller still needs moving.
Read More

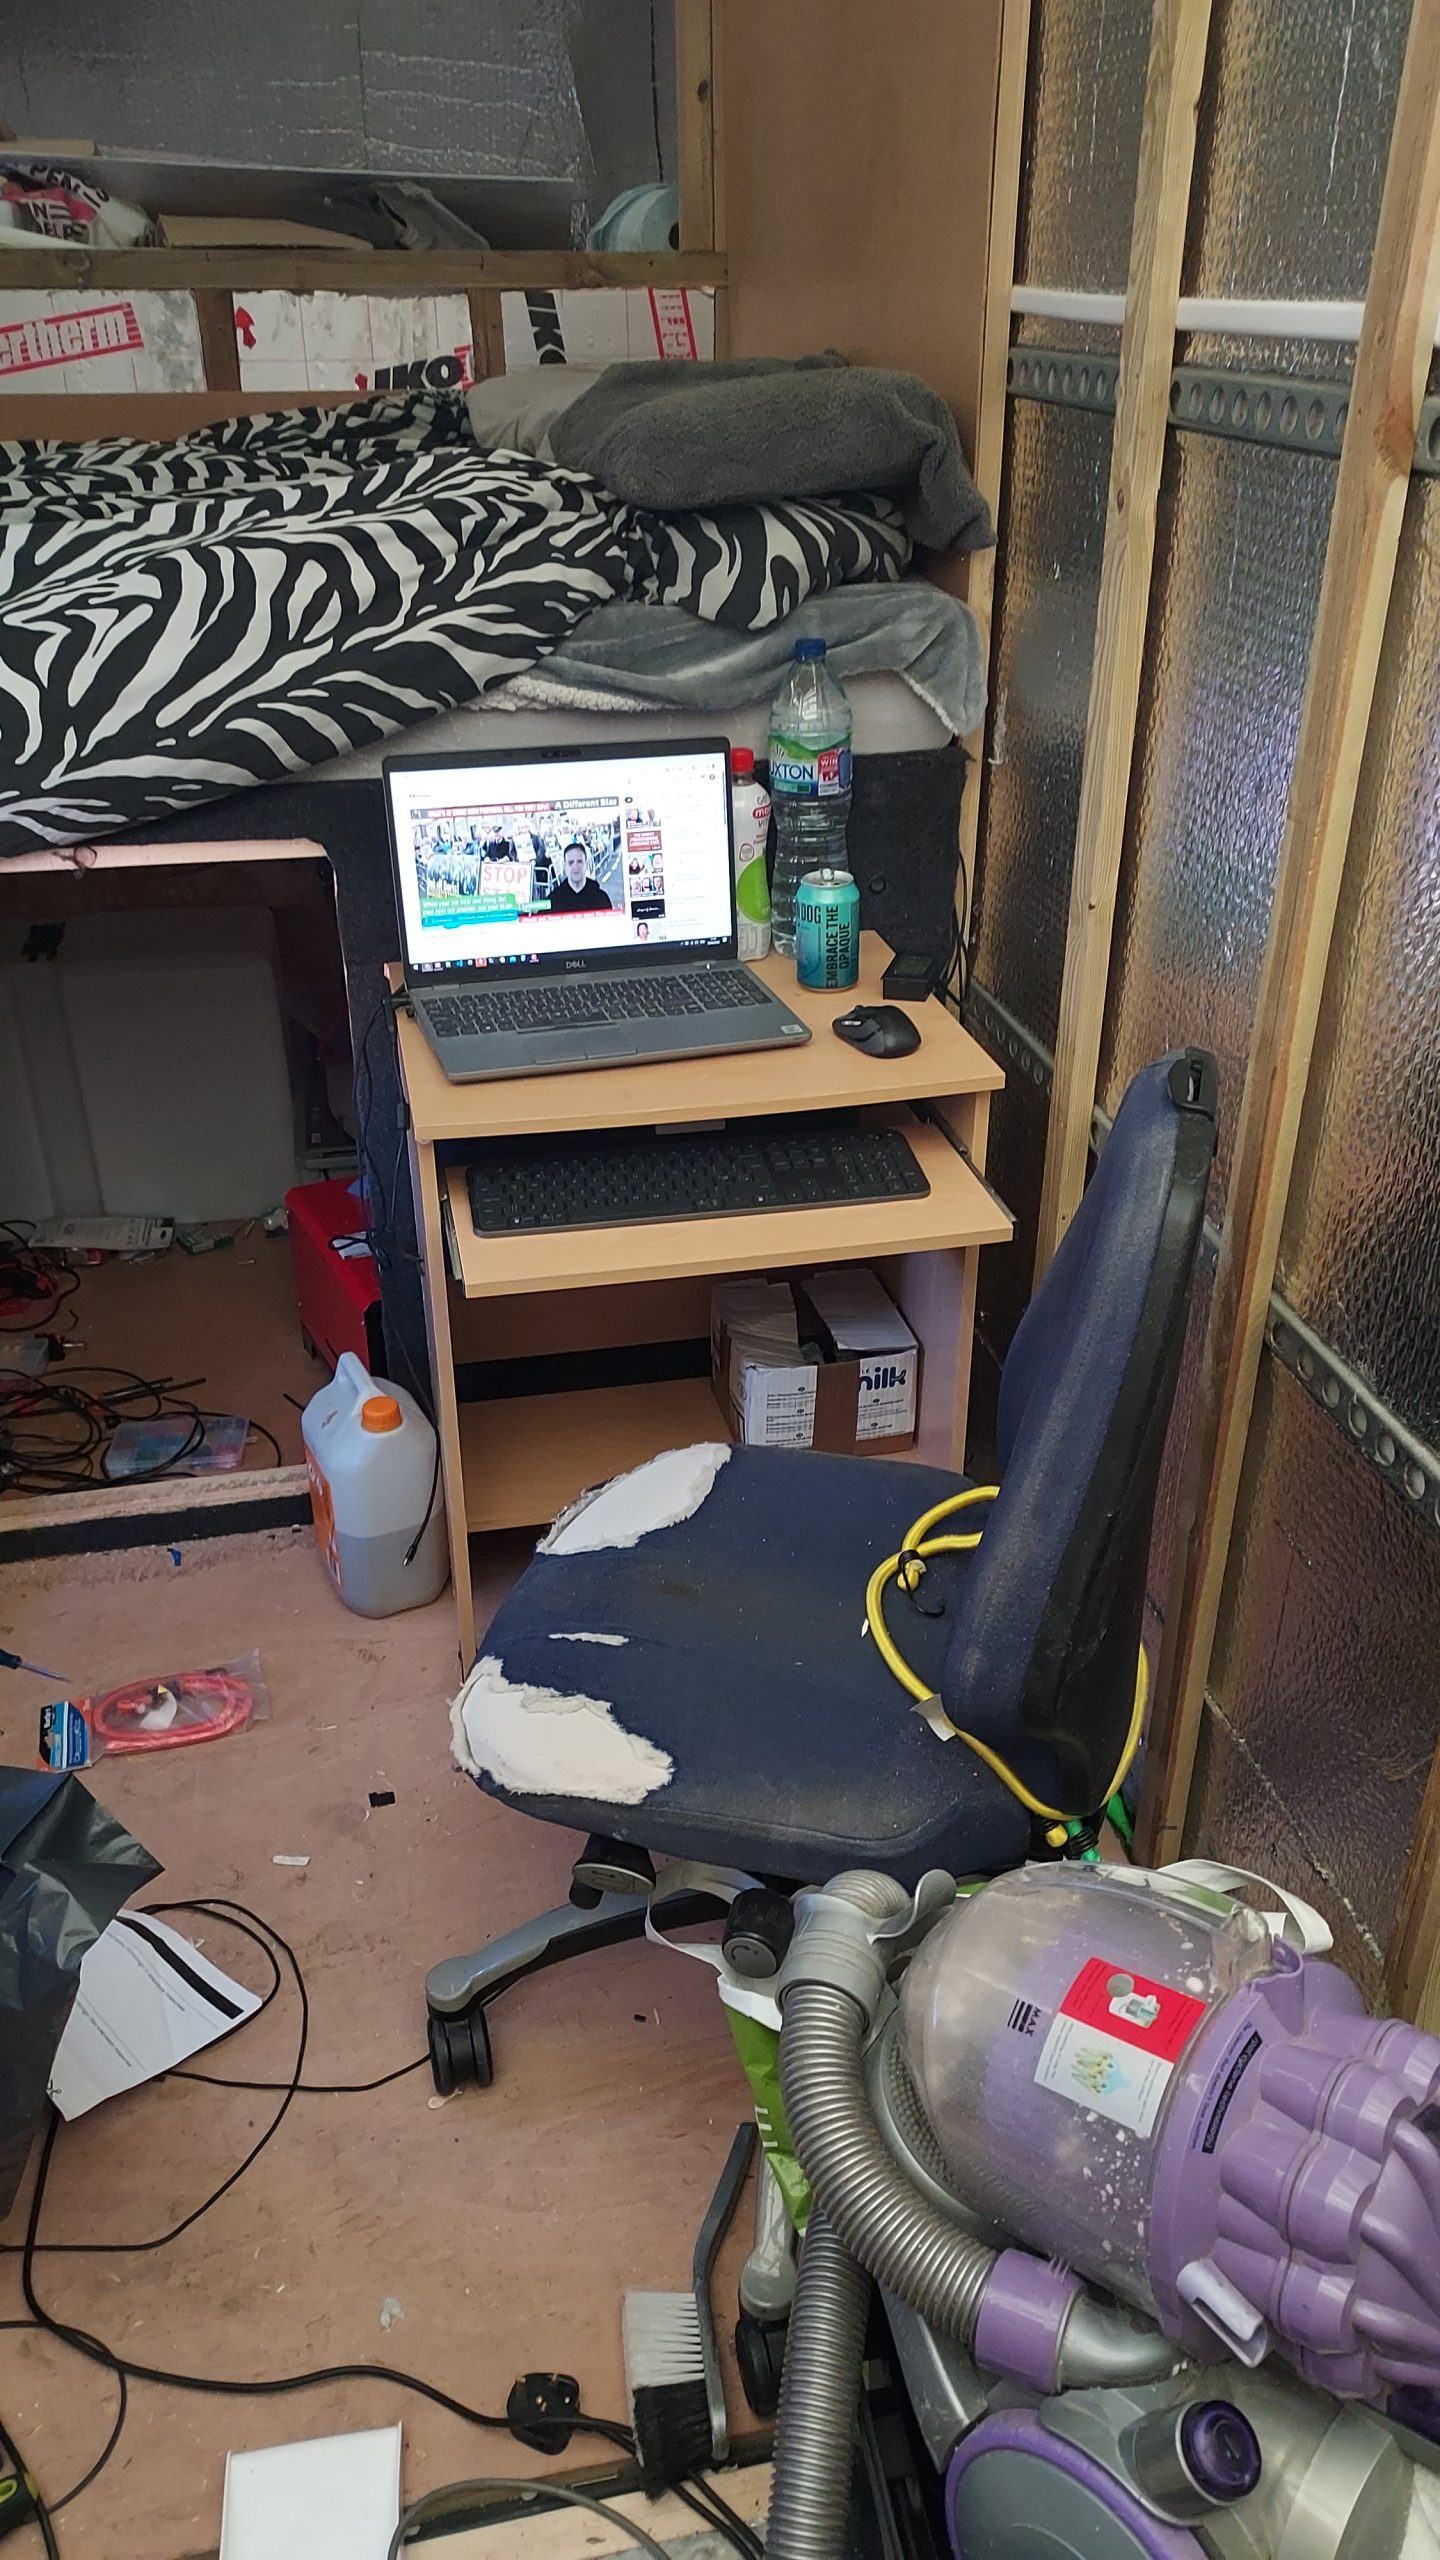
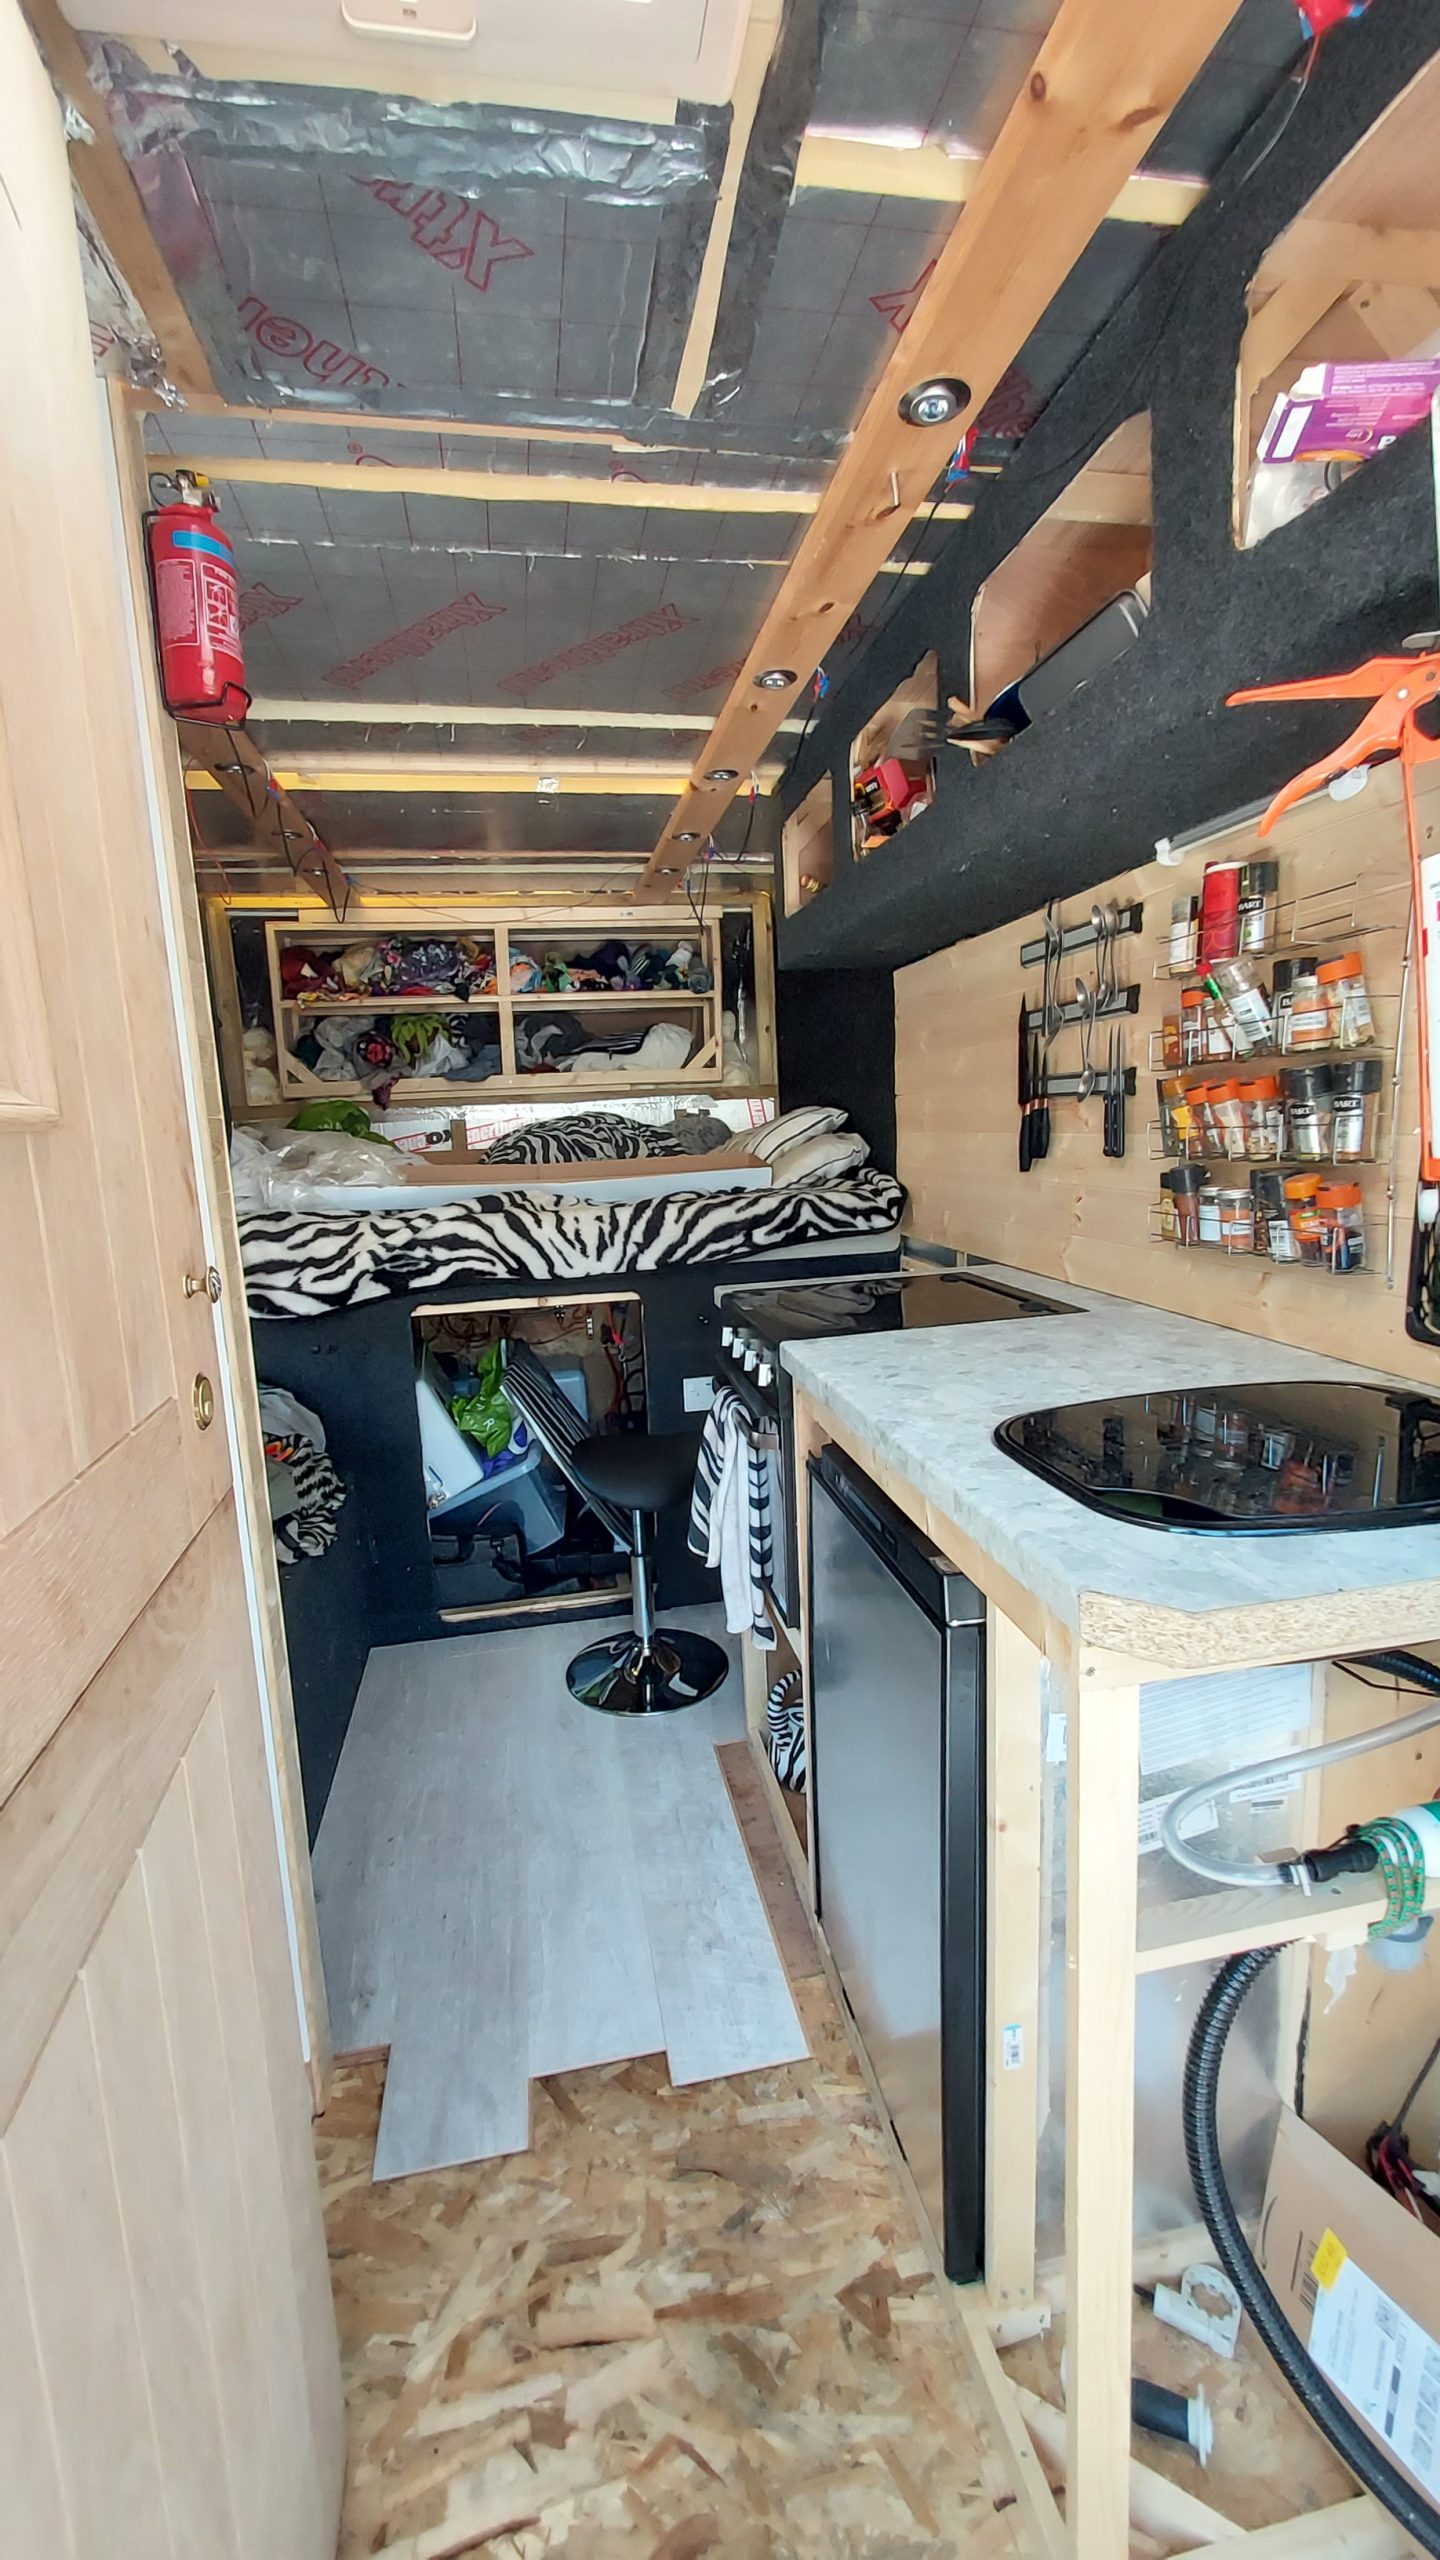
Cleaned up
A view of under the bed after a good clean and hoover. Water filling mechanism now wired up fully.
Read More

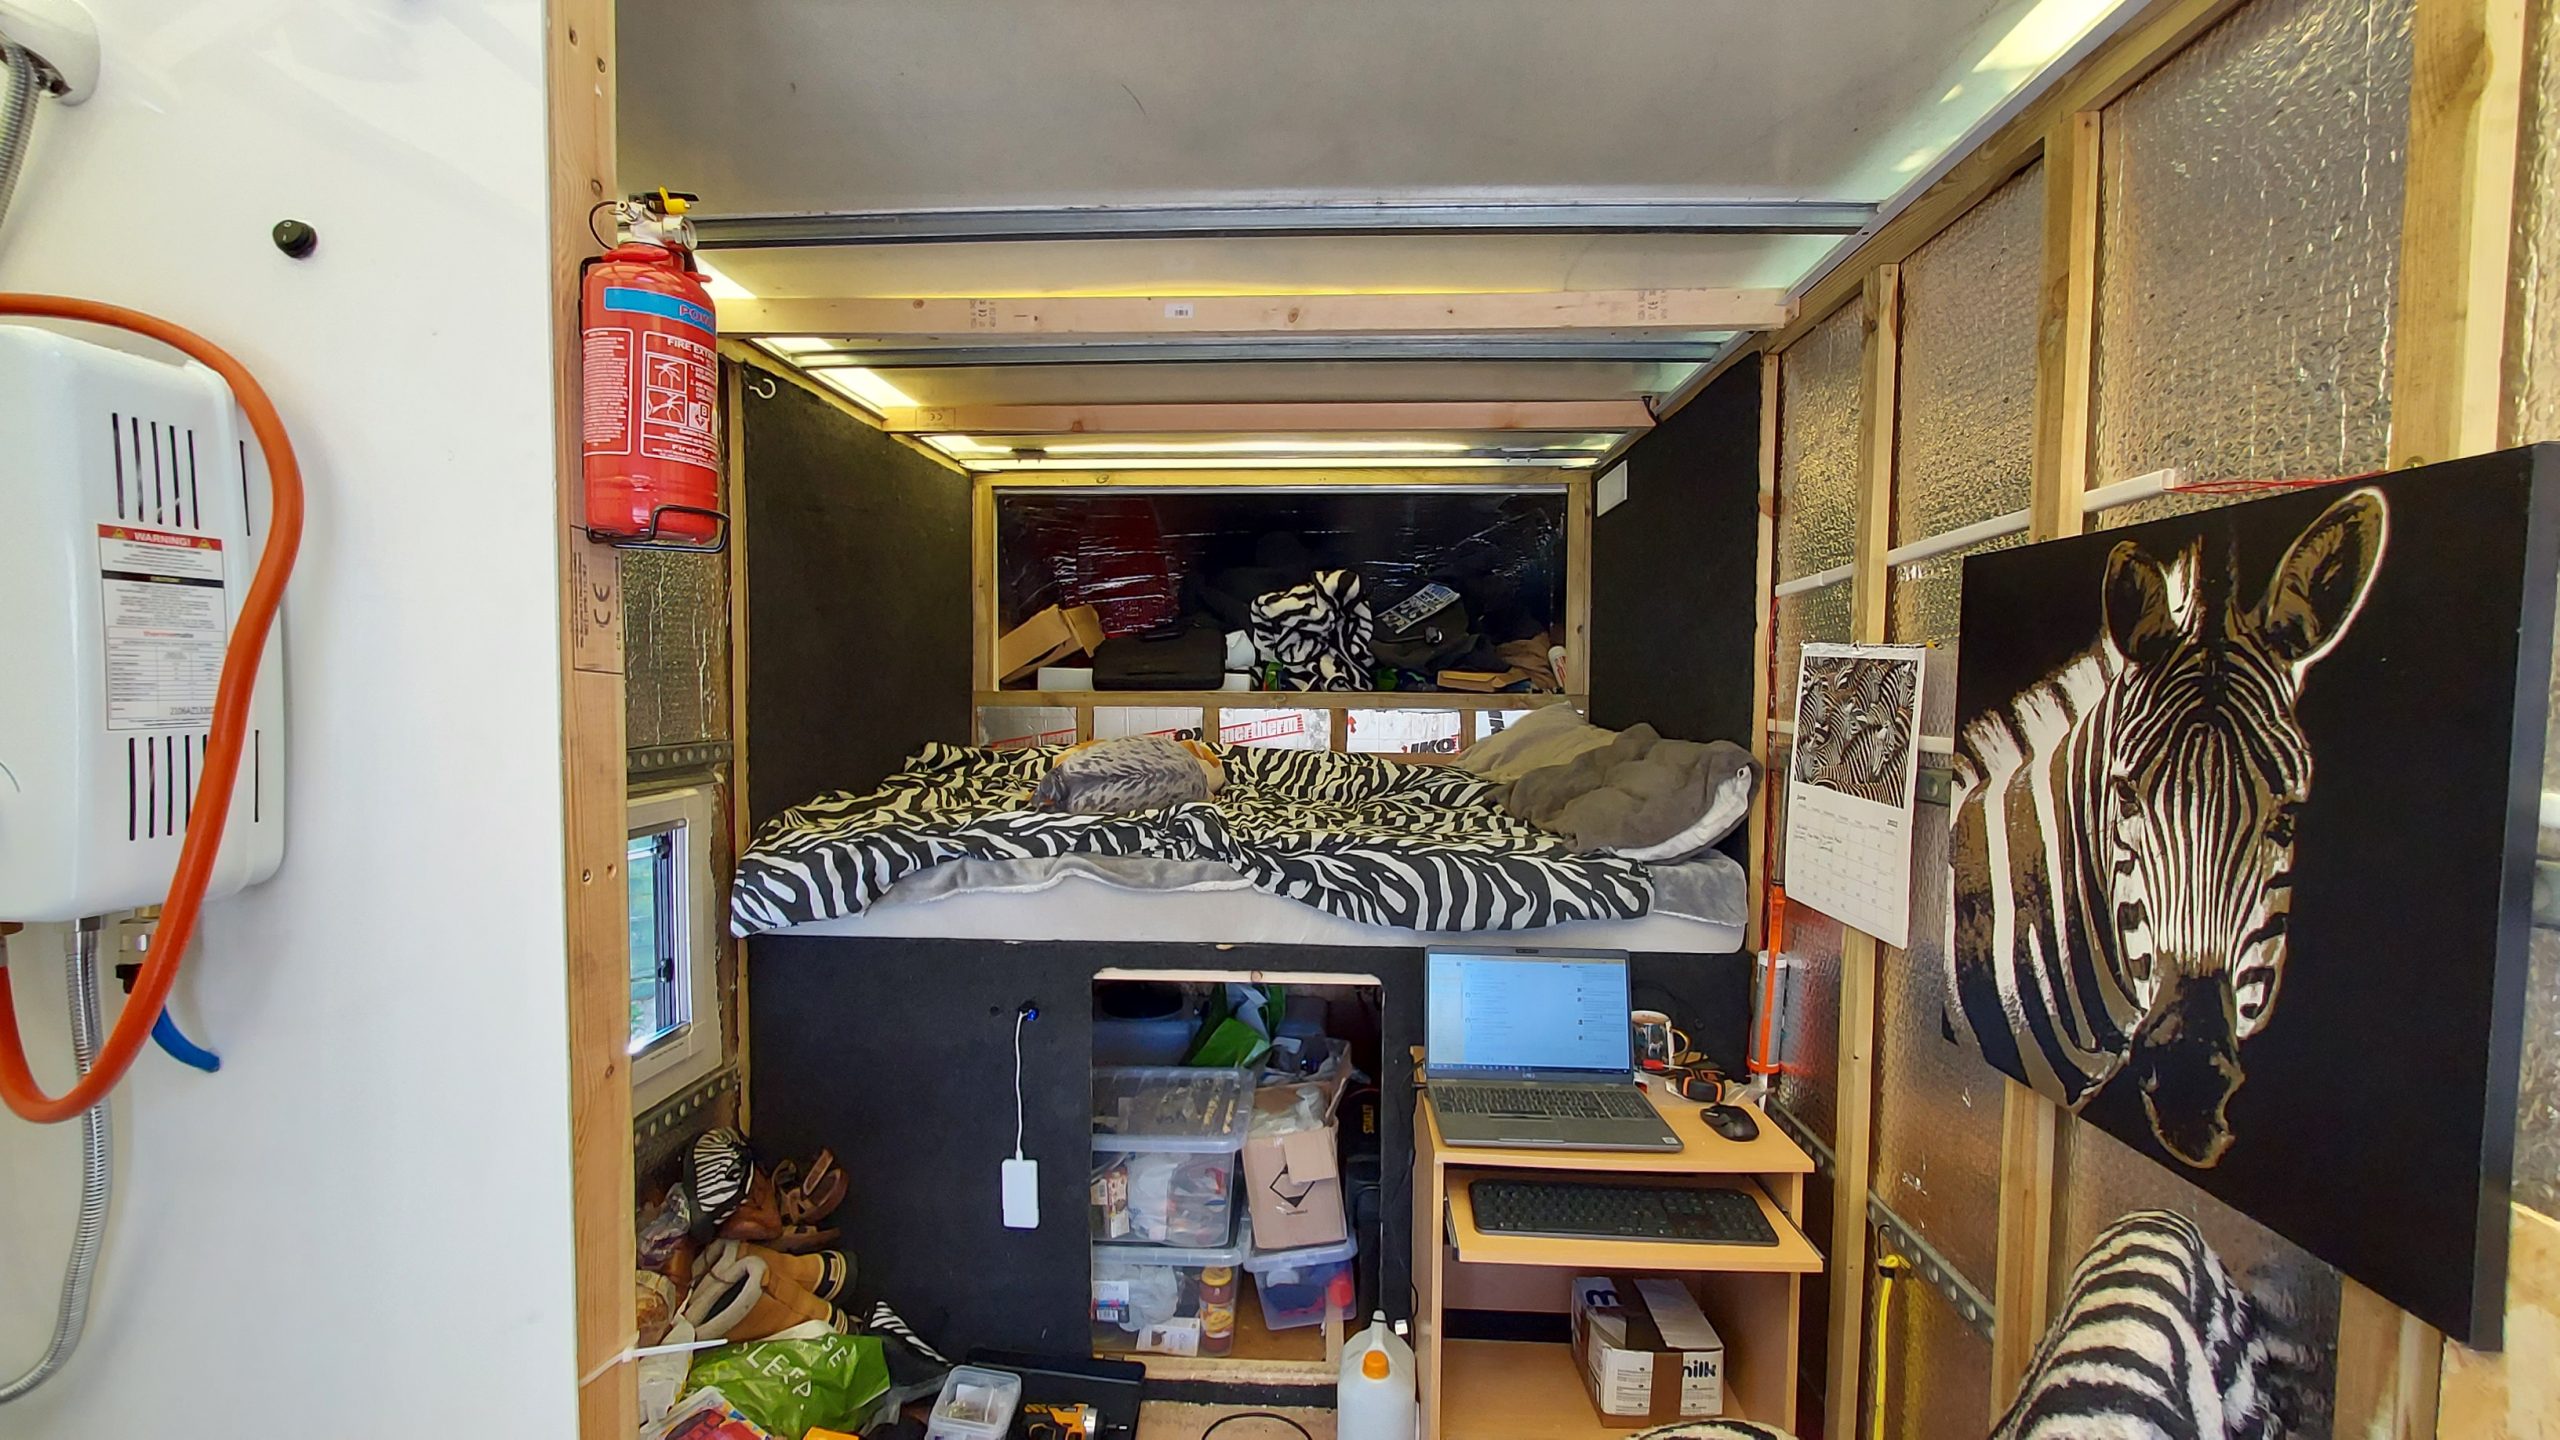
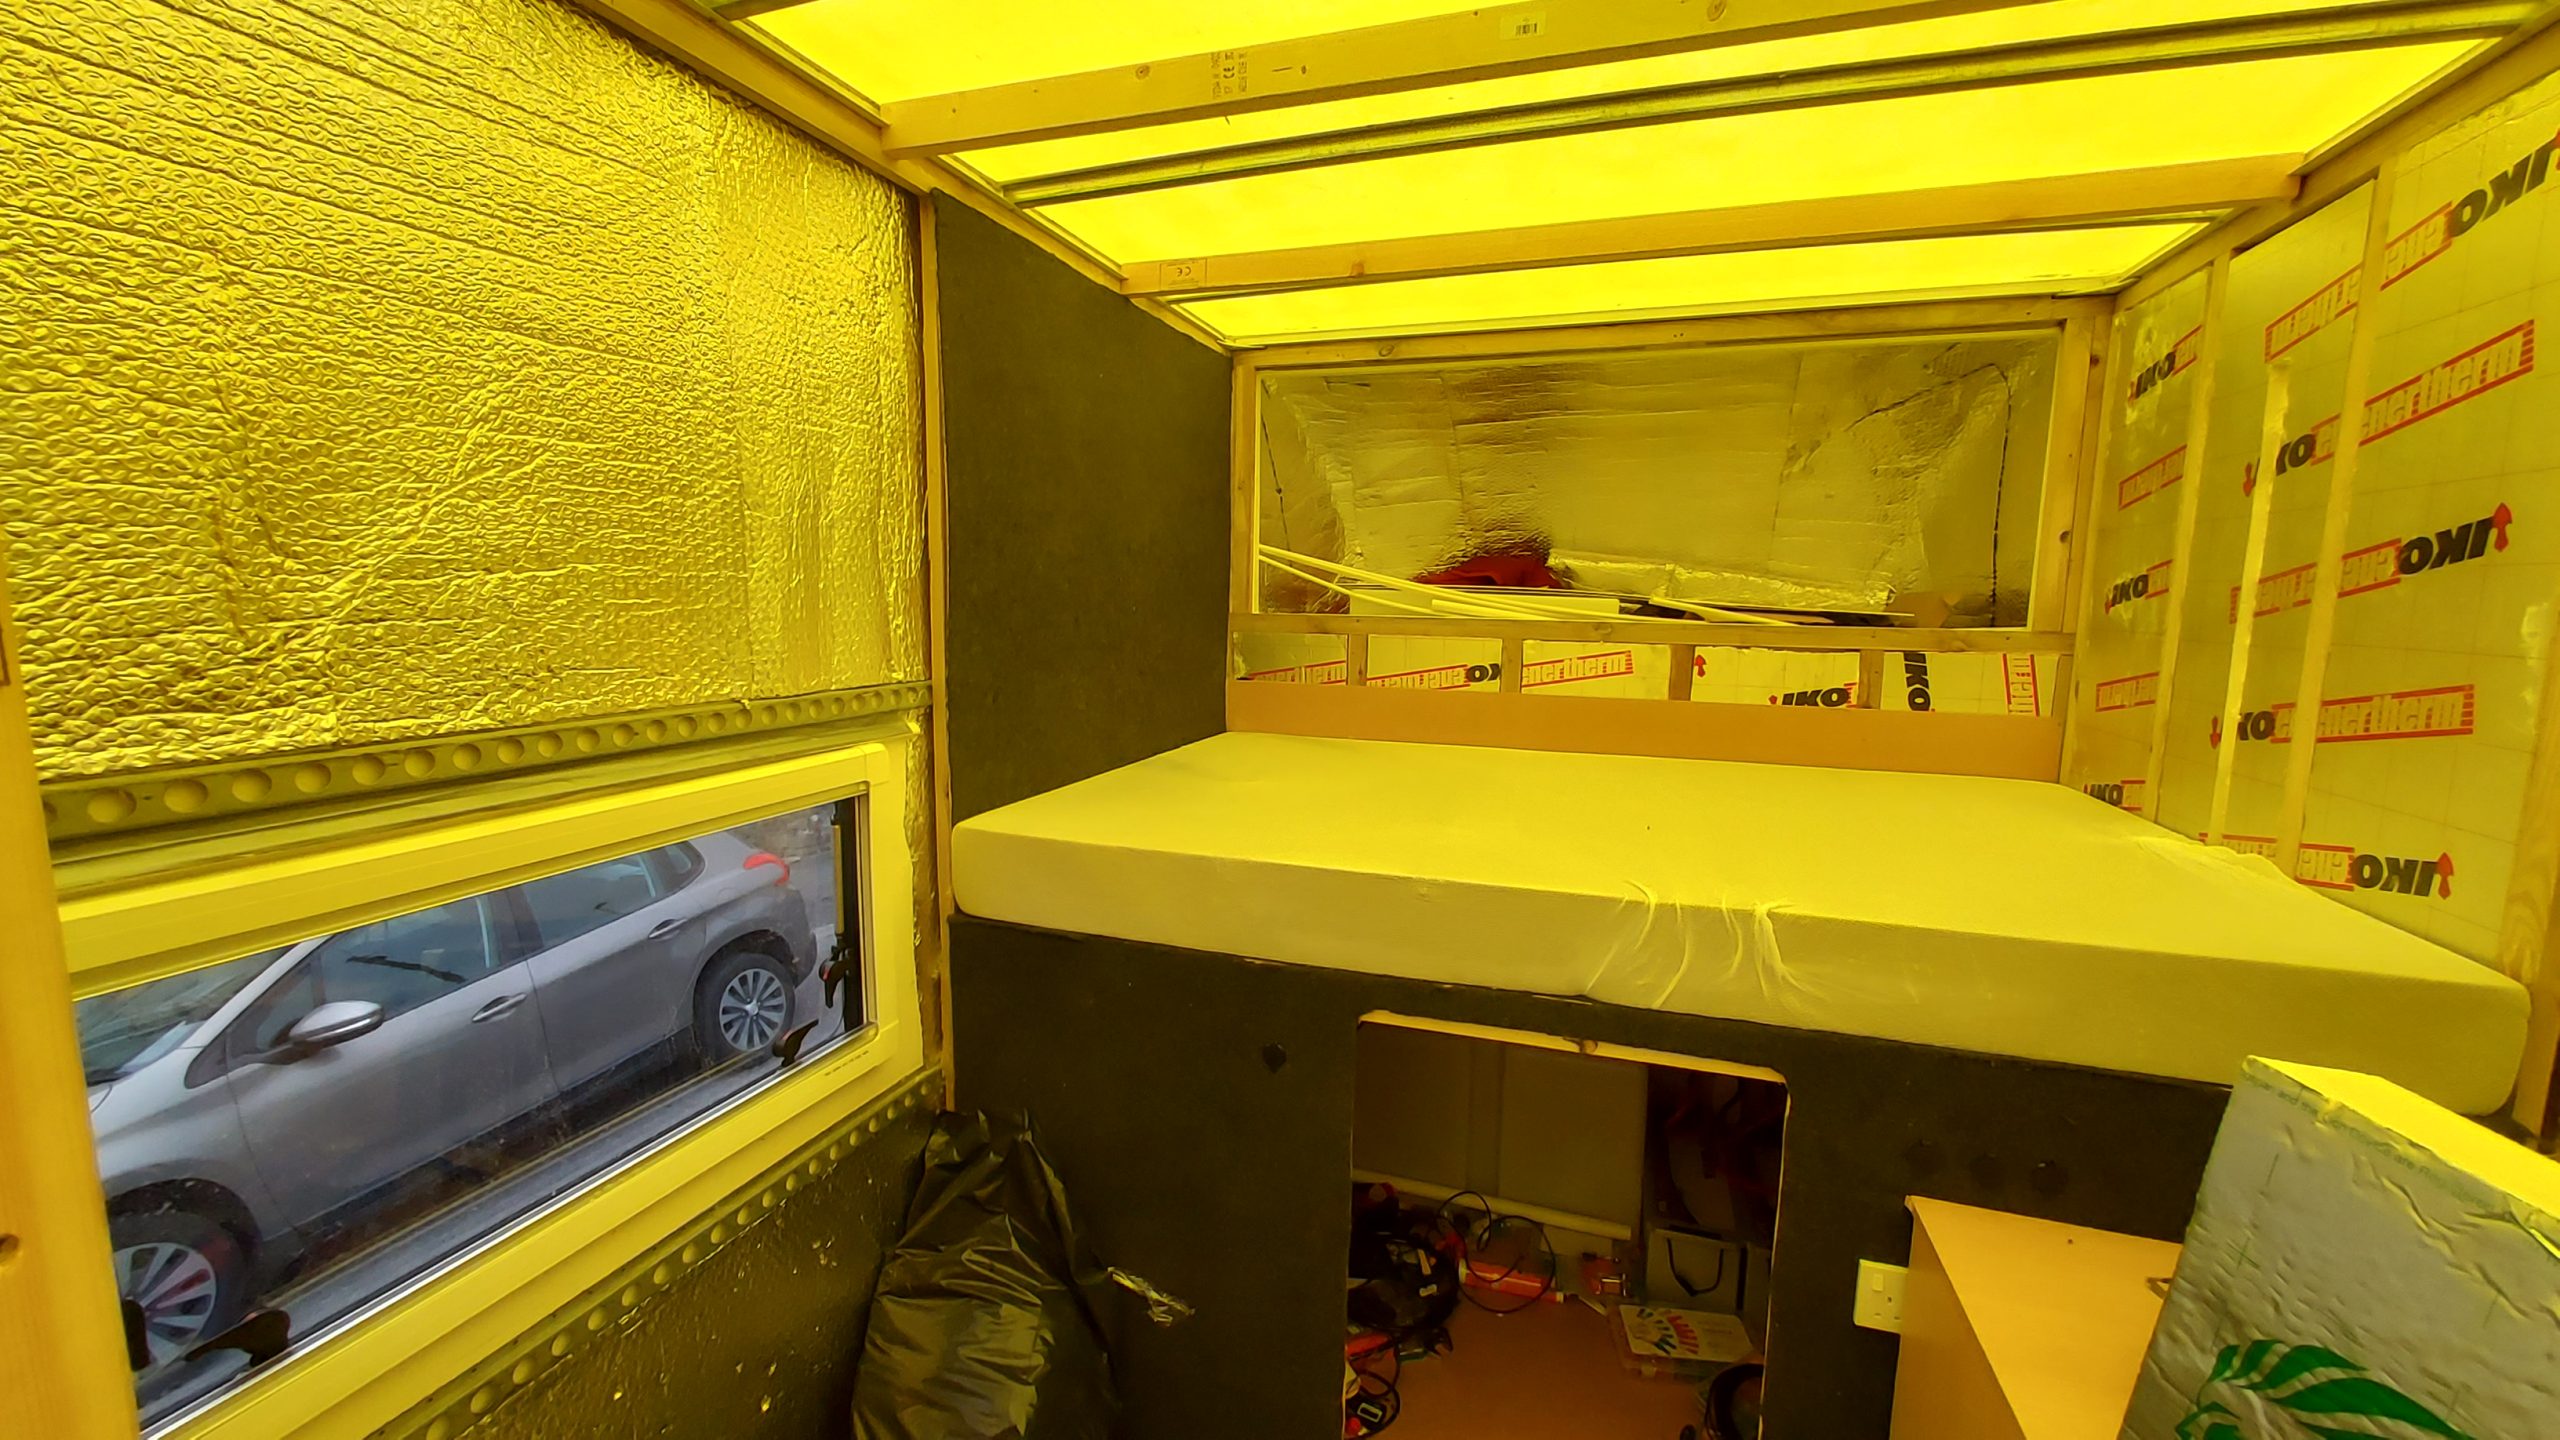
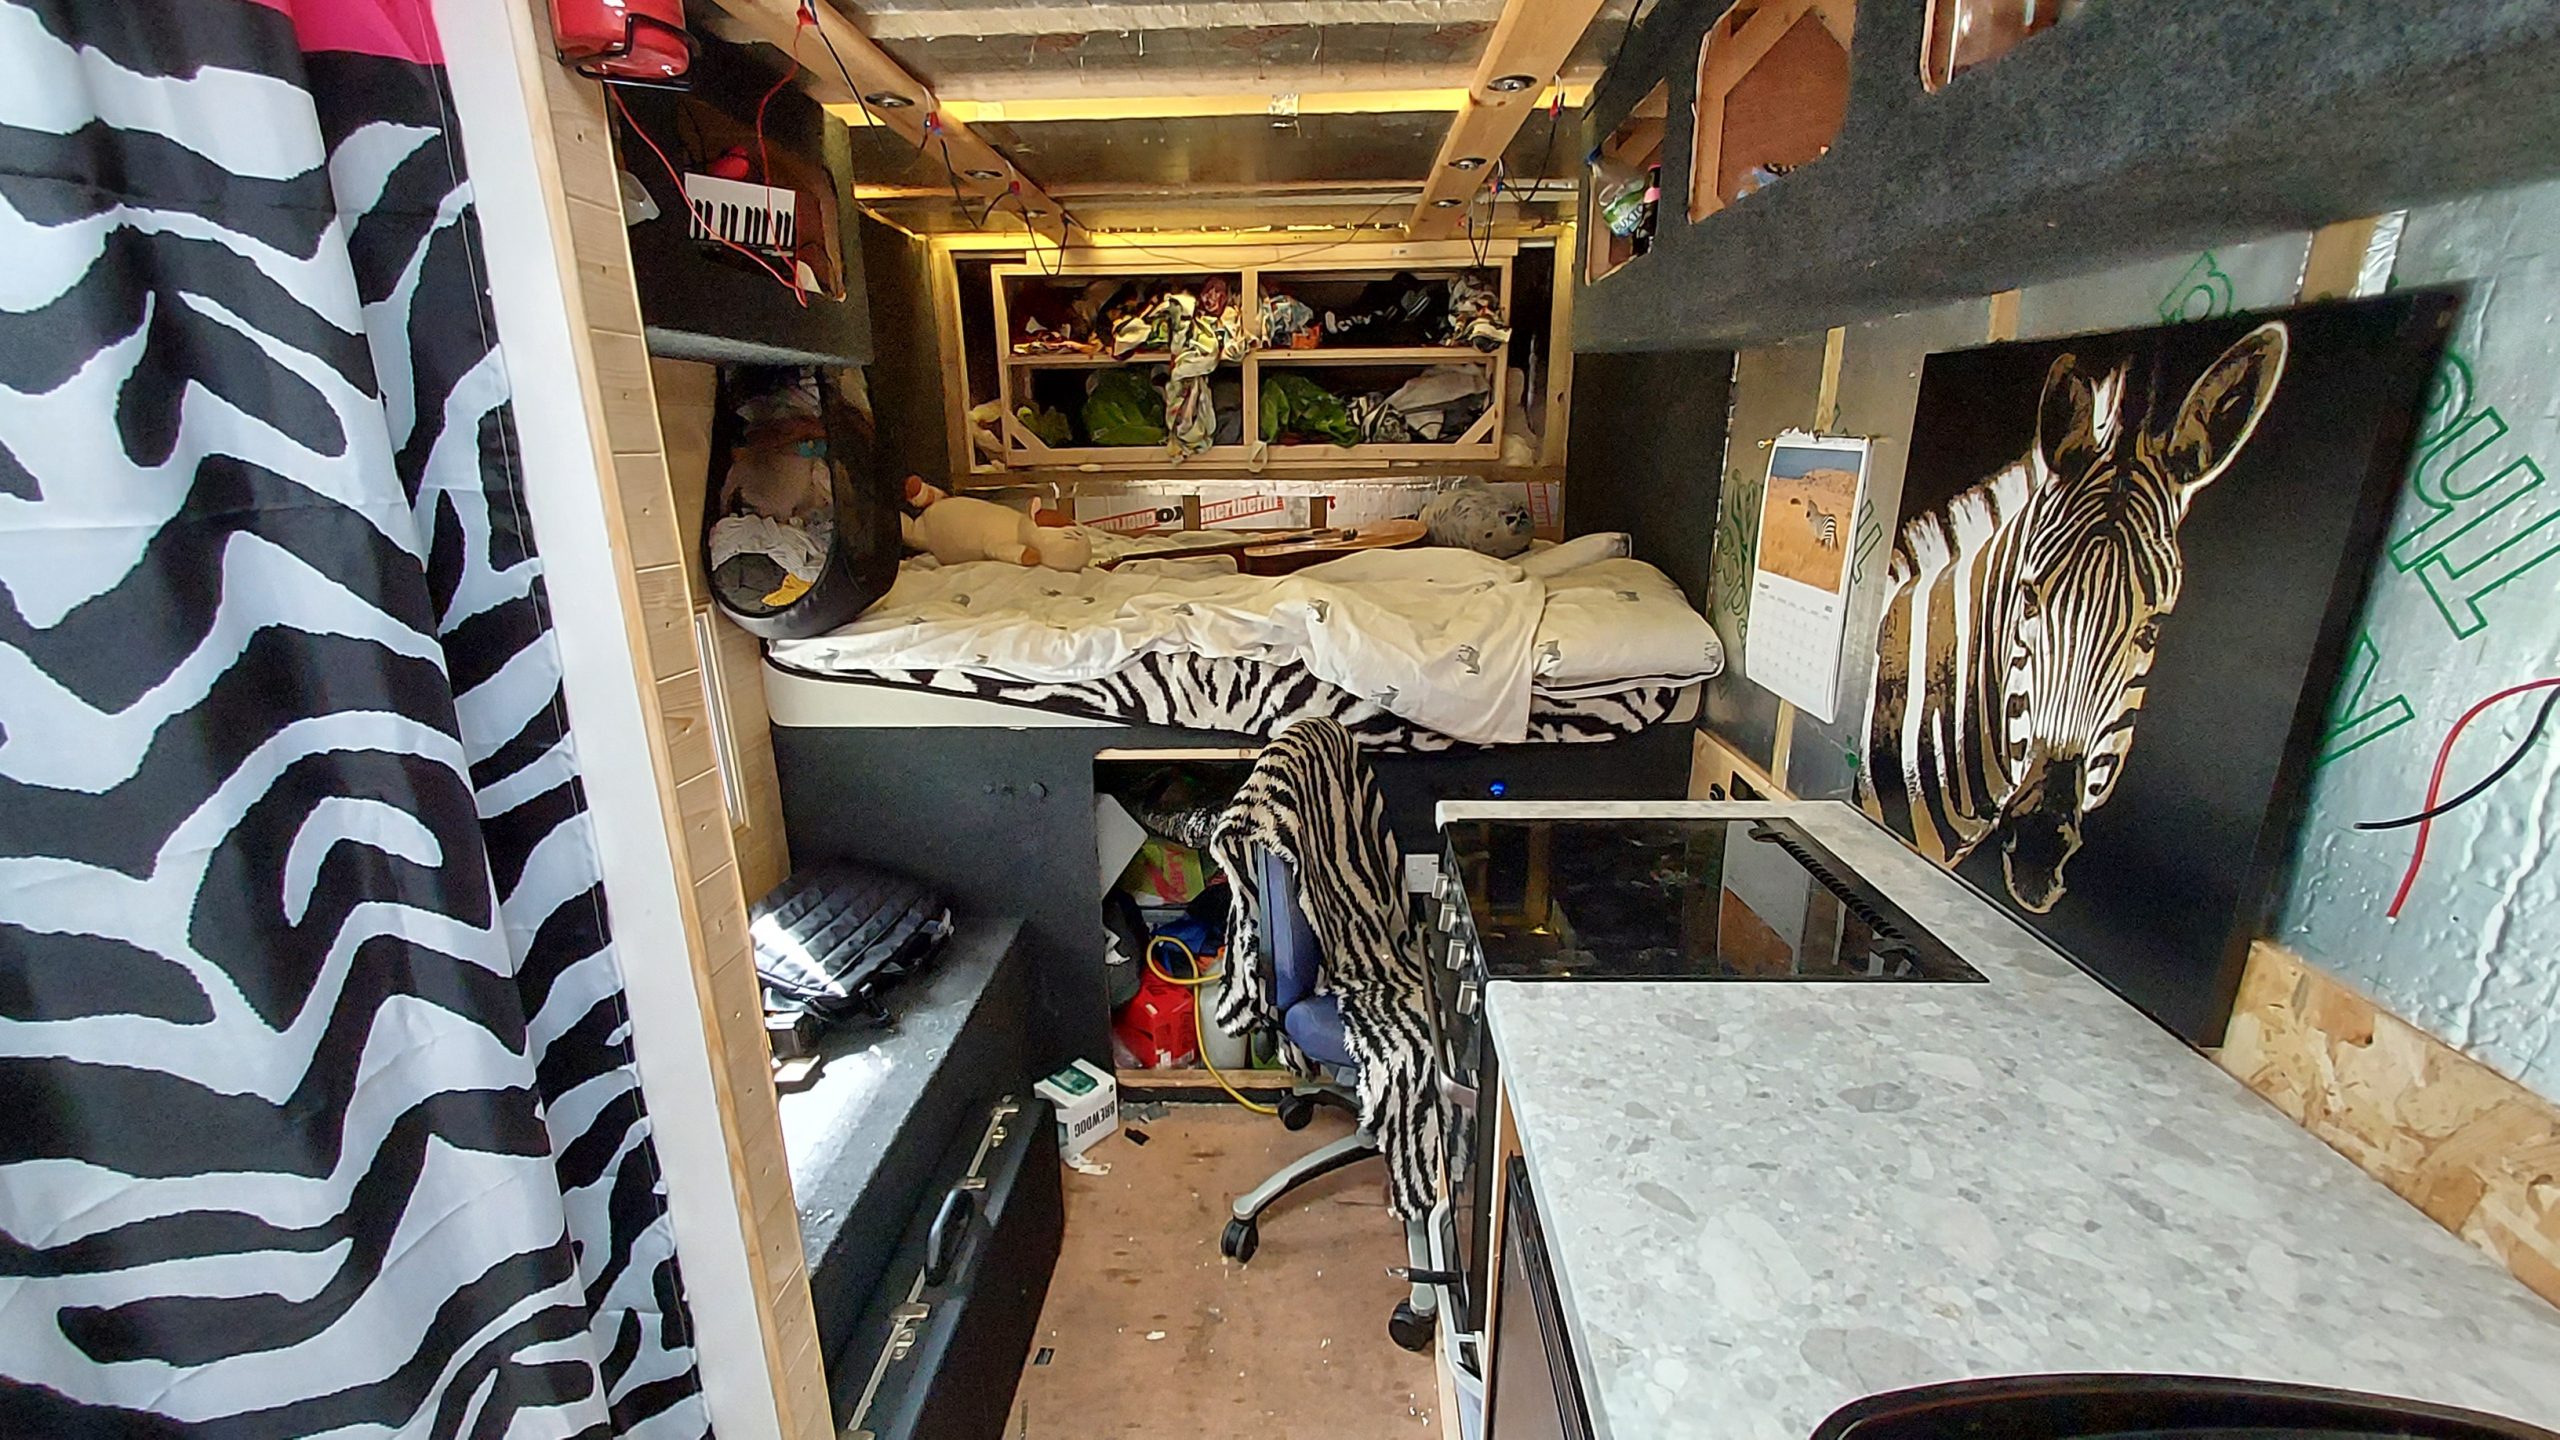
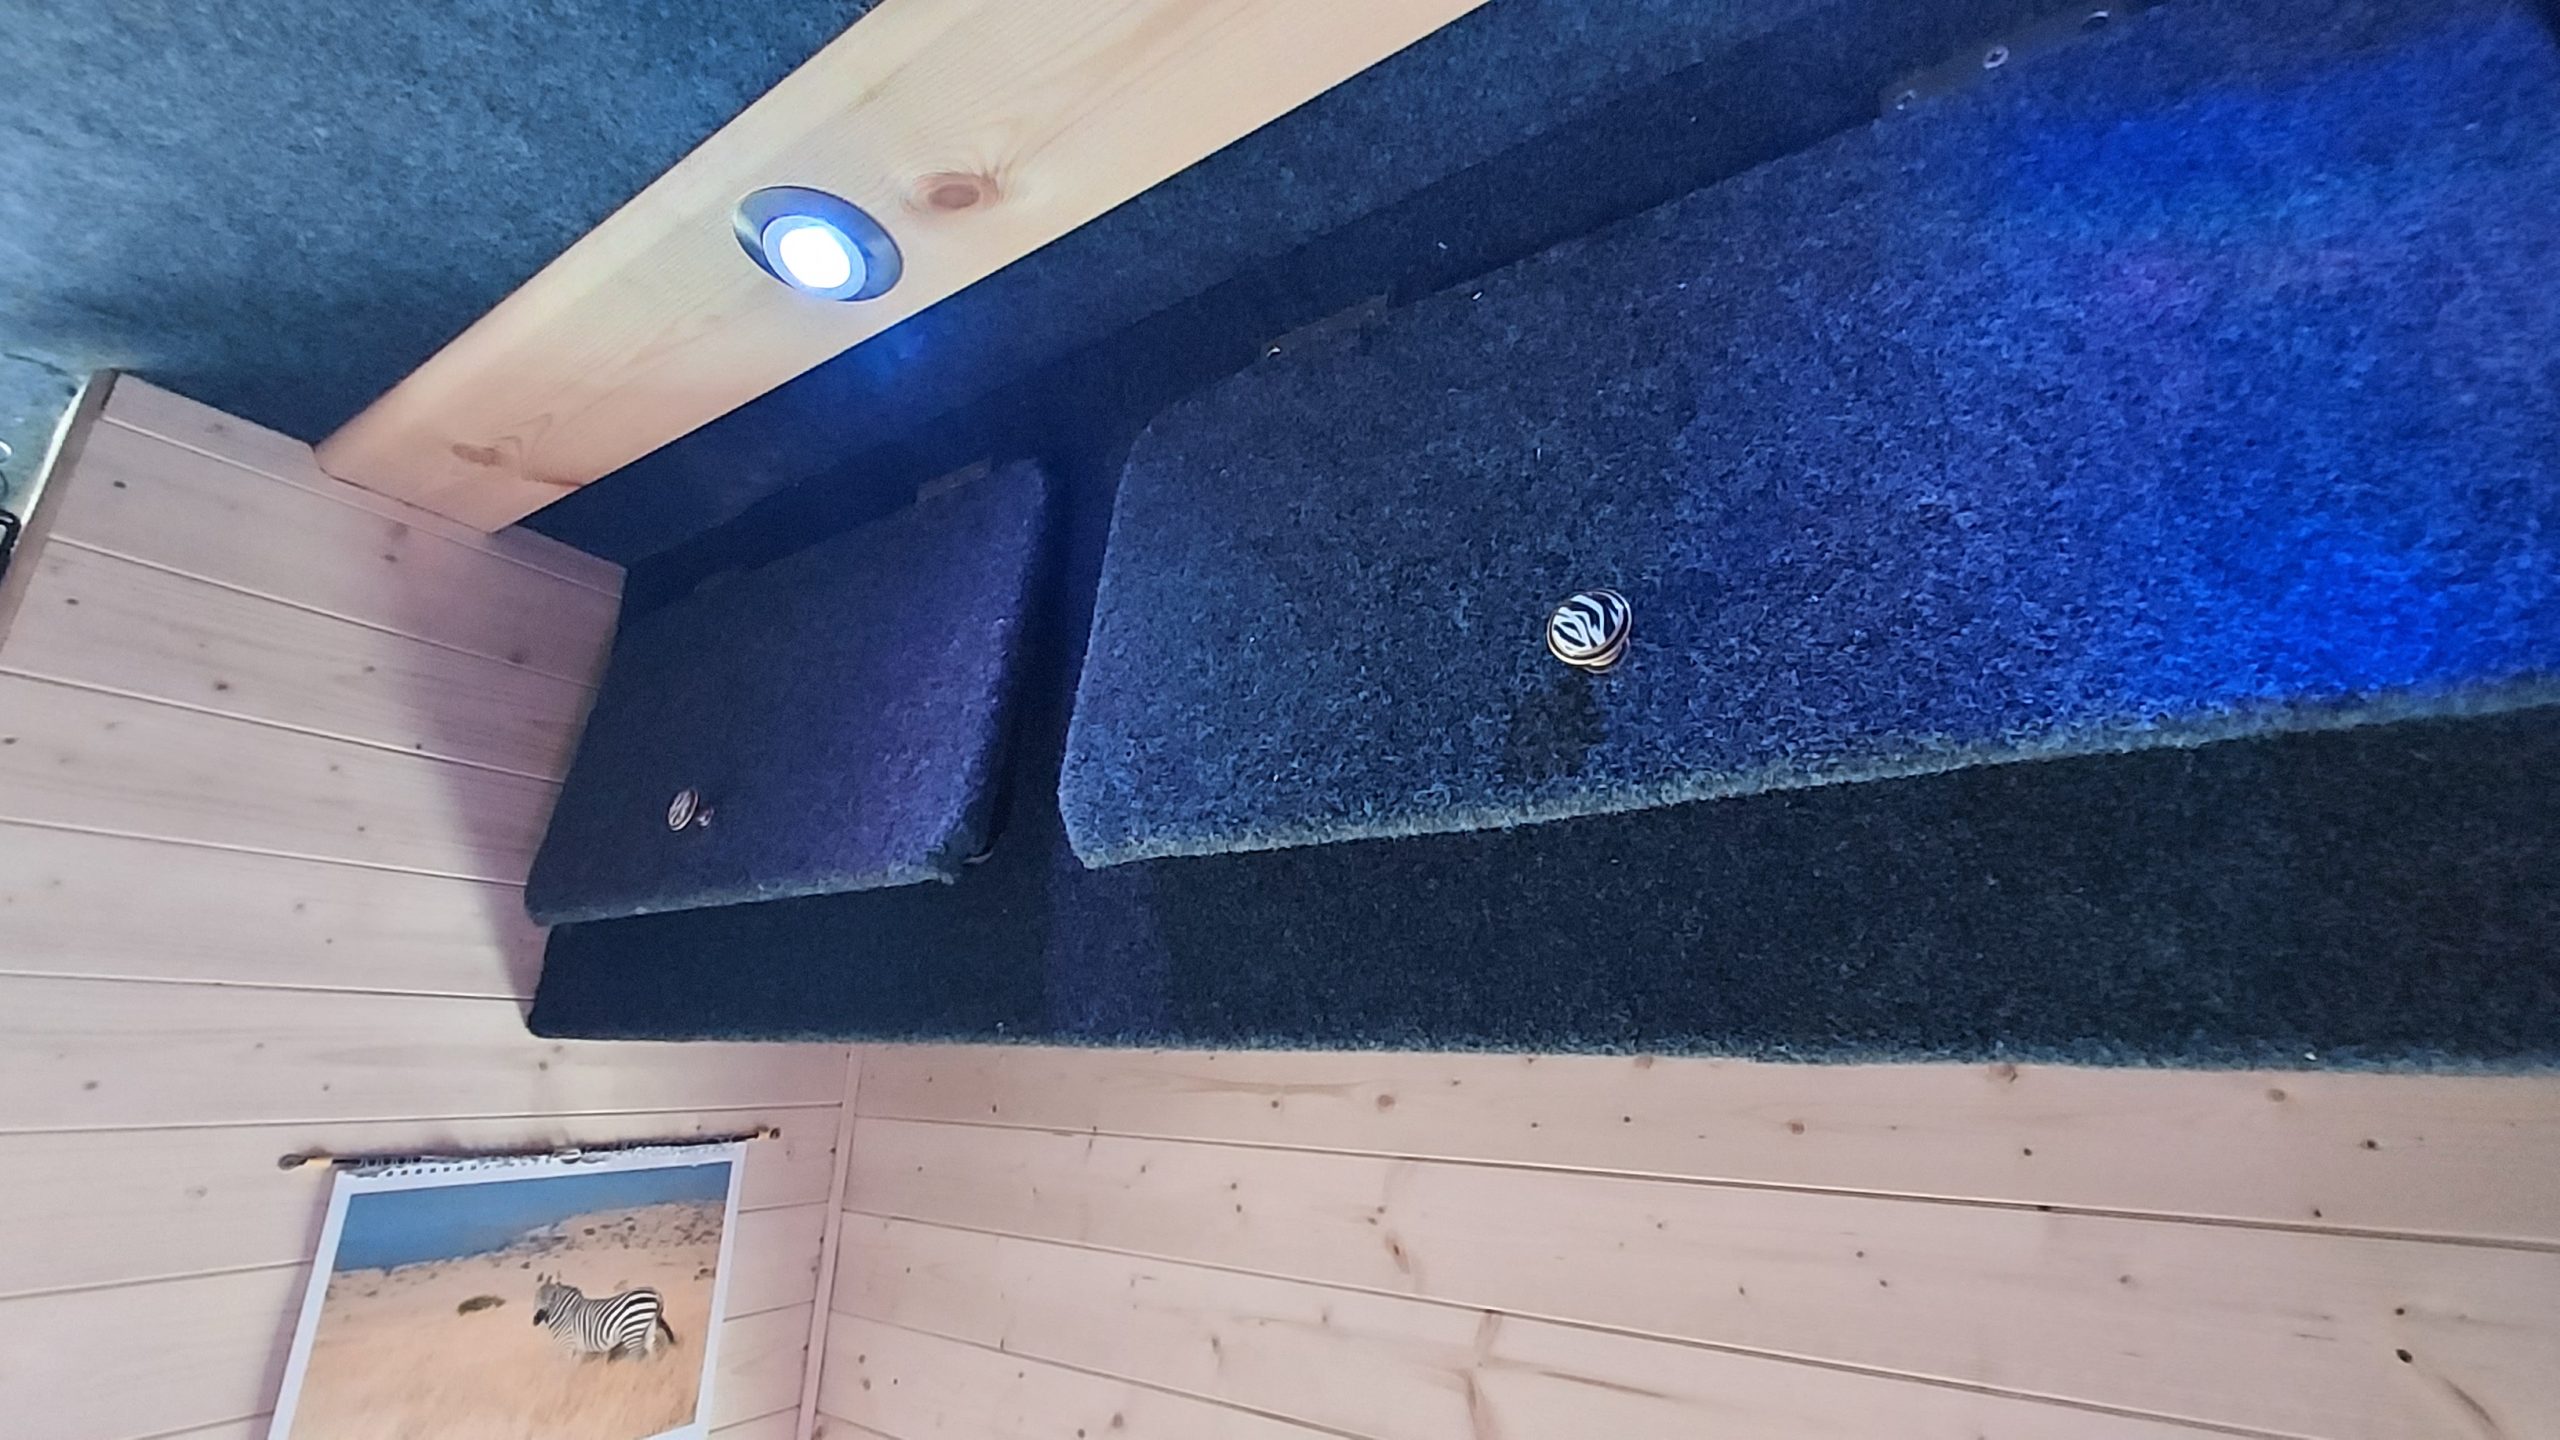
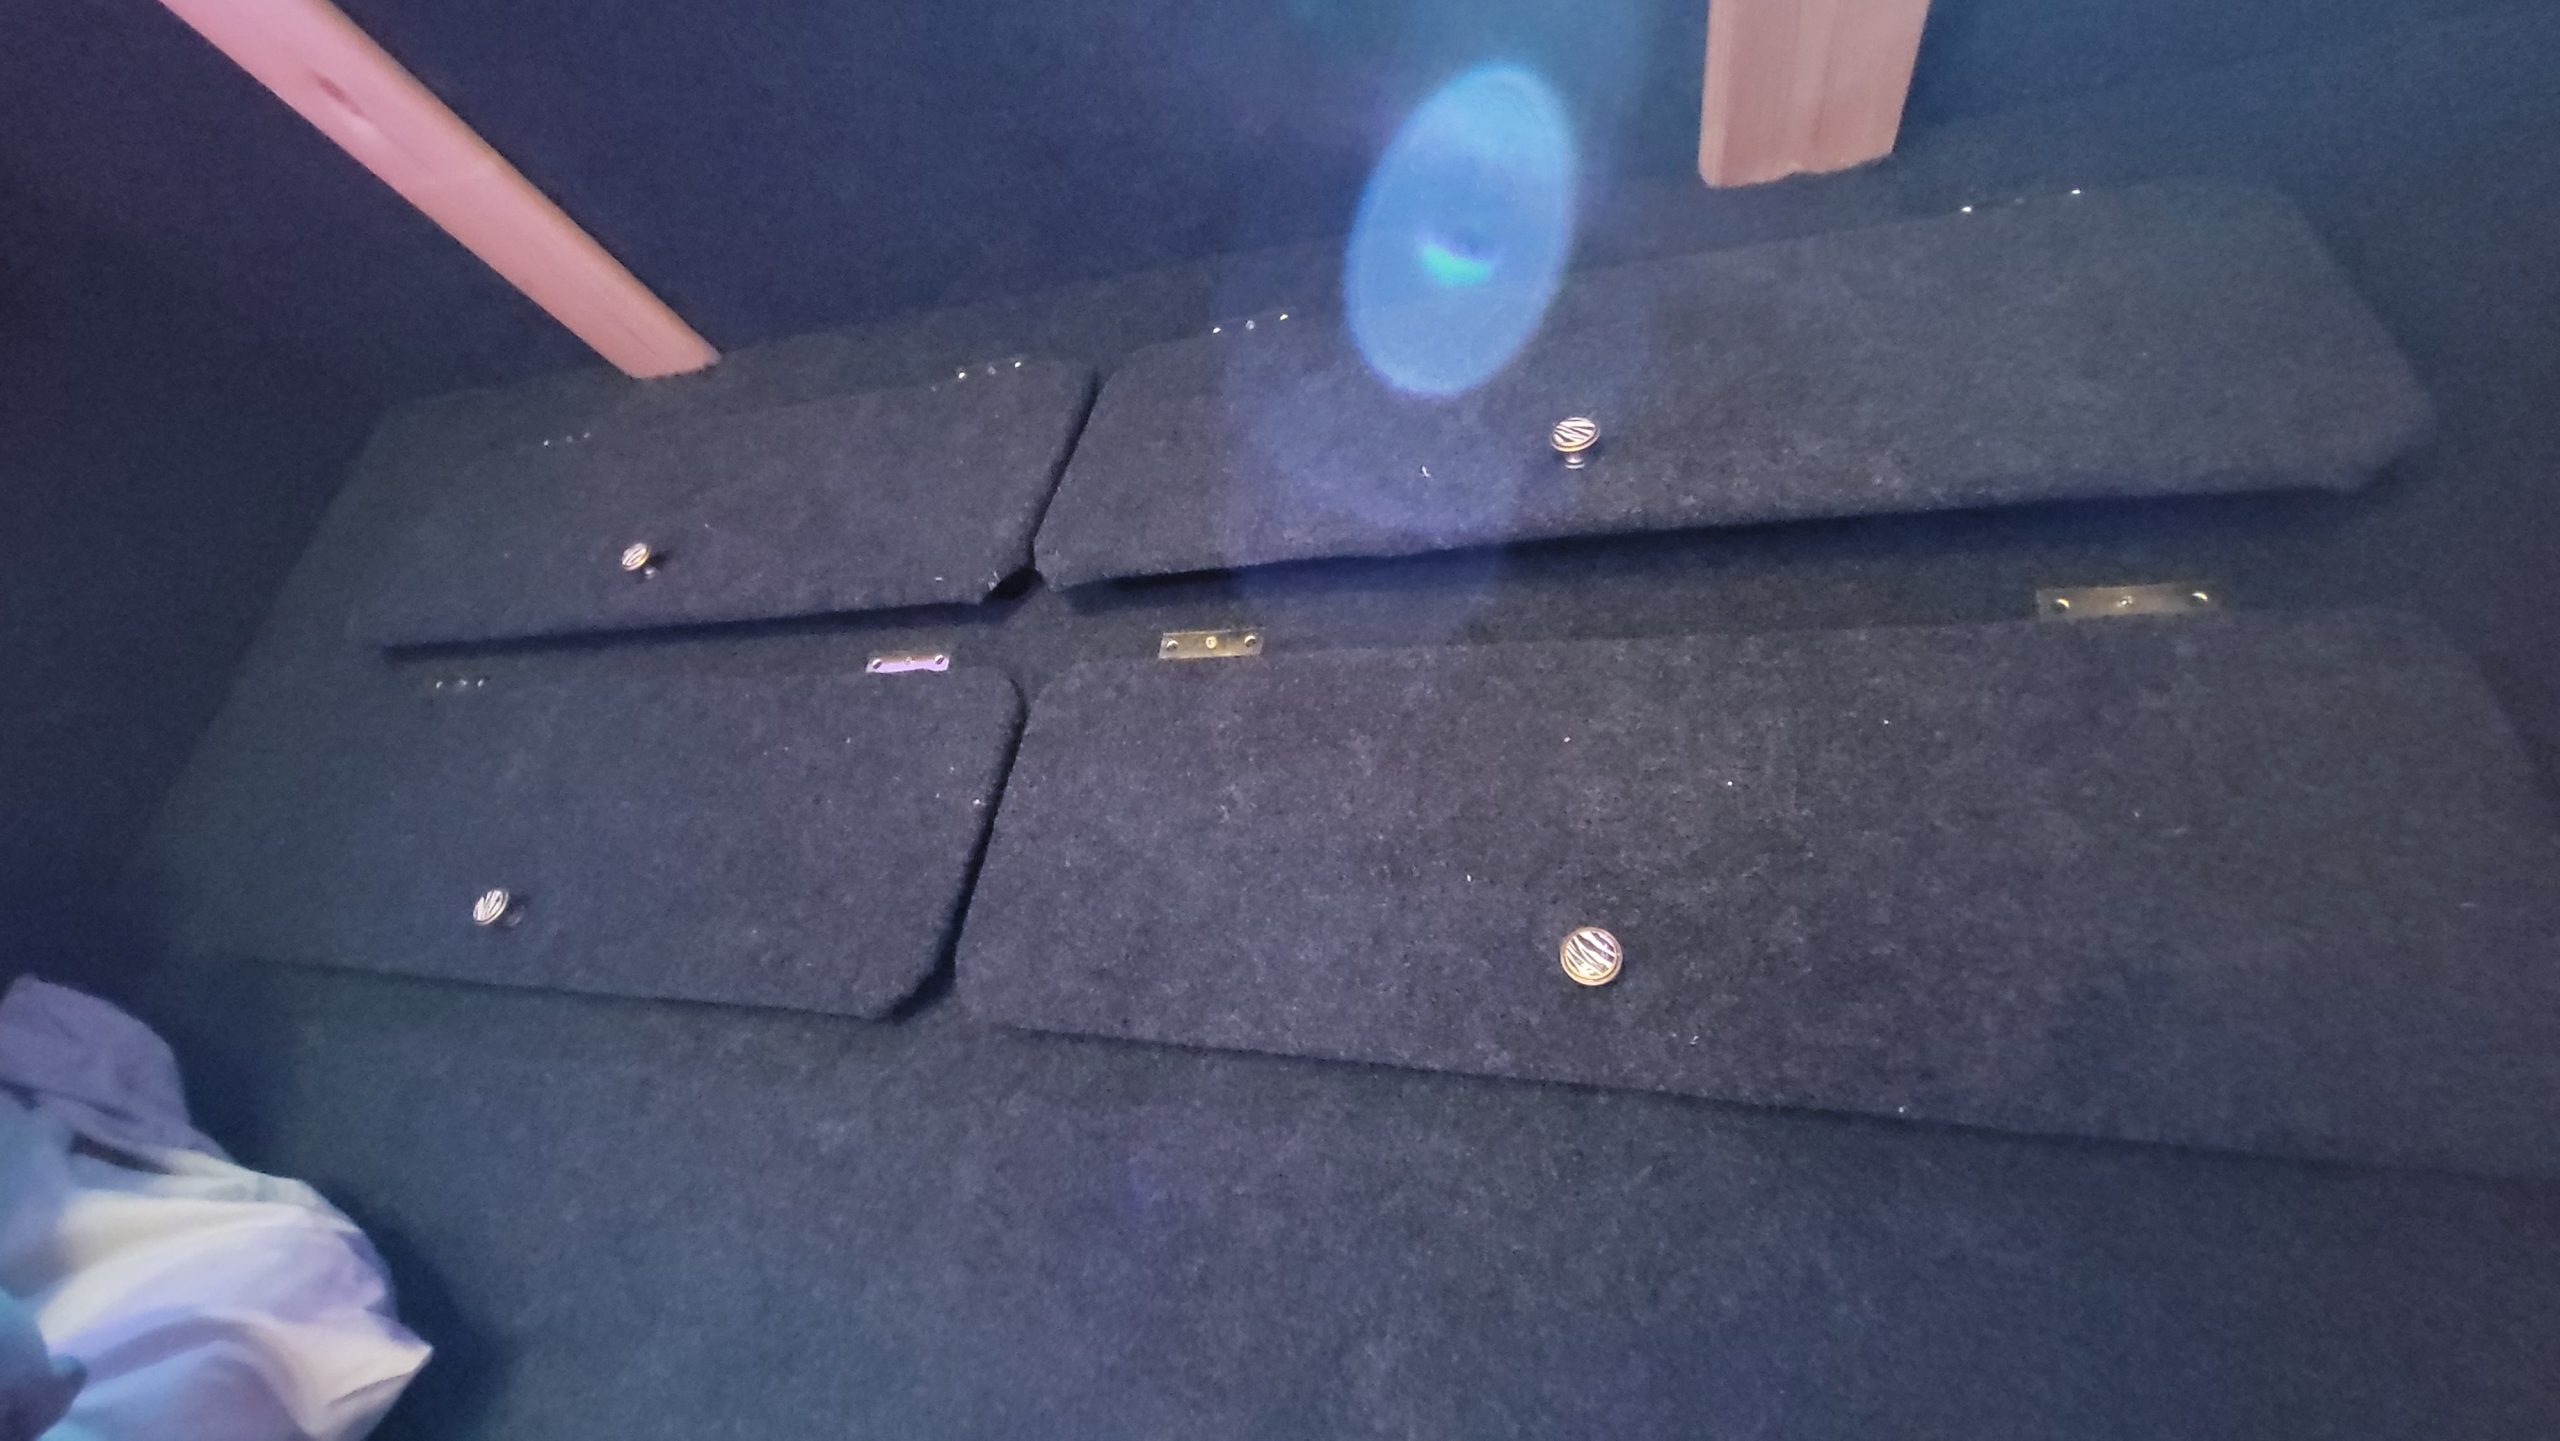
Bed cladded.
Other side of the bed area cladded and carpeted, with ventilation to help prevent moisture build up.
Read More

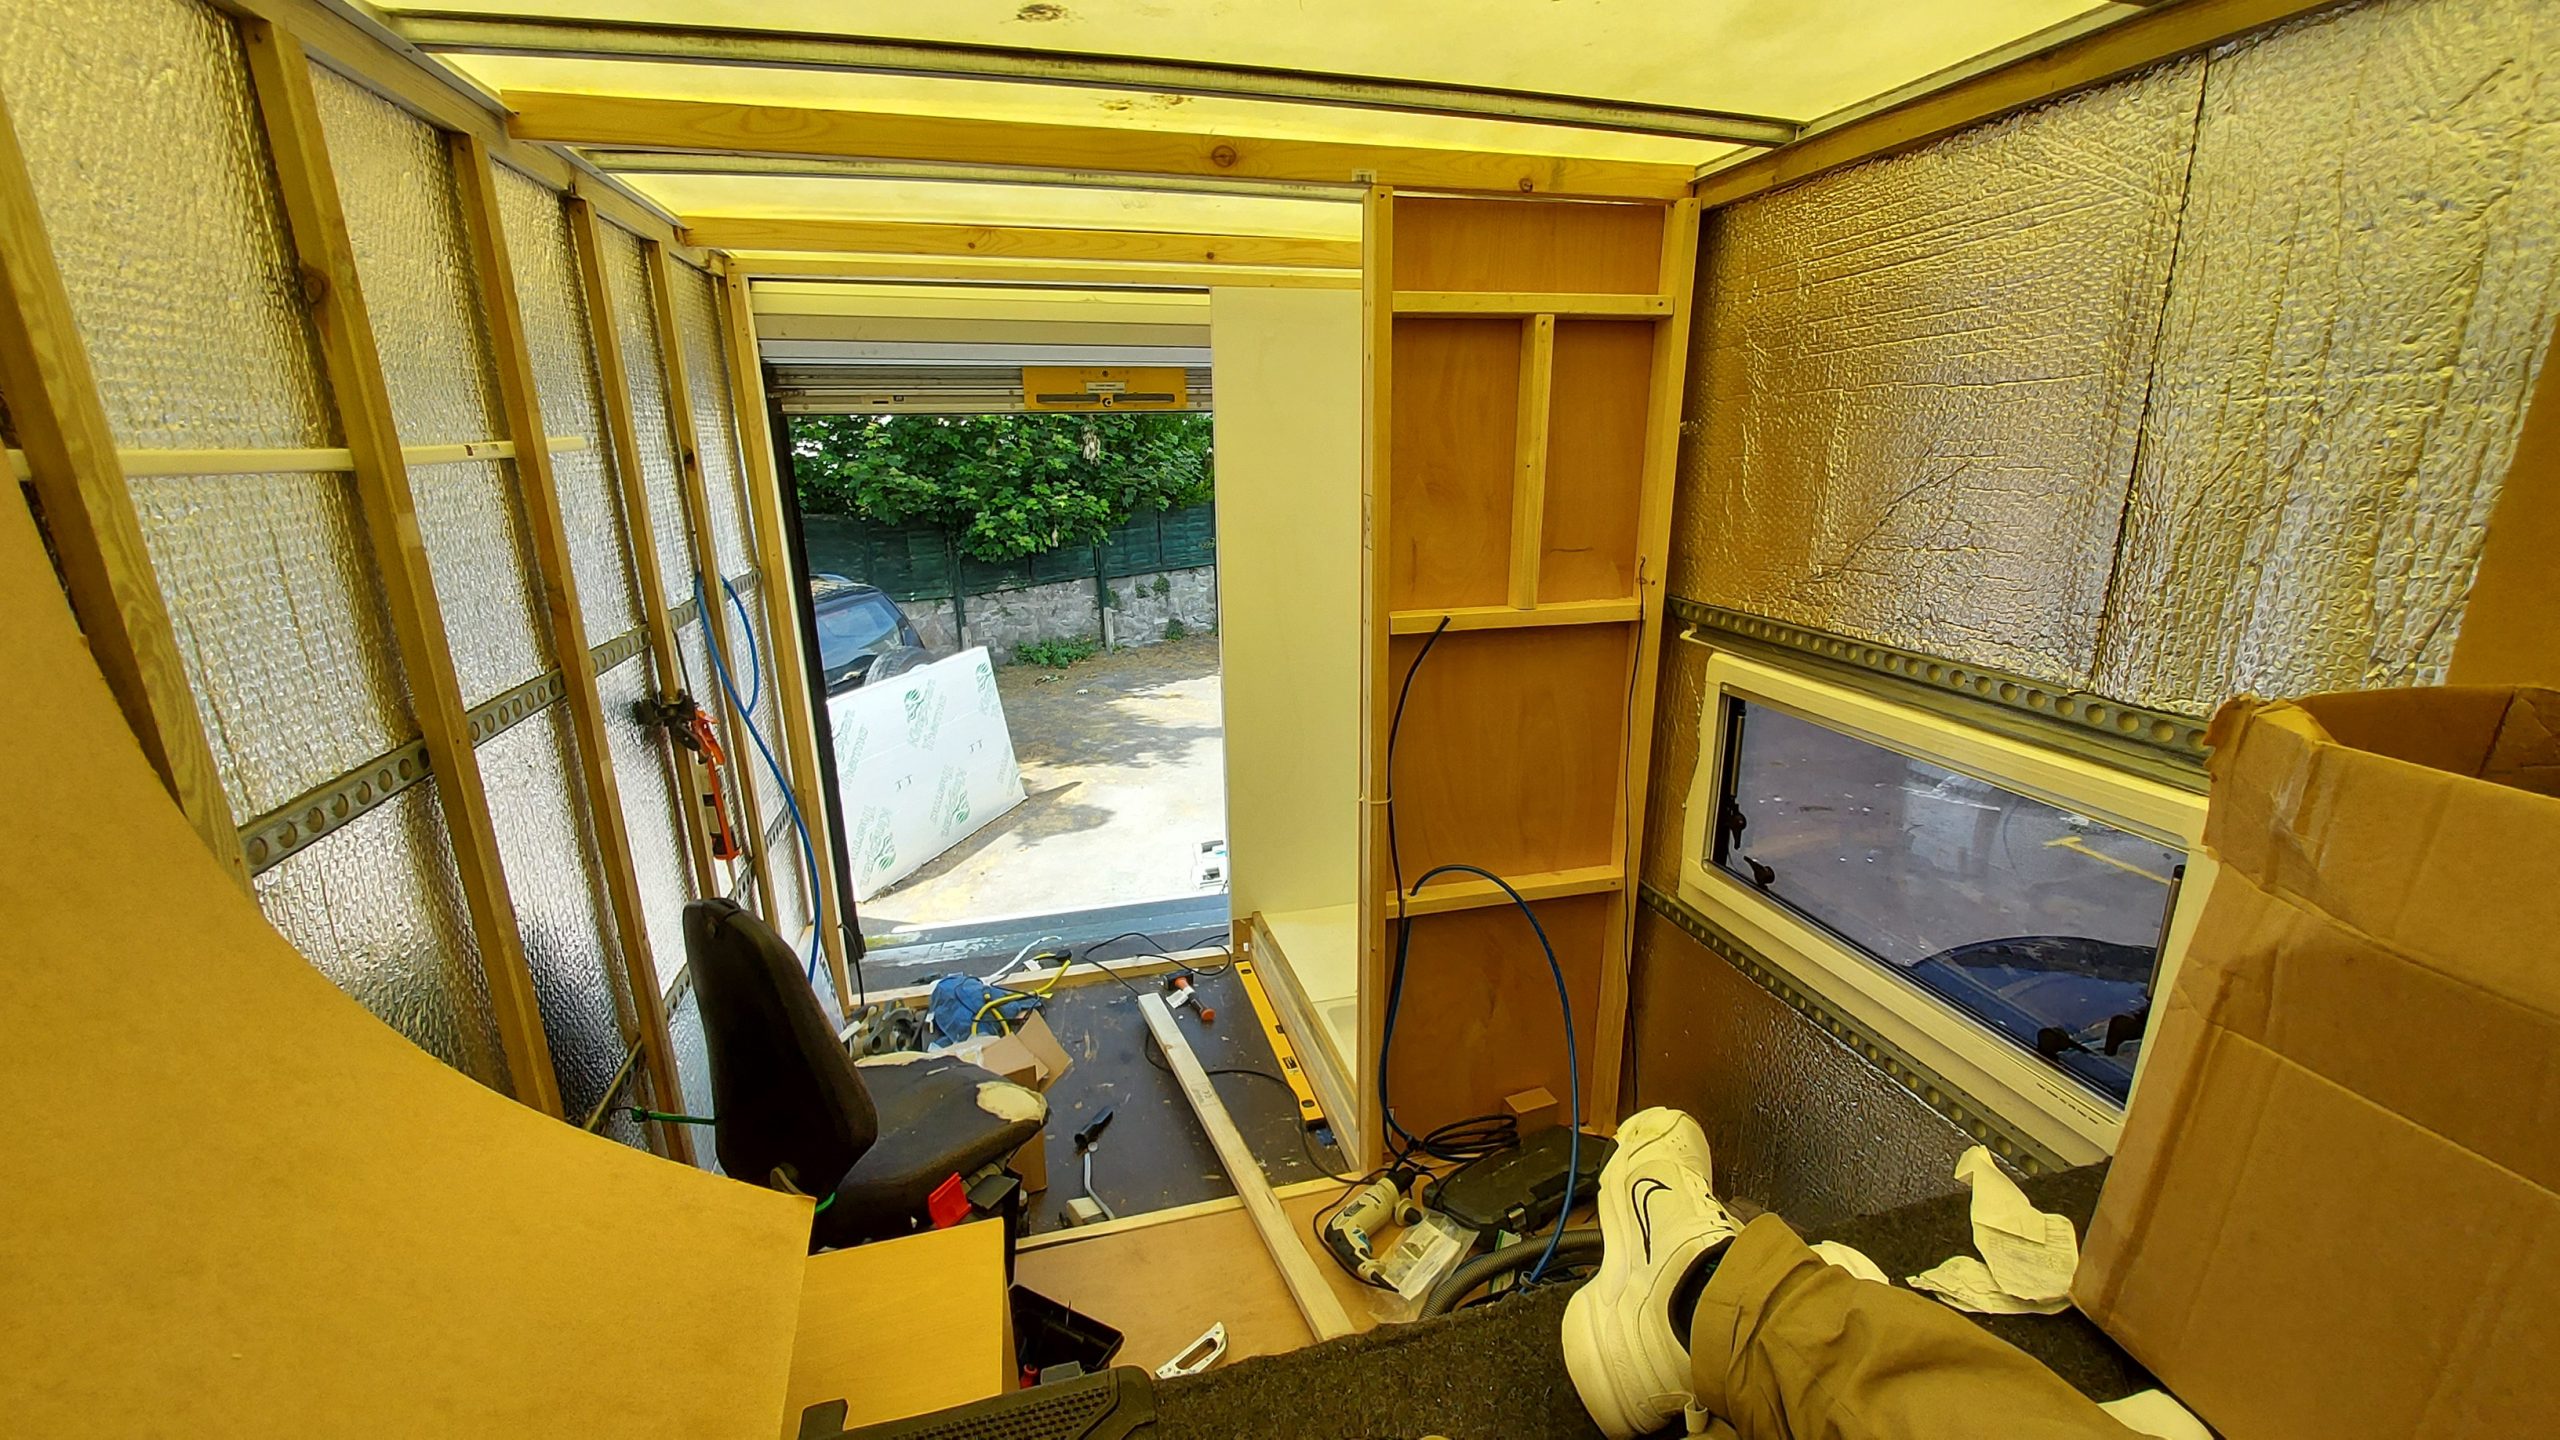
Wardrobe
I had initially wanted to do a square front Luton so that the bedding area could extend over the cab. I was eventually put off
Read More
Wardrobe panelled
Frame for the wardrobe build and panelled, just need to put the back on now.
Read More

Front of wardrobe
Front view of the wardrobe, this is the side that will be facing out into the living area.
Read More
Building light rails
Using skirting board to build two light rails which hold the main lighting for the van.
Read More


Rails ready.
View of both rails before they’re hoisted up to the ceiling beams and attached.
Read More


Heating controls moved
Diesel heater controls now fitted to the wall along with the shunt meter and gas meter.
Read More

Wardrobe fitted
Wardrobe is fitted above cab and filled with clothes, still more to do here.
Read More

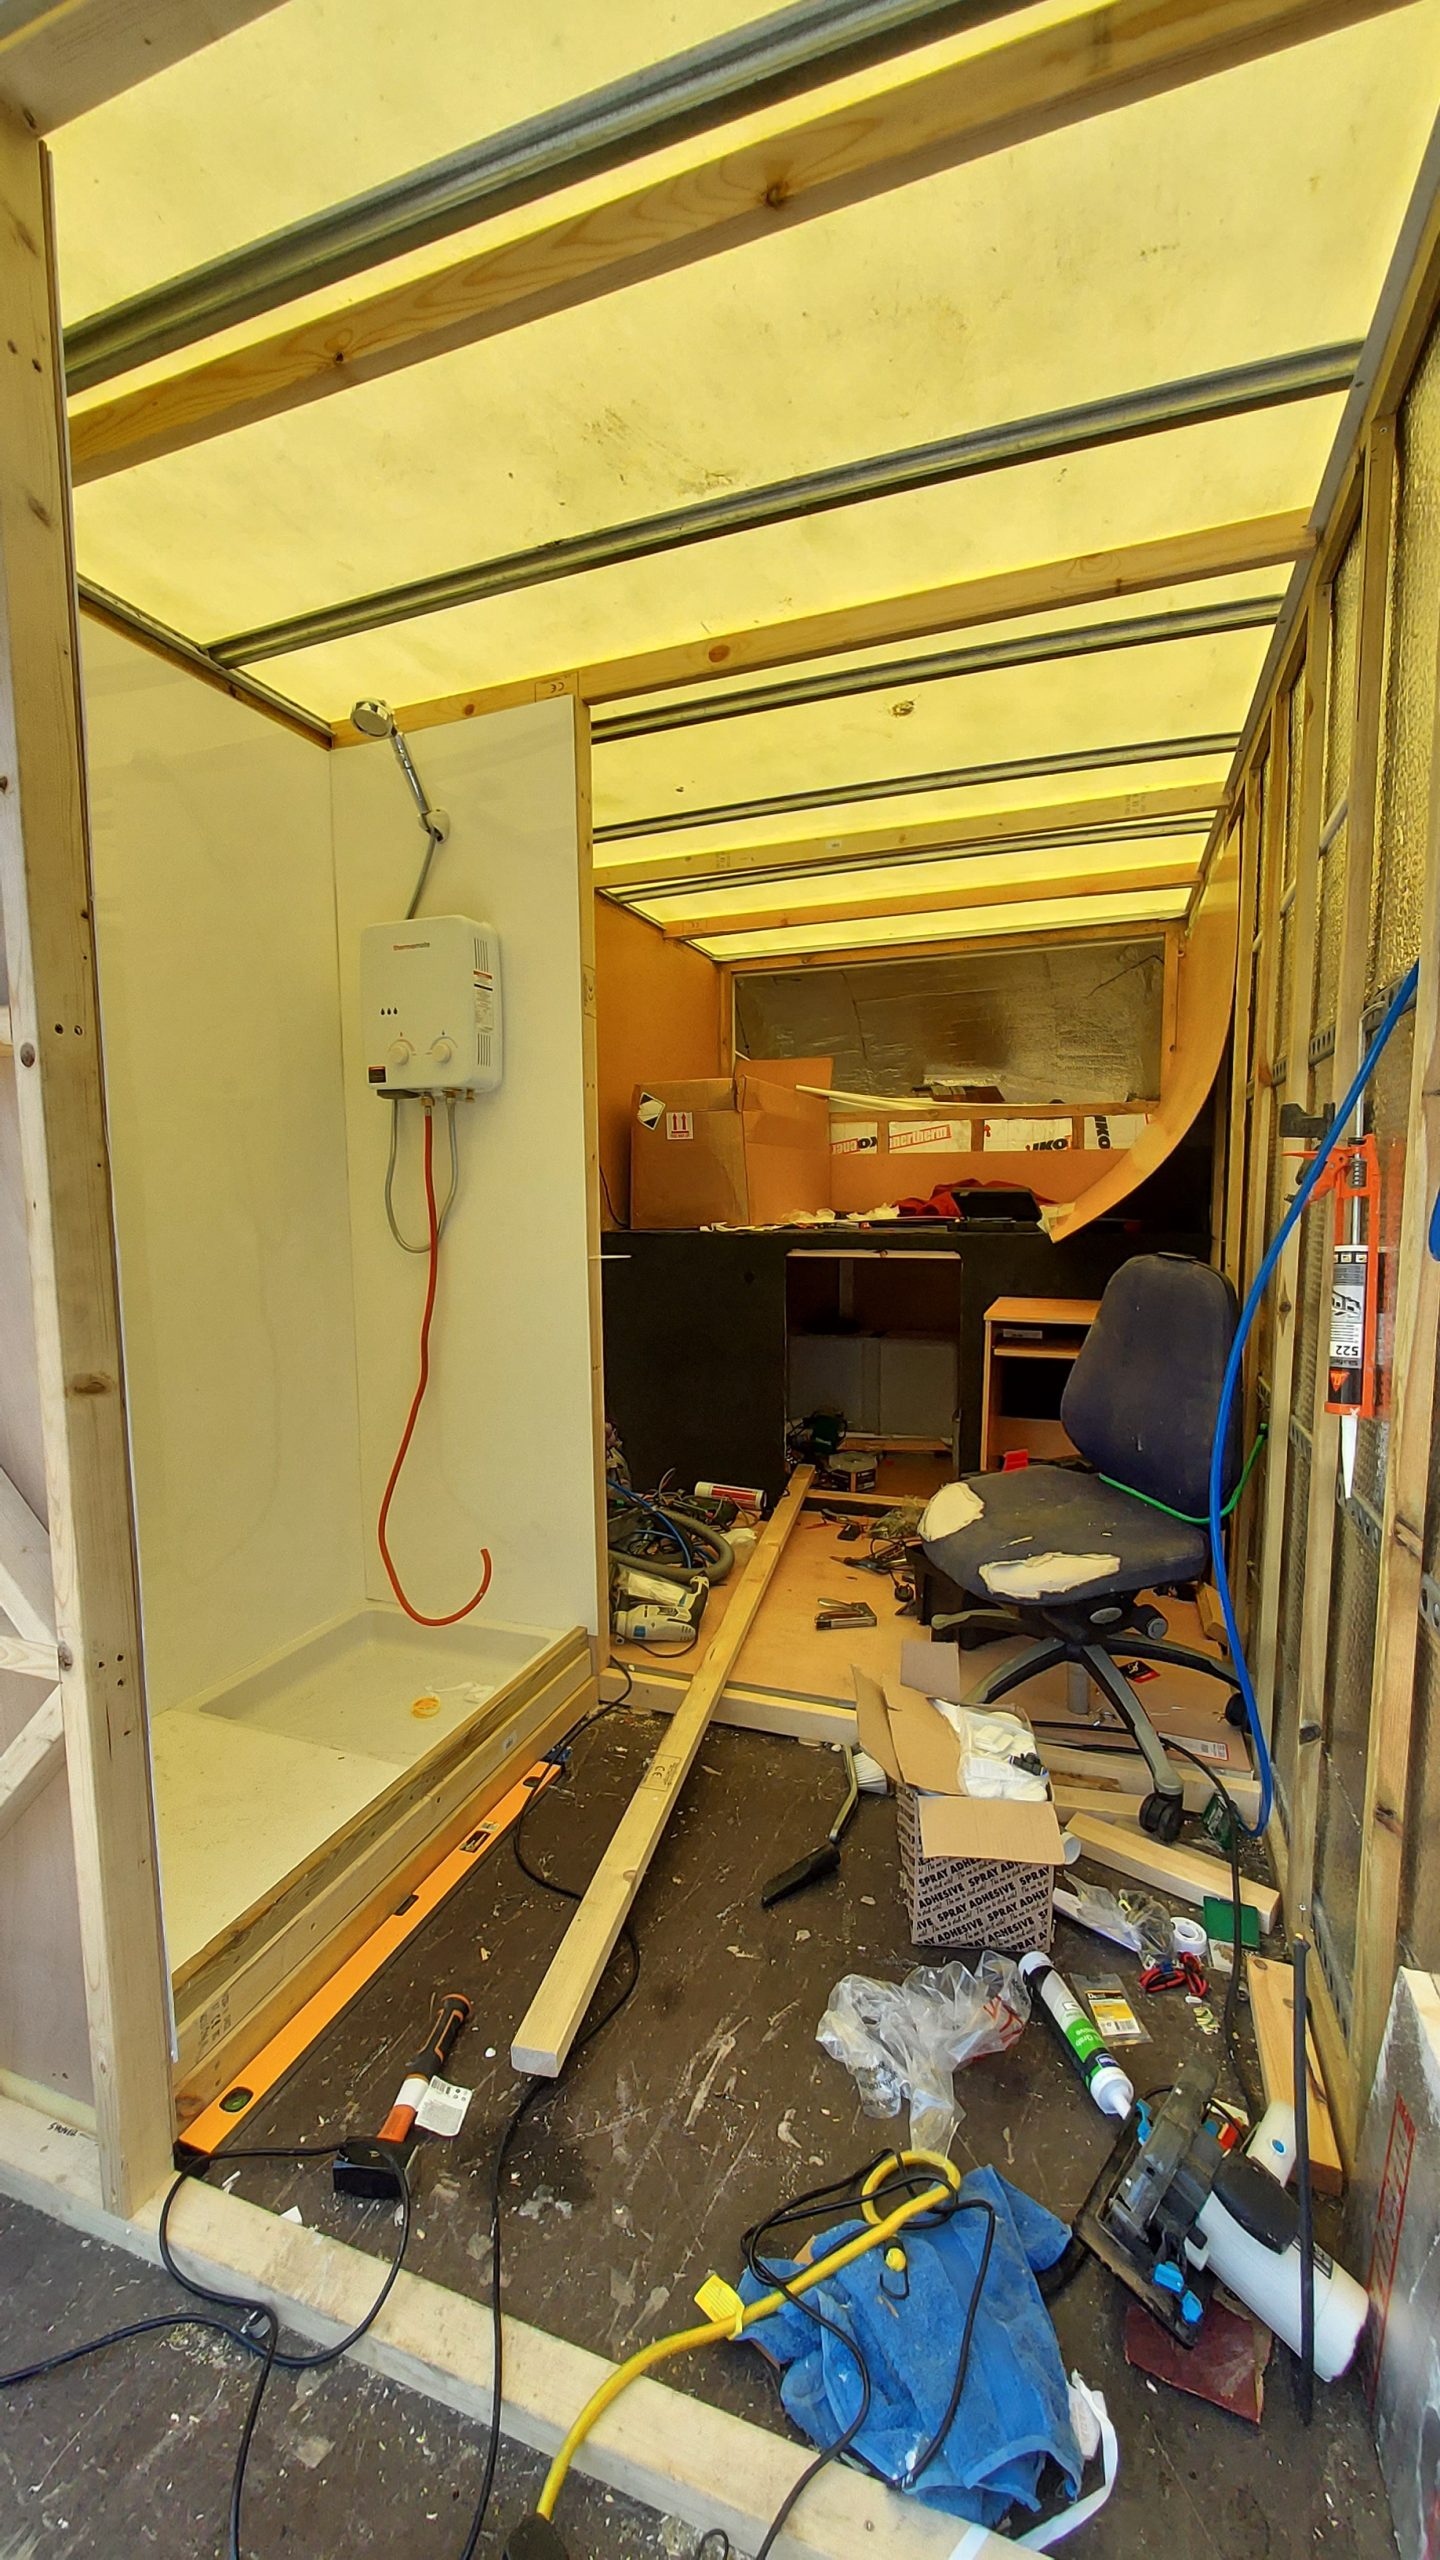
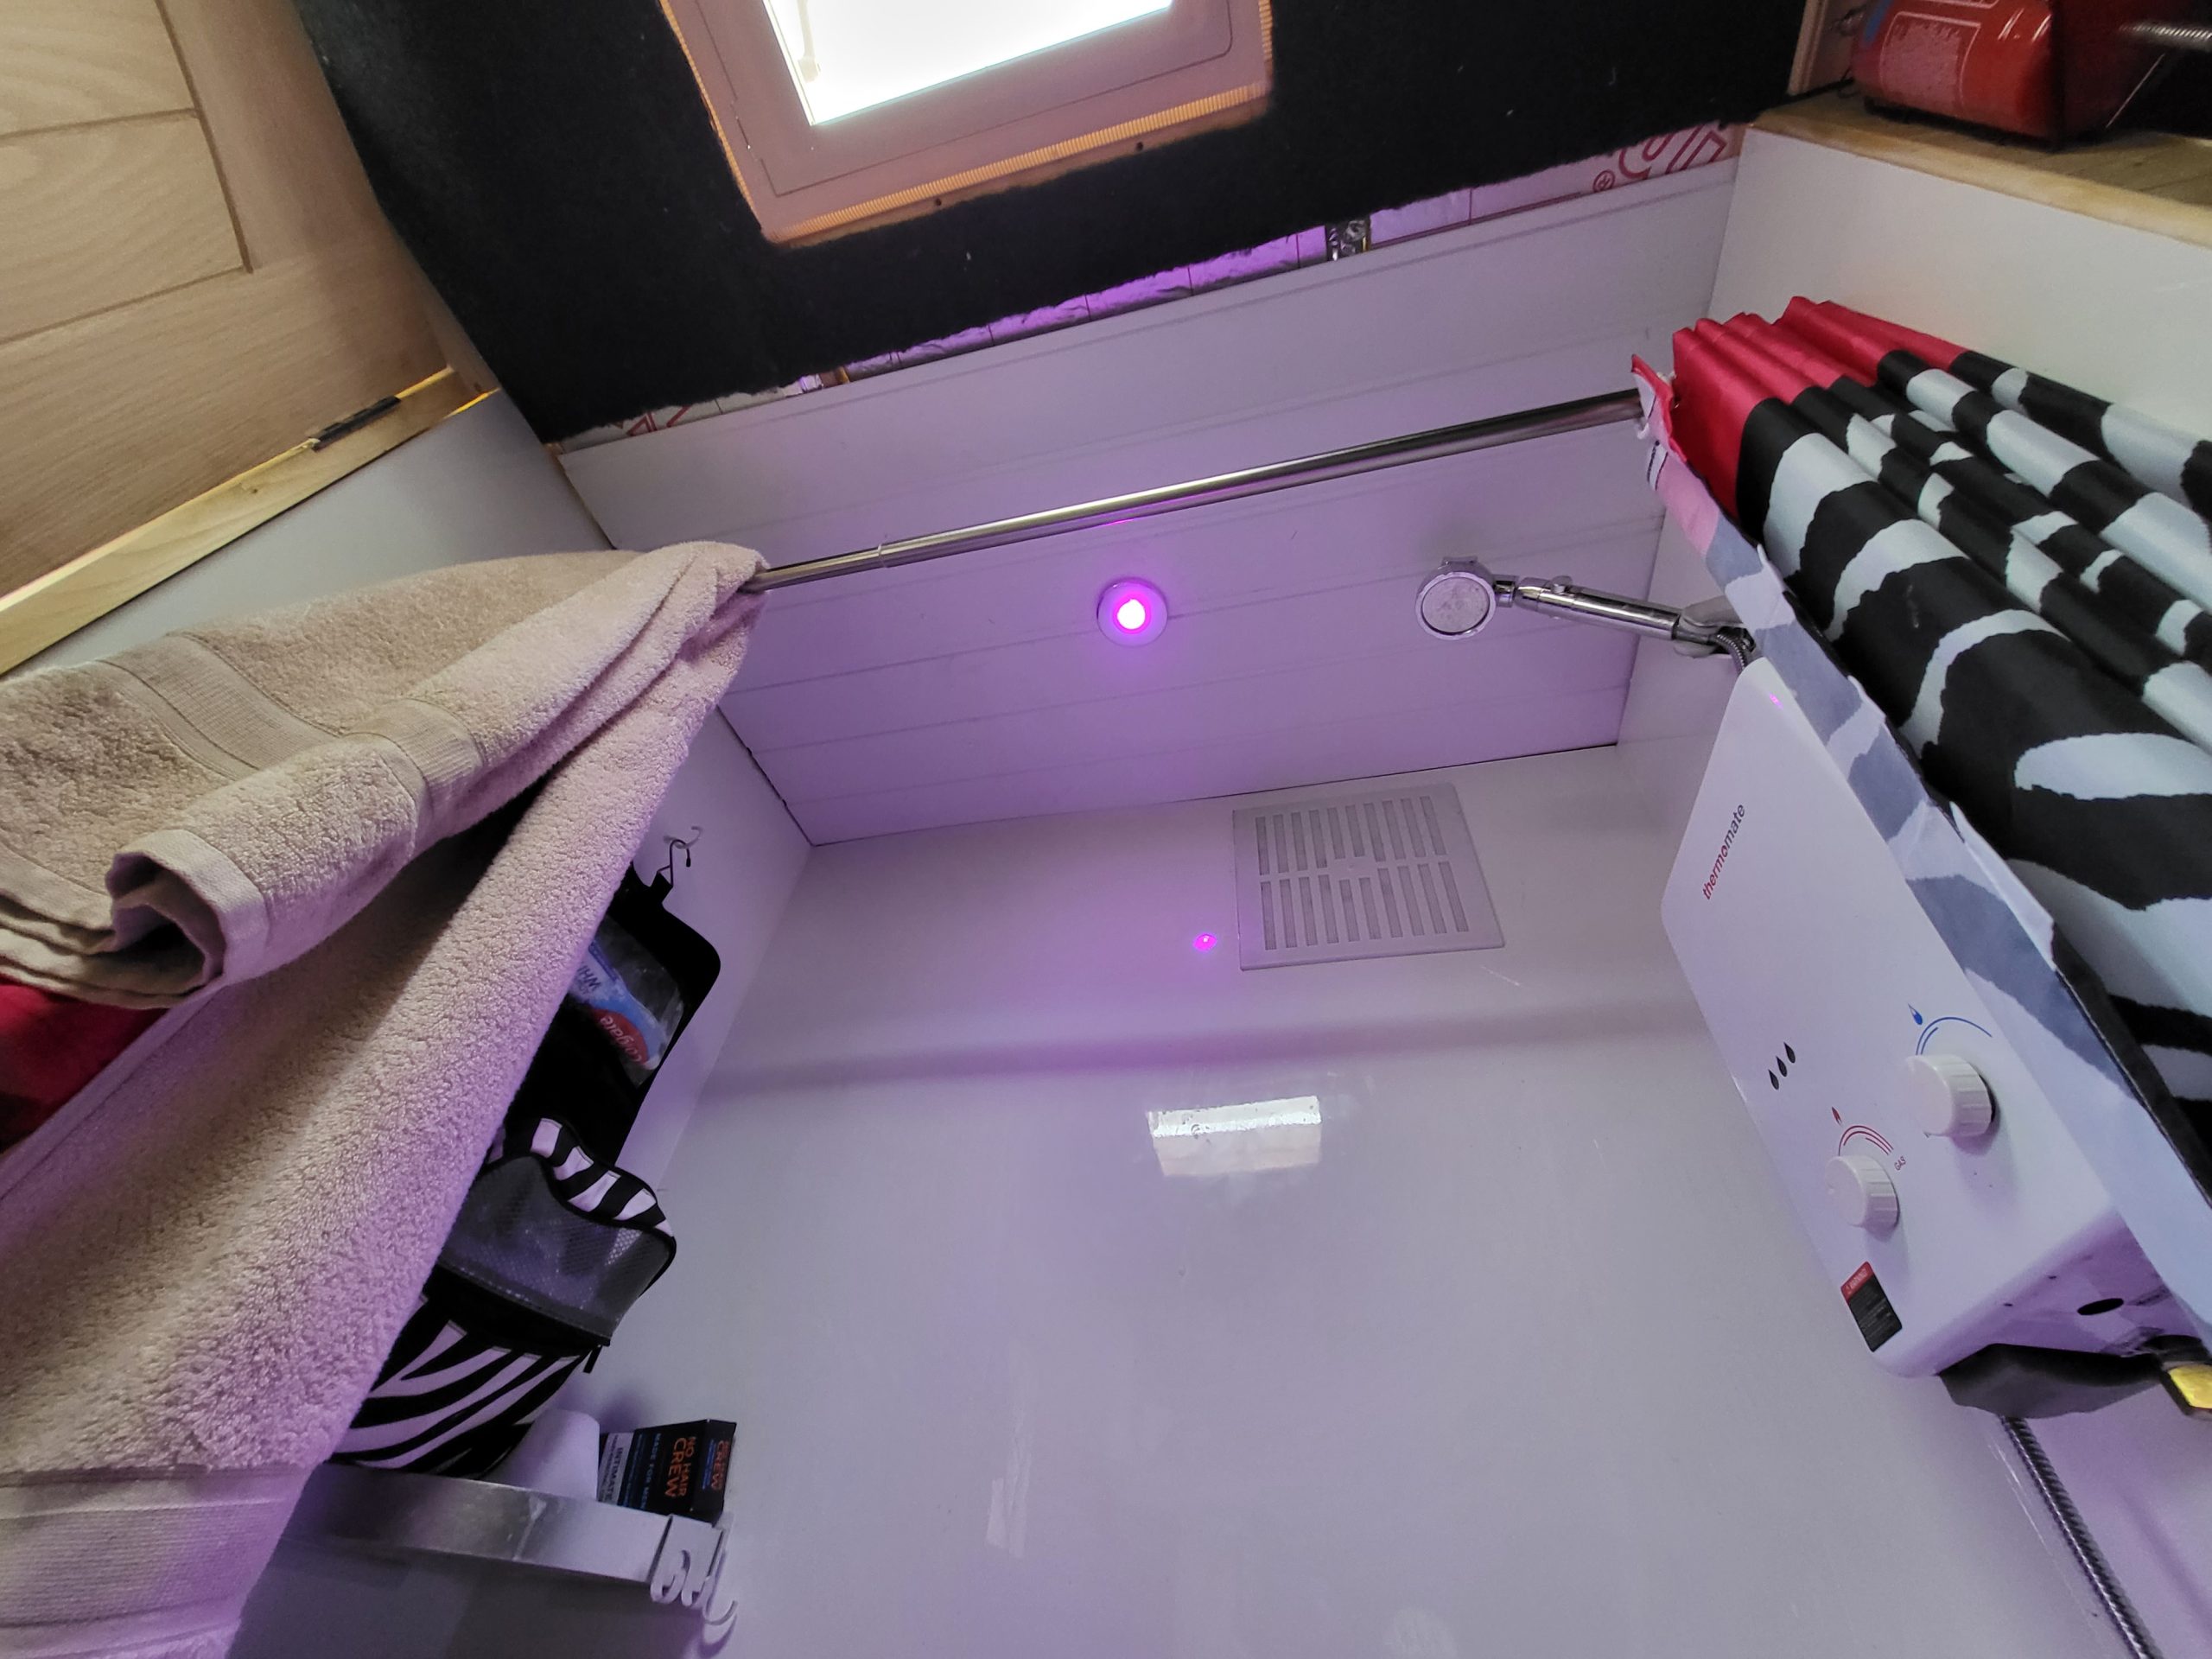
Bathroom improvements
Toilet now fitted along with two shelves held on by 3M adhesive, also installed a hook for my wash bag. Also pictured is the obligatory
Read More

Sofa fitted
Sofa box fitted, beginning to clad the inner bathroom wall and clad around the window with pine tongue in groove.
Read More

Overhead storage carpeted
Overhead storage fixed, glued and carpeted. Now ready to be attached to the ceiling beams.
Read More

Things stowed!
Making use of the overhead storage, great to be getting things out of plastic boxes and bags and into a dedicated area.
Read More

Artwork
Figuring out where to put this abstract art. Also pictured is the button for the bathroom lighting.
Read More


More storage and cladding.
Overhead storage fitted on the left hand side of the living area, nearly done cladding around the window.
Read More


Cladding finished
Finished cladding around the window and added some decorative trim around it.
Read More

Getting there, part 2
View of the overhead storage, living area and bathroom from the back.
Read More


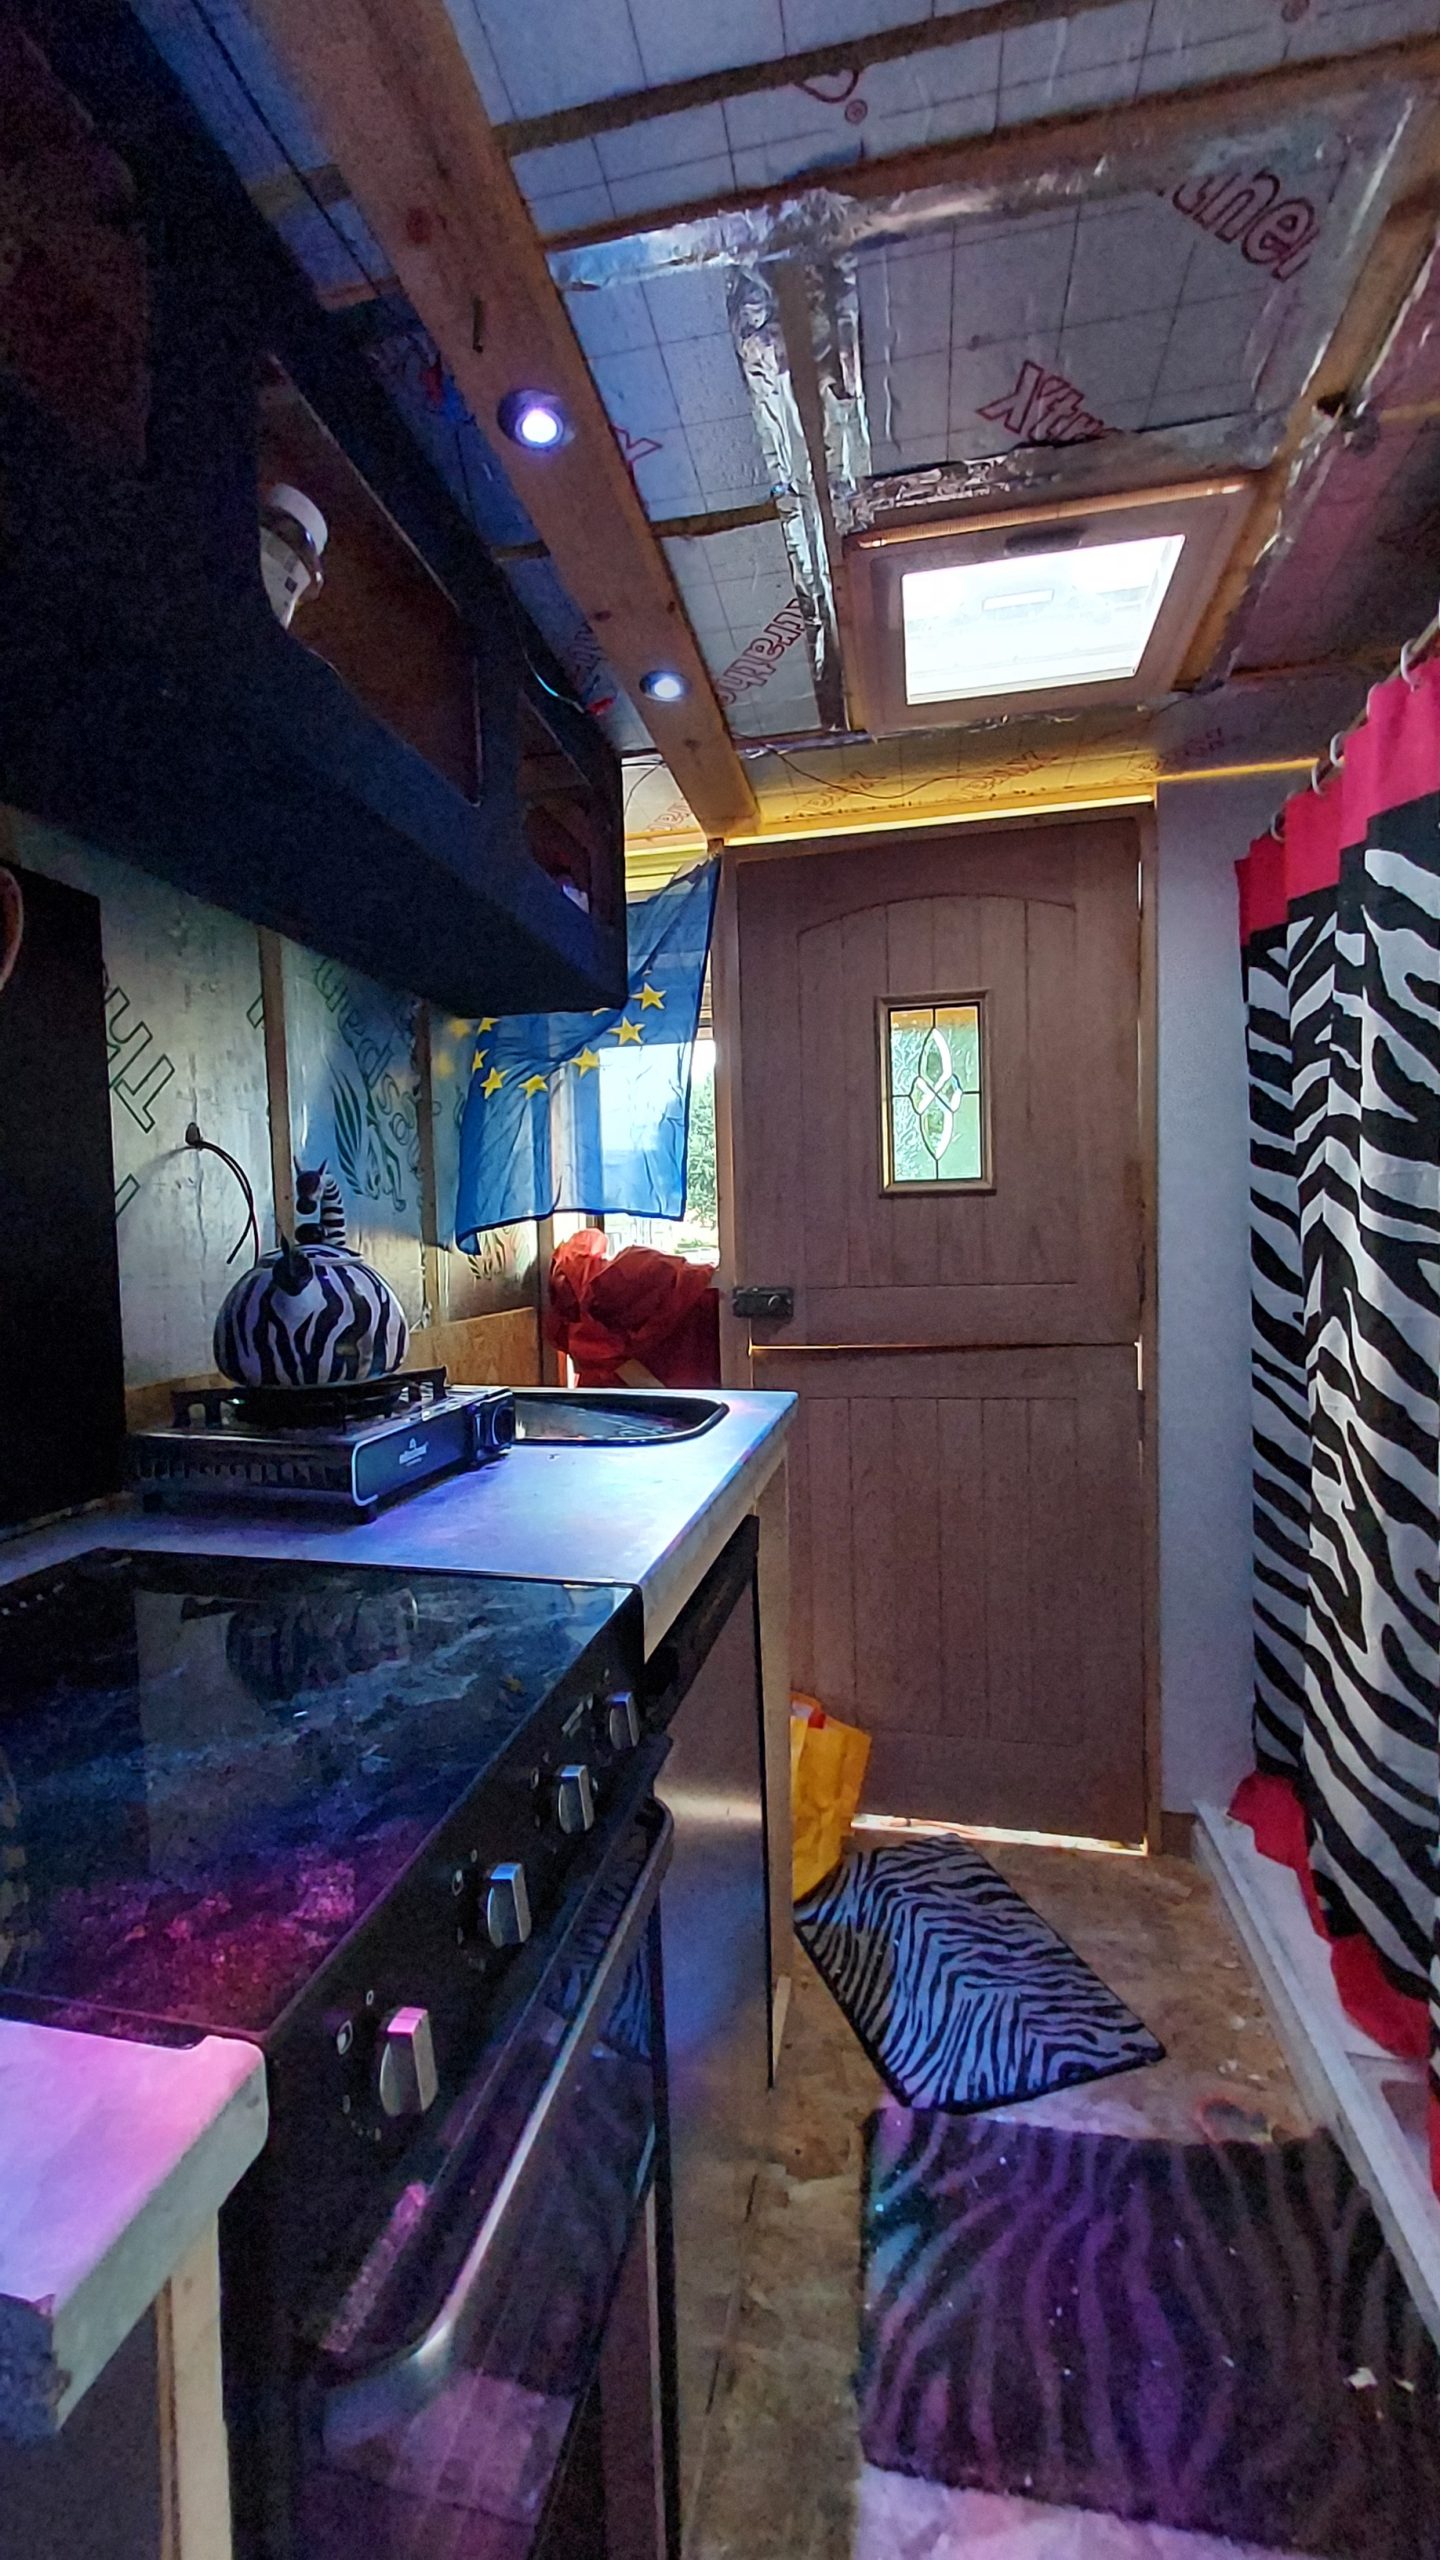
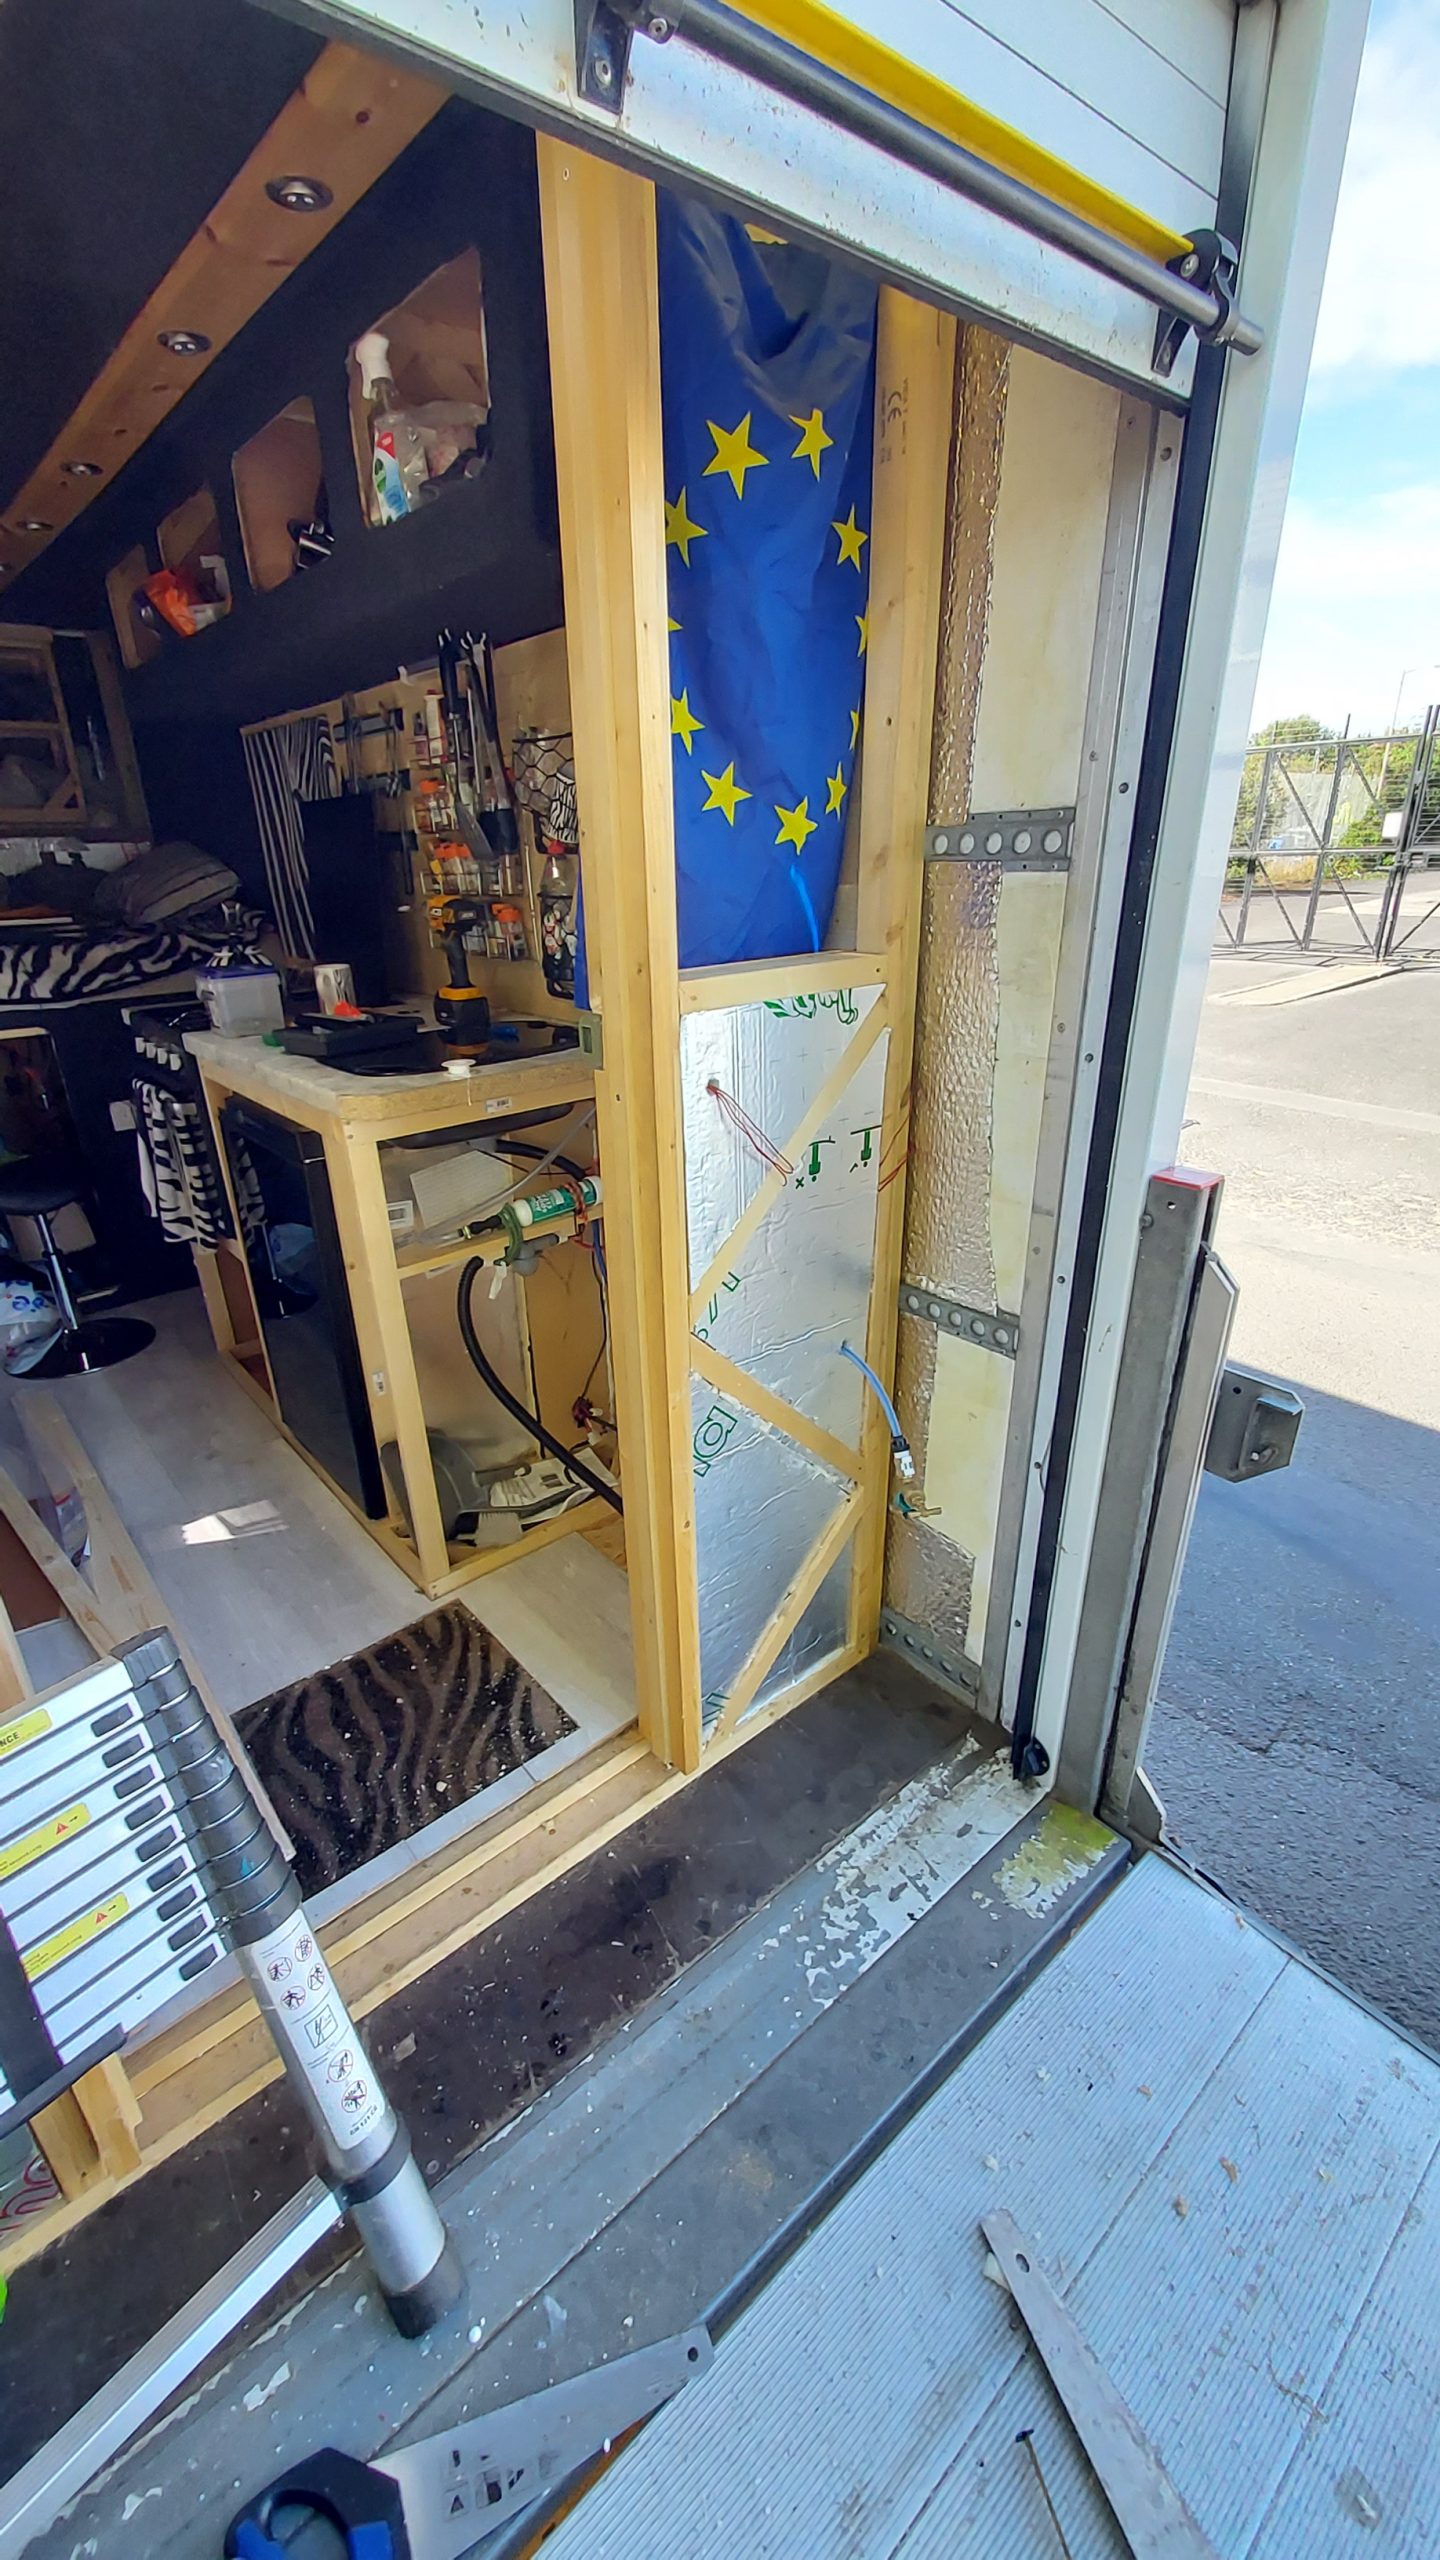
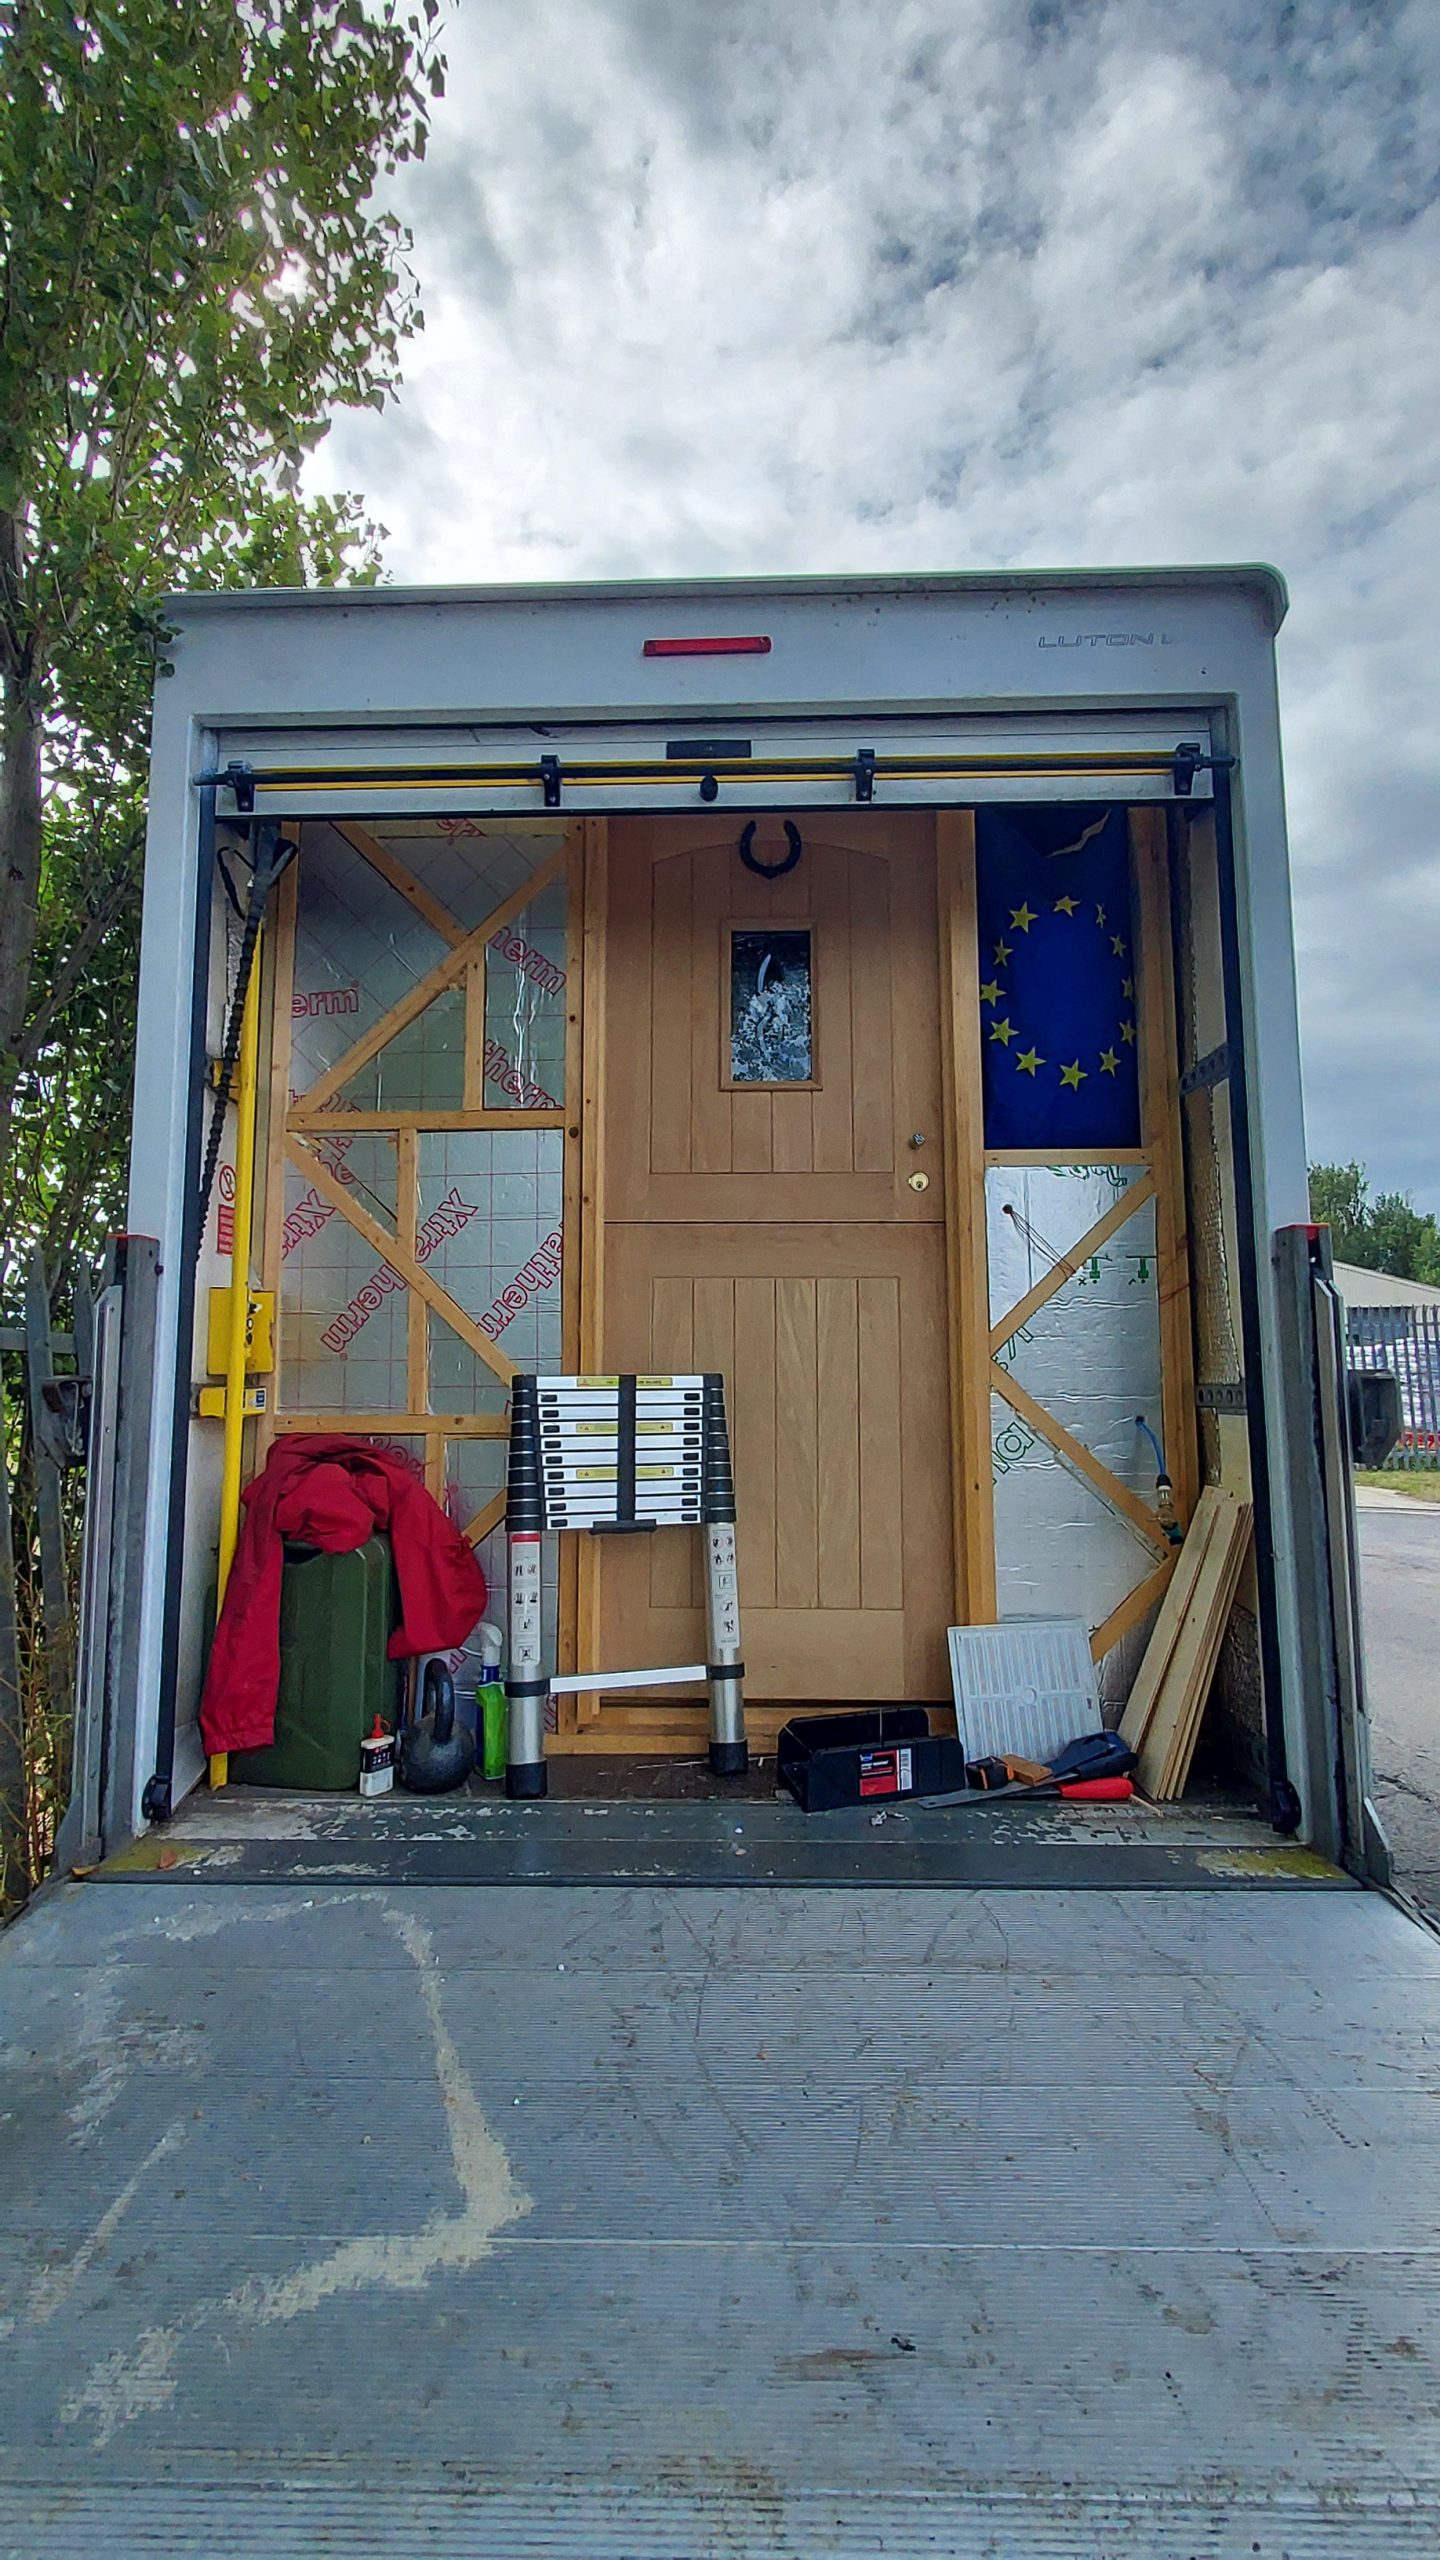
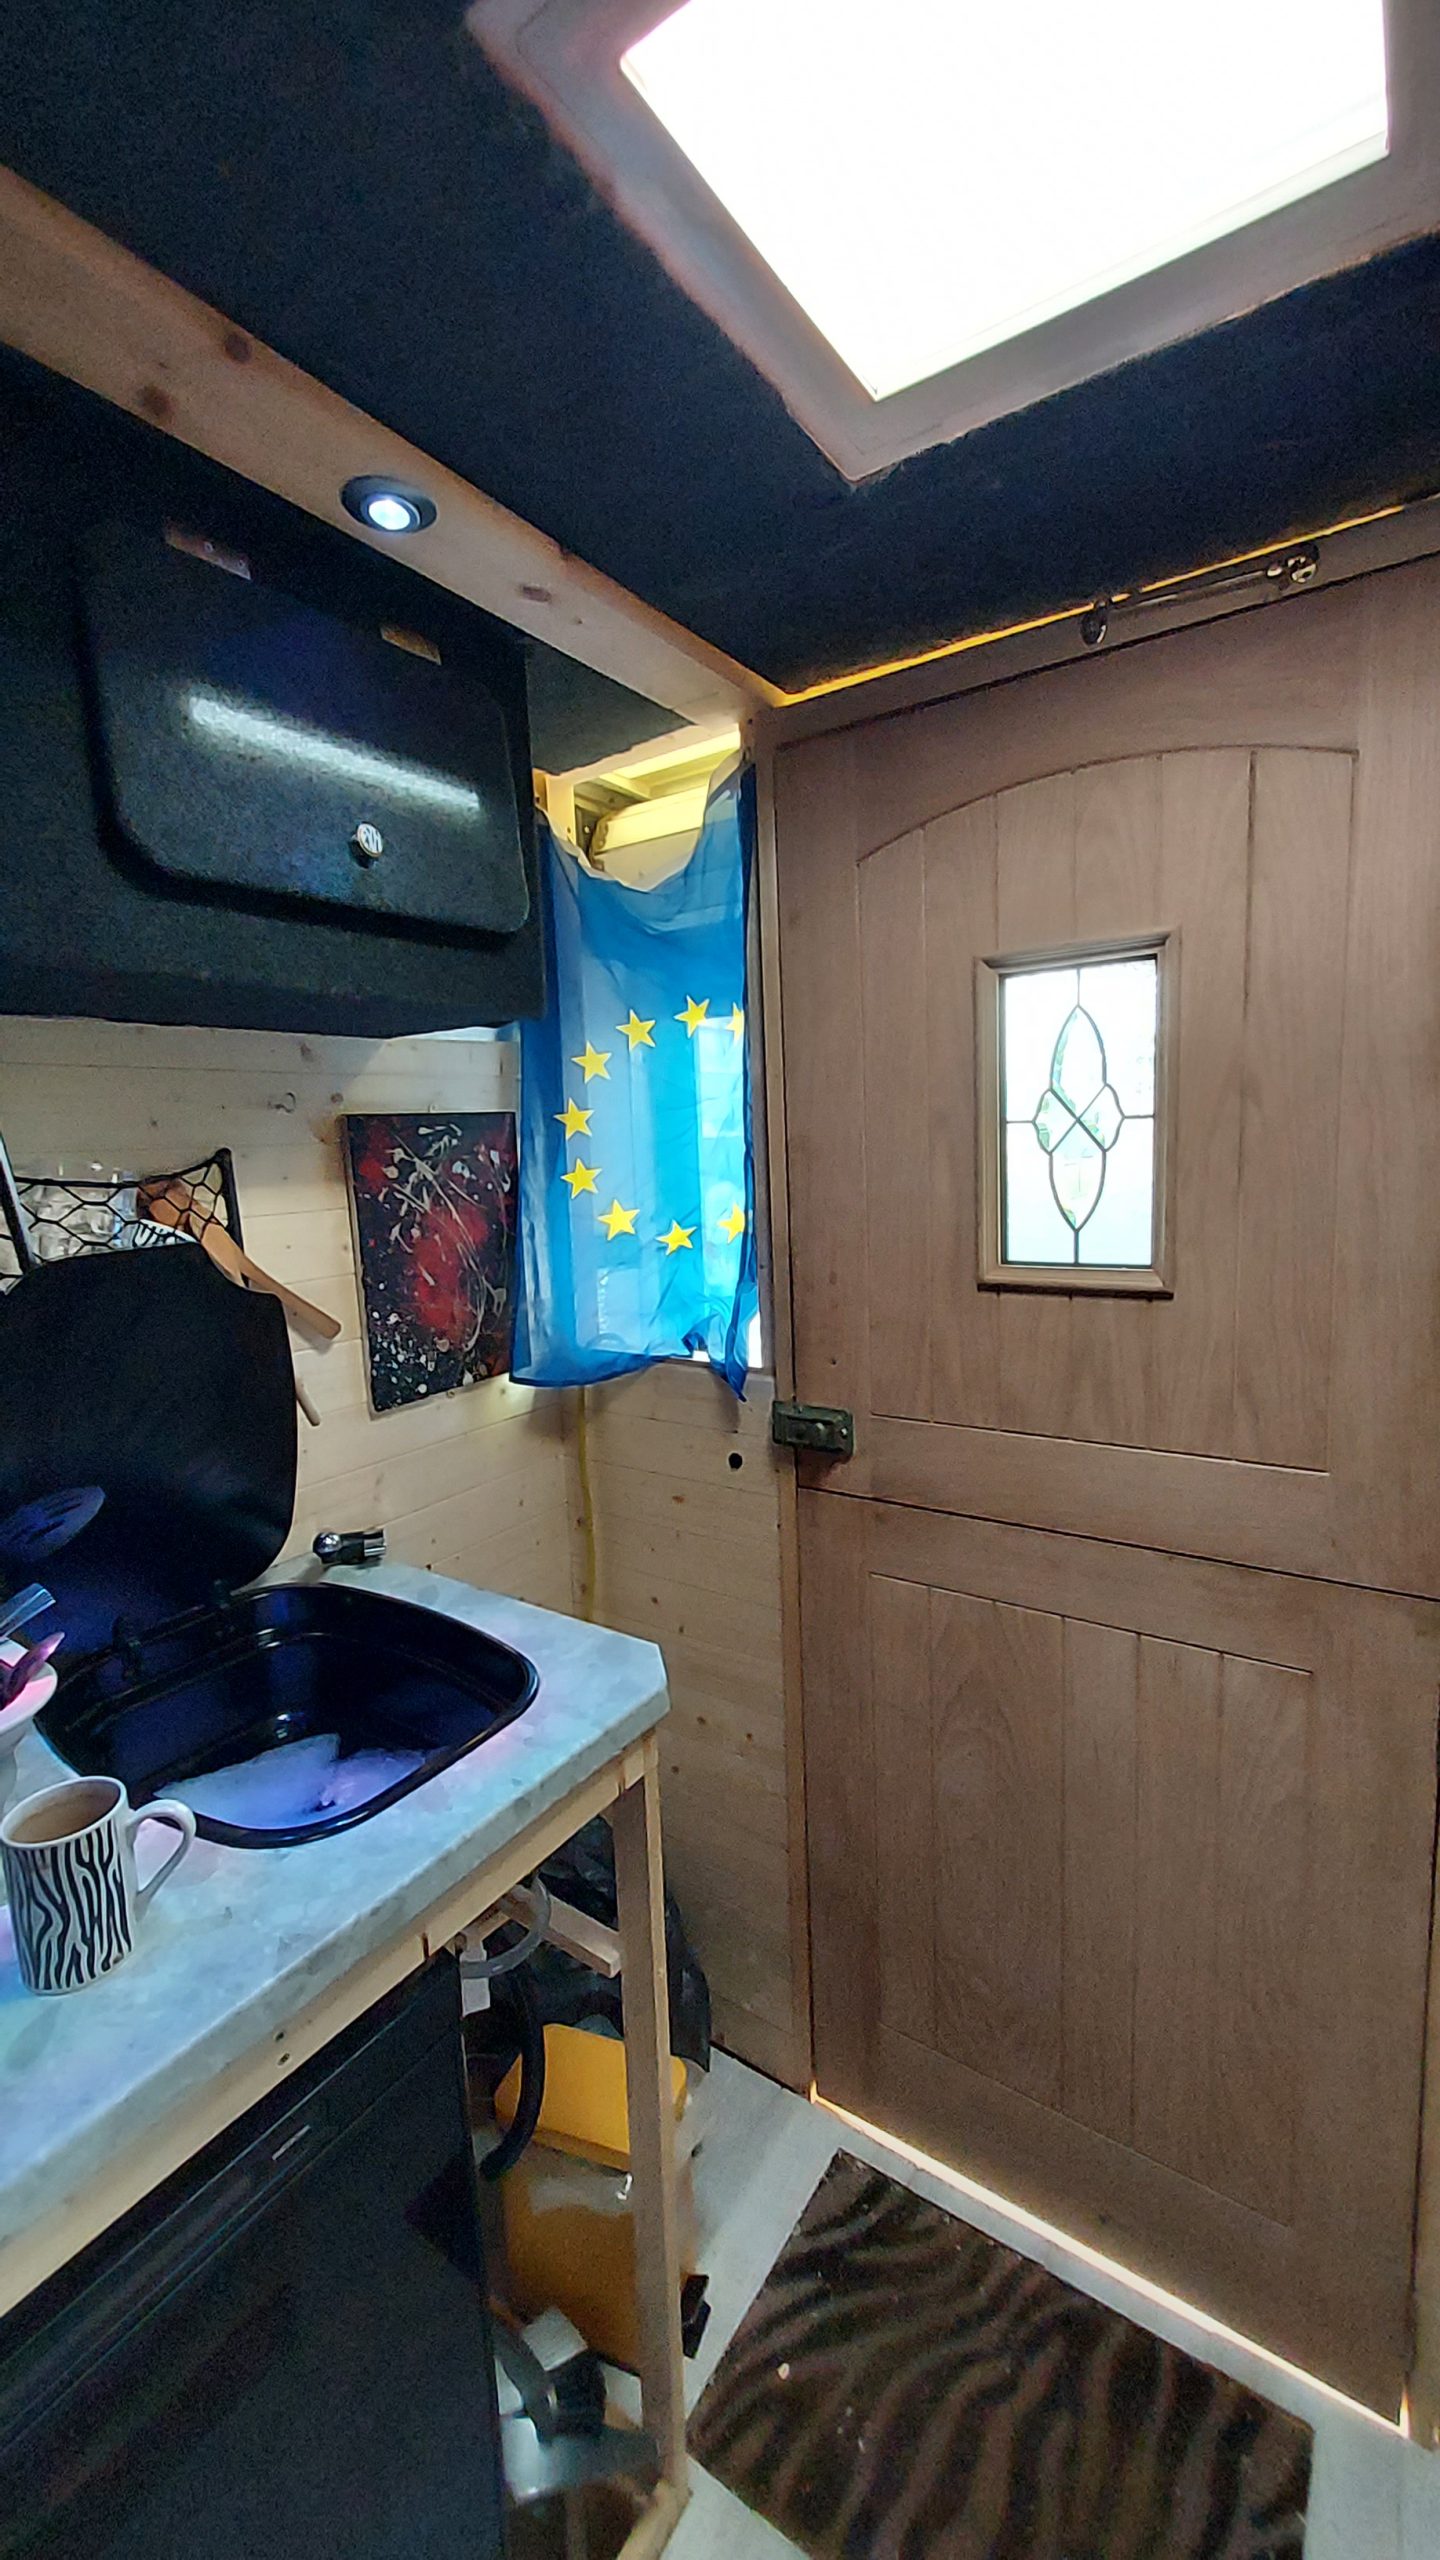
Door installed
Beautiful oak stable stable door installed, starting to insulate the rear walls. With thanks to Jules Lyddon.
Read More


Stable door
View of the top of the door open, this is great for in the summer to allow plenty of air flow.
Read More
Kitchen frame
Building the kitchen frame to accommodate the fridge, oven, countertop and more shelving. With thanks to Jules Lyddon.
Read More
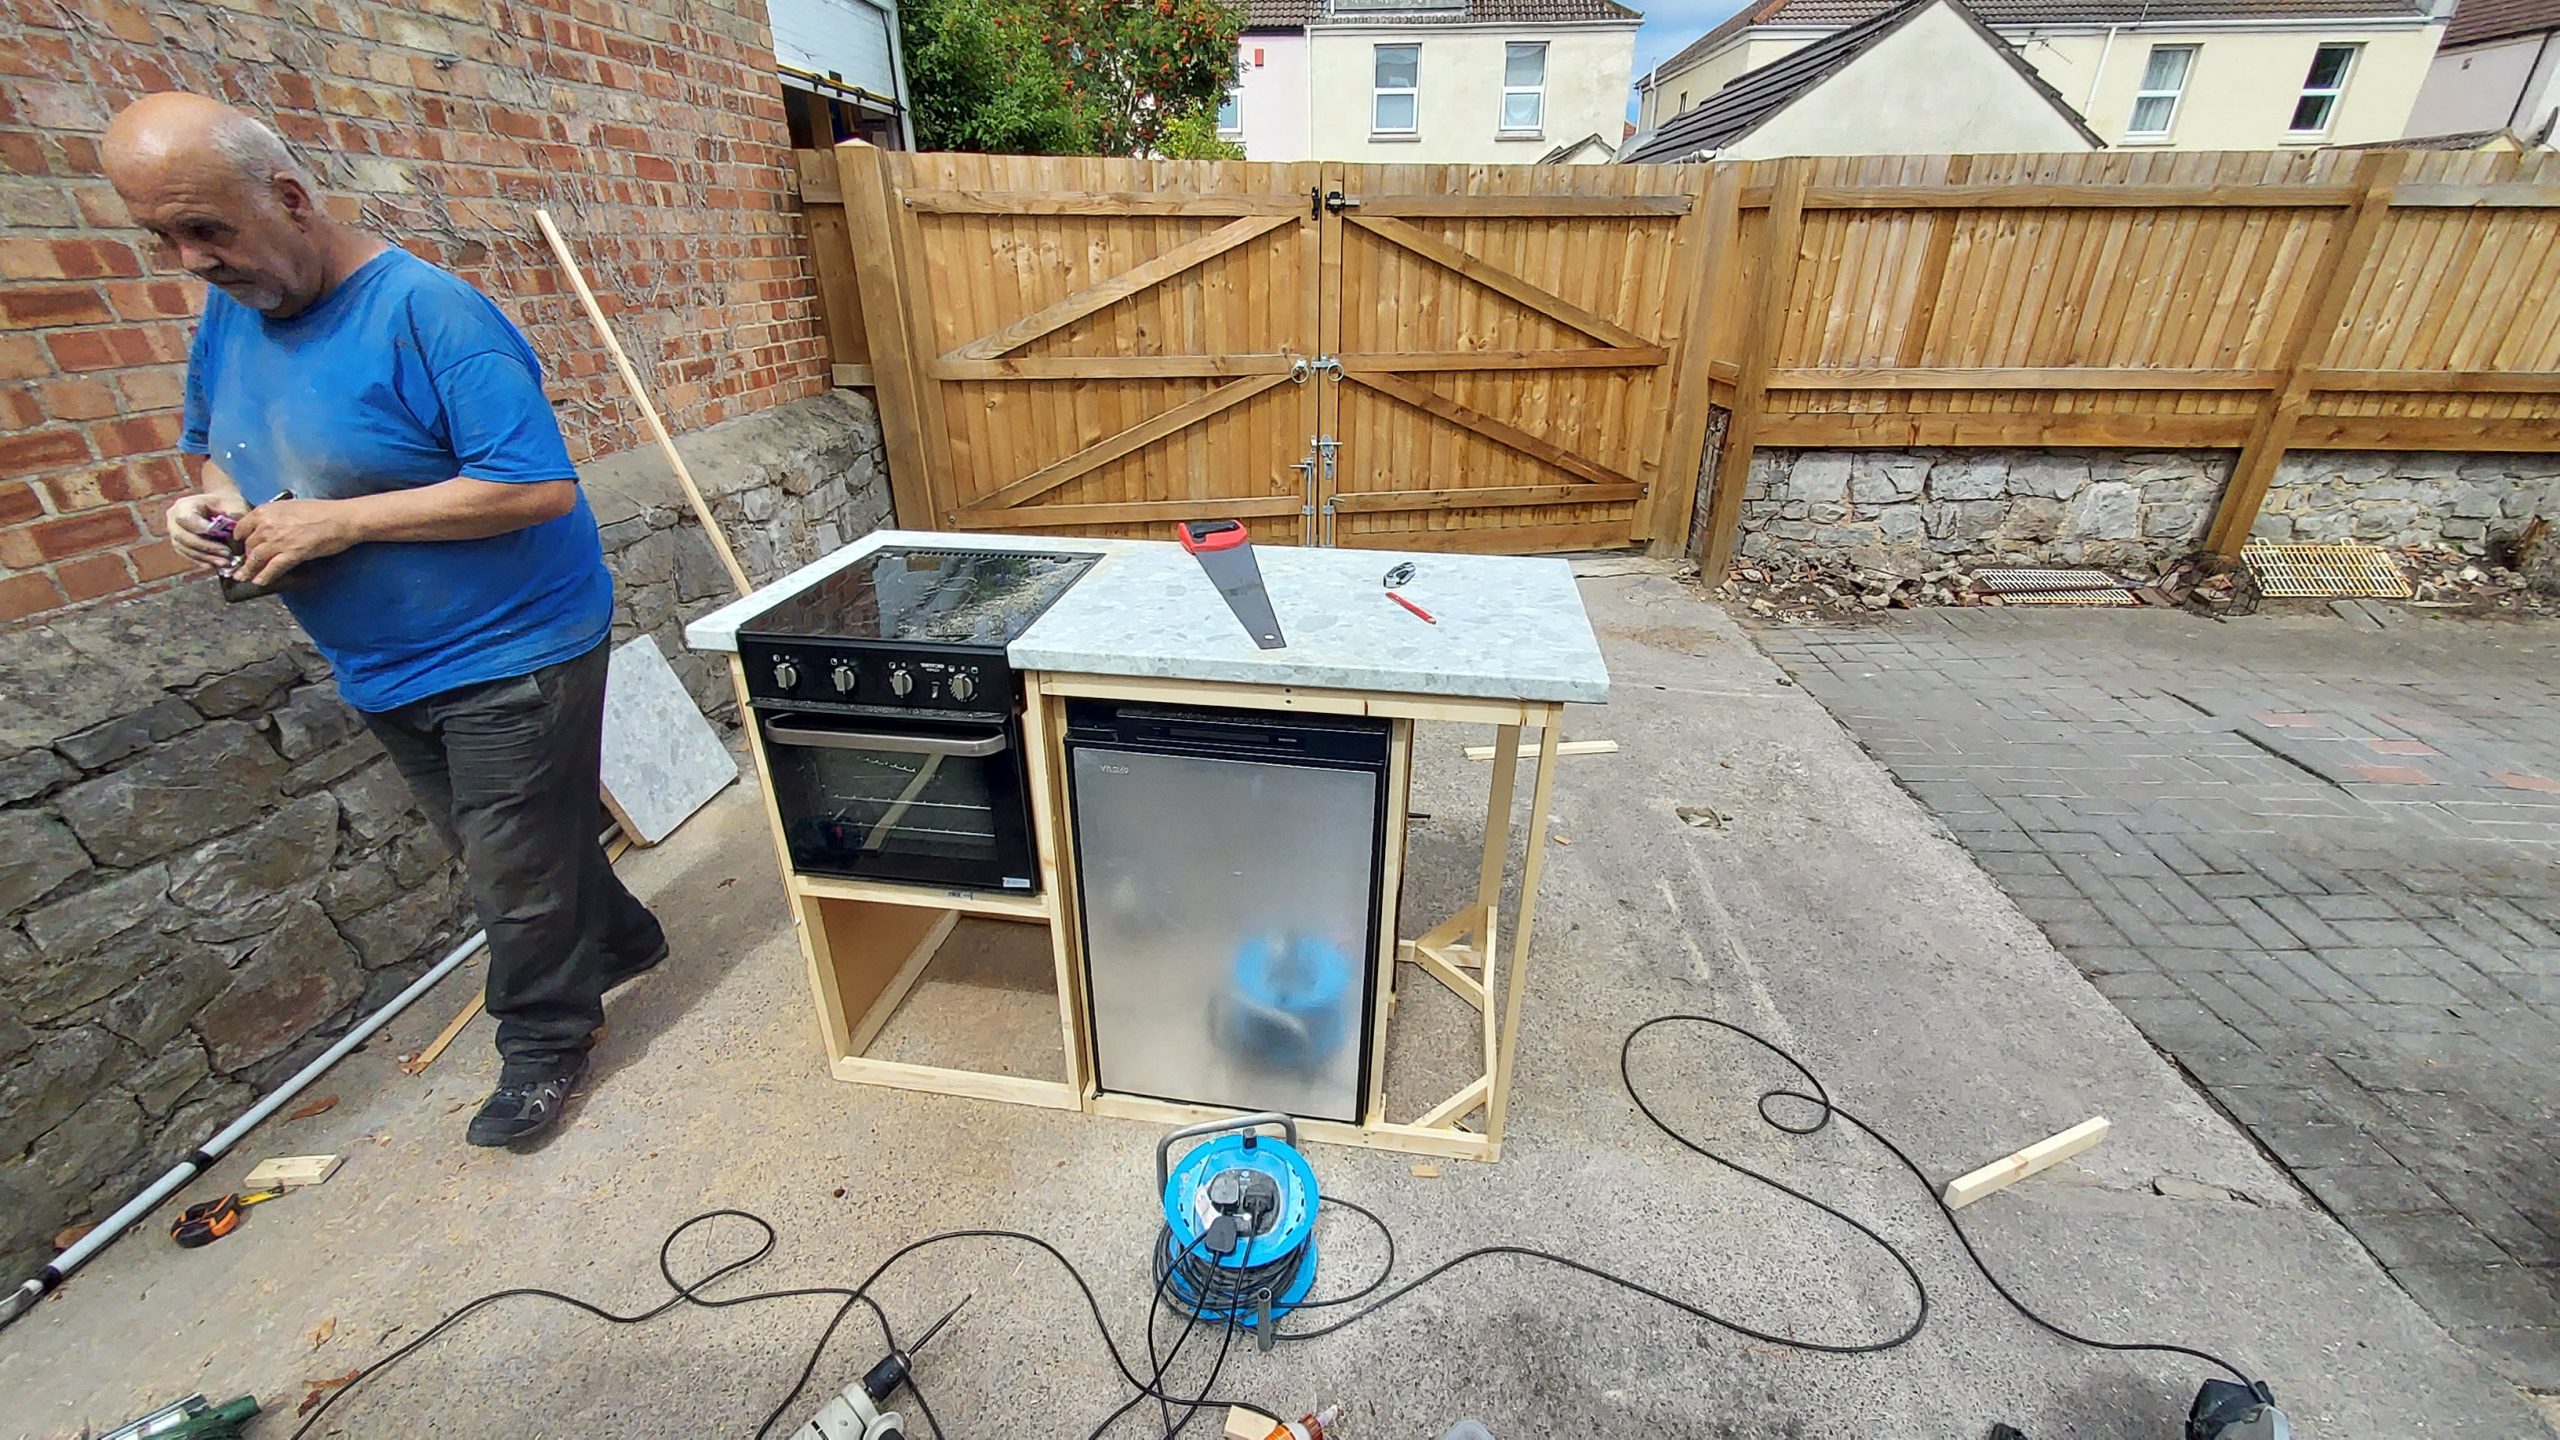
Countertop and oven fitted
Looking mostly ready to go now, need to get this rather heavy construction onto the tail lift and in place.
Read More
Kitchen fitted
With the oven, fridge freezer and kitchen sink in place, the first big miscalculation of the build now becomes clear – The computer chair cannot
Read More

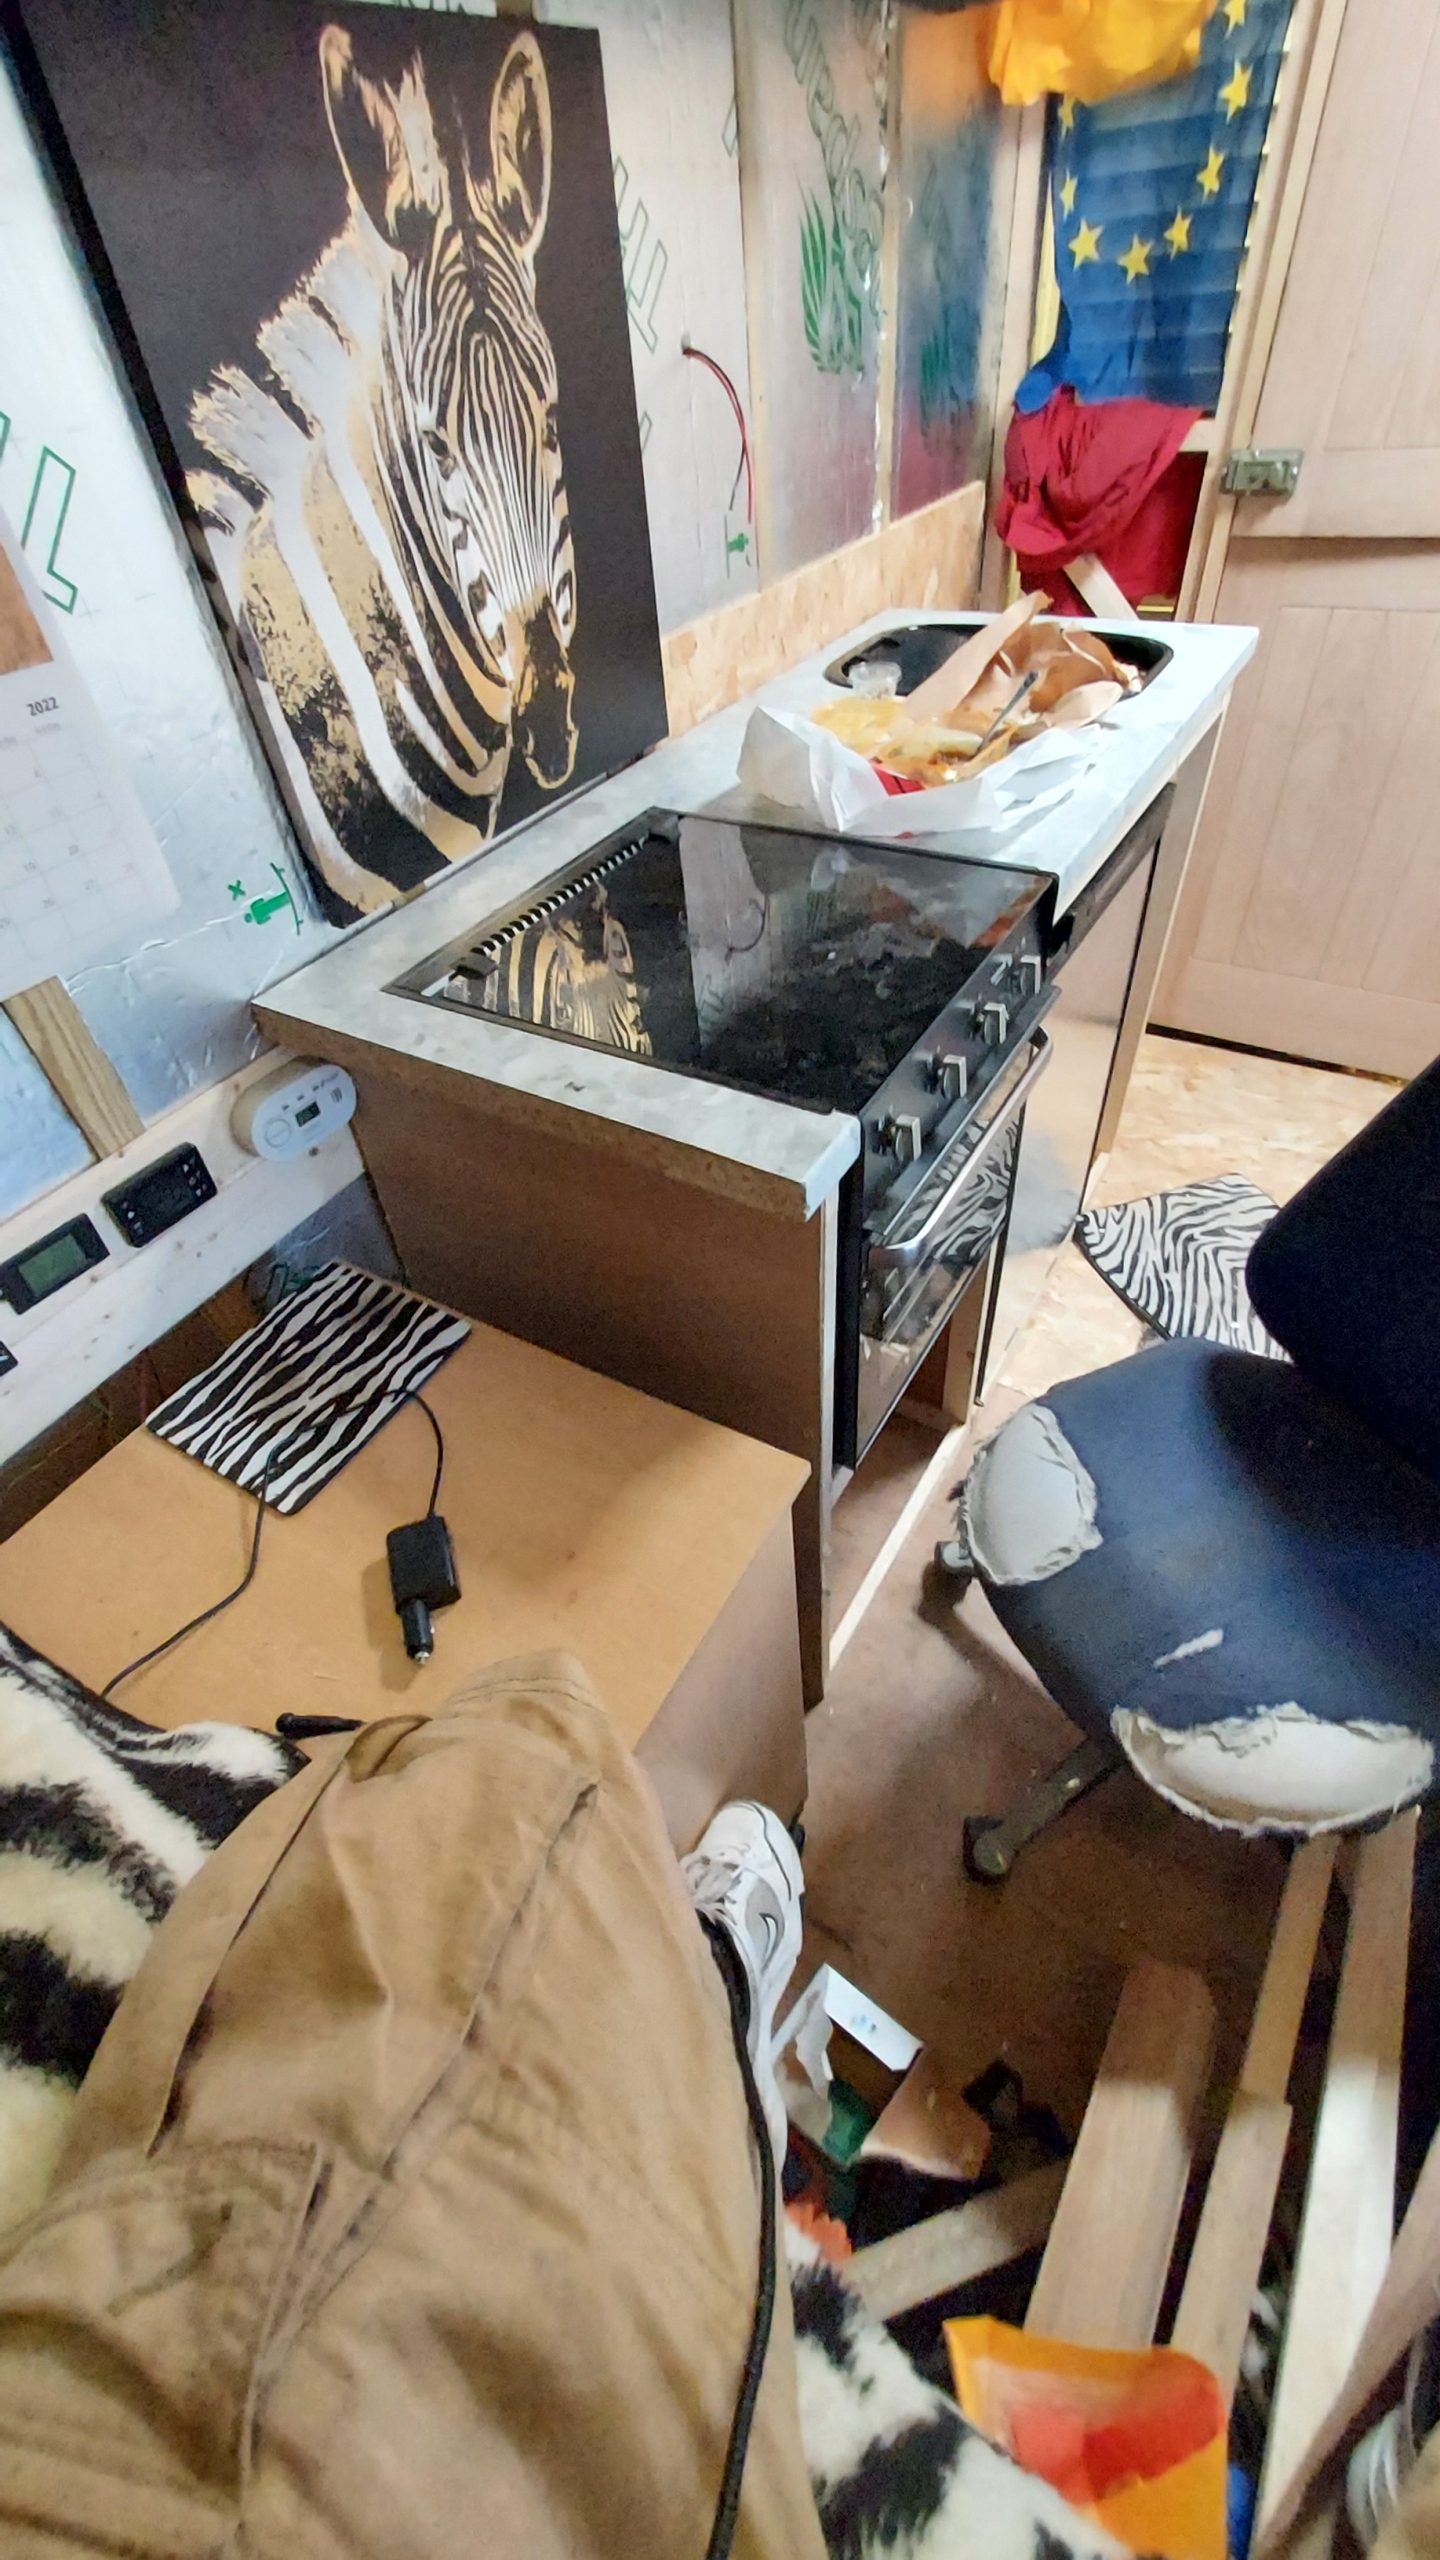
Bed view of kitchen
View from on the bed of the kitchen, can’t wait to get rid of the temporary stove and washing up bowl!
Read More
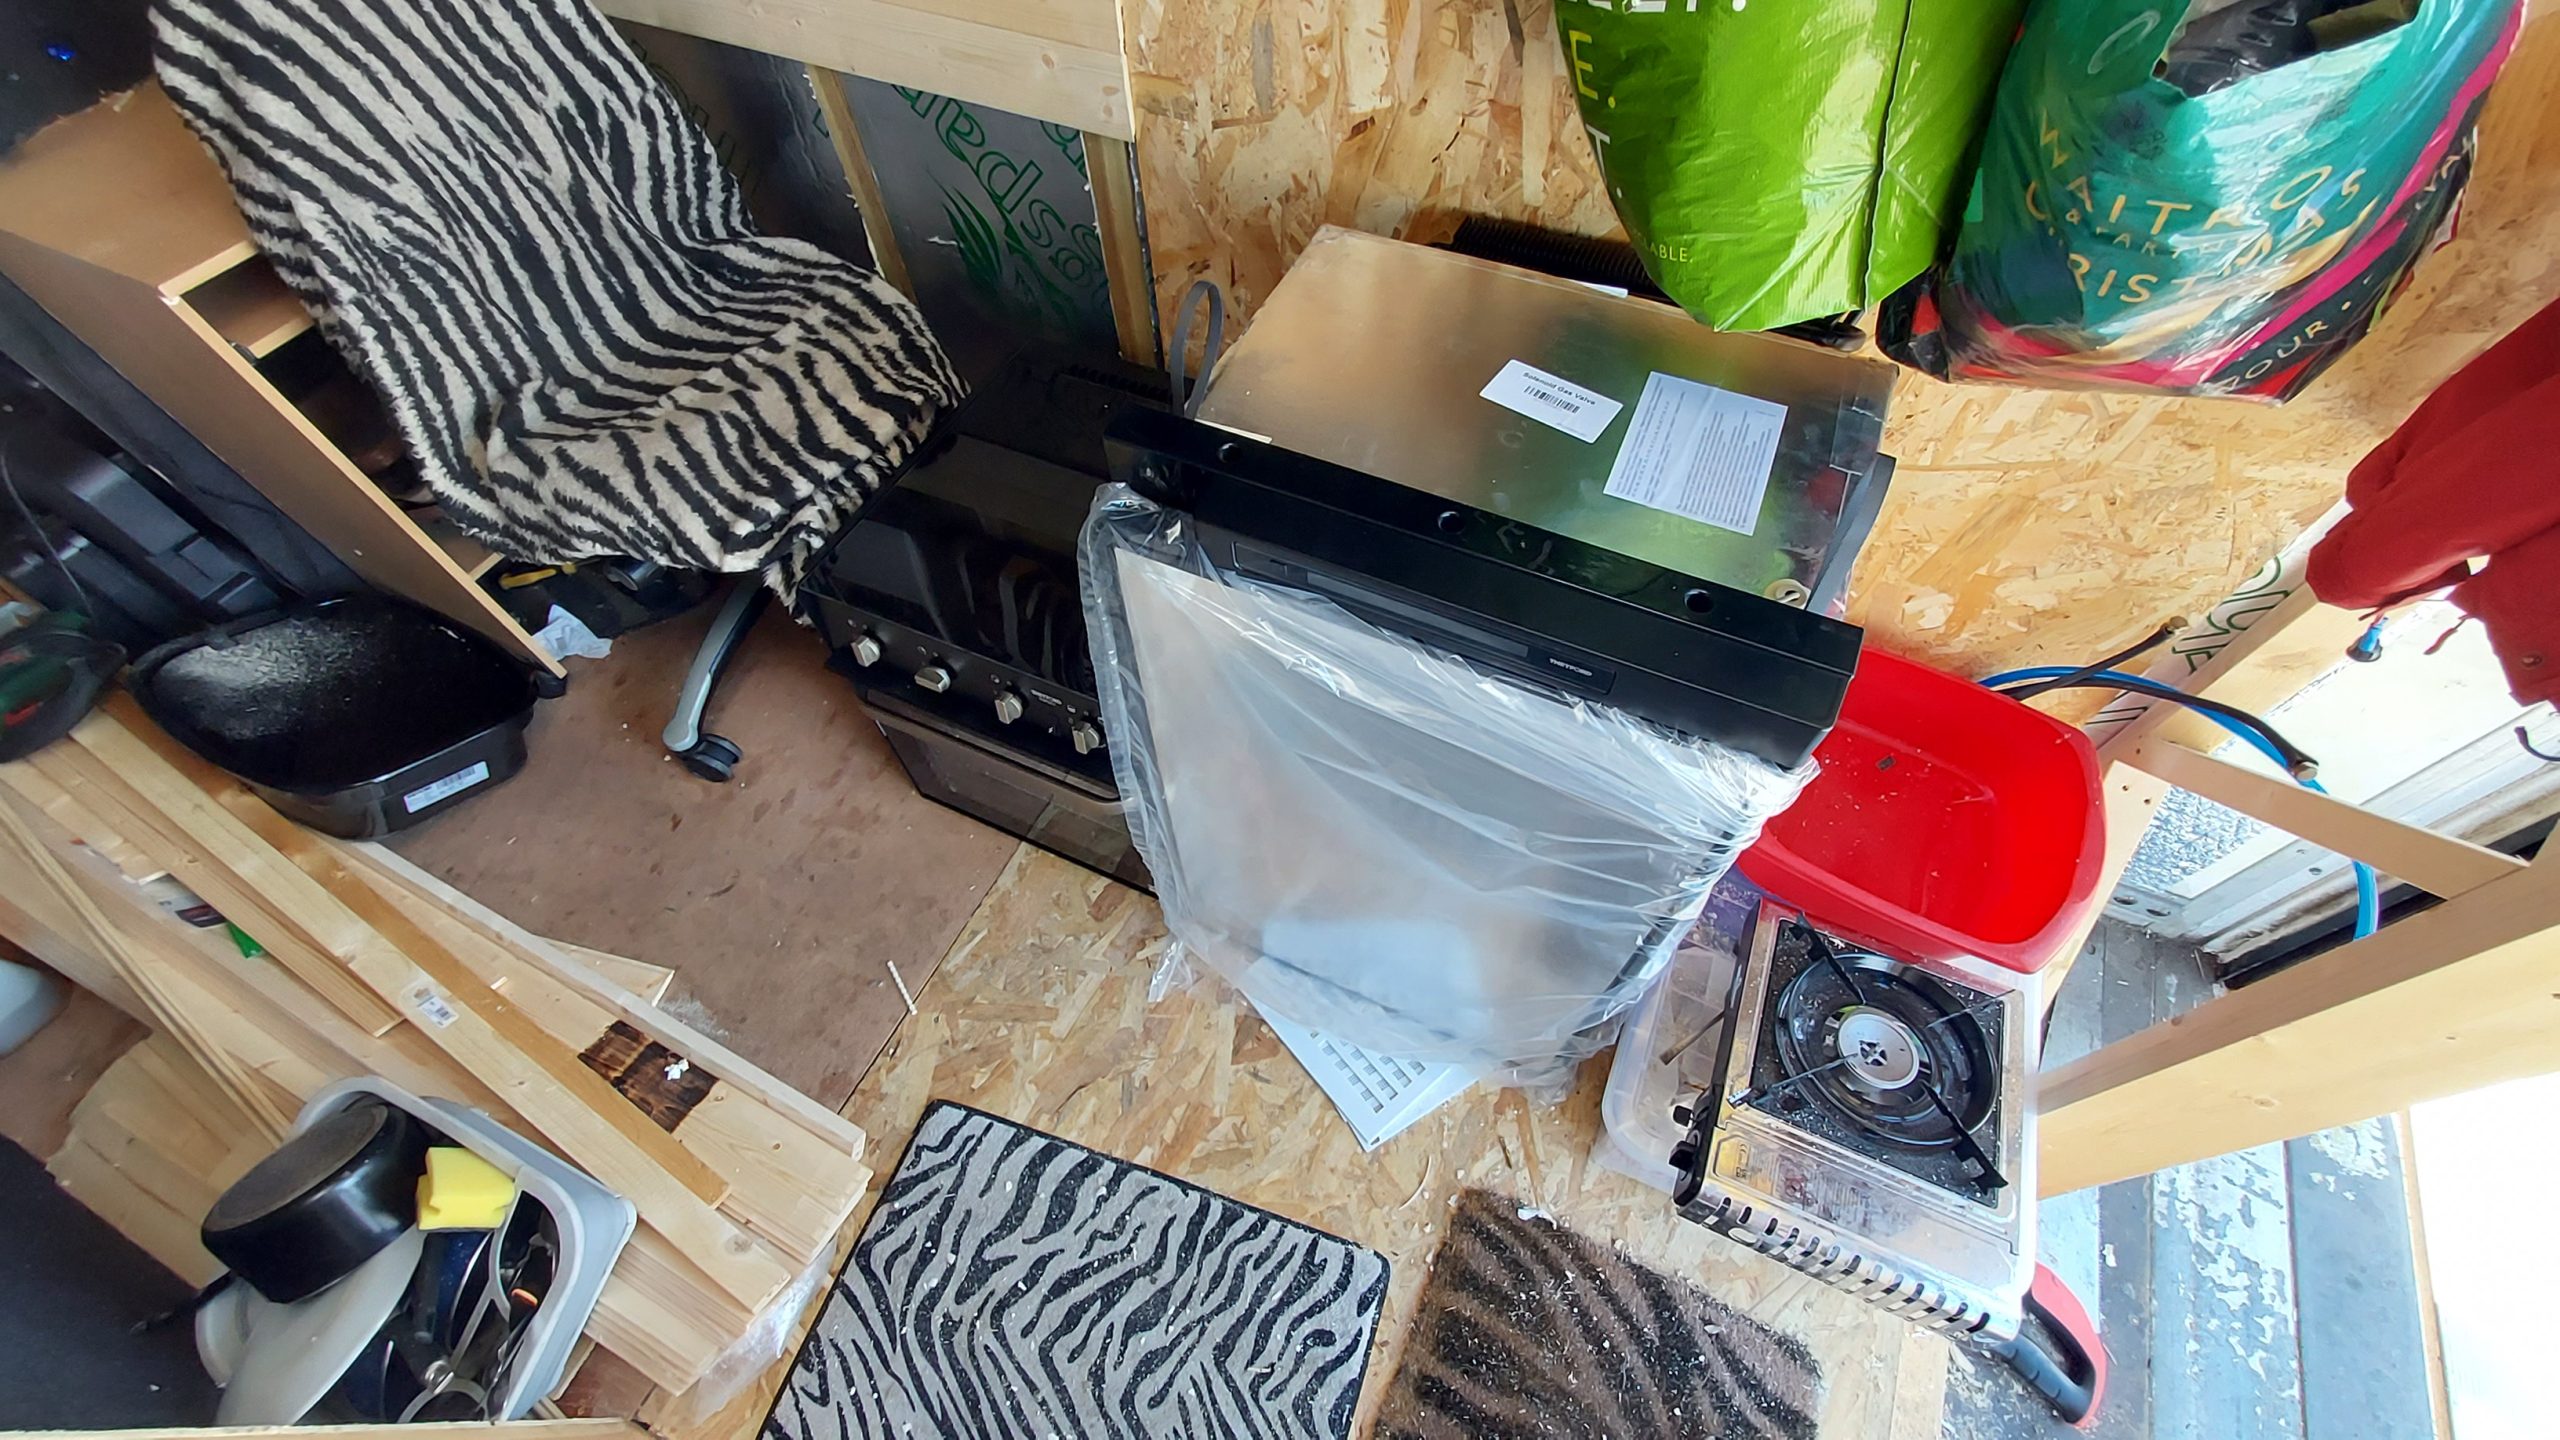
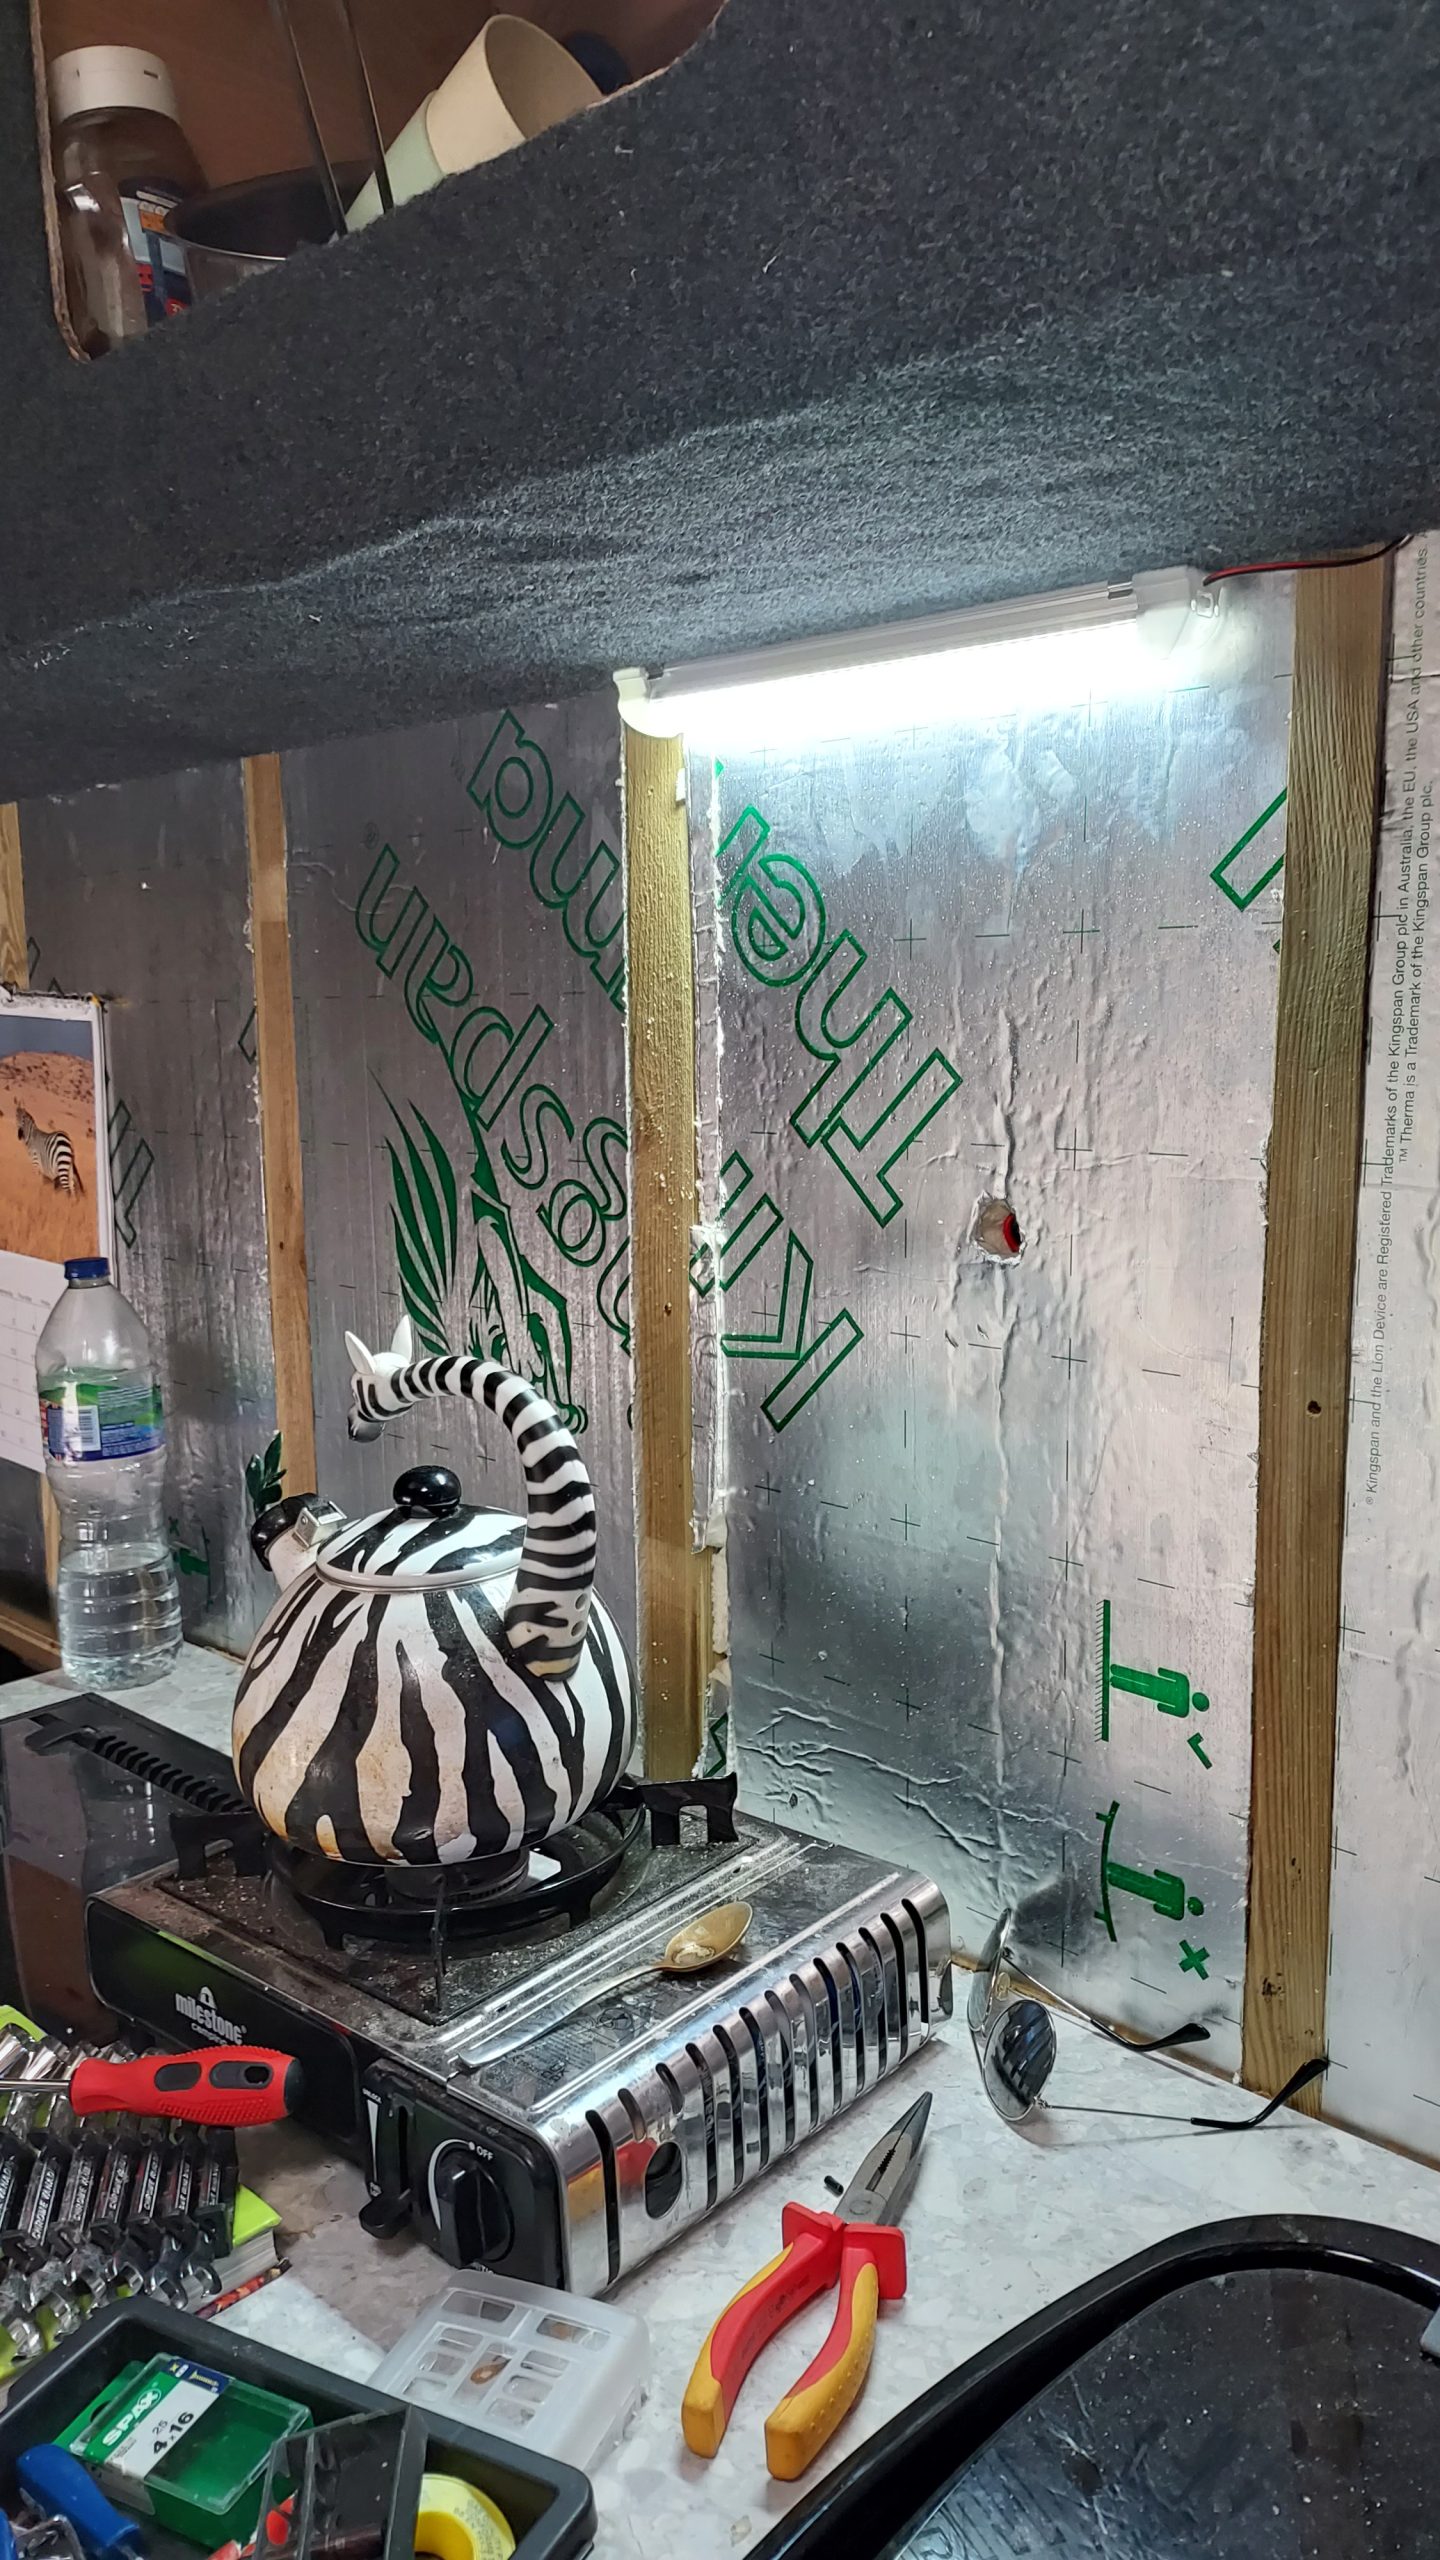
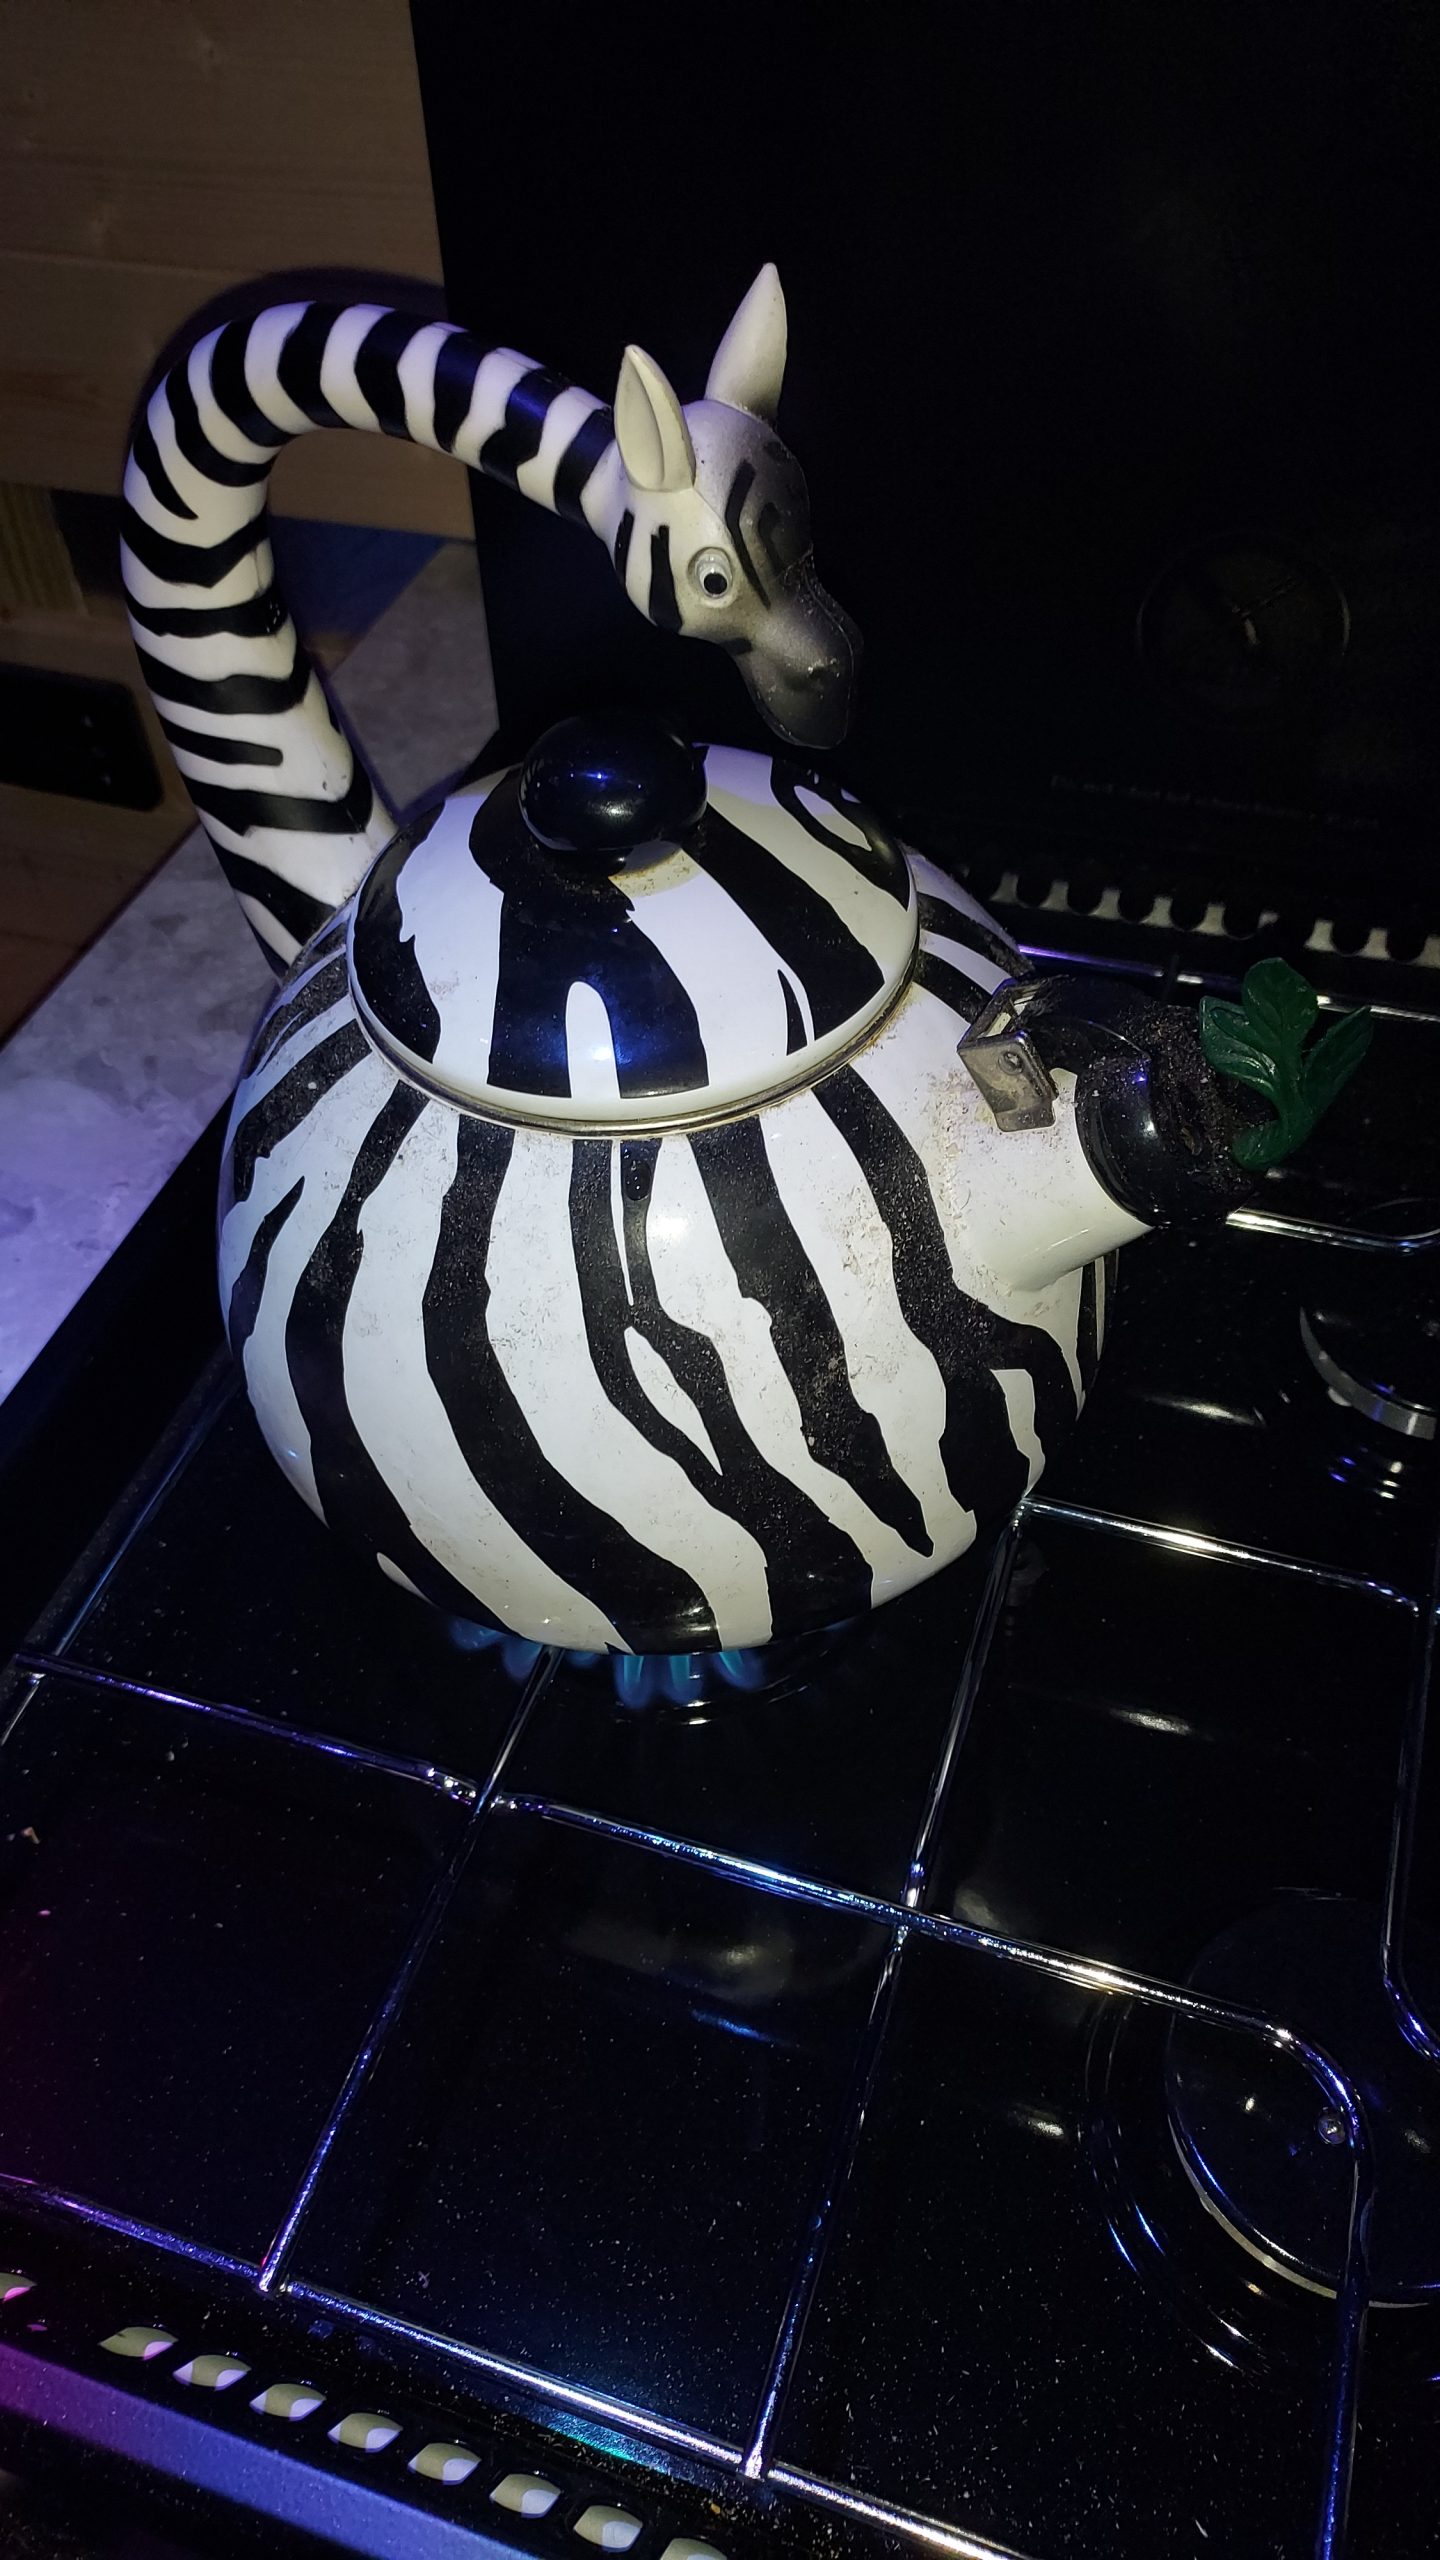
Still no gas
No gas to the kitchen or fridge yet so still boiling the kettle on the butane camping stove.
Read More


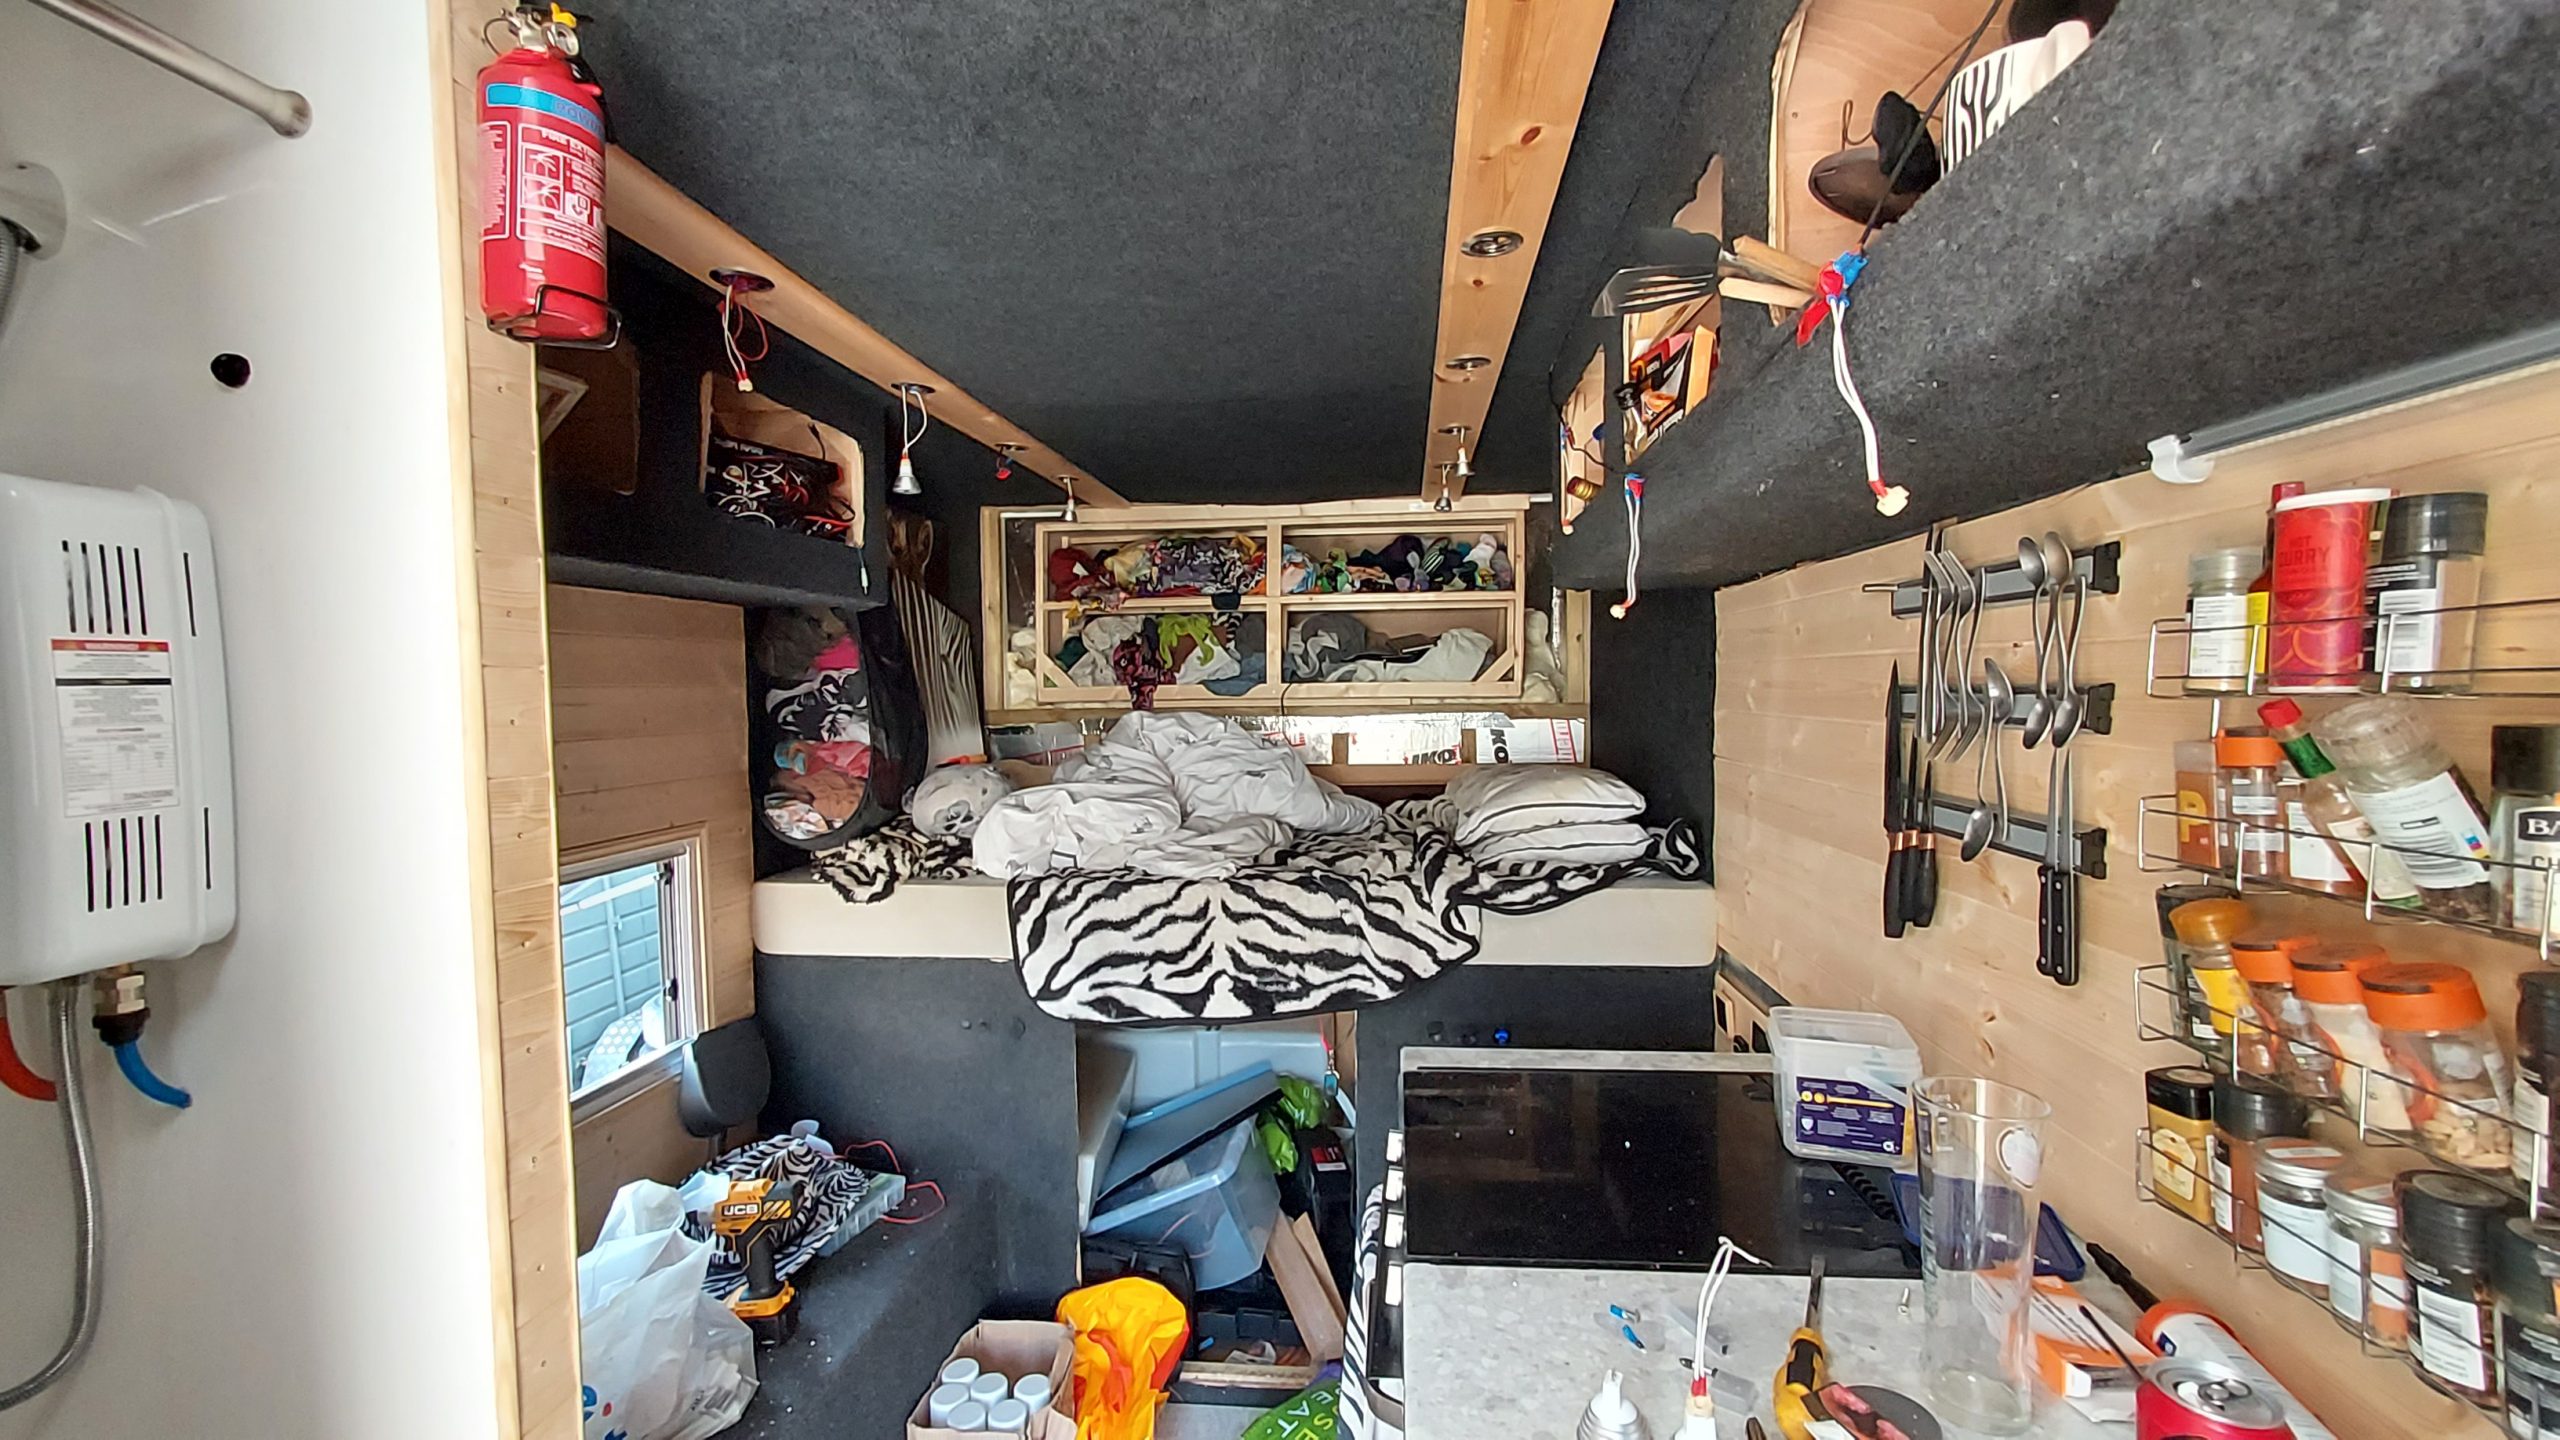
Picture moved
I need wall space for various kitchen things, so the zebra has moved to the foot of the bed for now.
Read More
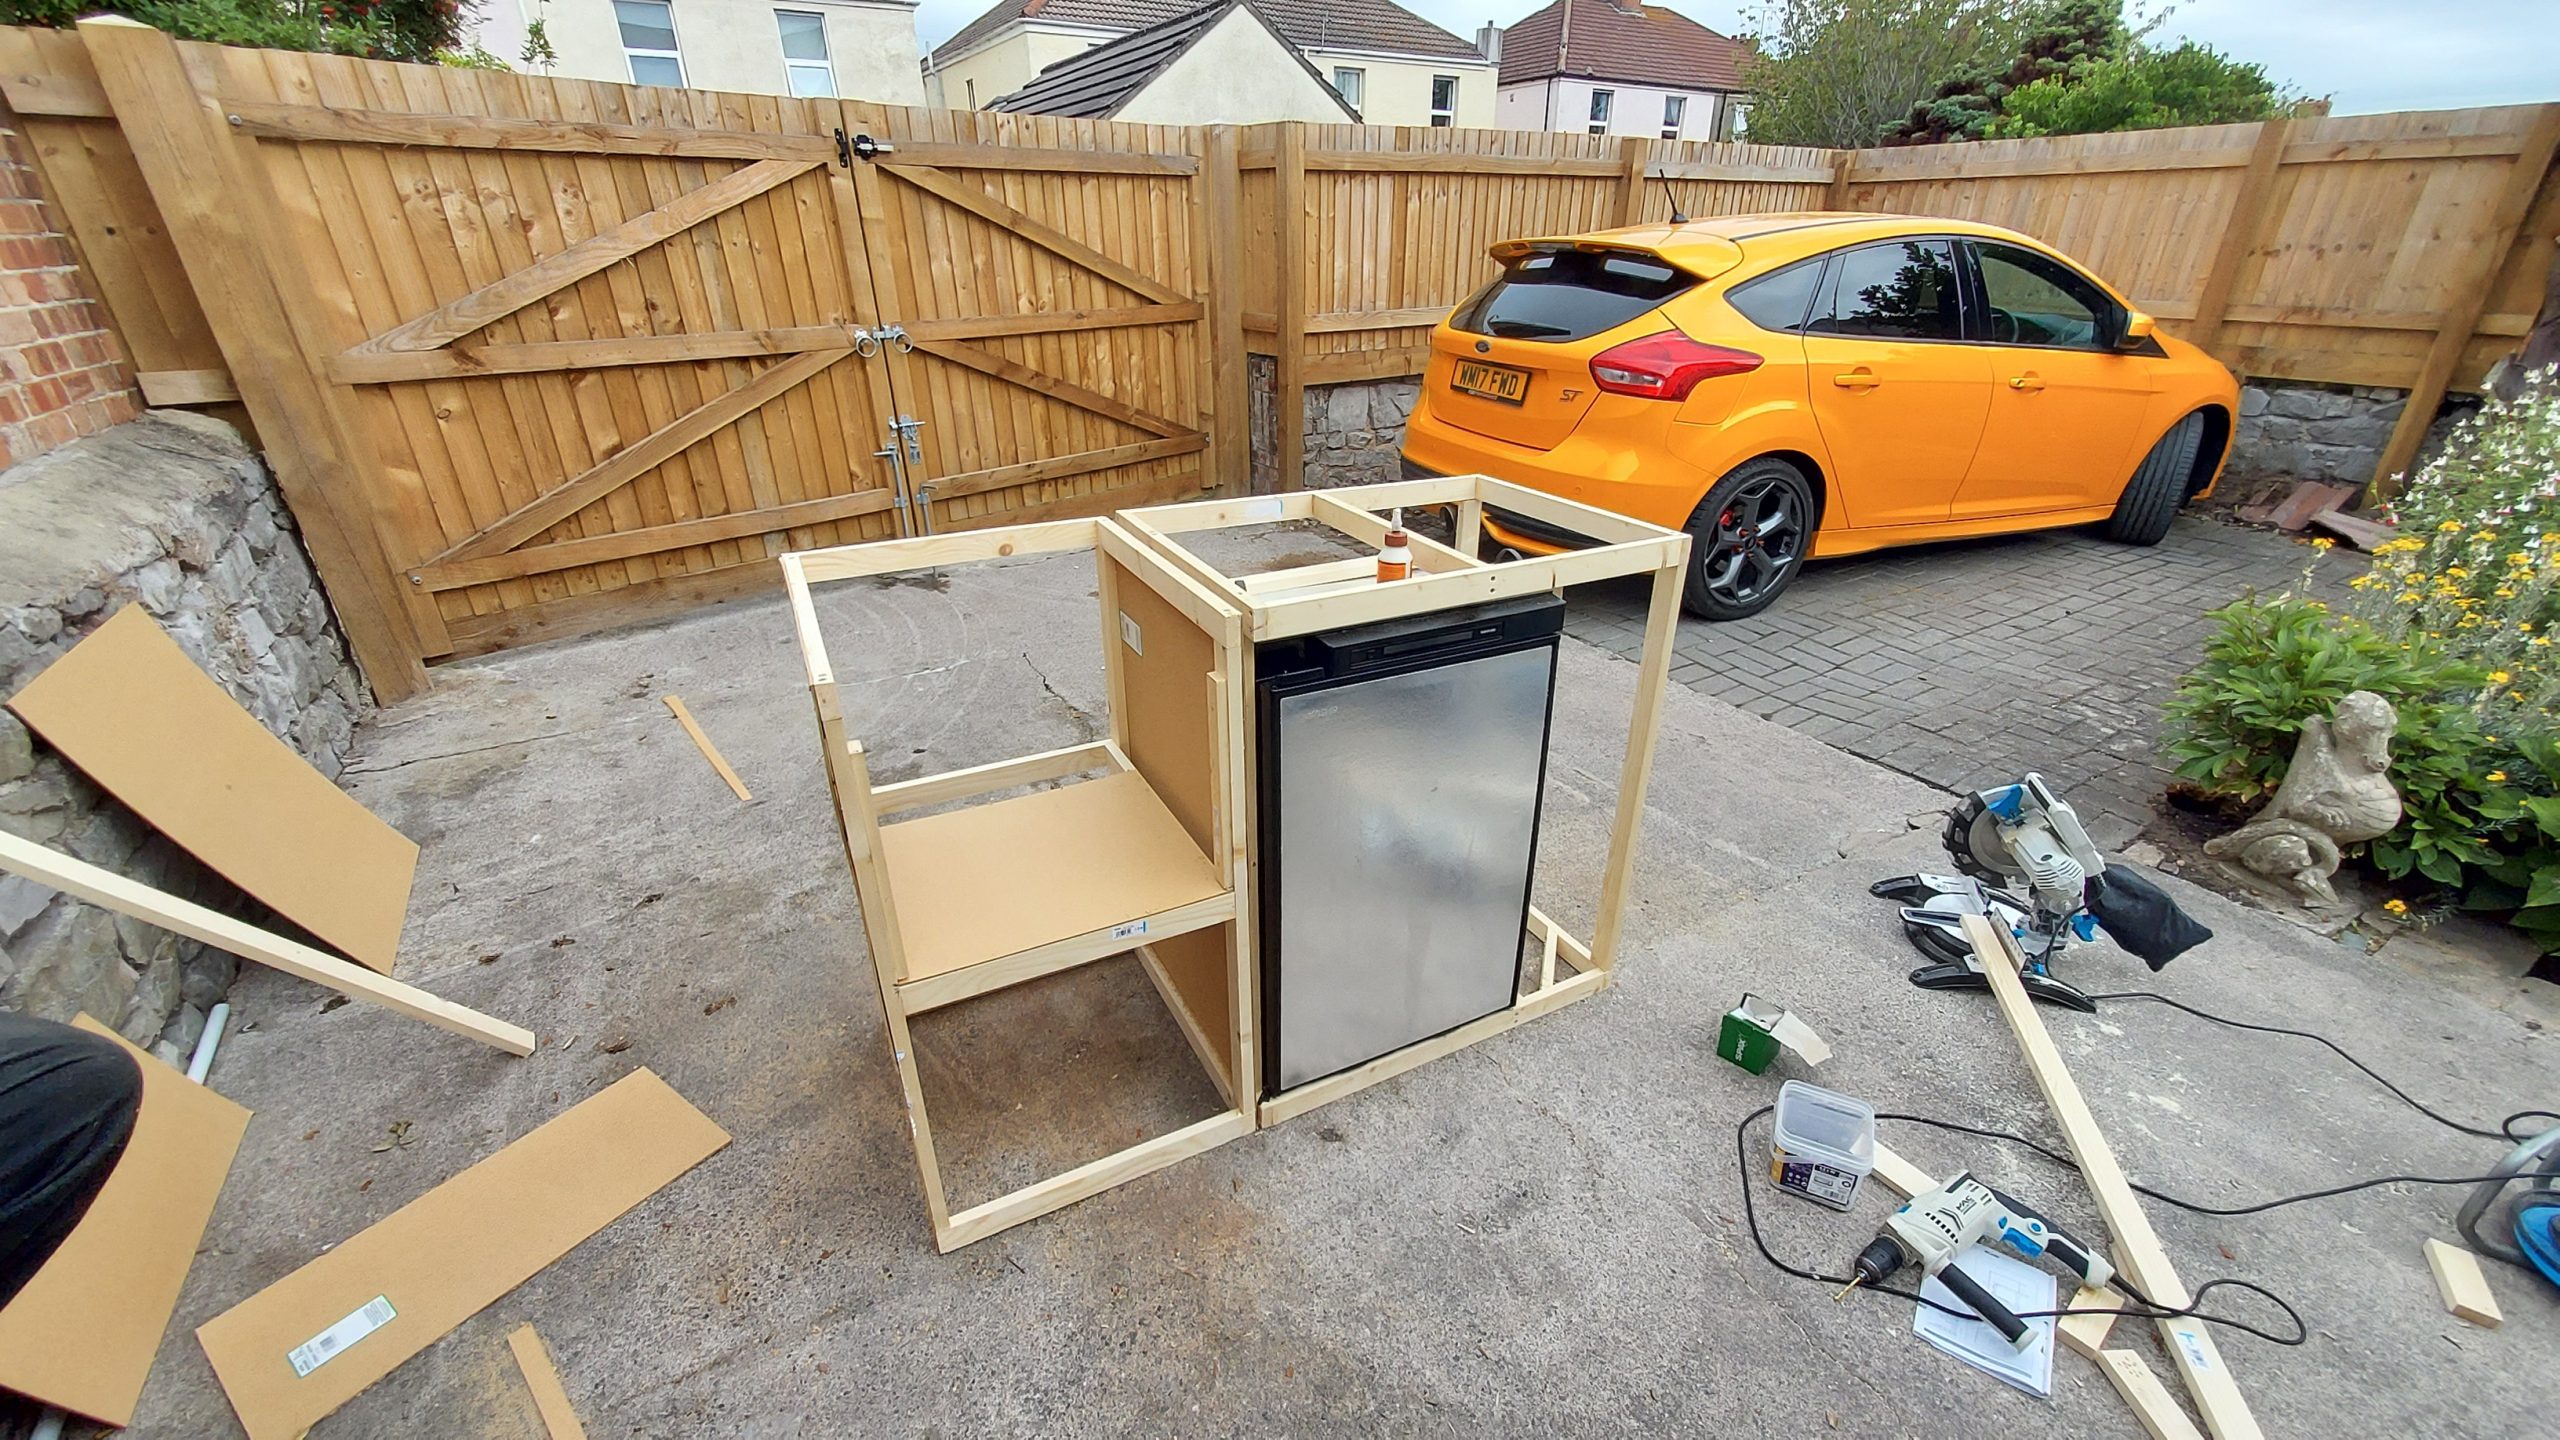
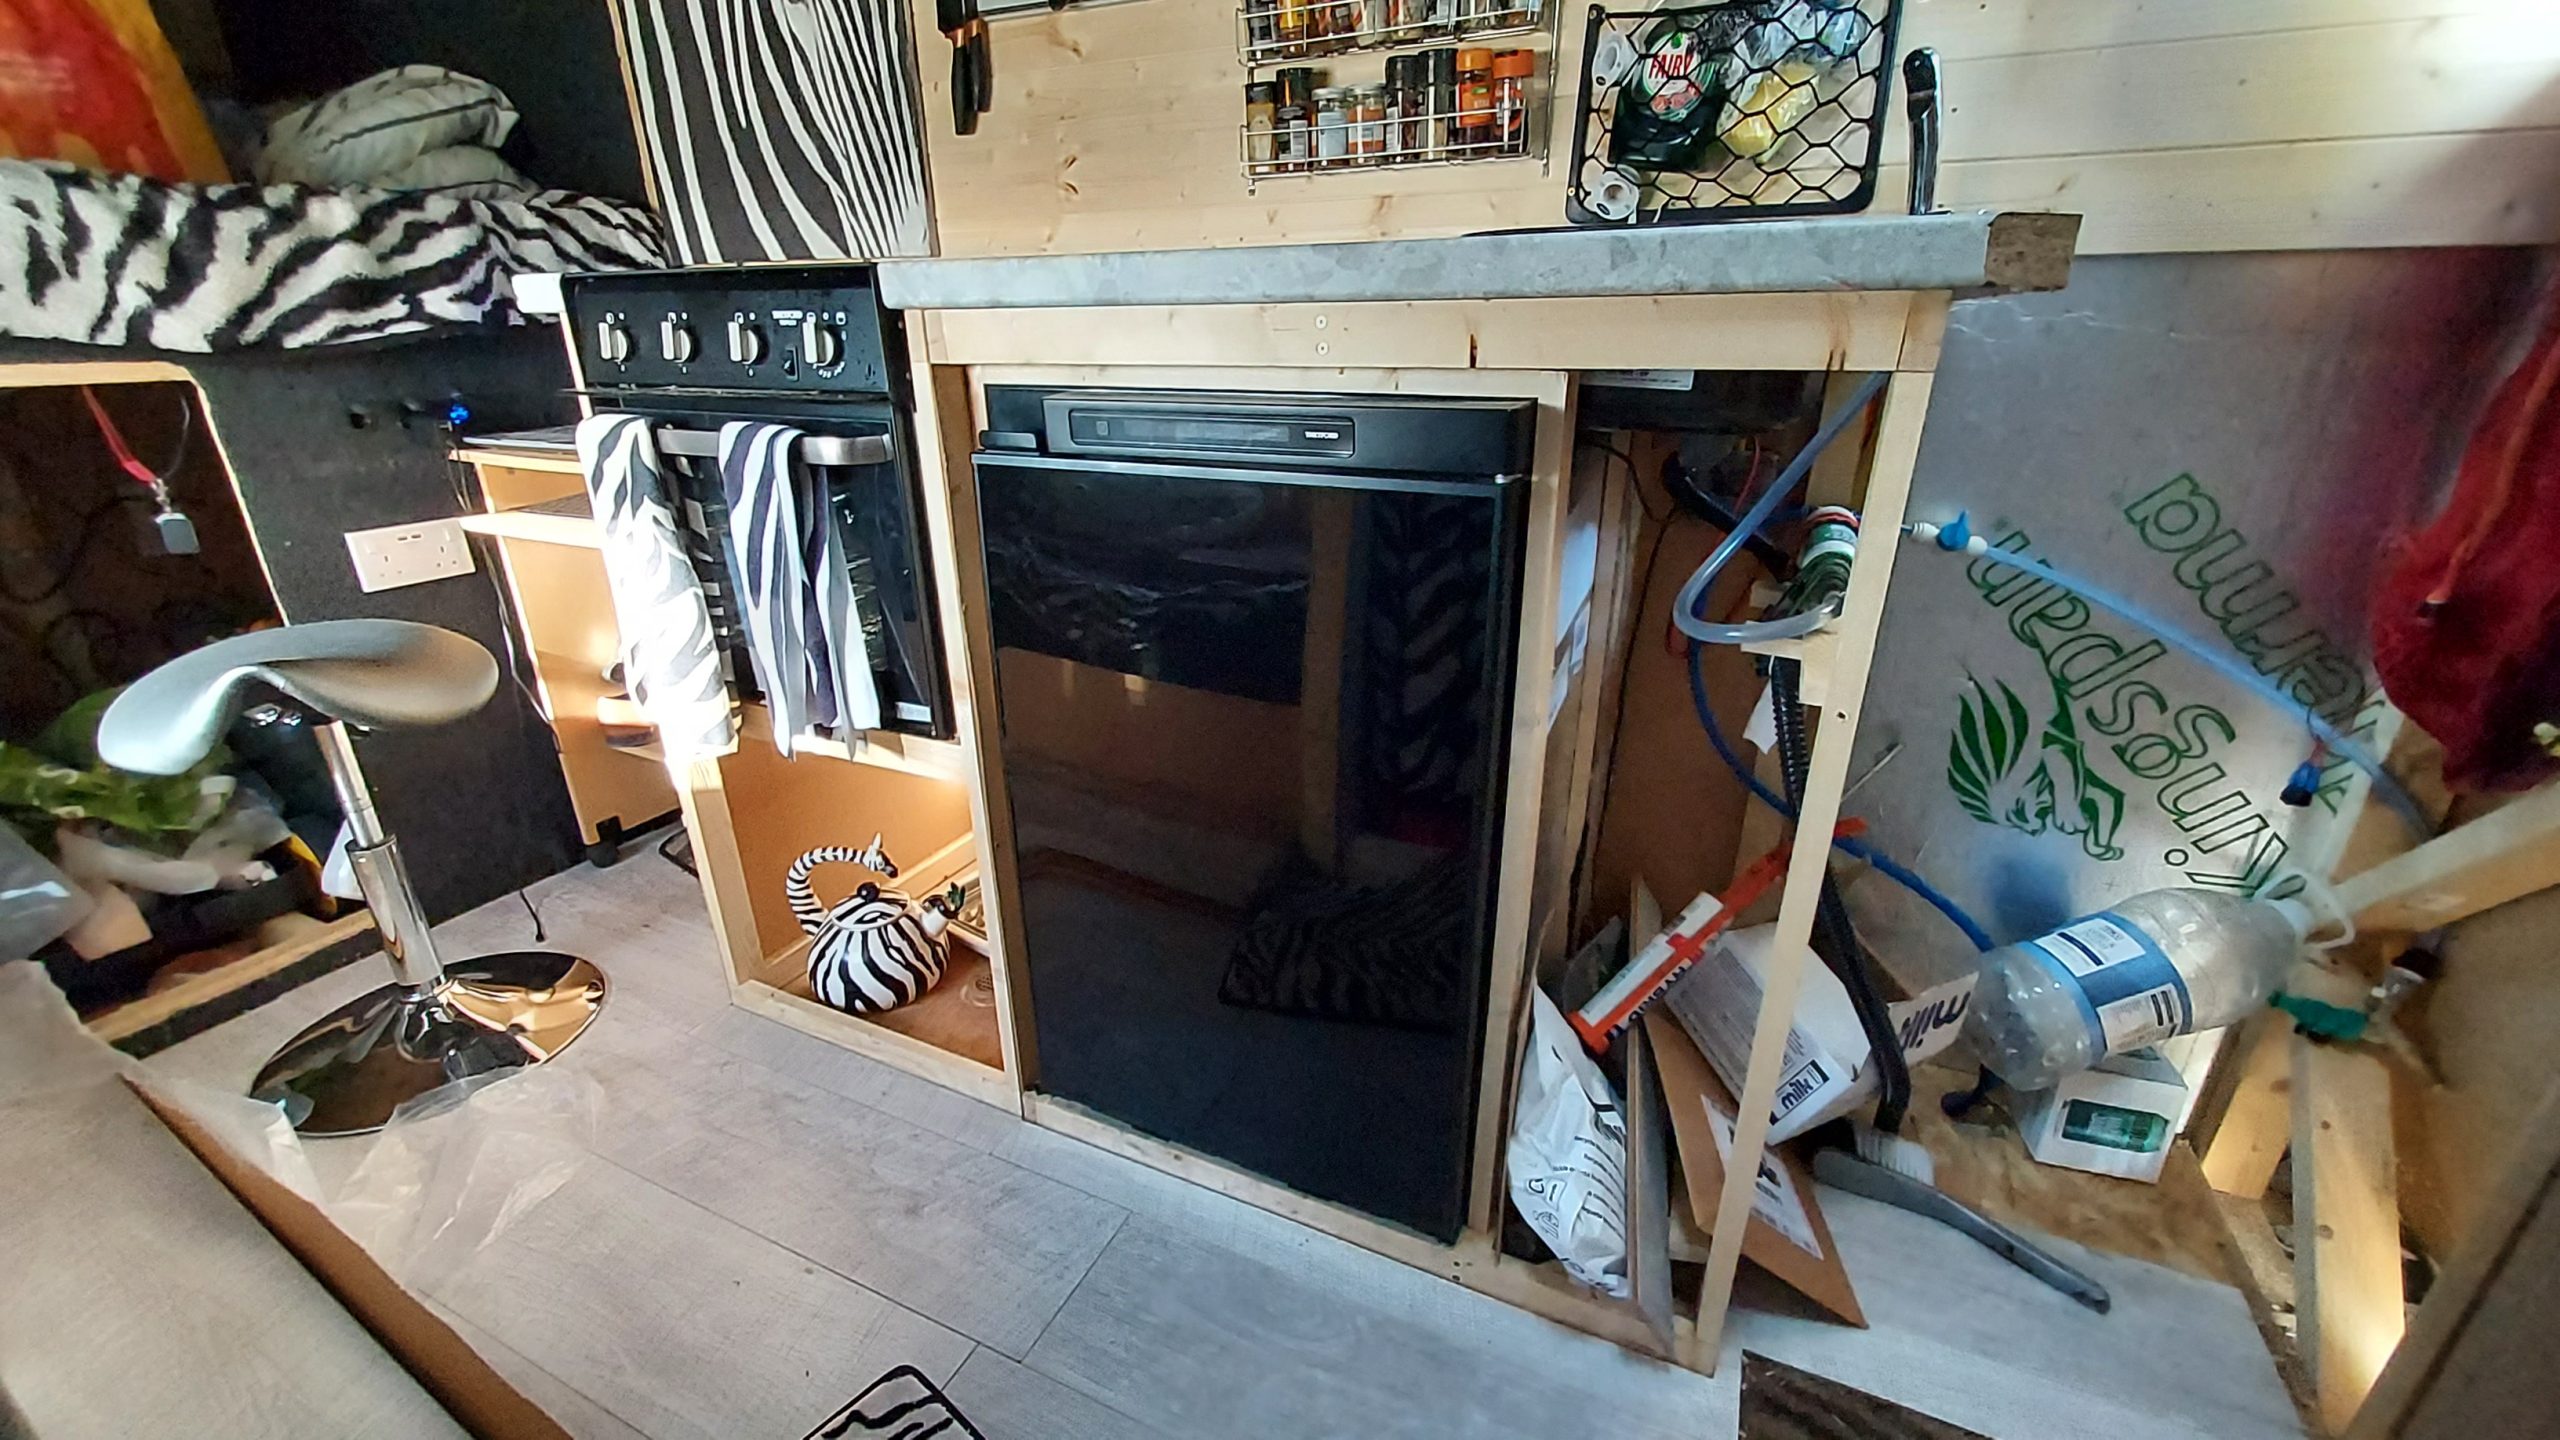
Fridge installation
The fridge is in the kitchen frame ready to go, but not actually doing anything yet. We’ve moved the kitchen frame and appliances to one
Read More

Fridge ready!
The kitchen frame is back in place with copious amounts of sealant around the back of the fridge to keep nasty gasses from entering the
Read More
Kitchen lighting
Installing a powerful overhead light in the kitchen, this is useful for cooking and washing up at darker times of the year.
Read More
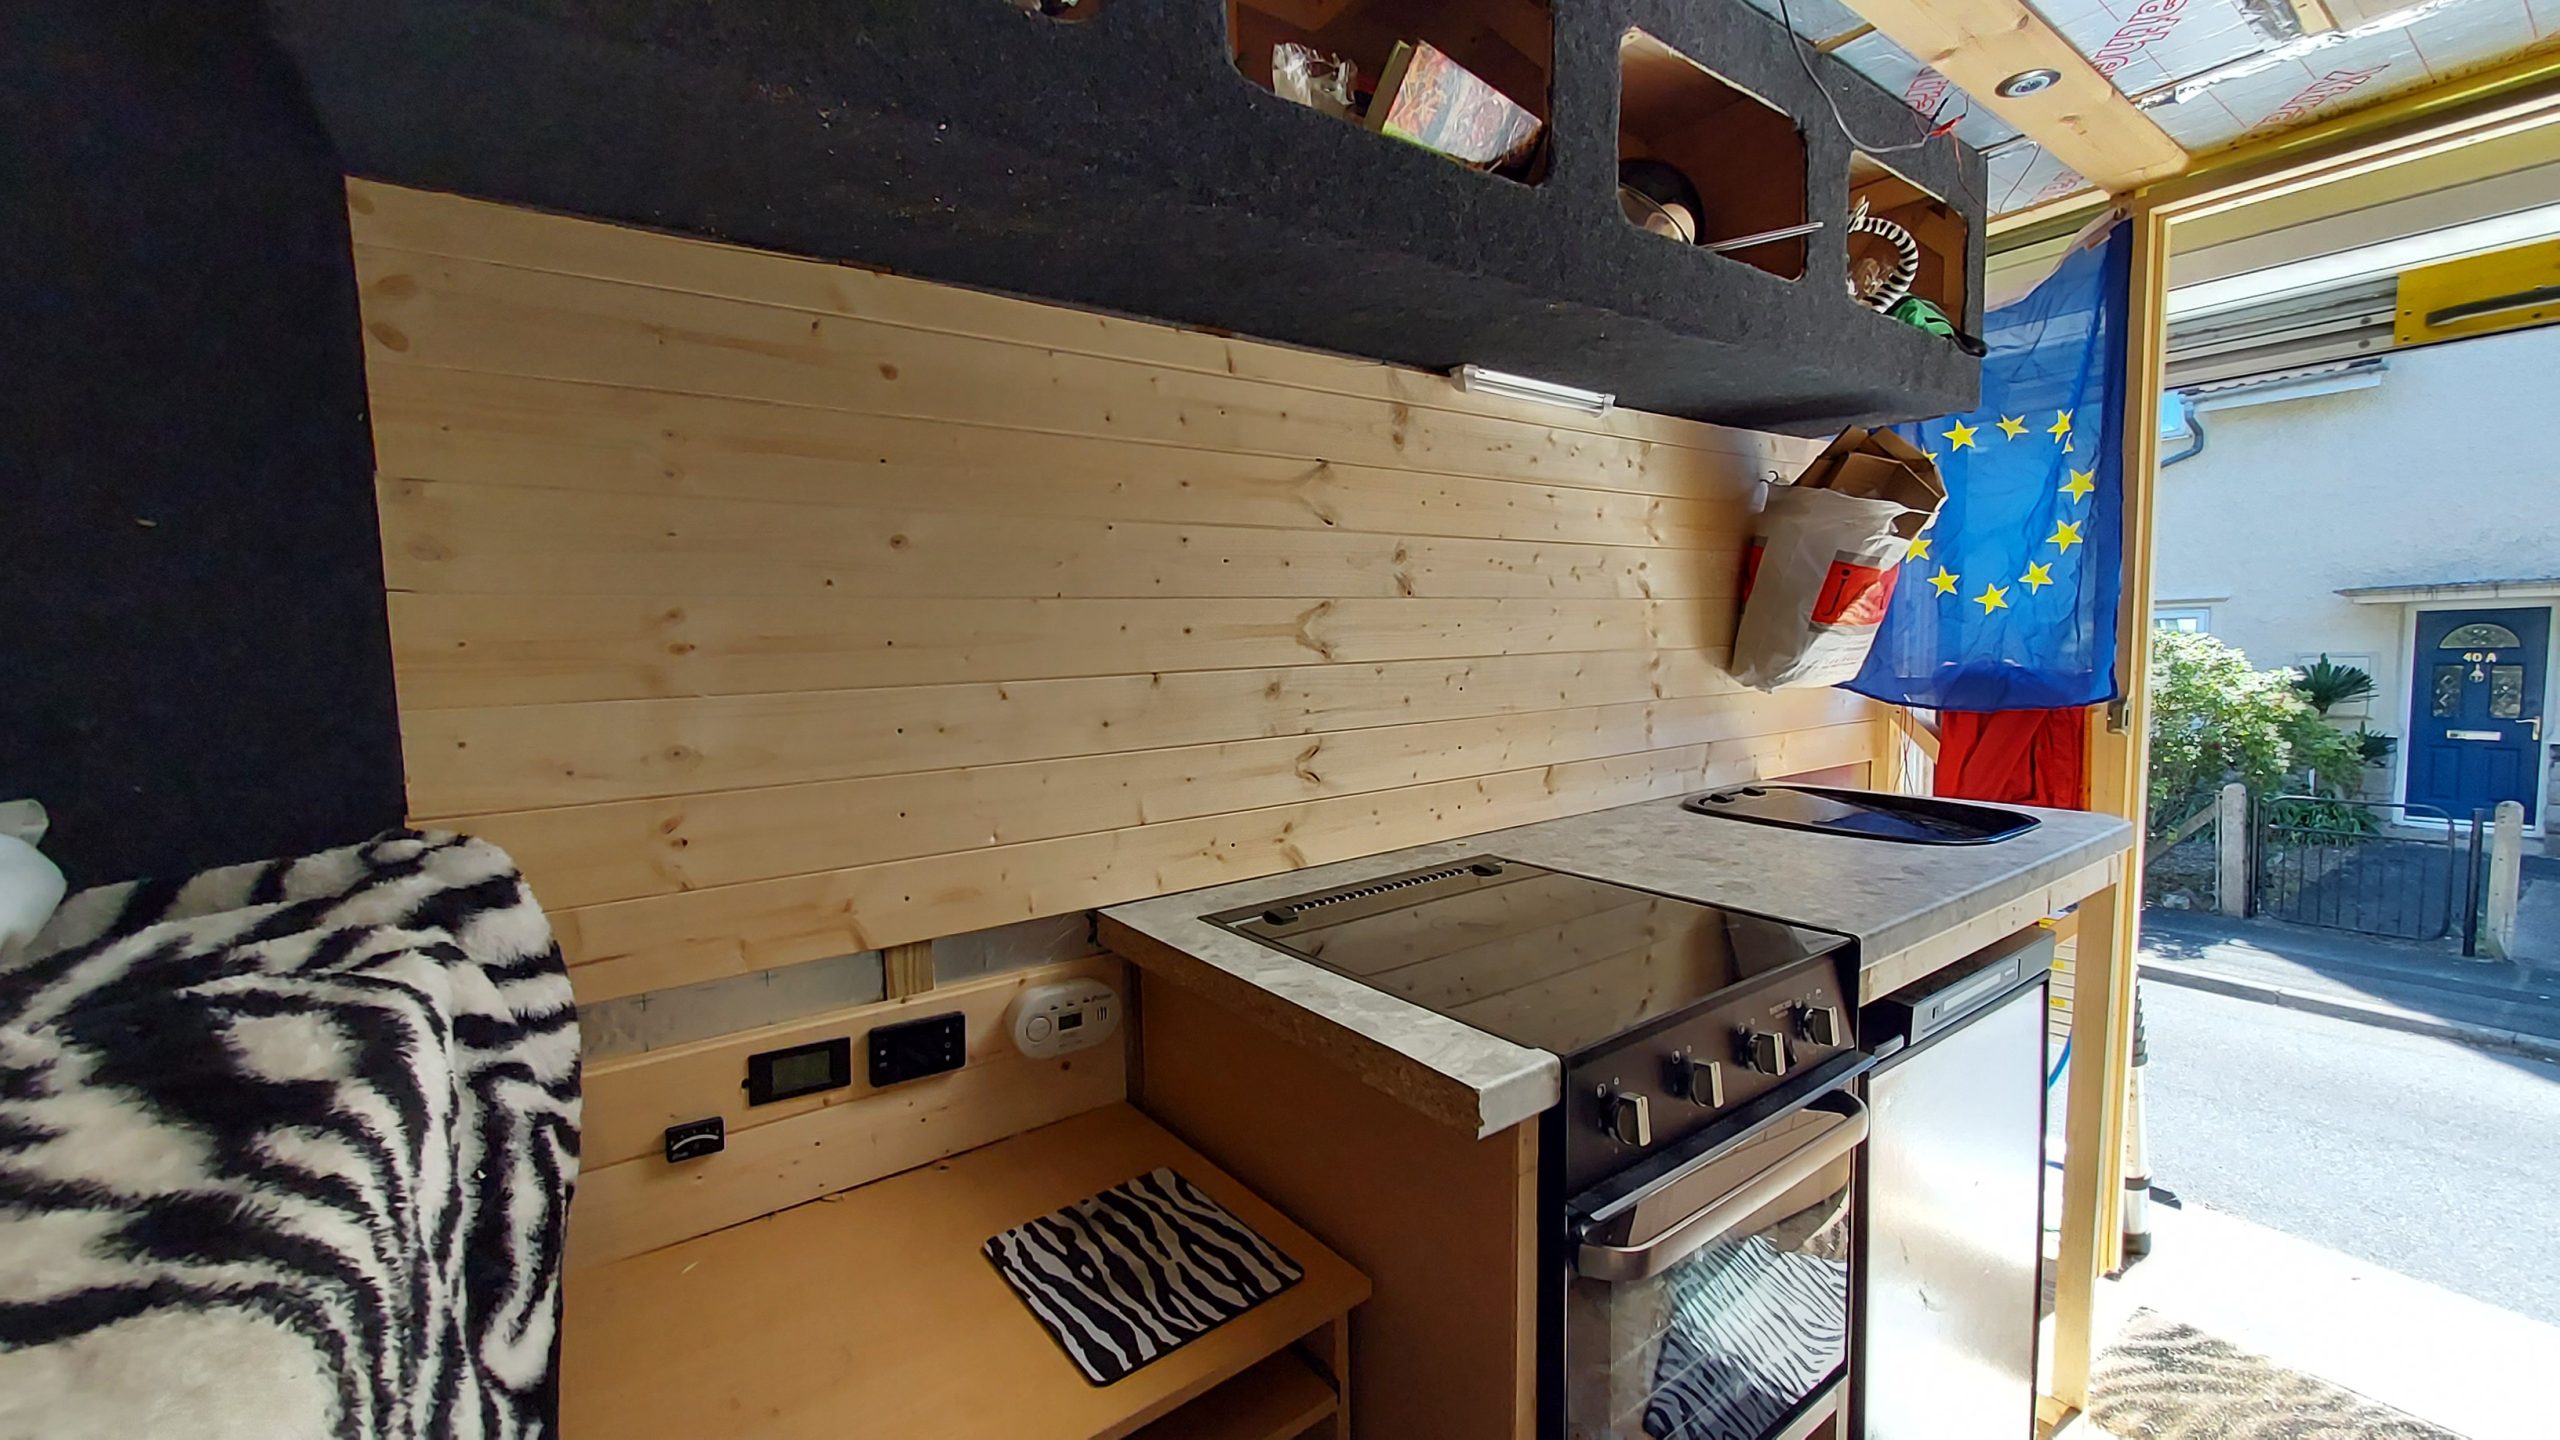
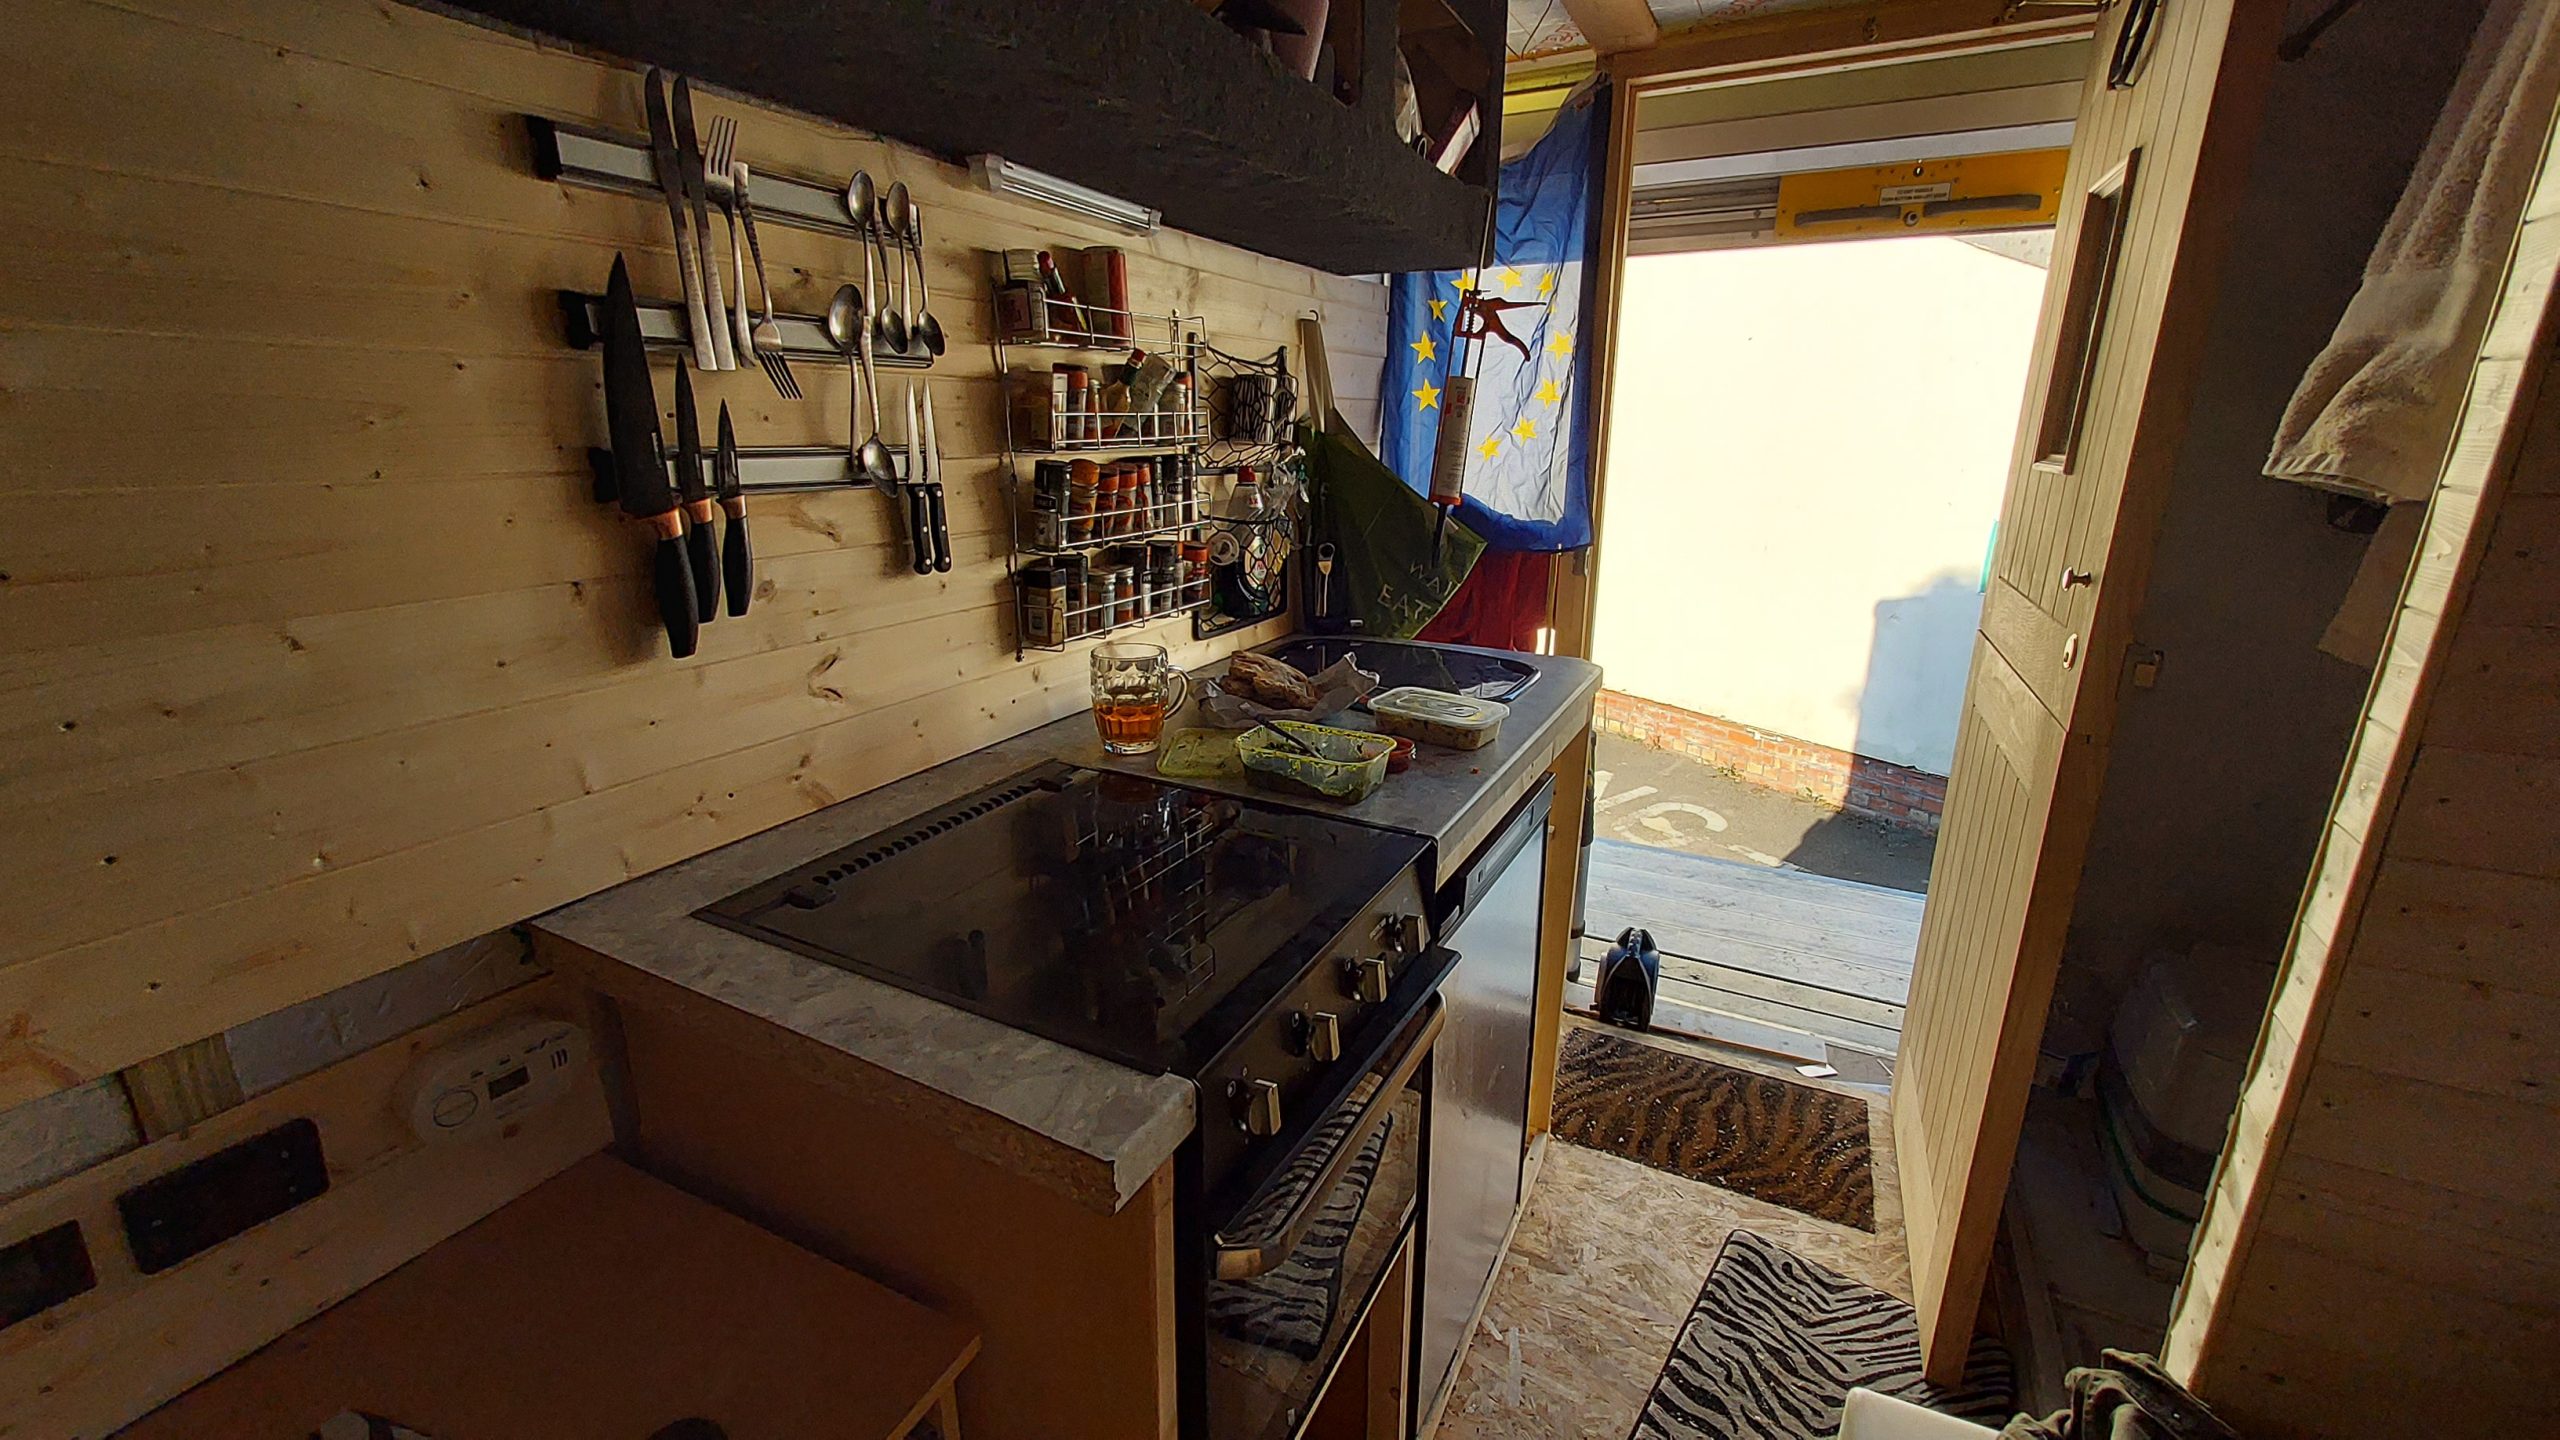
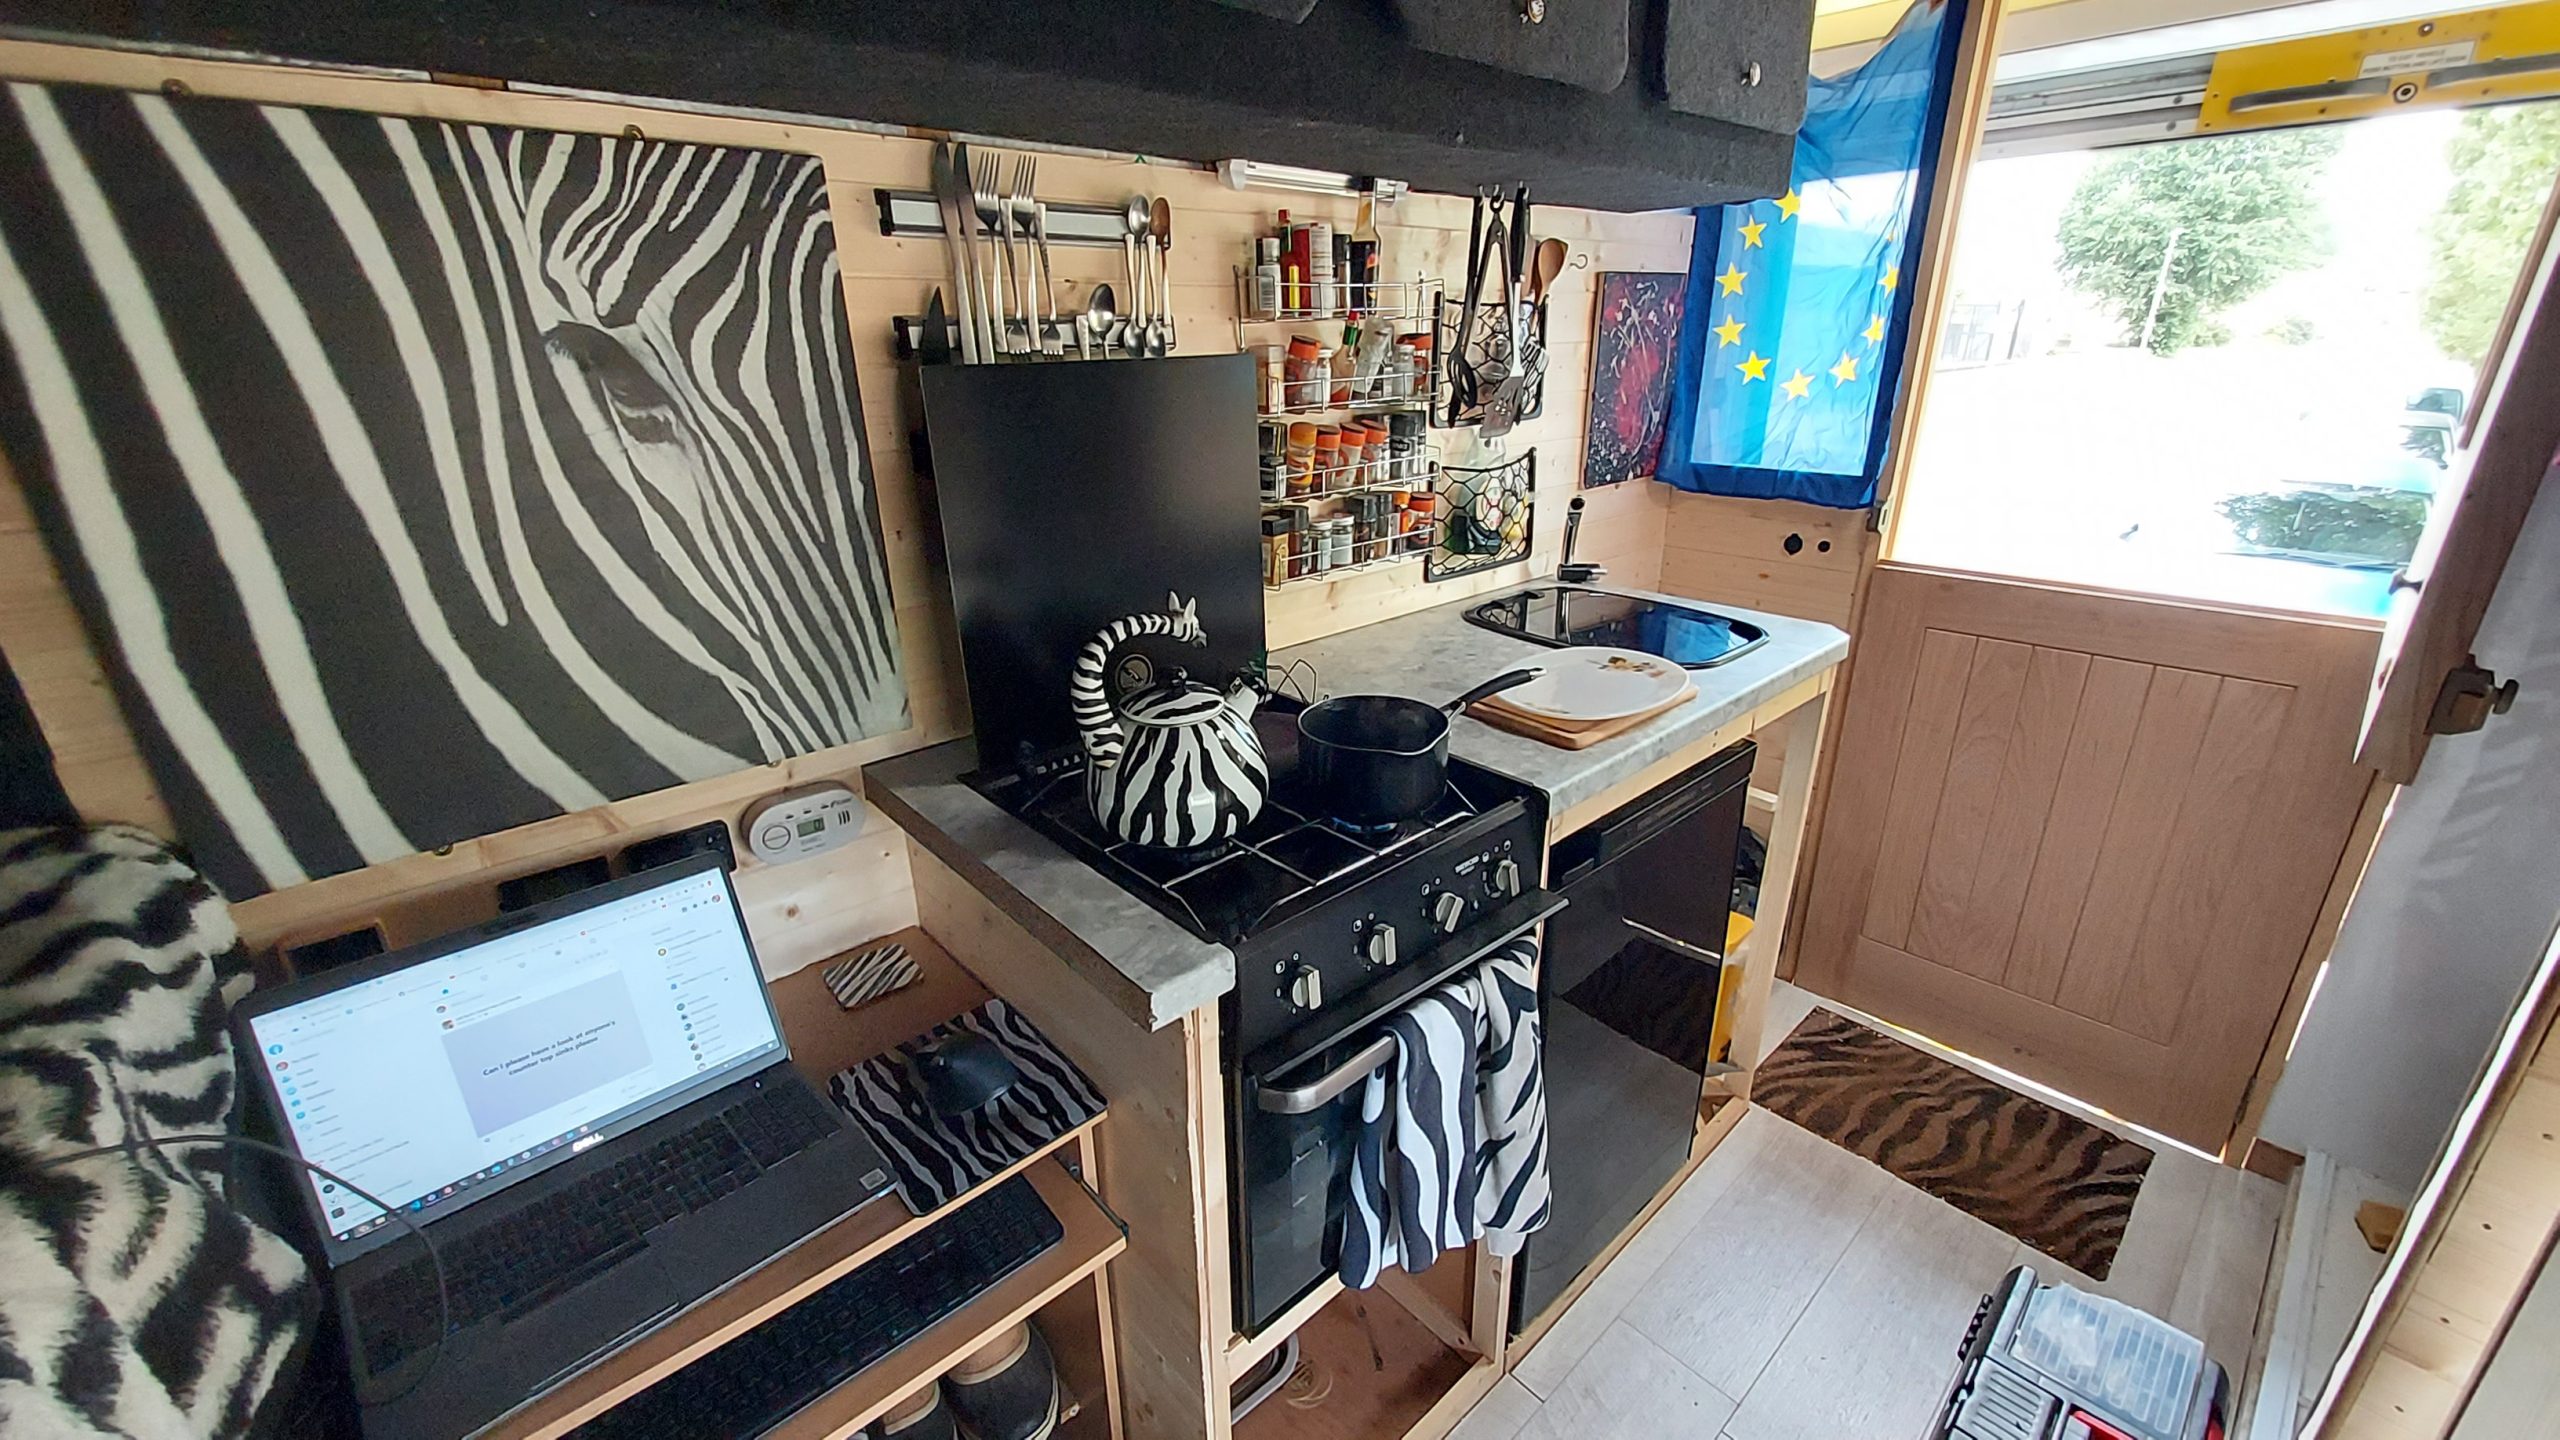
Kitchen back in place
Fridge freezer all sealed up and everything back in place, oven is now connected up to gas. With thanks to Pep.
Read More
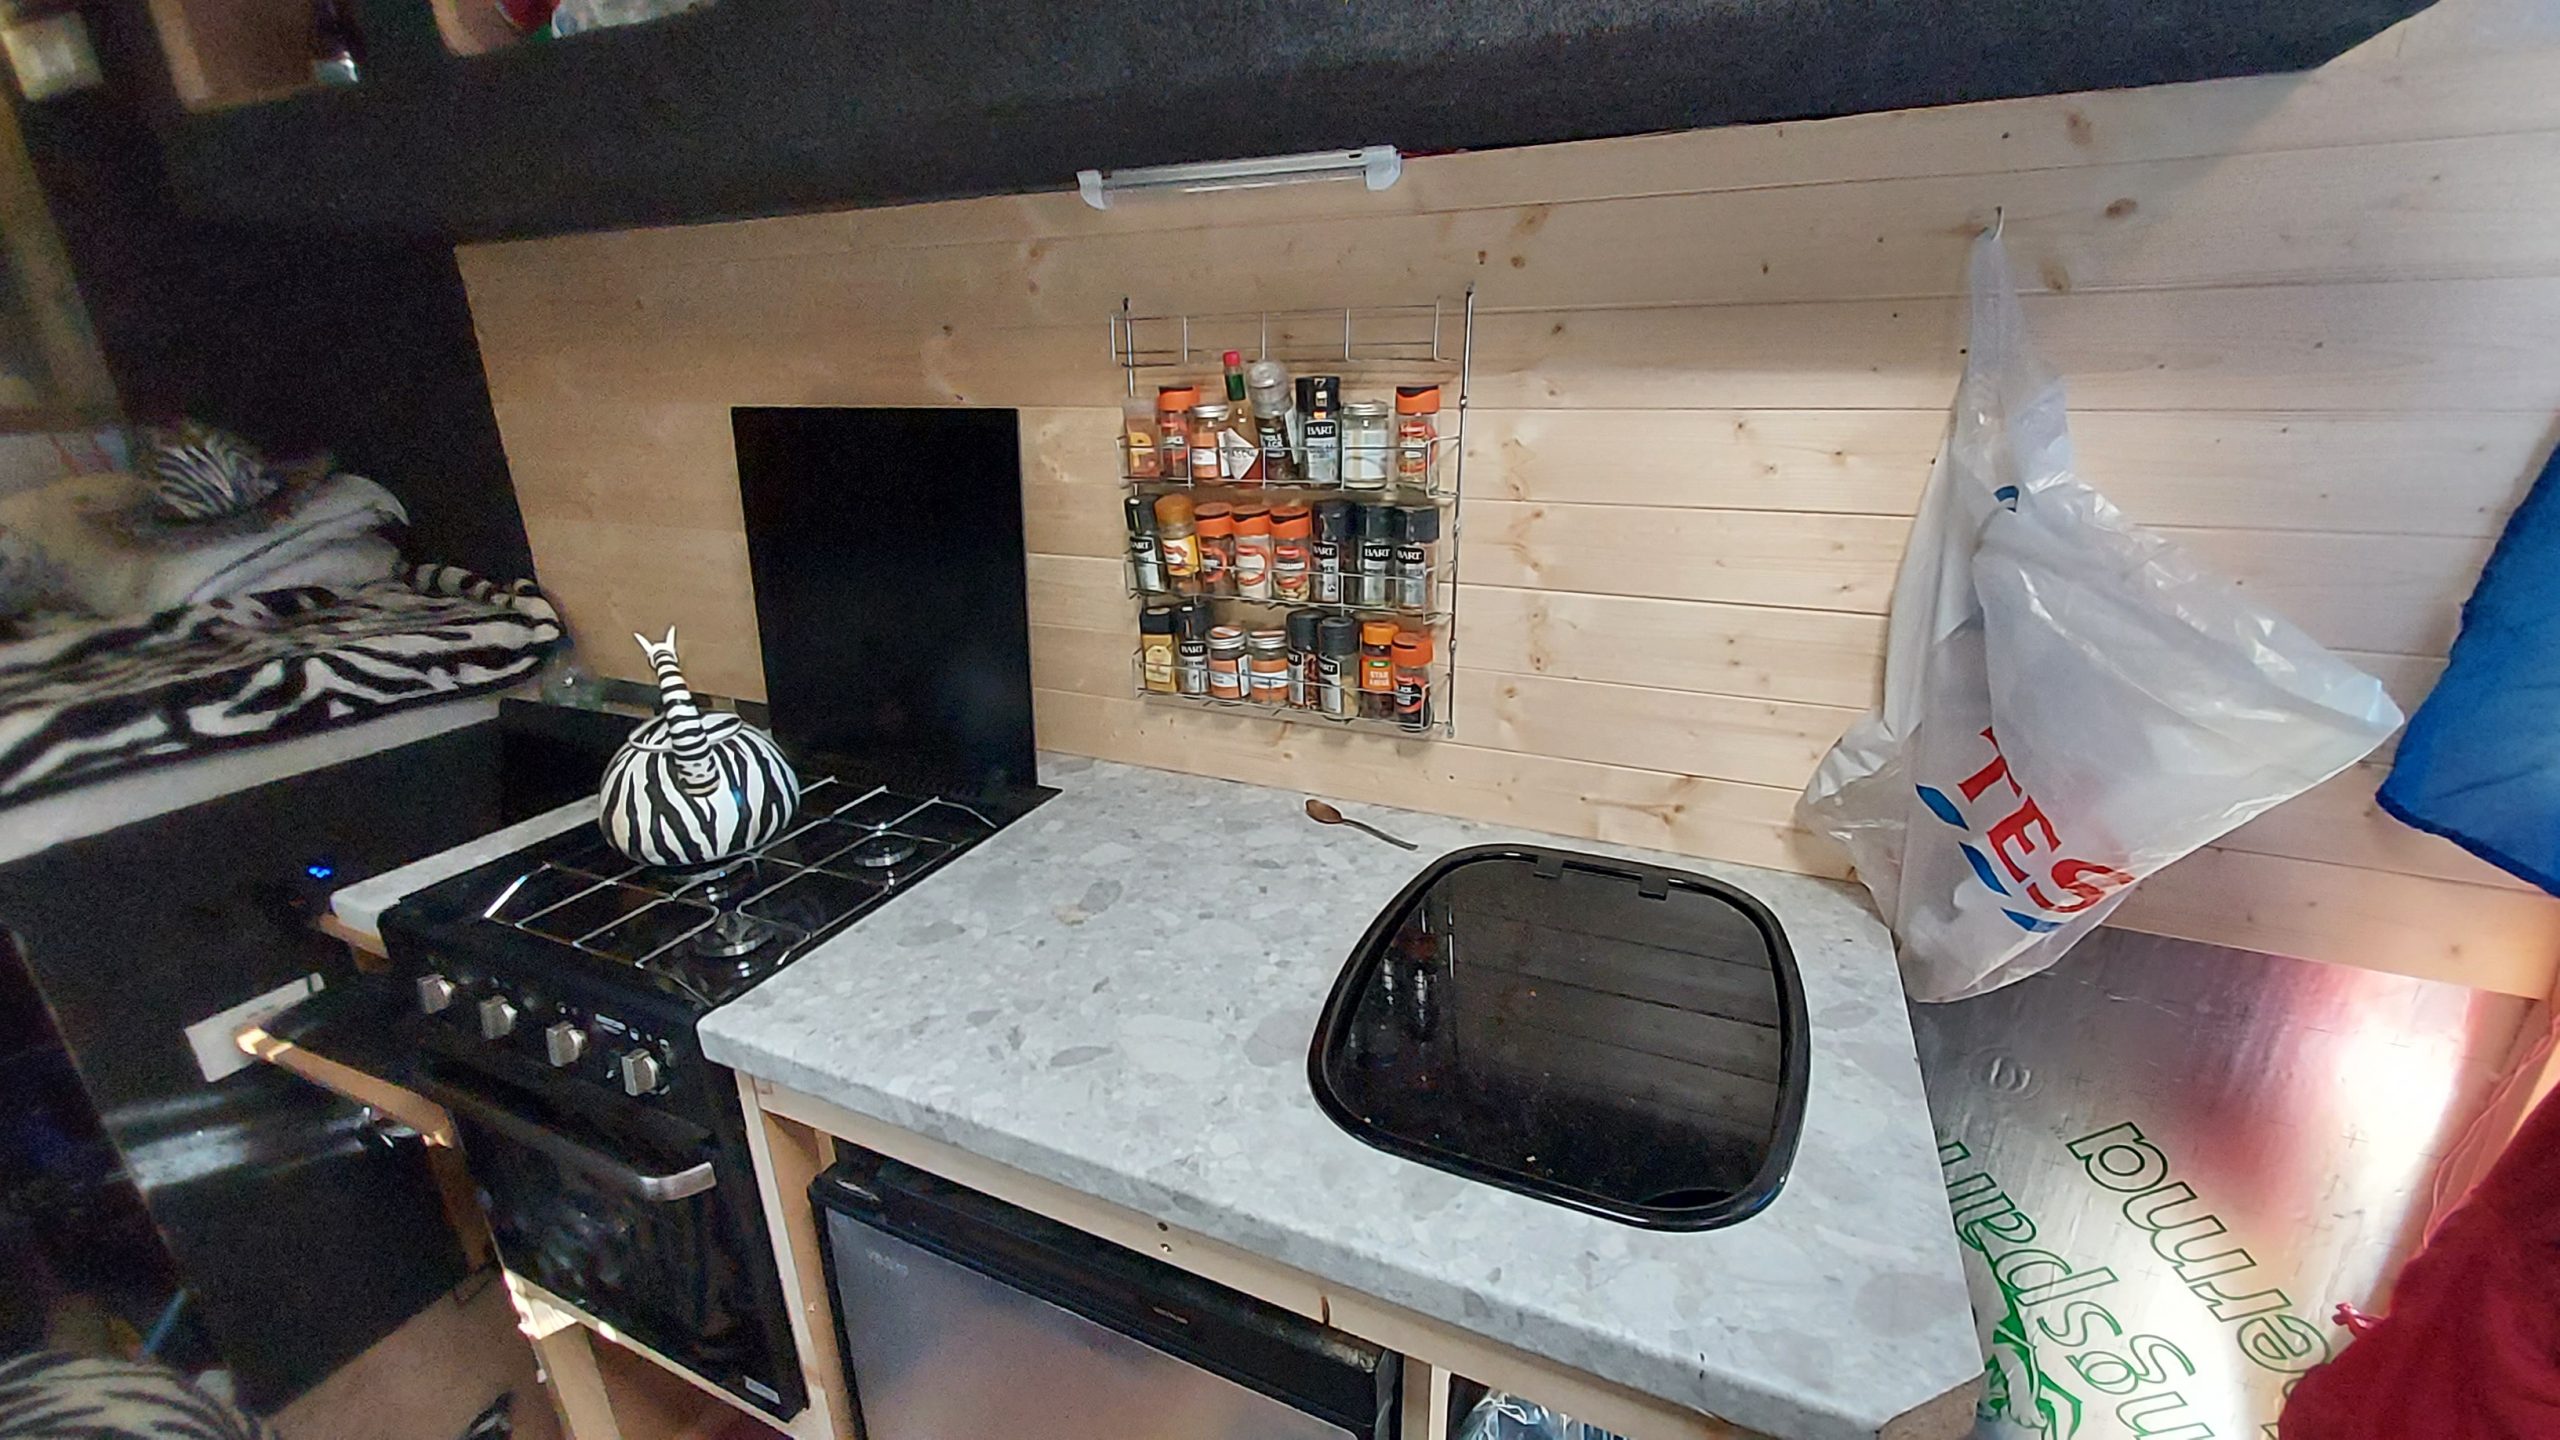
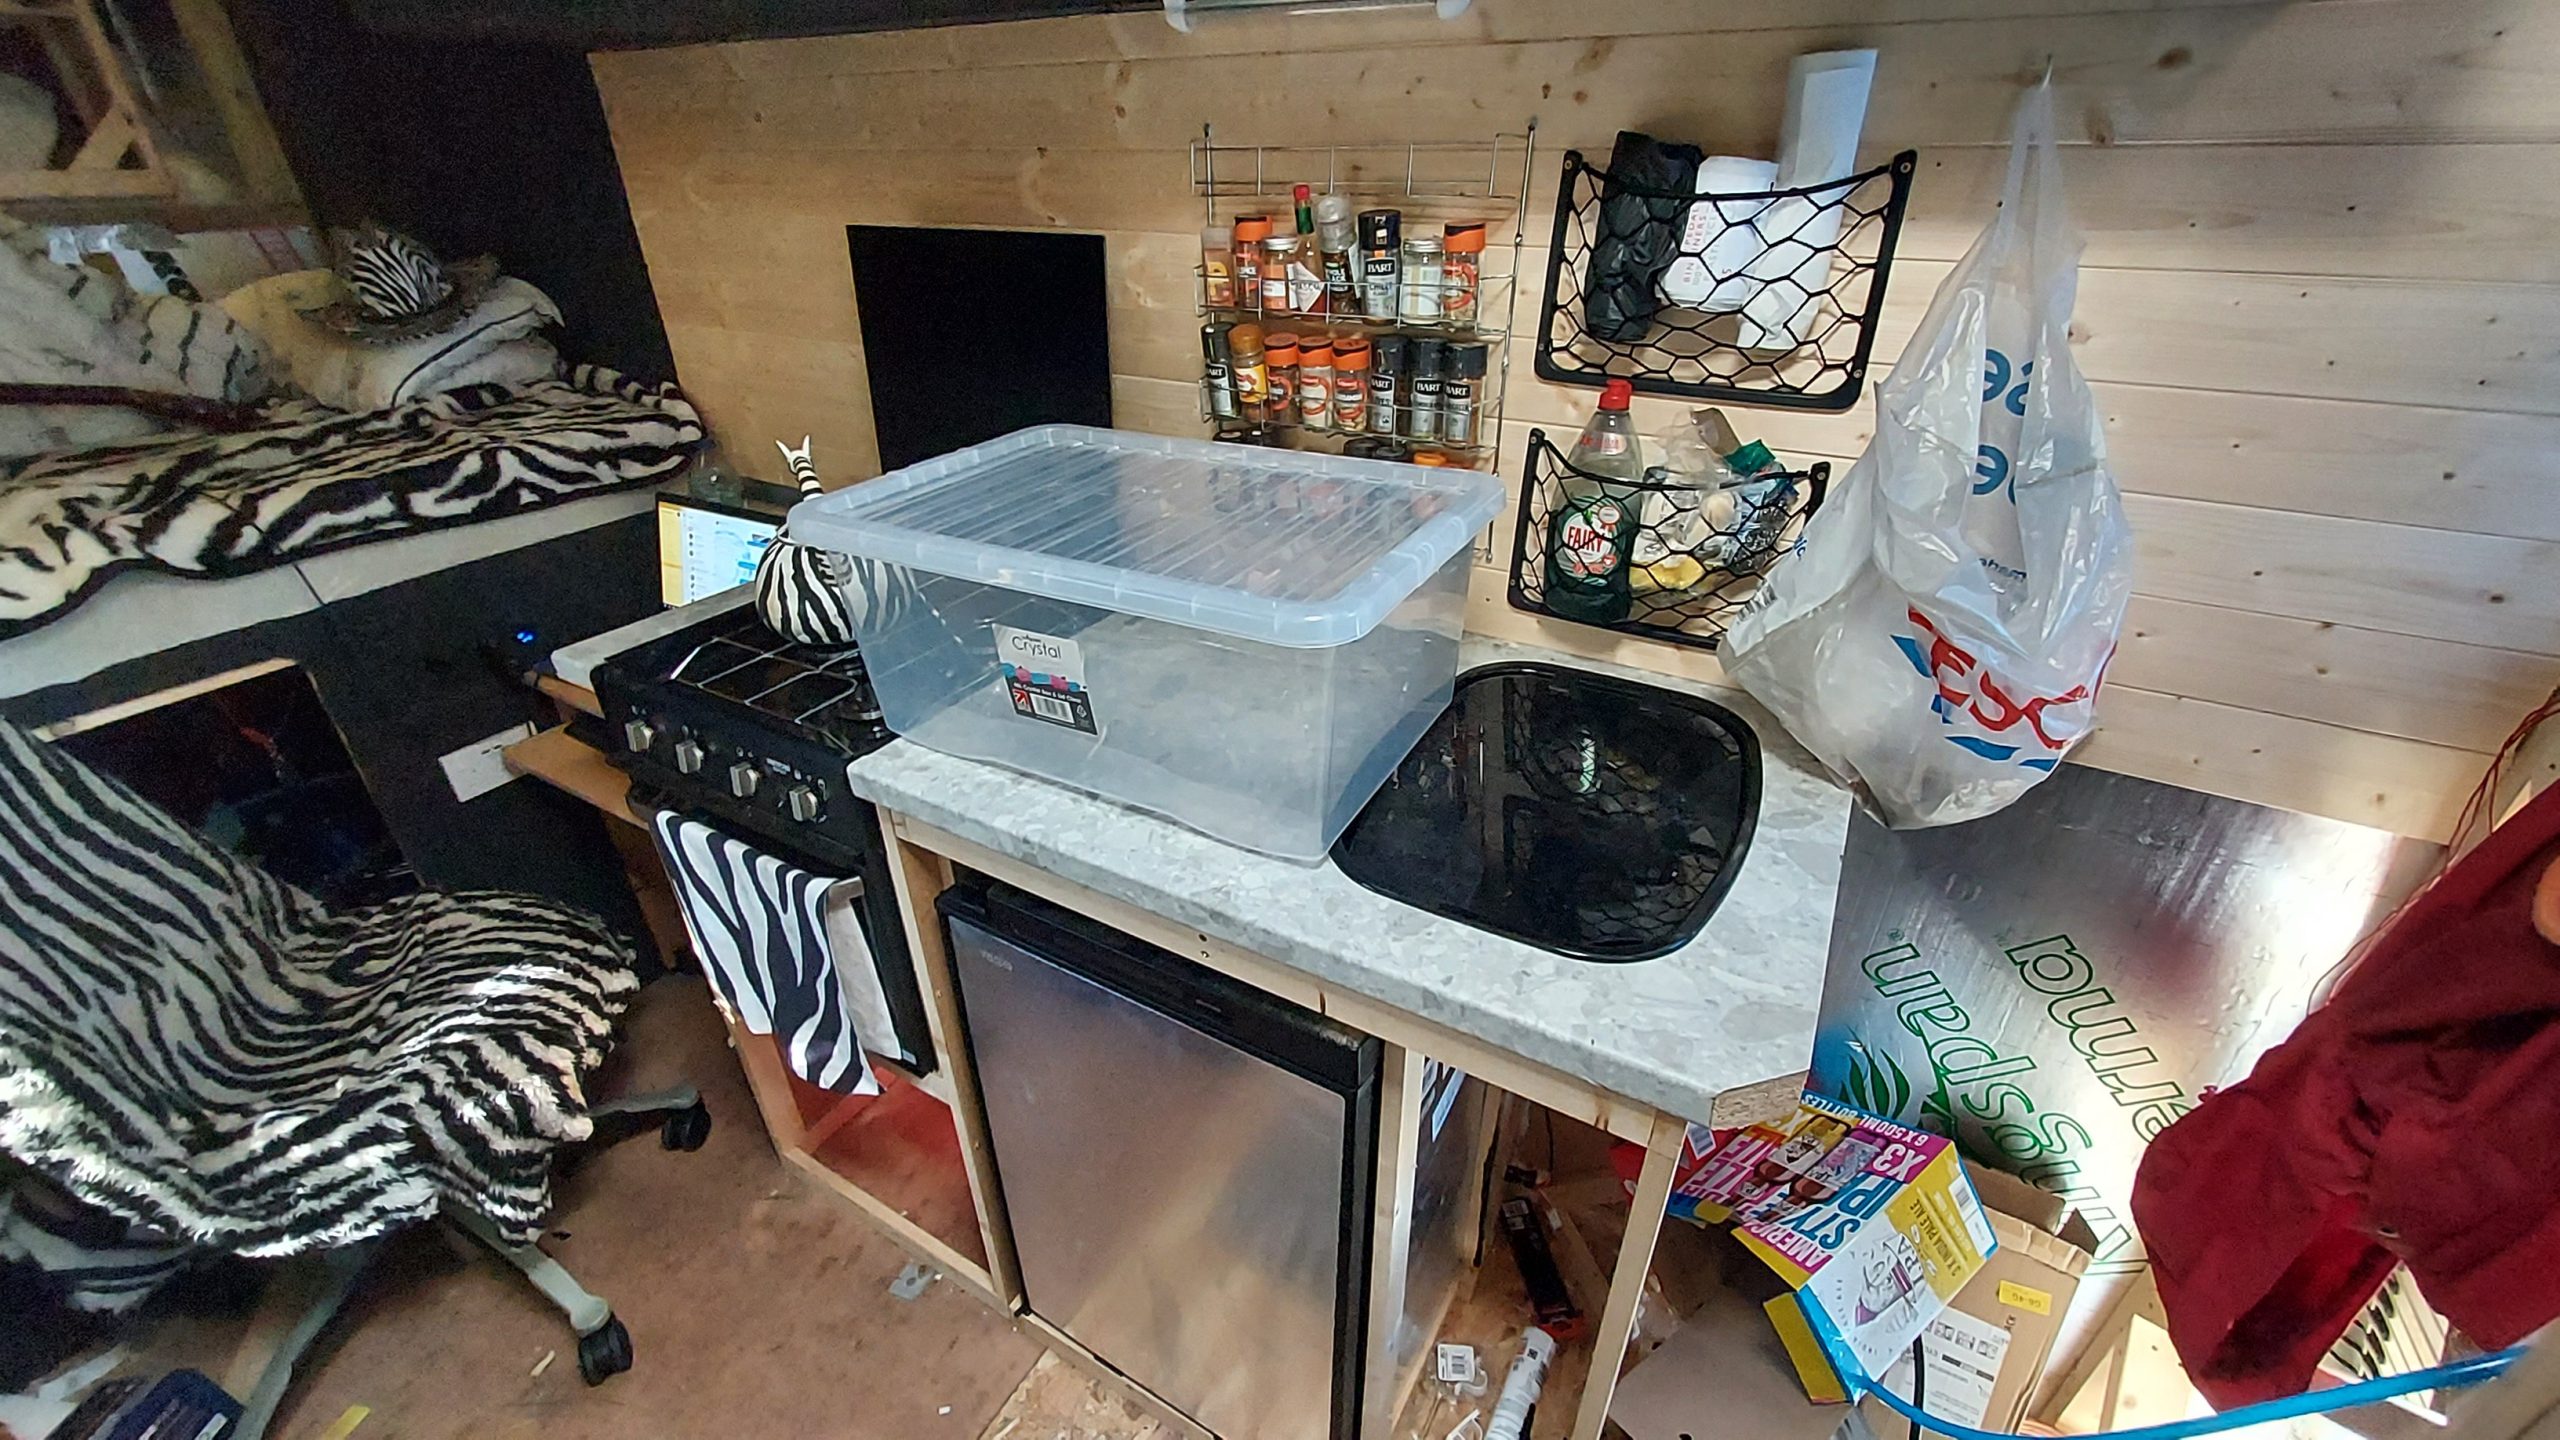
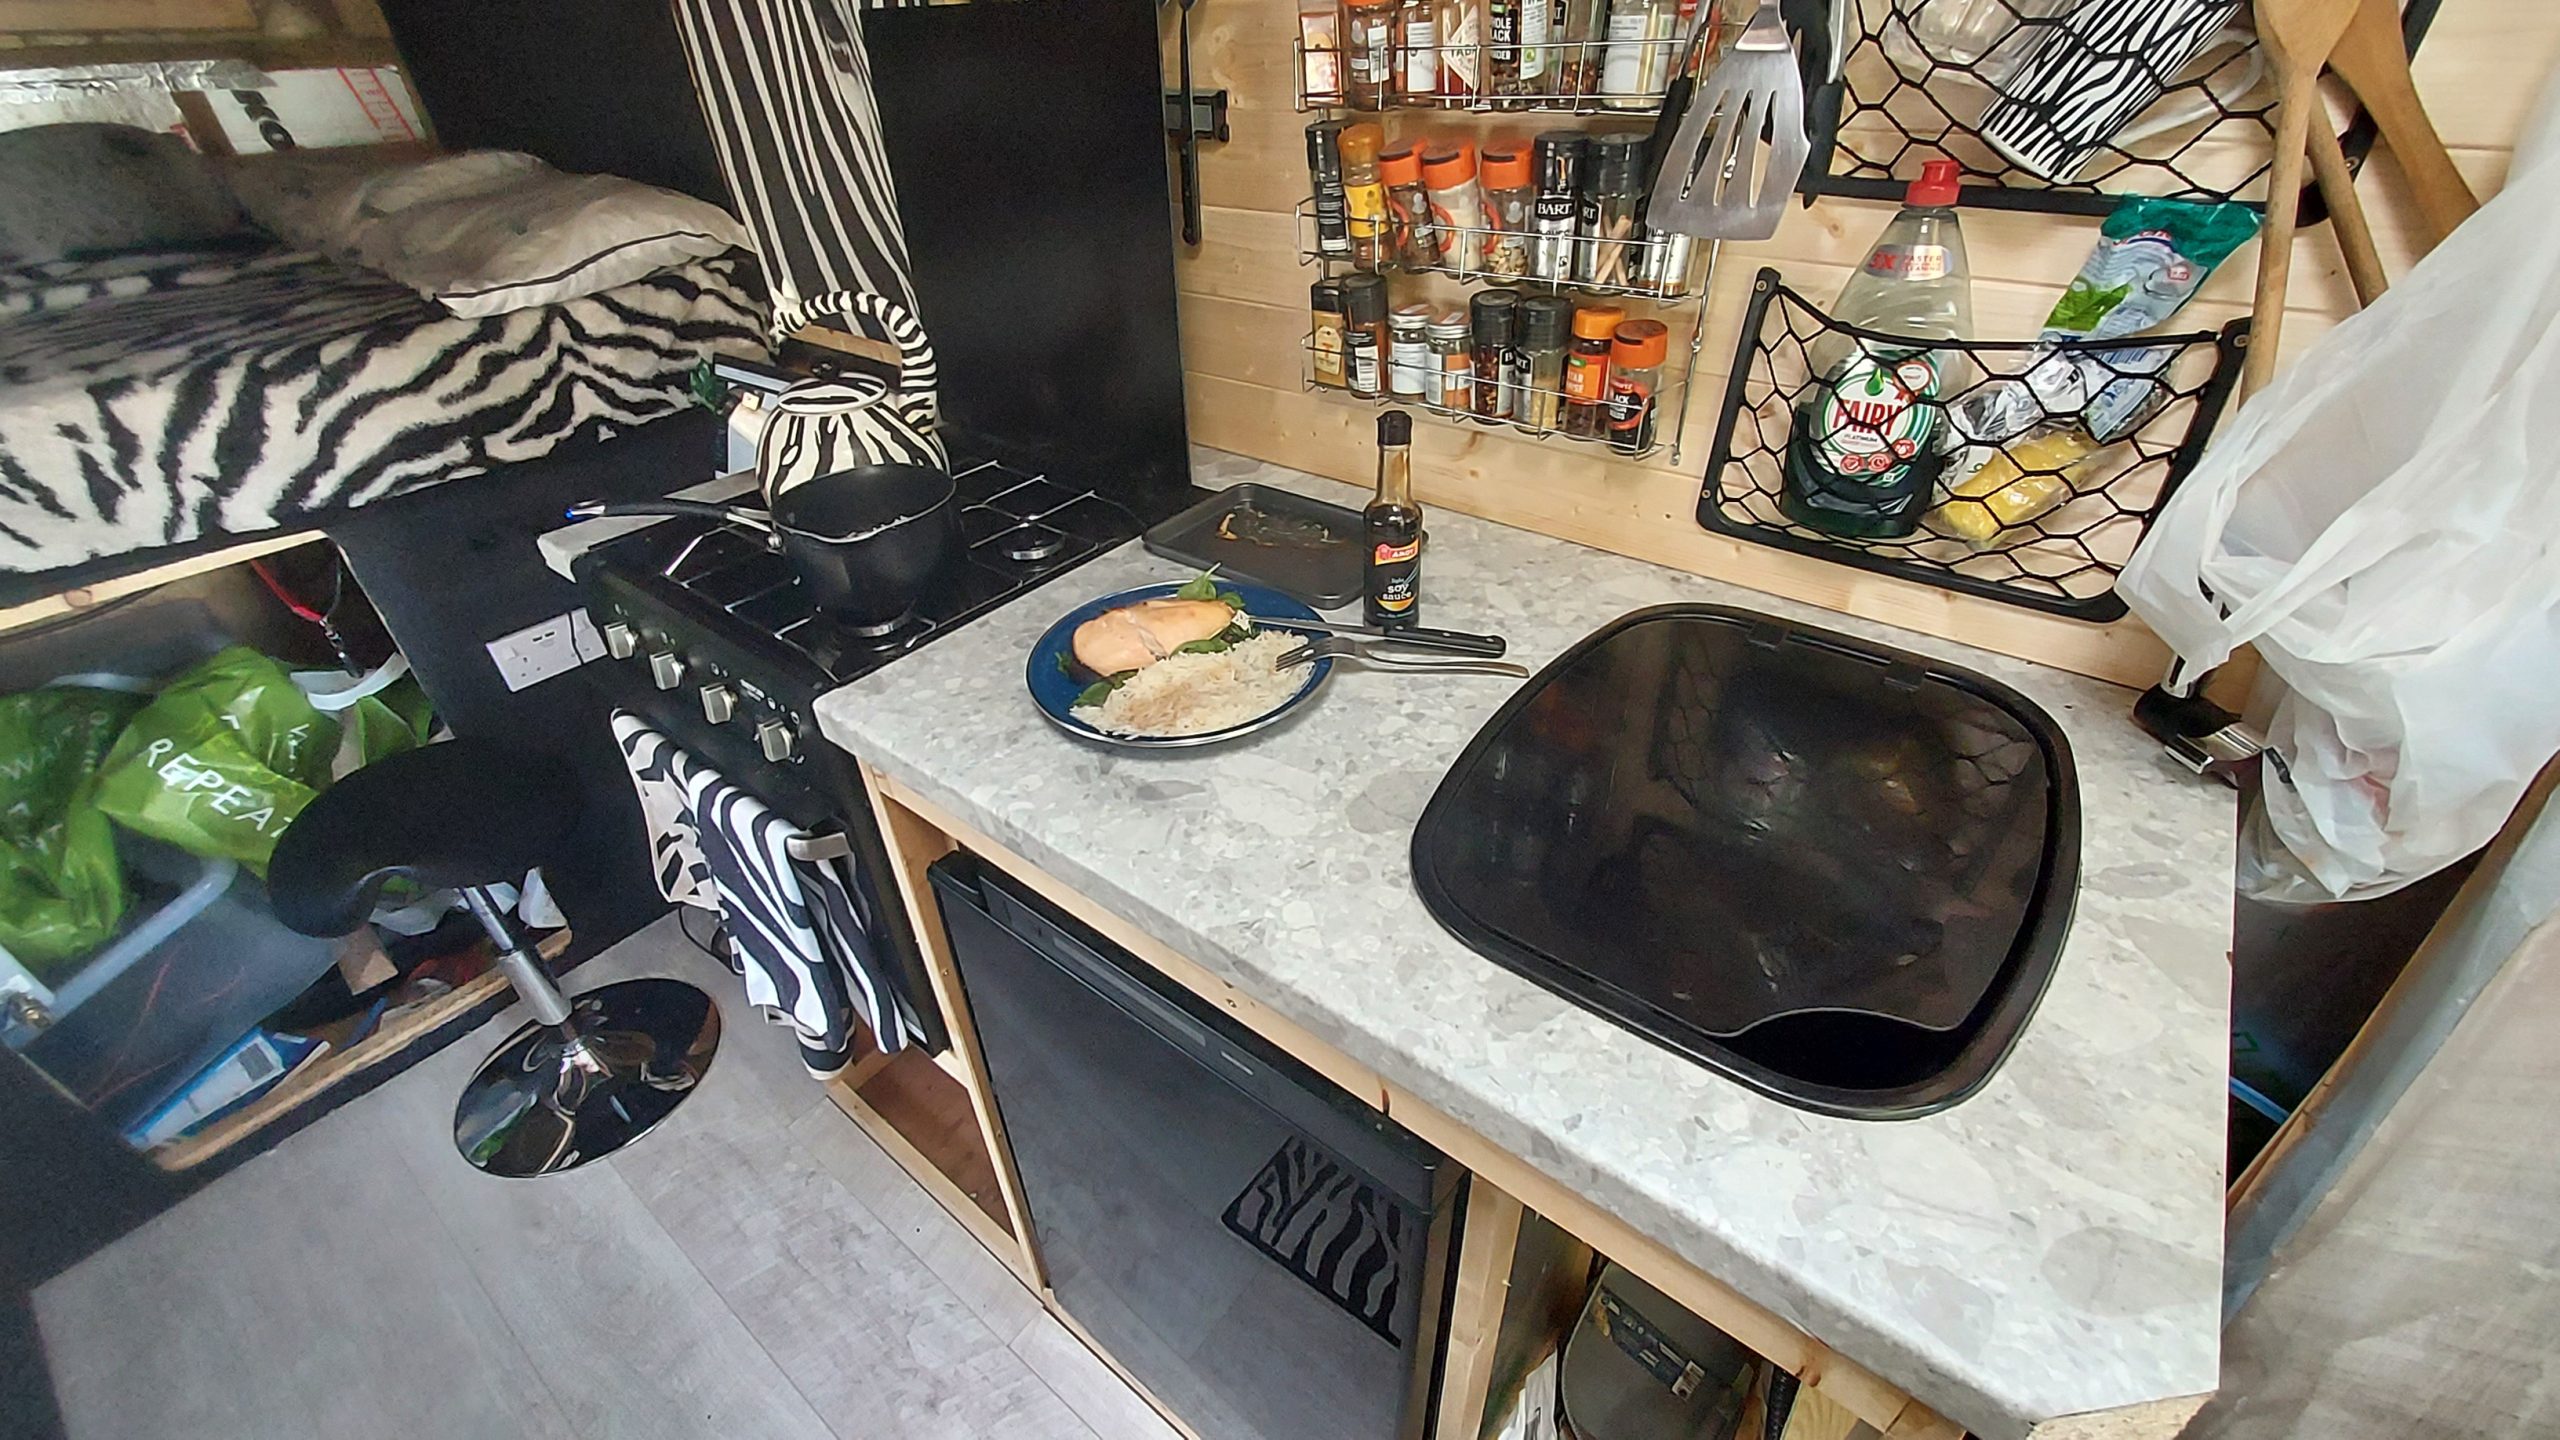
More kitchen
Added some storage pouches above the sink, I can finally start moving kitchen stuff out of plastic boxes!
Read More
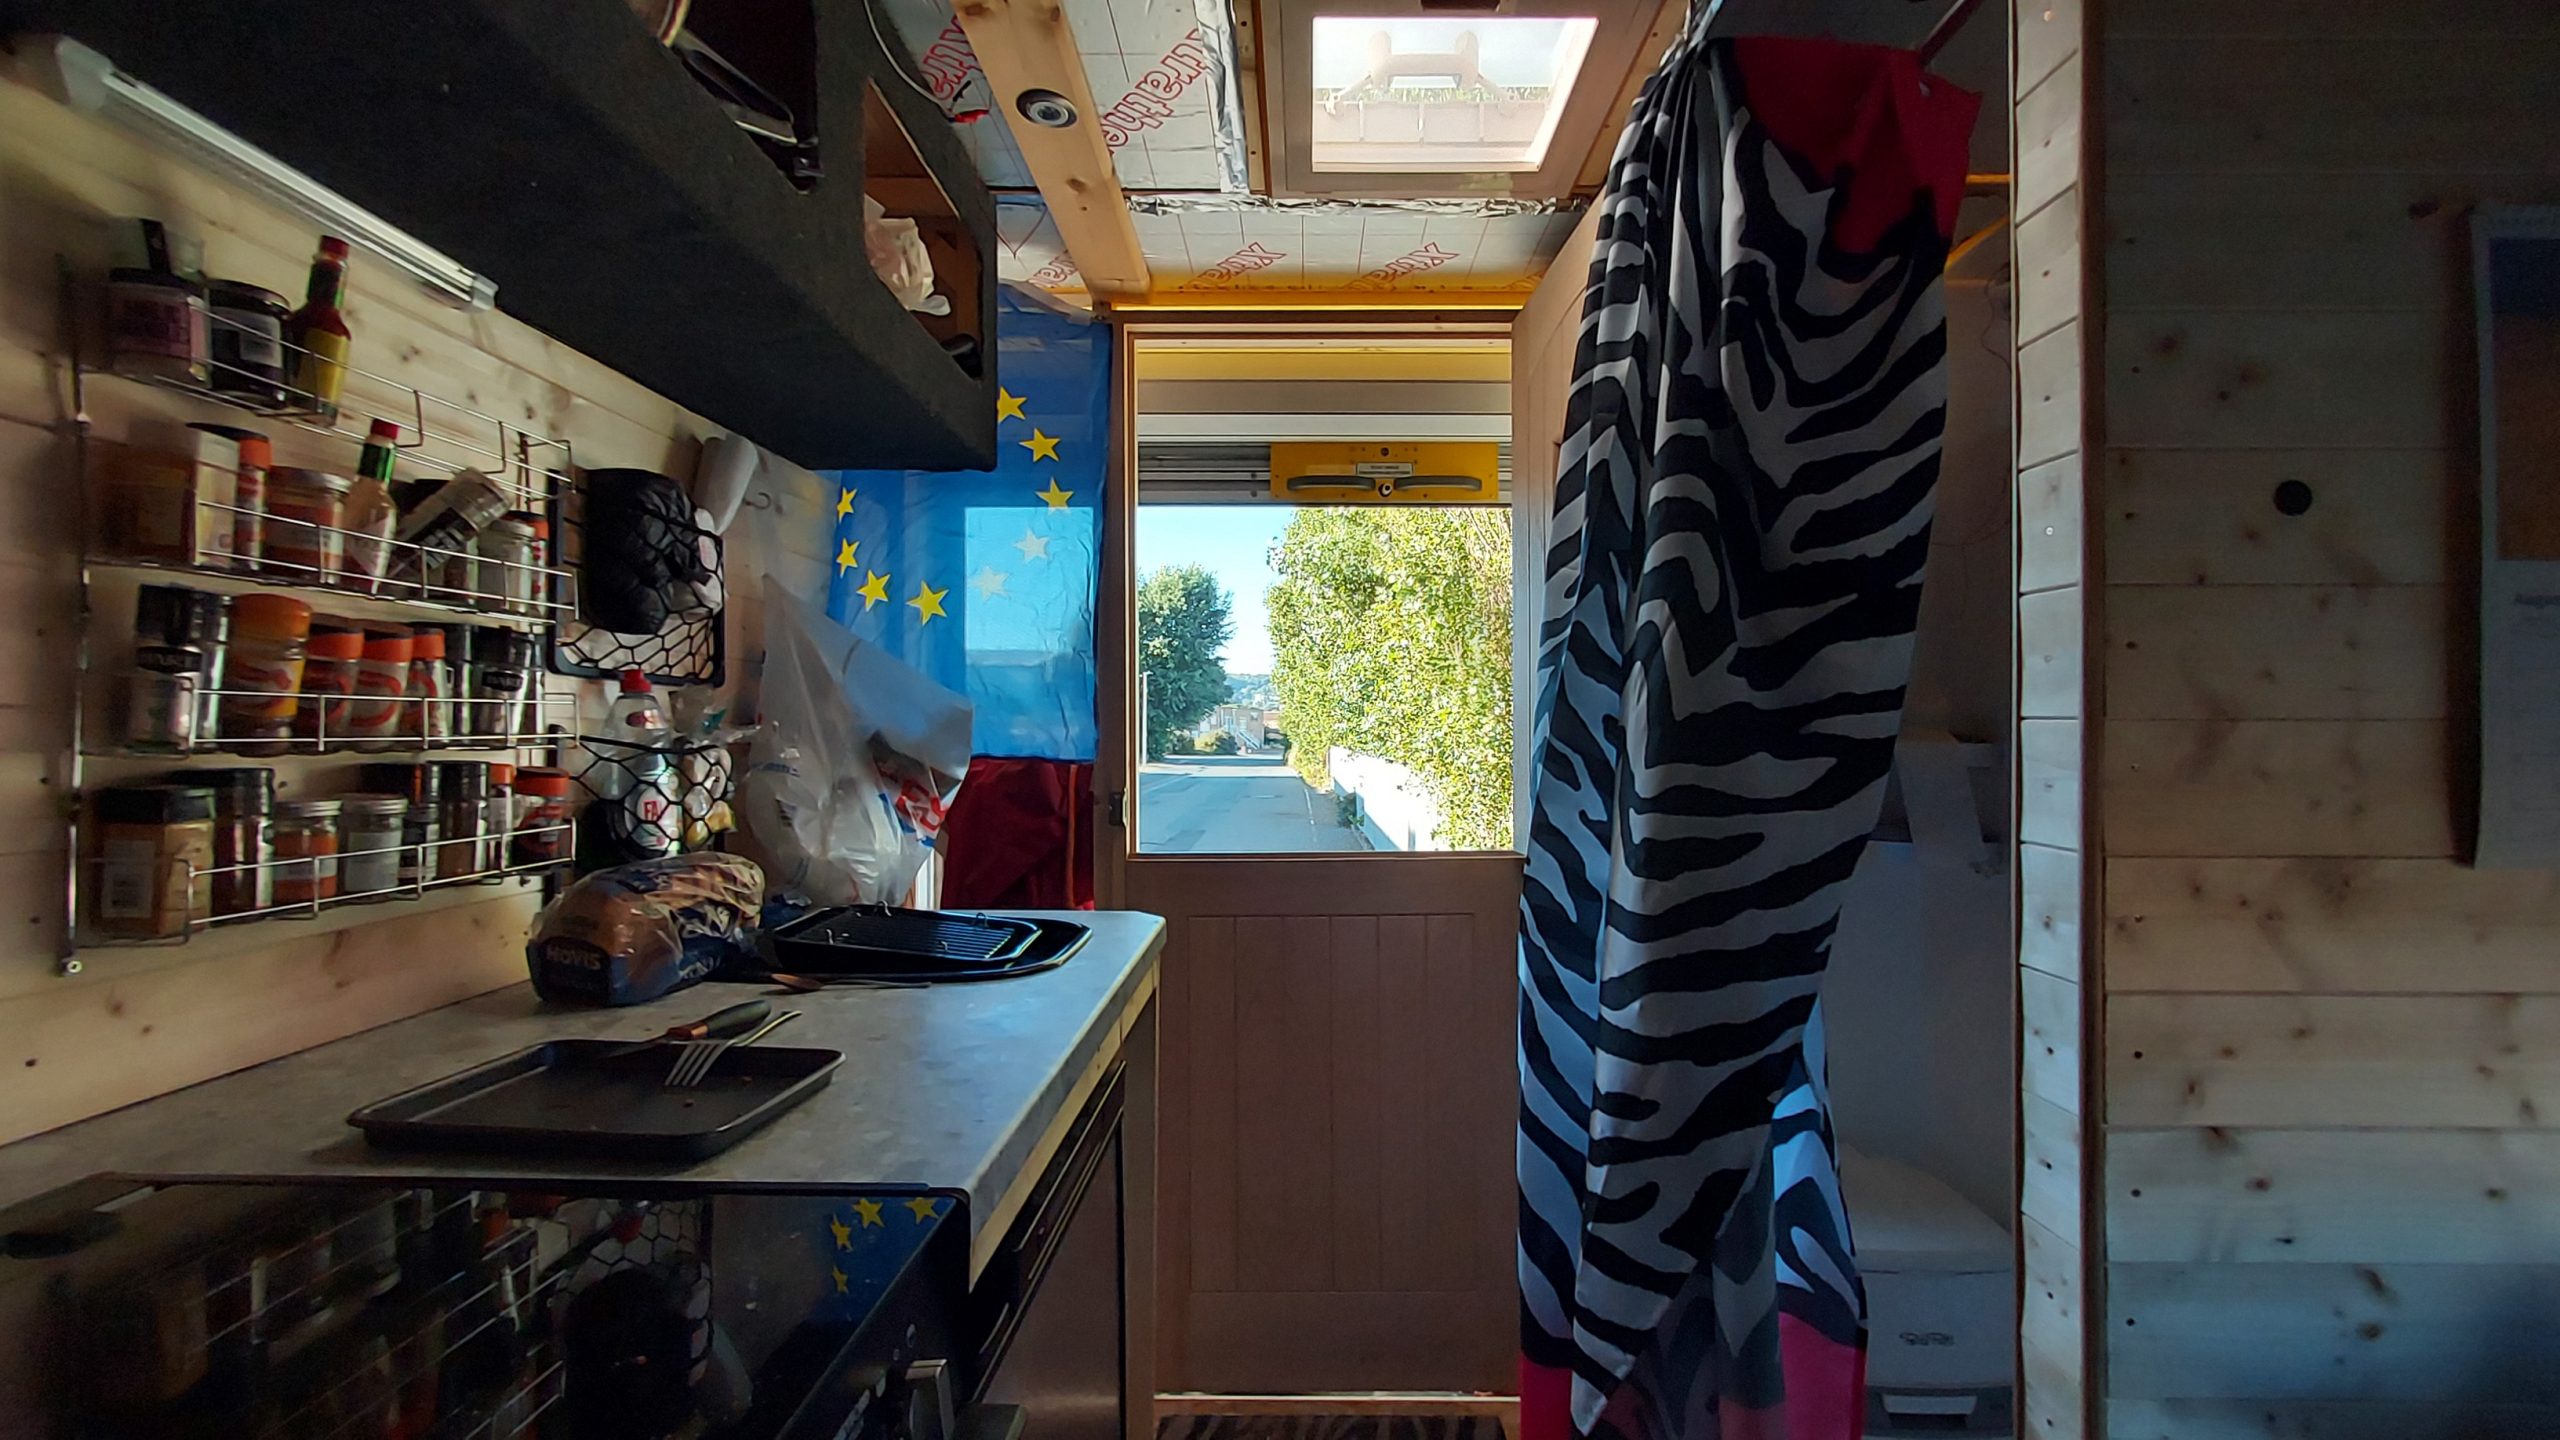
Lovely day
A lovely view of the kitchen, with the stable door half open to air the living area out.
Read More


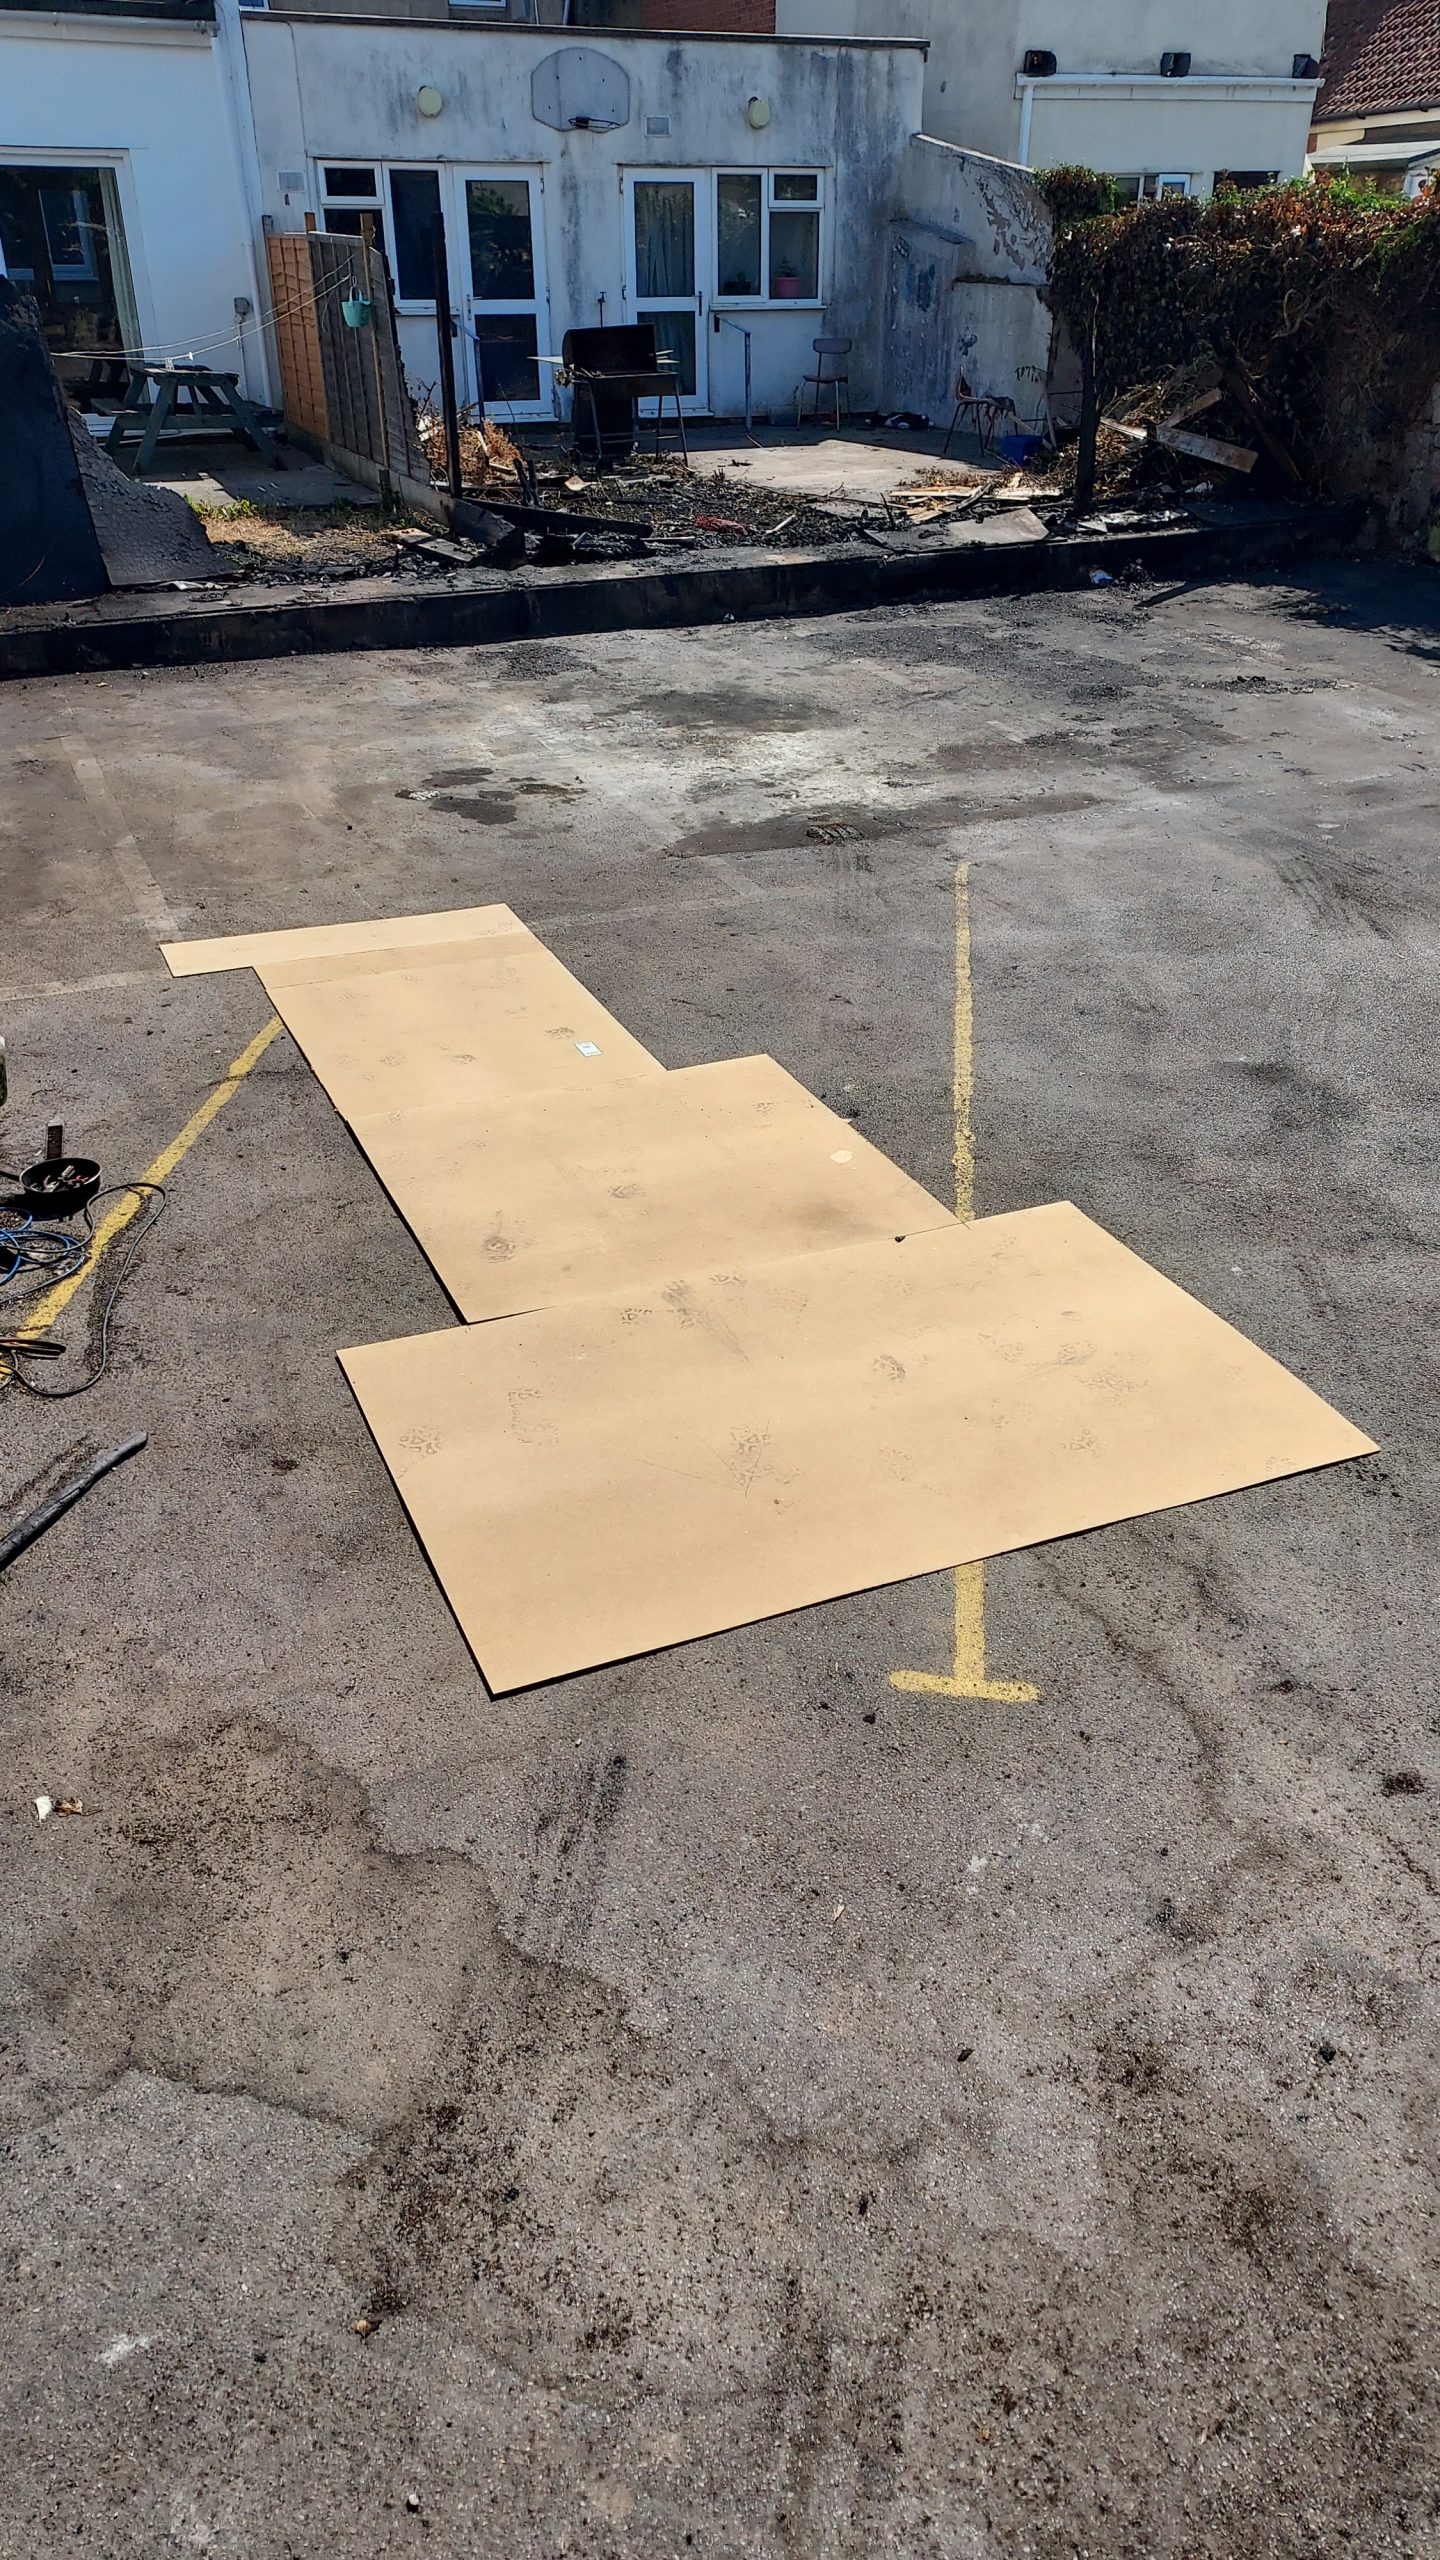
Lucky horse shoe
After a not so lucky shed fire, I was able to get hold of a horse shoe for luck. With thanks to Matt Court.
Read More
New chair
I realised that considering the desk has been rotated around, and considering the weight and construction of the old computer chair, it’s simply not practical
Read More
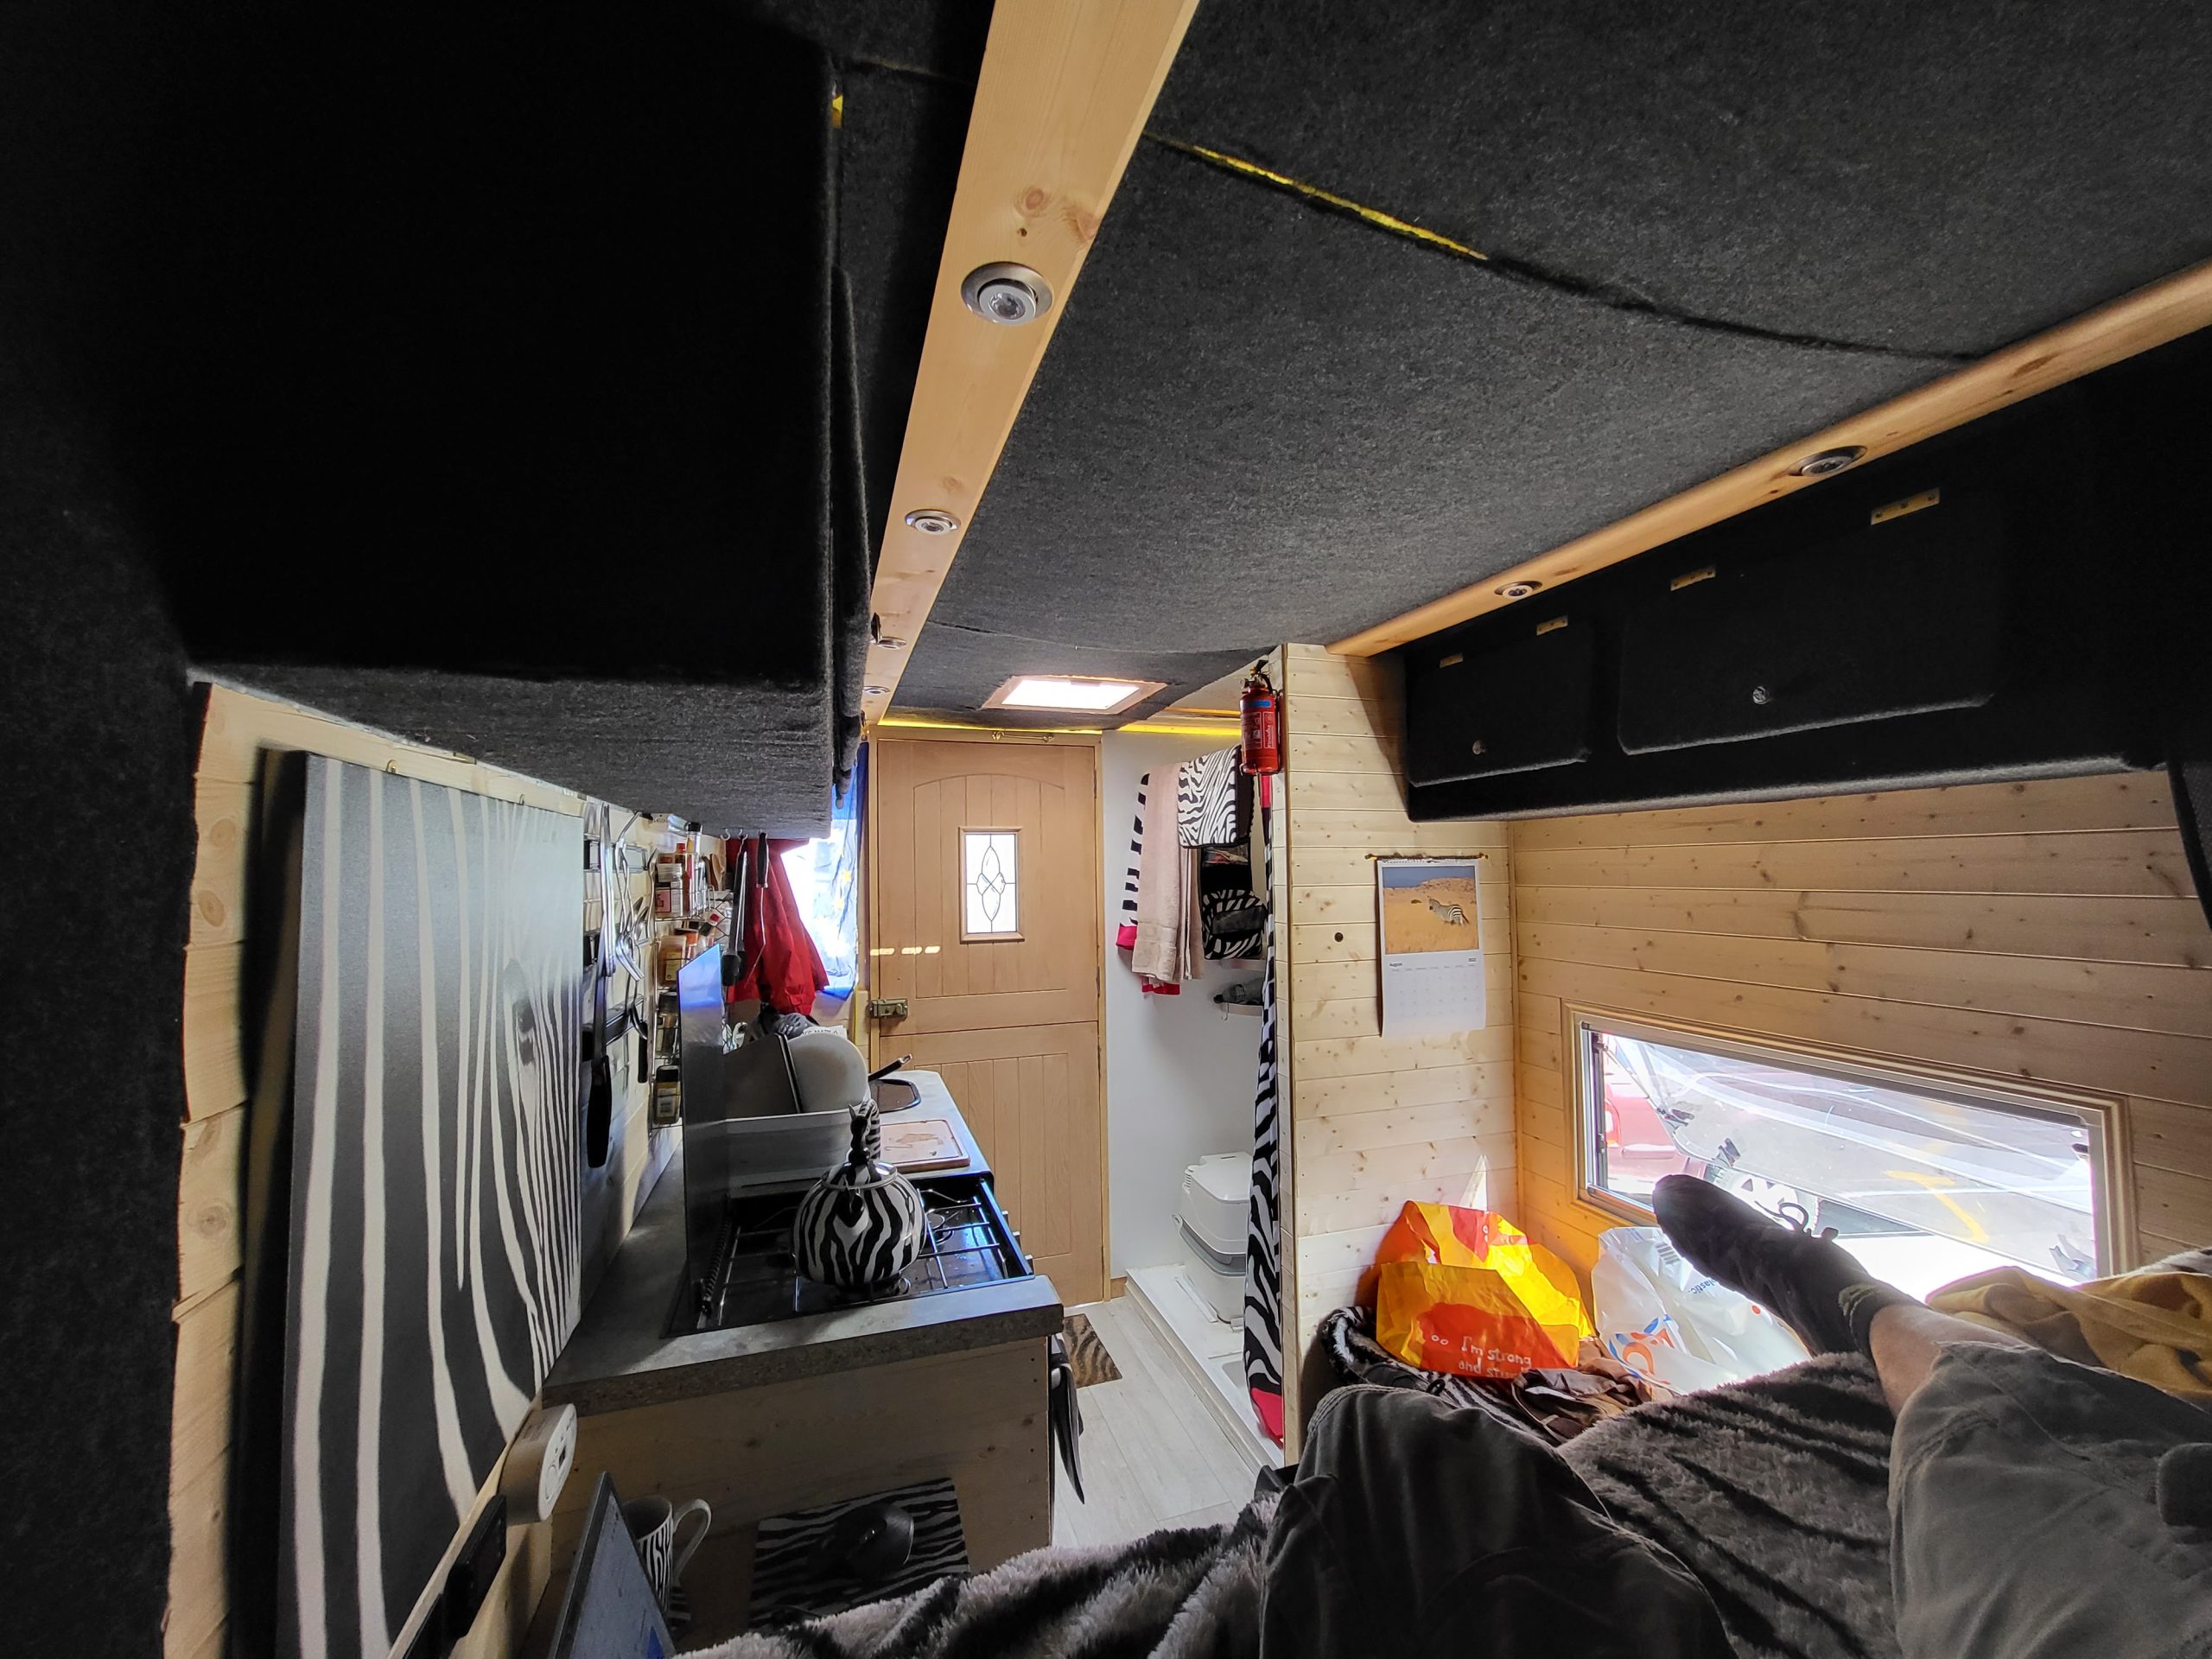
Flooring
Got white wood tongue in groove flooring to go against the dark carpet, zebra style.
Read More
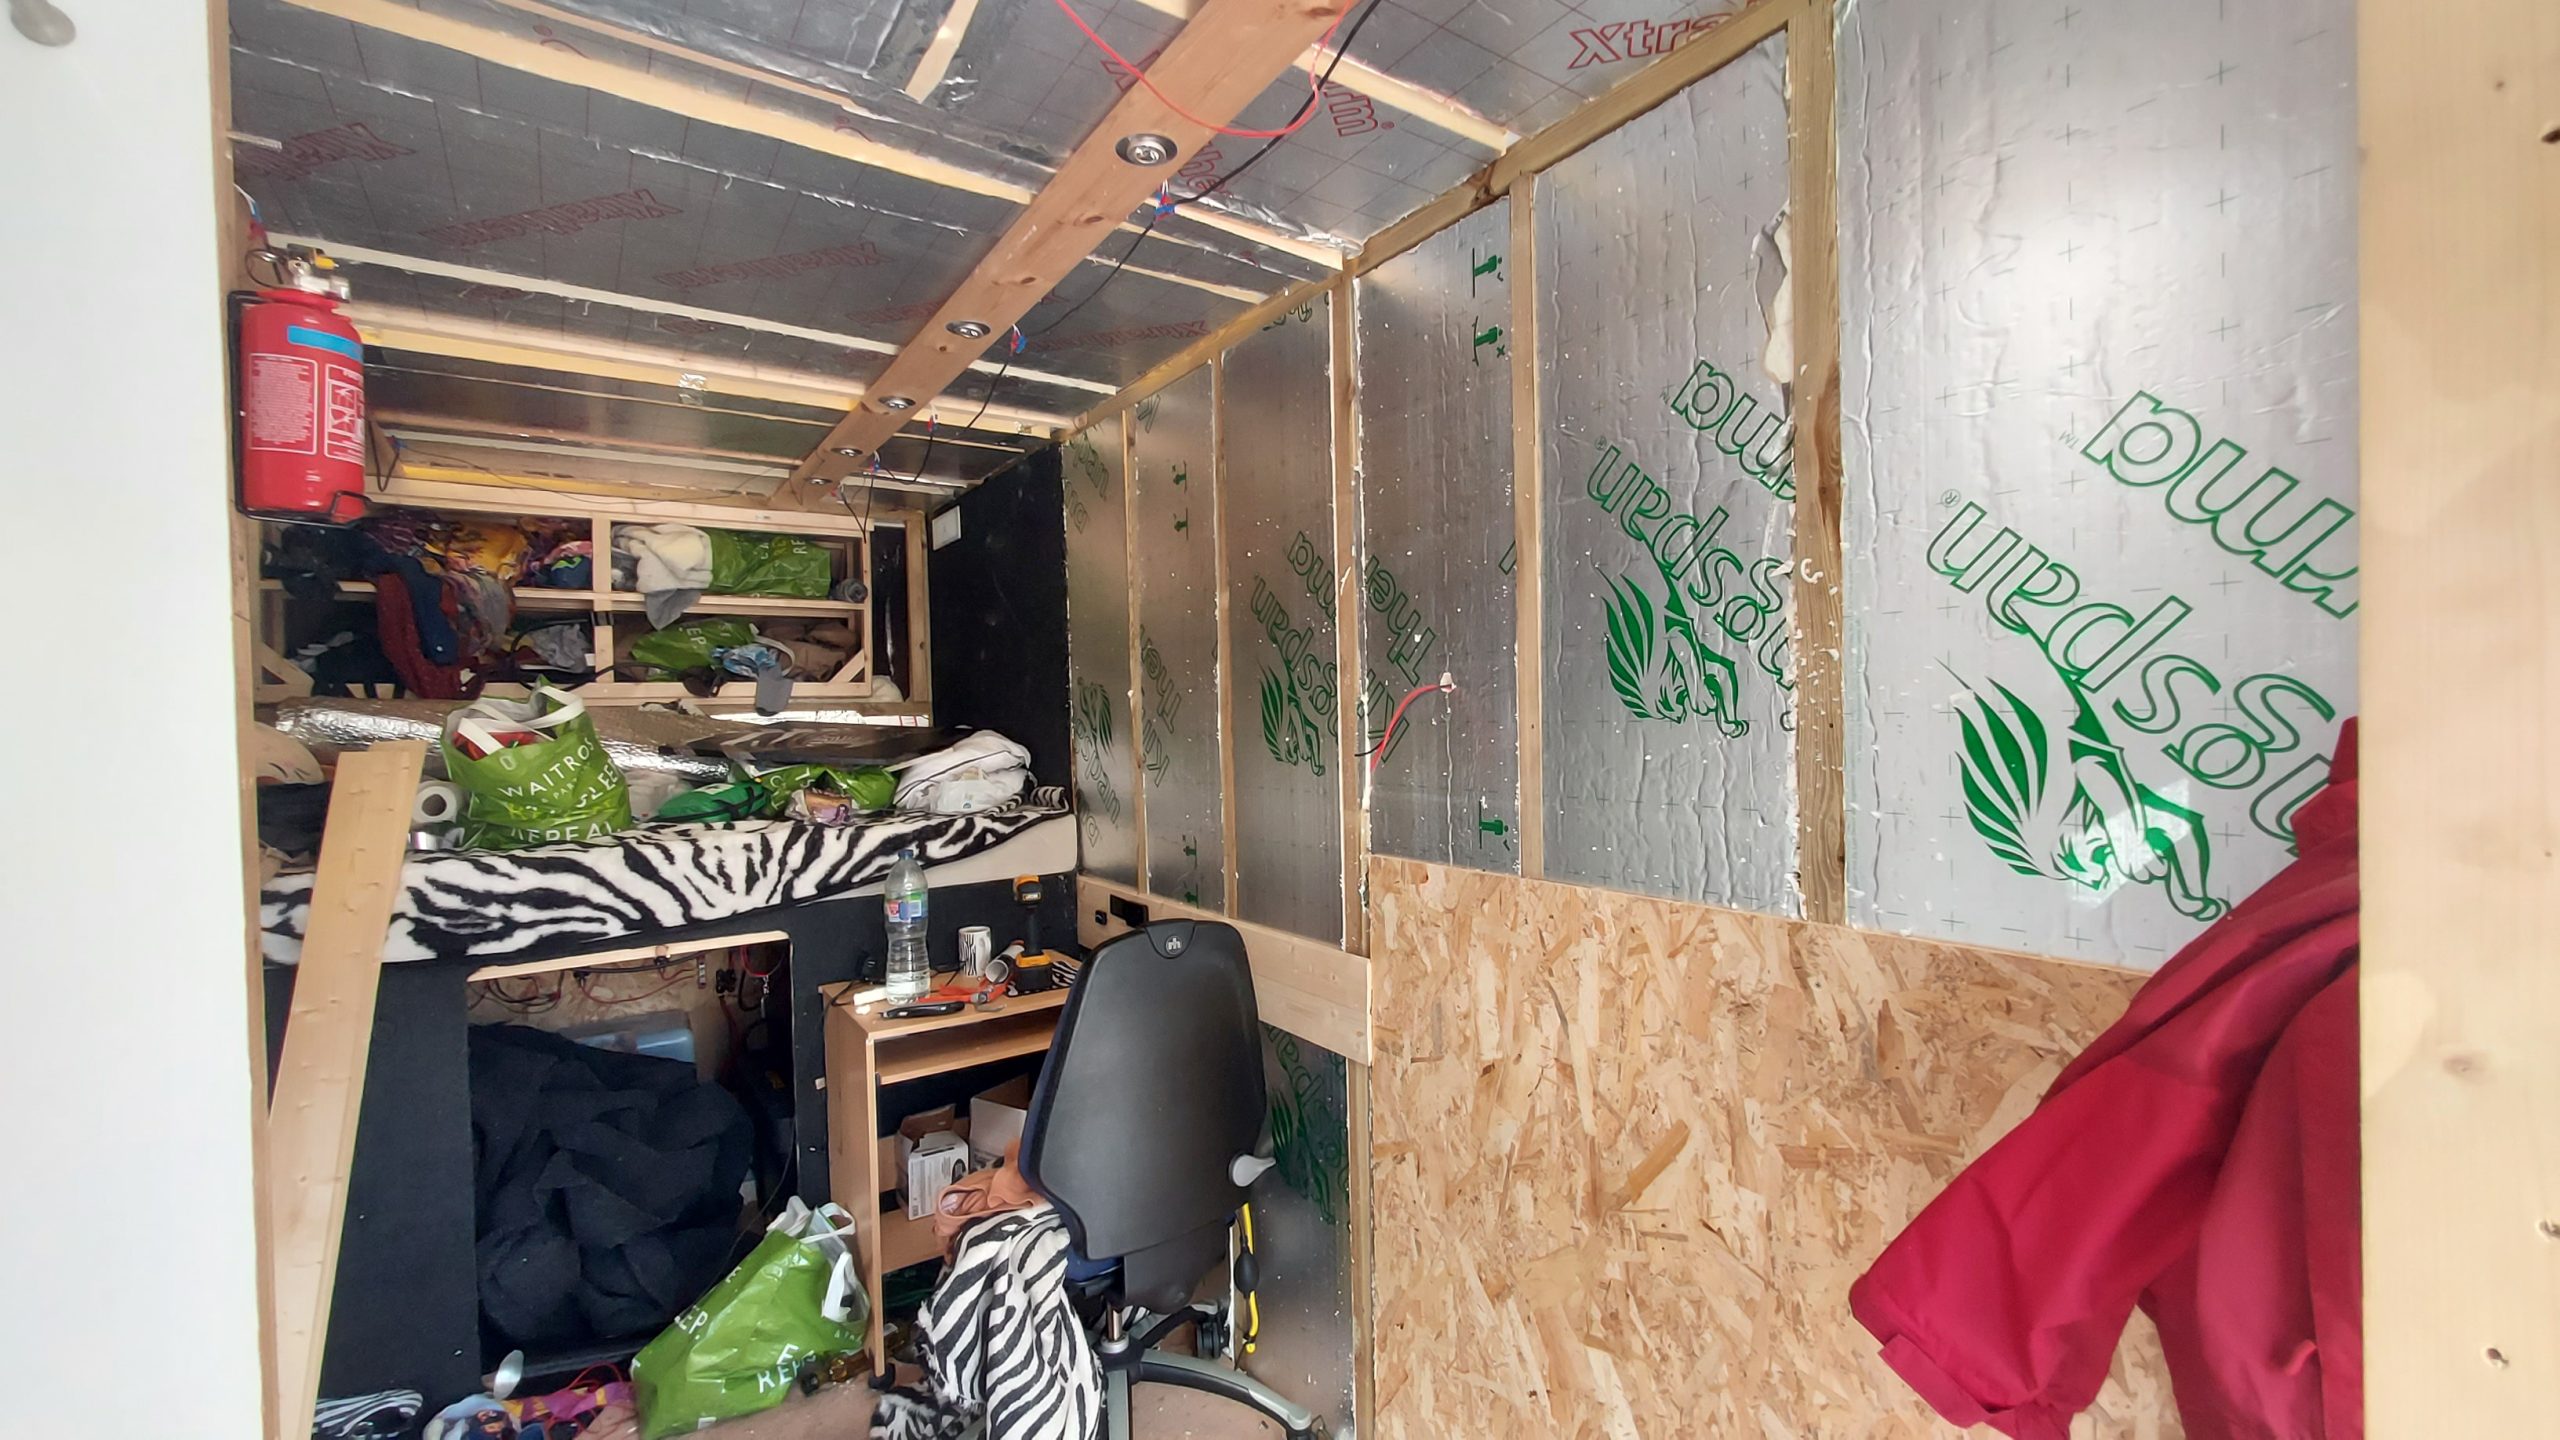
Ceiling cladding
Colder weather is drawing near so I need to finish the ceiling before condensation becomes problematic.
Read More
Second ceiling section installed
More of the ceiling sections carpeted and held up by the lighting rails.
Read More

New ceiling from bed
Half way through installing the ceiling, I actually forgot to make holes in the insulation to allow the lights to go up, so these had
Read More
Ceiling sagging
I used very light ply for the ceiling, I had wanted to do this in one piece but in hindsight I’m really glad it didn’t
Read More


Ceiling almost done!
All the ceiling sections are carpeted and up, but still drooping in the middle. This won’t do, it not only looks bad, but it will
Read More

Last ceiling section
Taping up the gaps in the ceiling insulation / CLS so that moisture laden air cannot get up there.
Read More
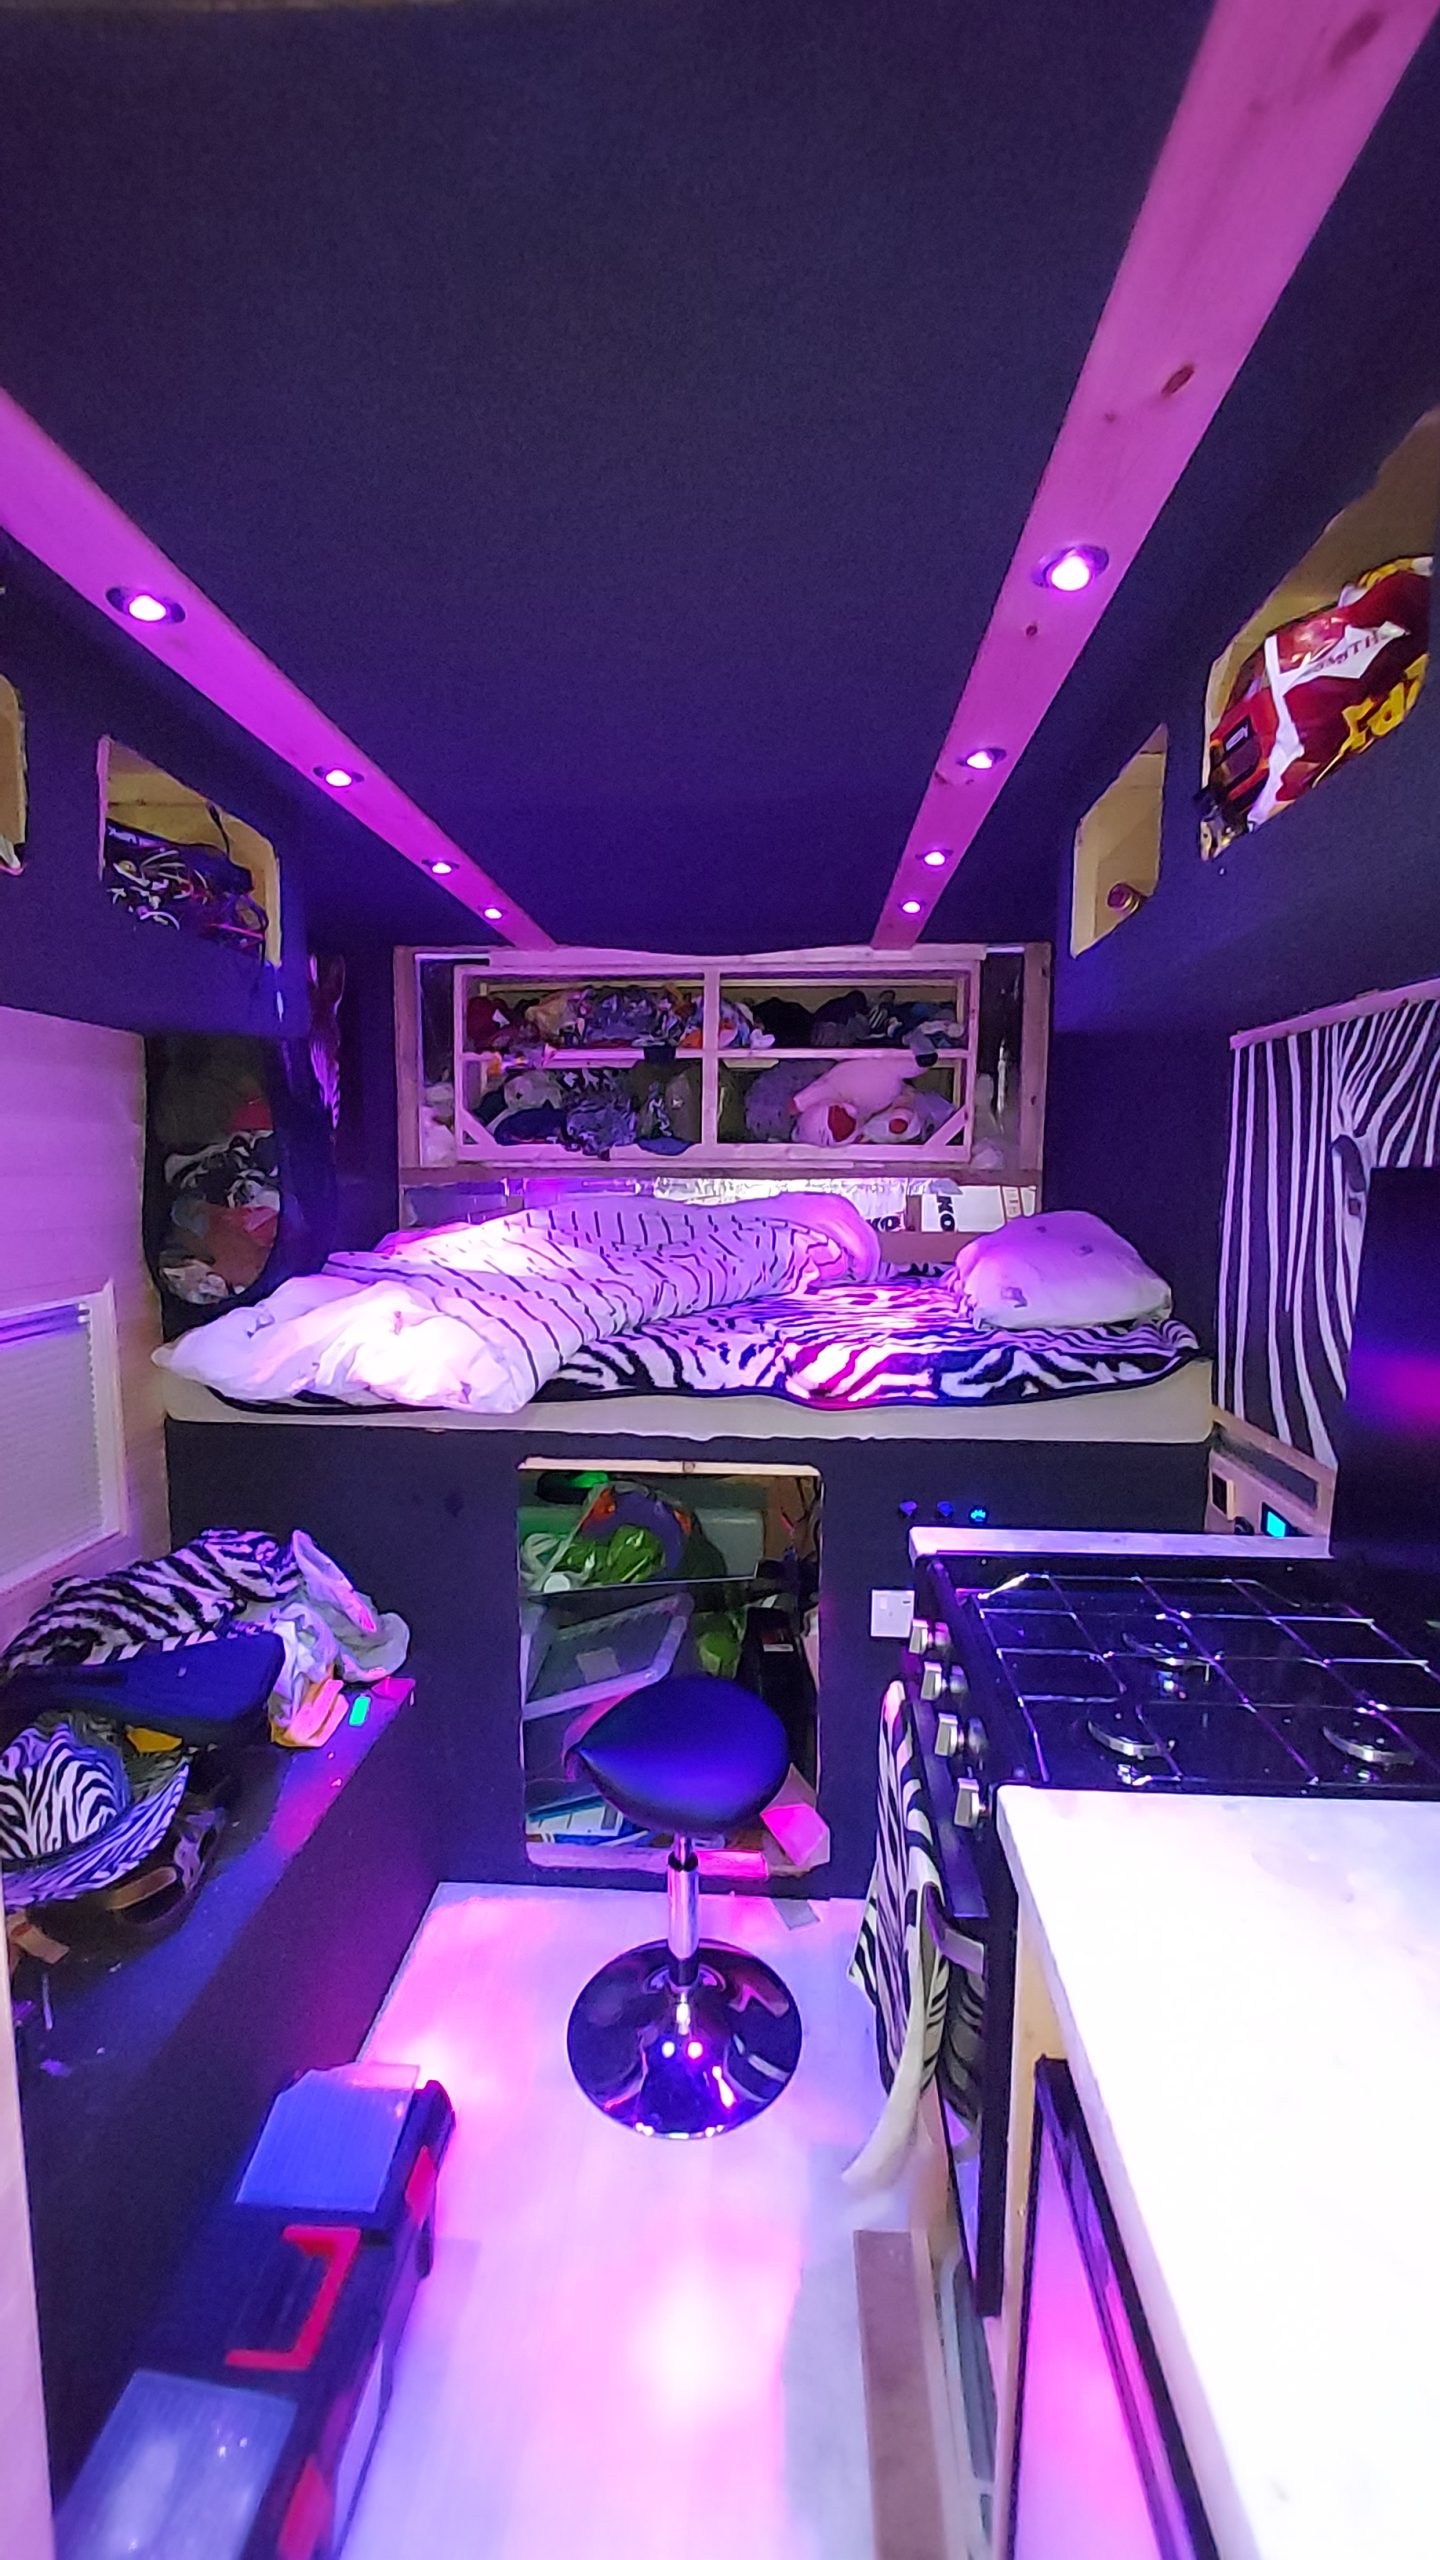

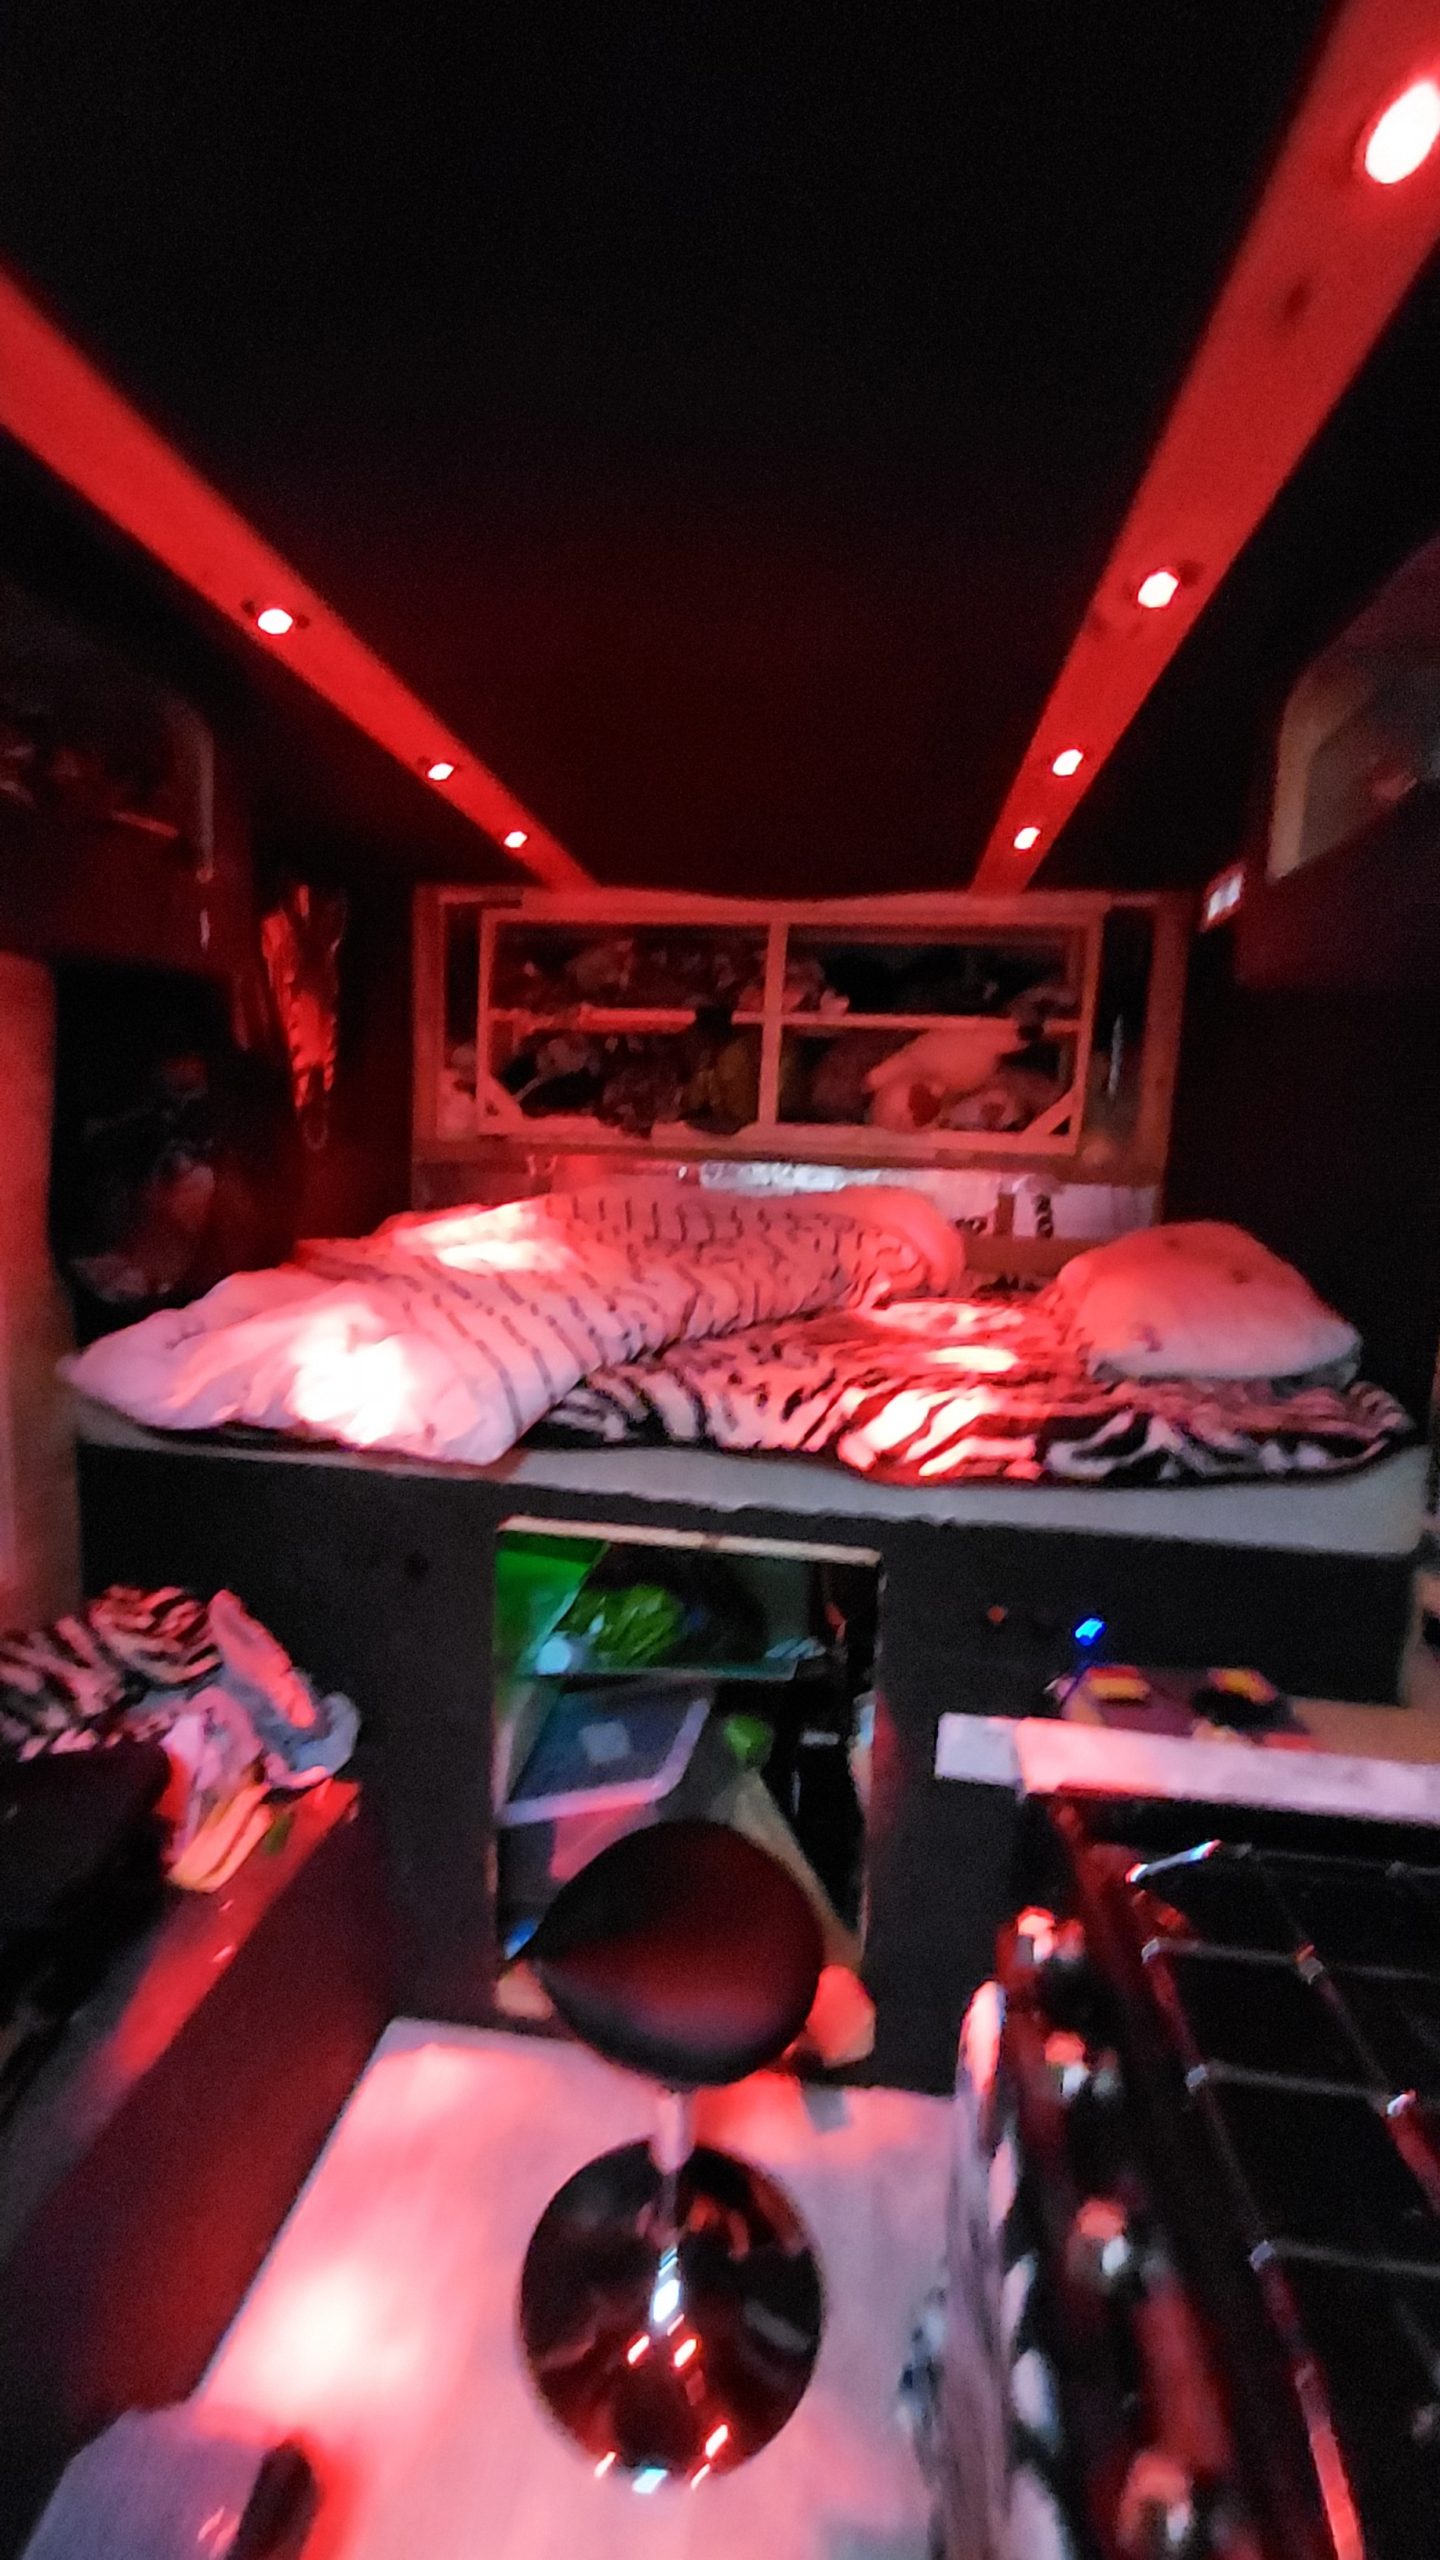
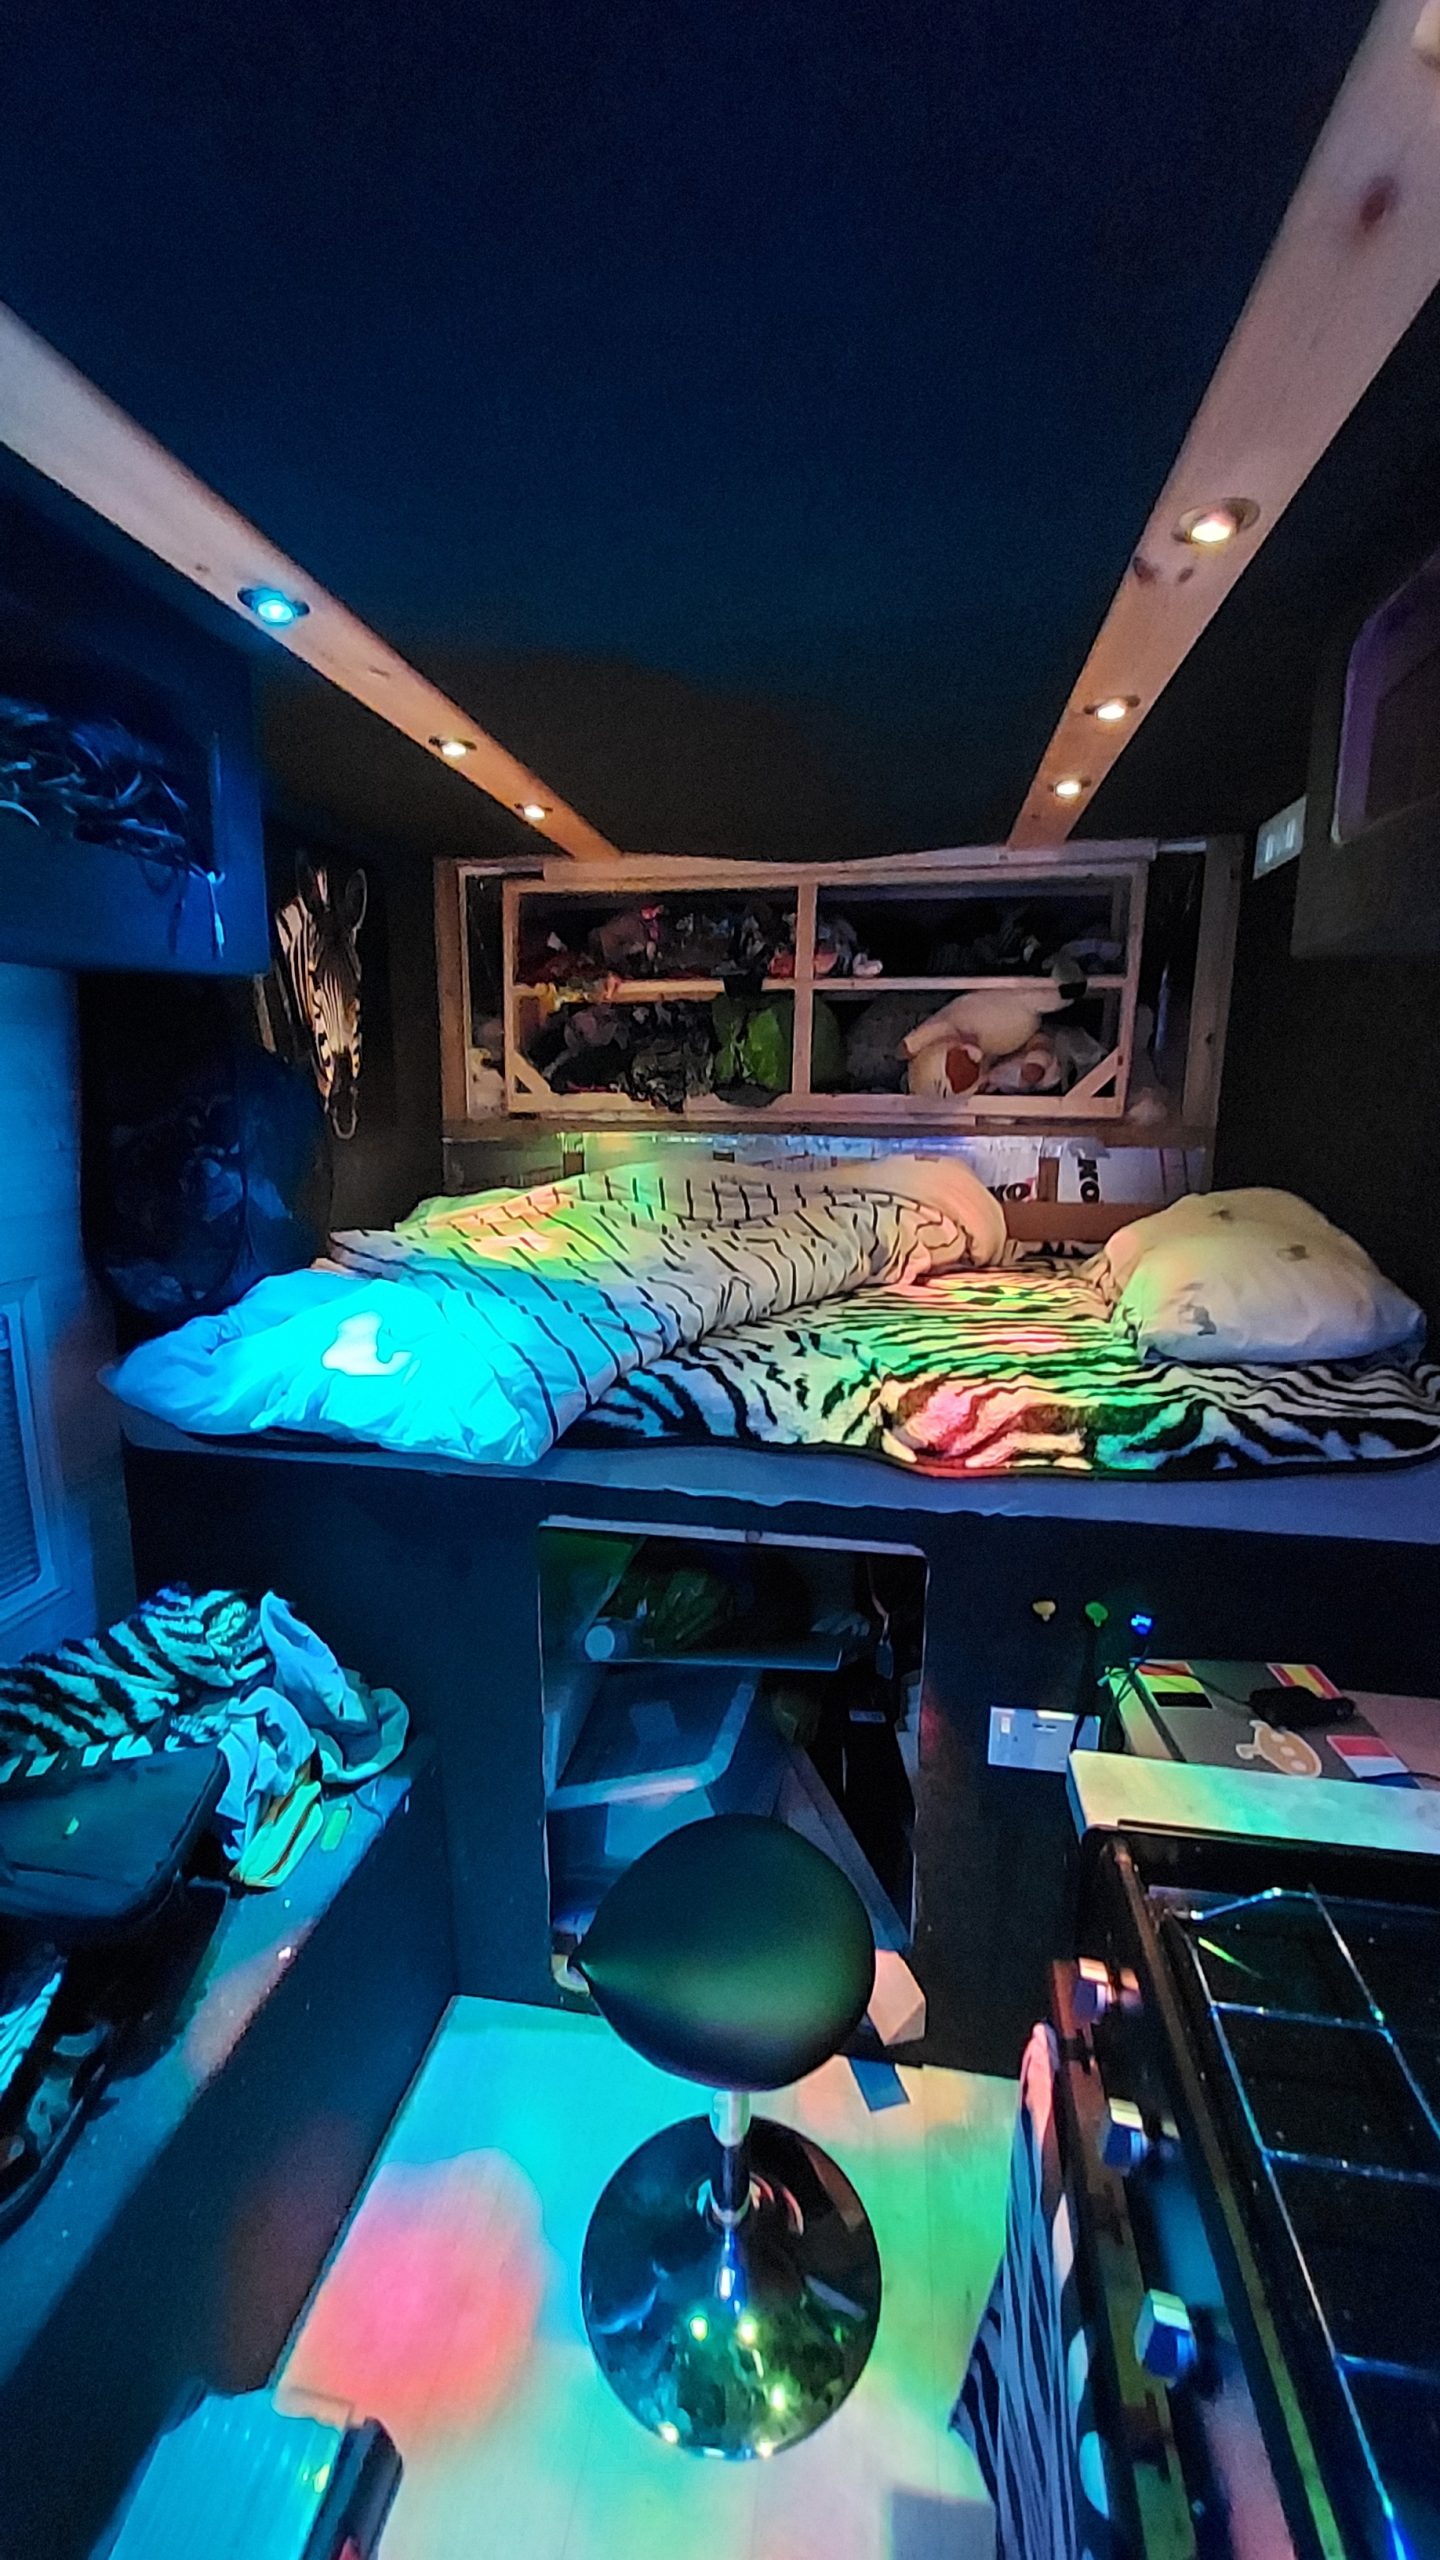
More wacky colours
All the lights are colour changing, so whilst they’re mostly on white for practical purposes, it’s fun to play with them sometimes.
Read More


Kitchen lighting part 2
Definitely won’t struggle to cook or wash up in the winter months when mornings and evenings are dark!
Read More
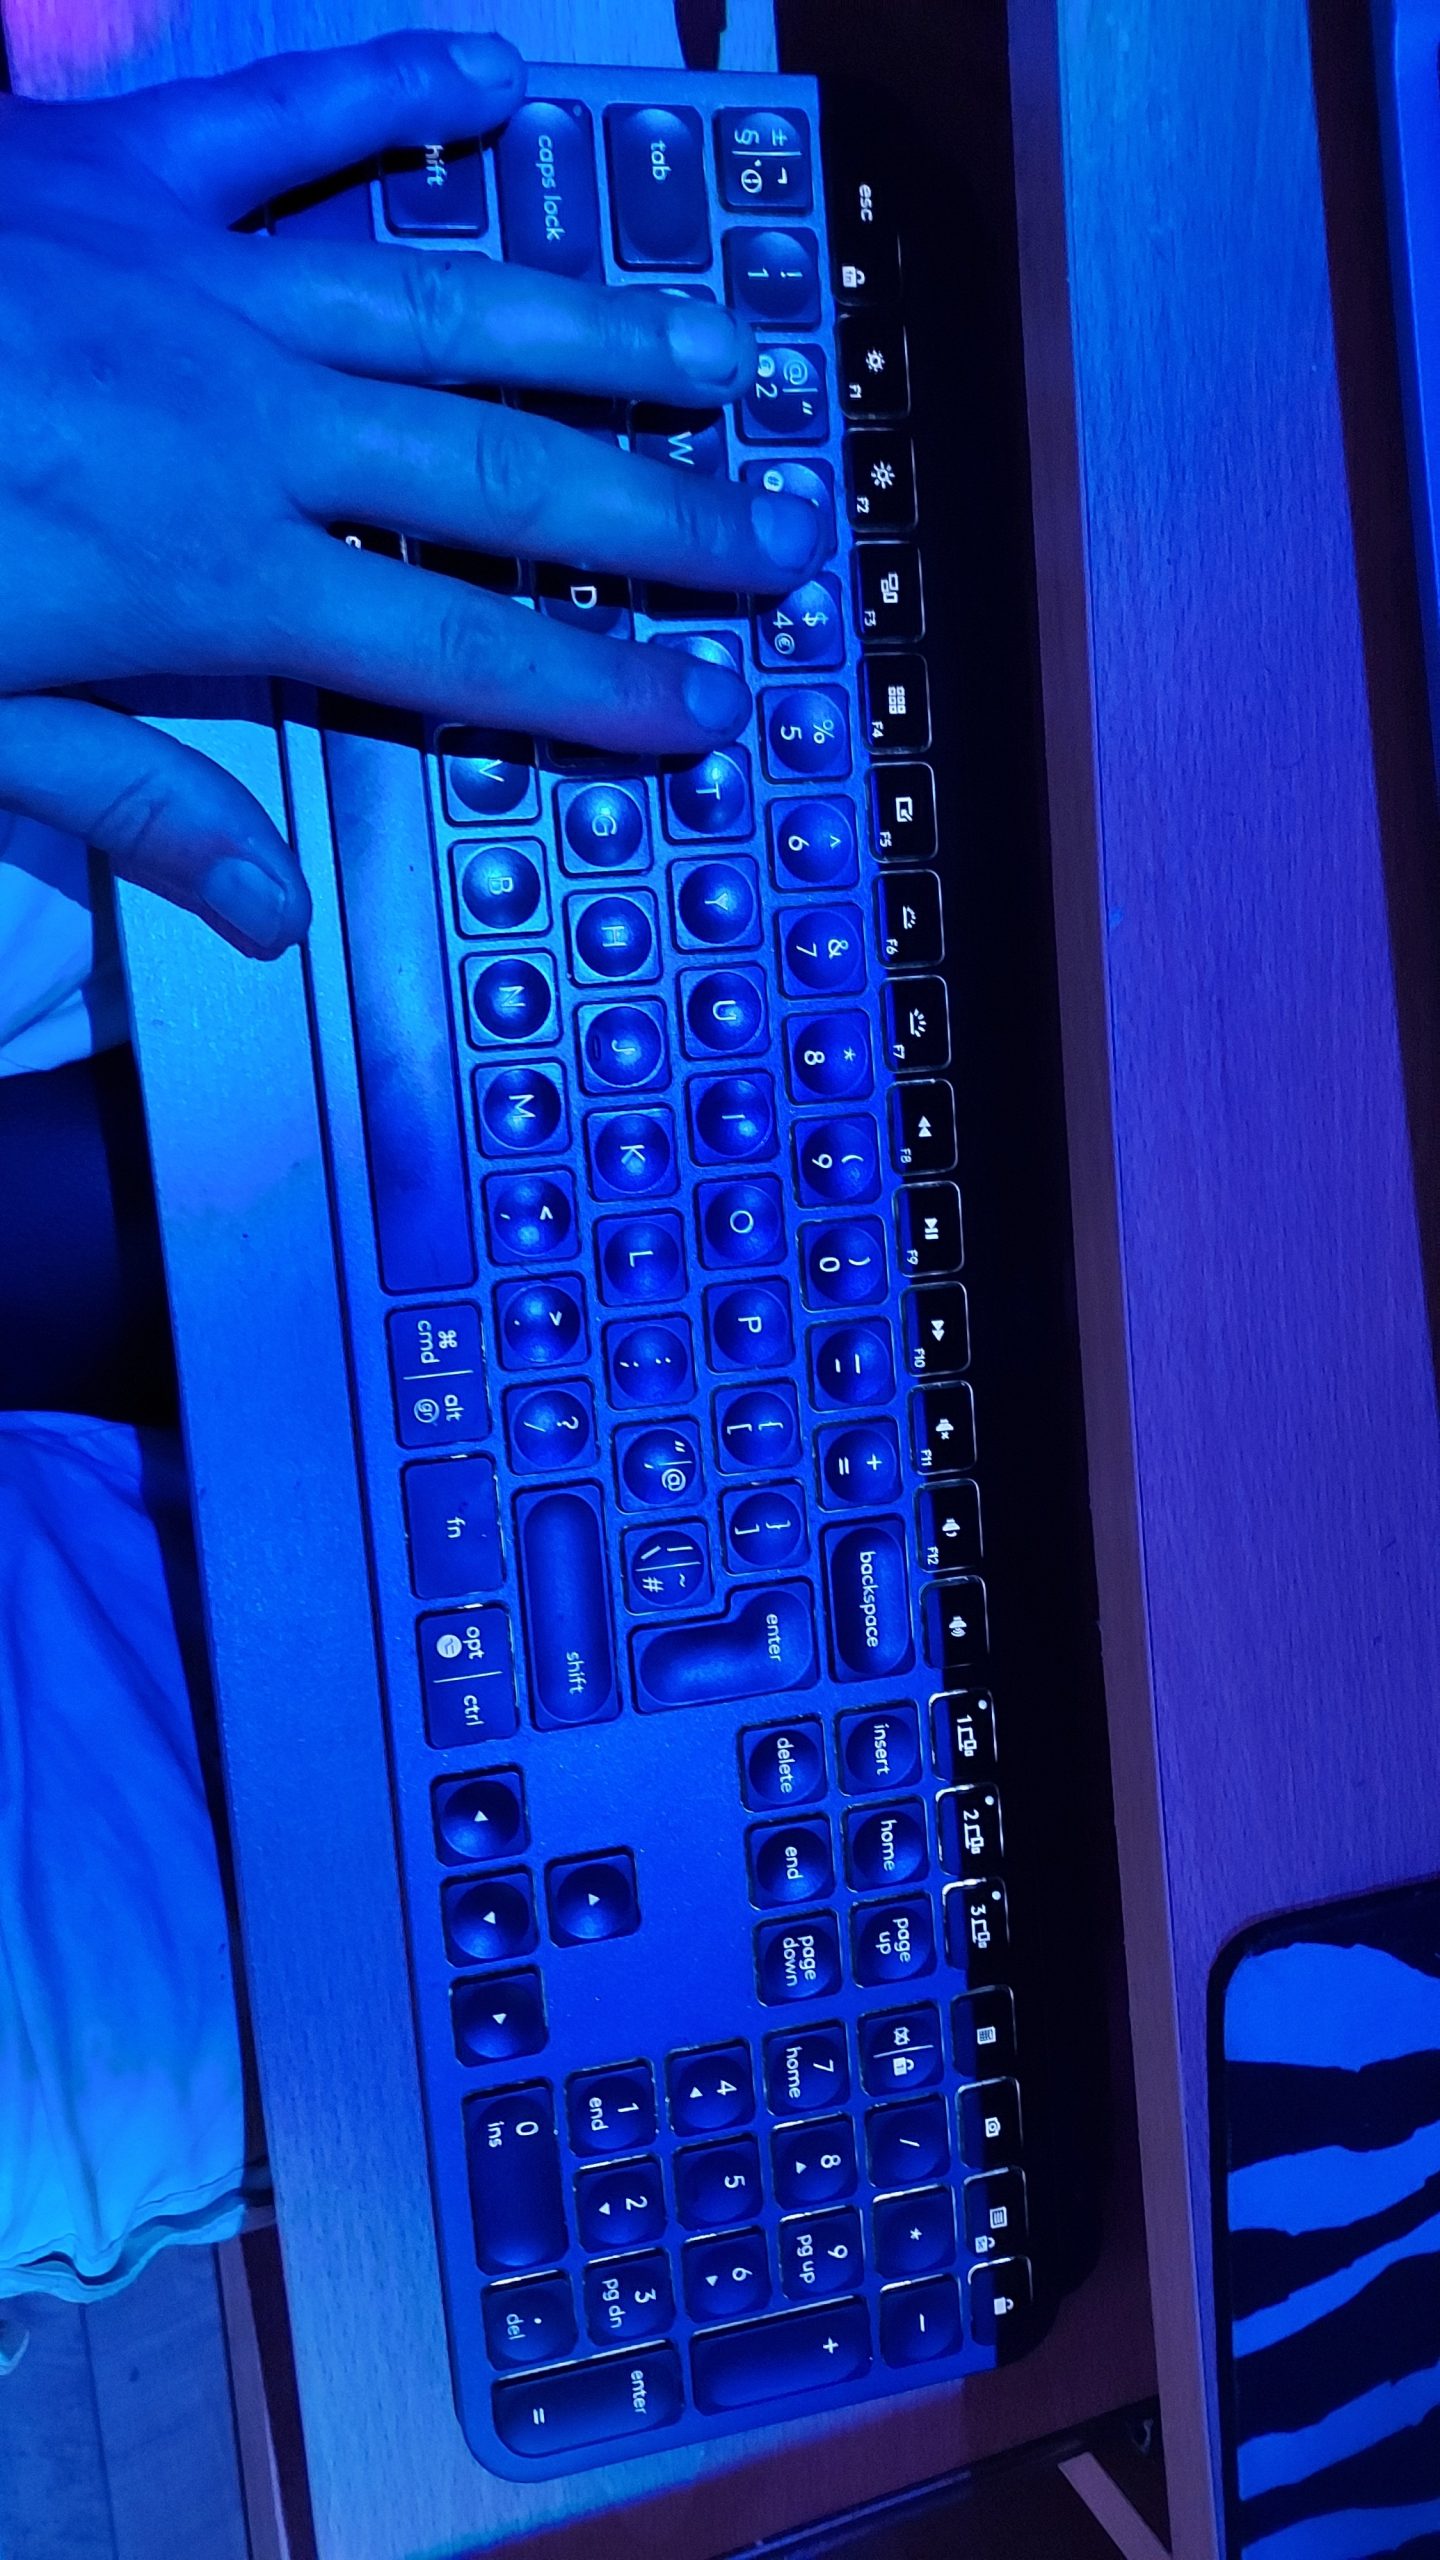
Coding in the dark
Blue lighting with my MX Keys lit up so I can see what I’m doing in low light.
Read More
Fridge cladded
The Thetford fridge just has an aluminium foil like front which didn’t really look great, thanks to Tara at Davan for sourcing the black panel,
Read More
Back to dieting
Now that I have refrigeration and a working oven, I can get back to healthier eating.
Read More
Finishing outer walls
Right hand side wall insulated, wiring for 2-way main light switching fitted, water pipe for outdoor tap shown.
Read More


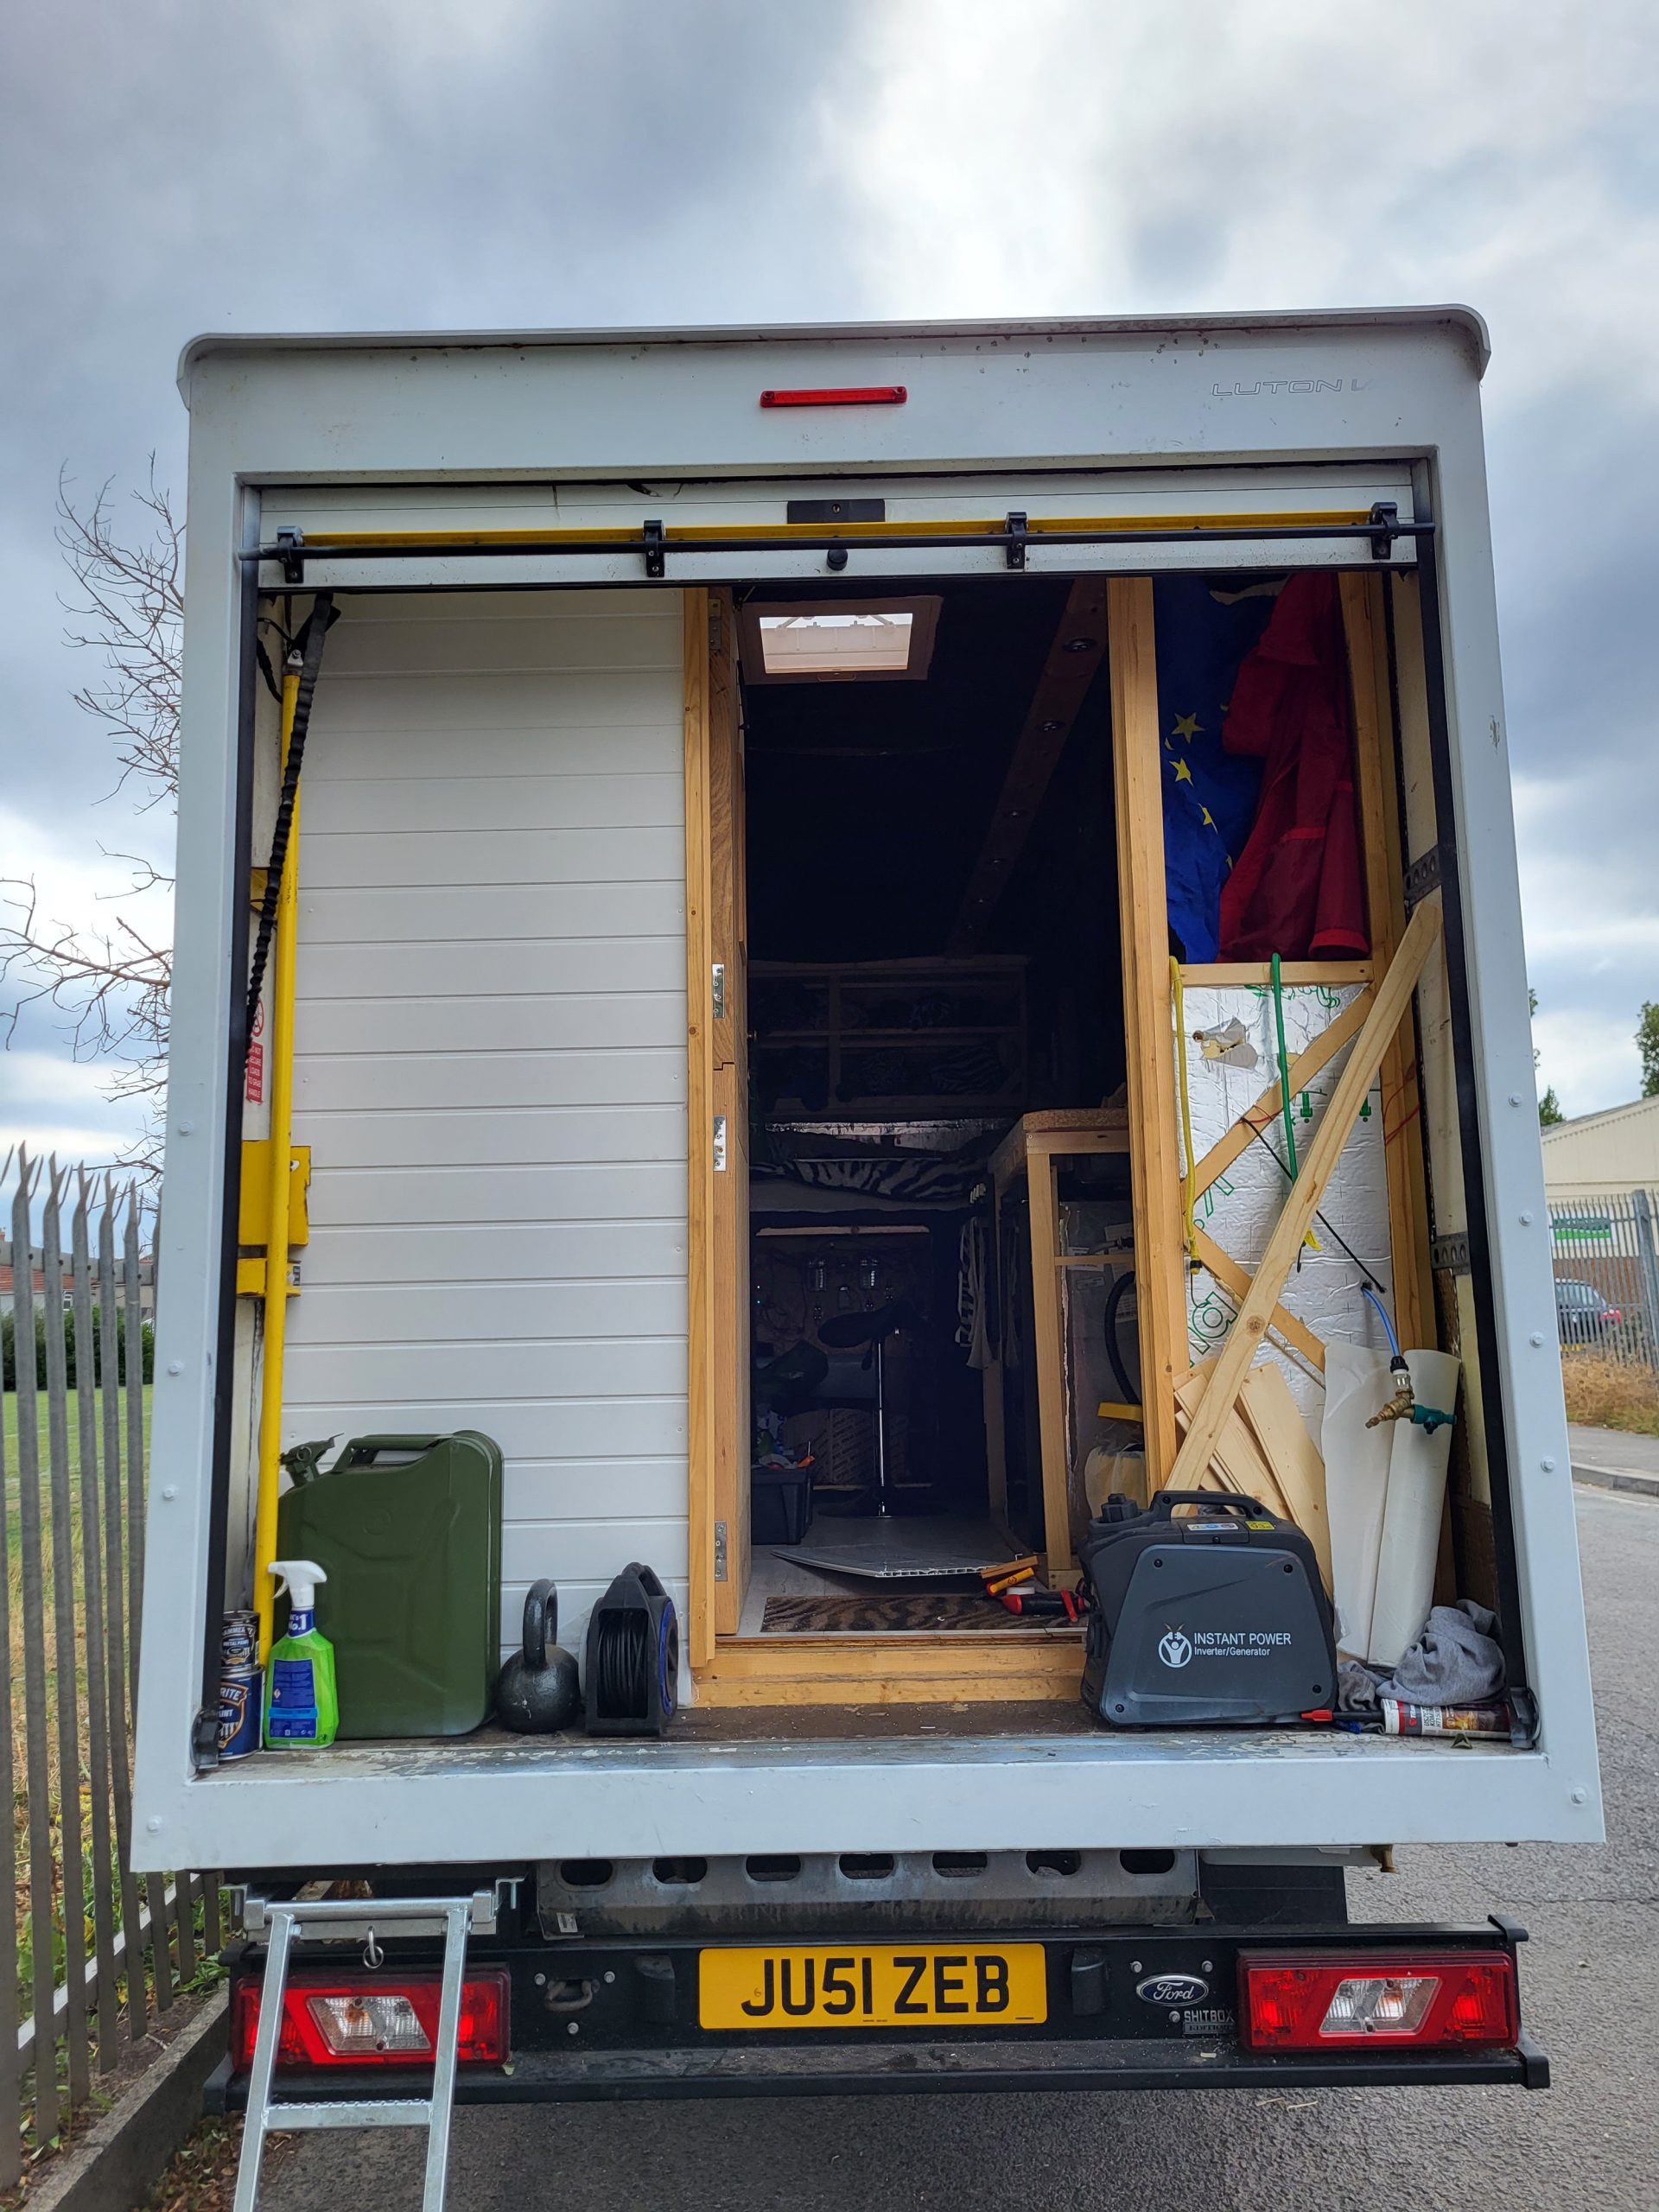
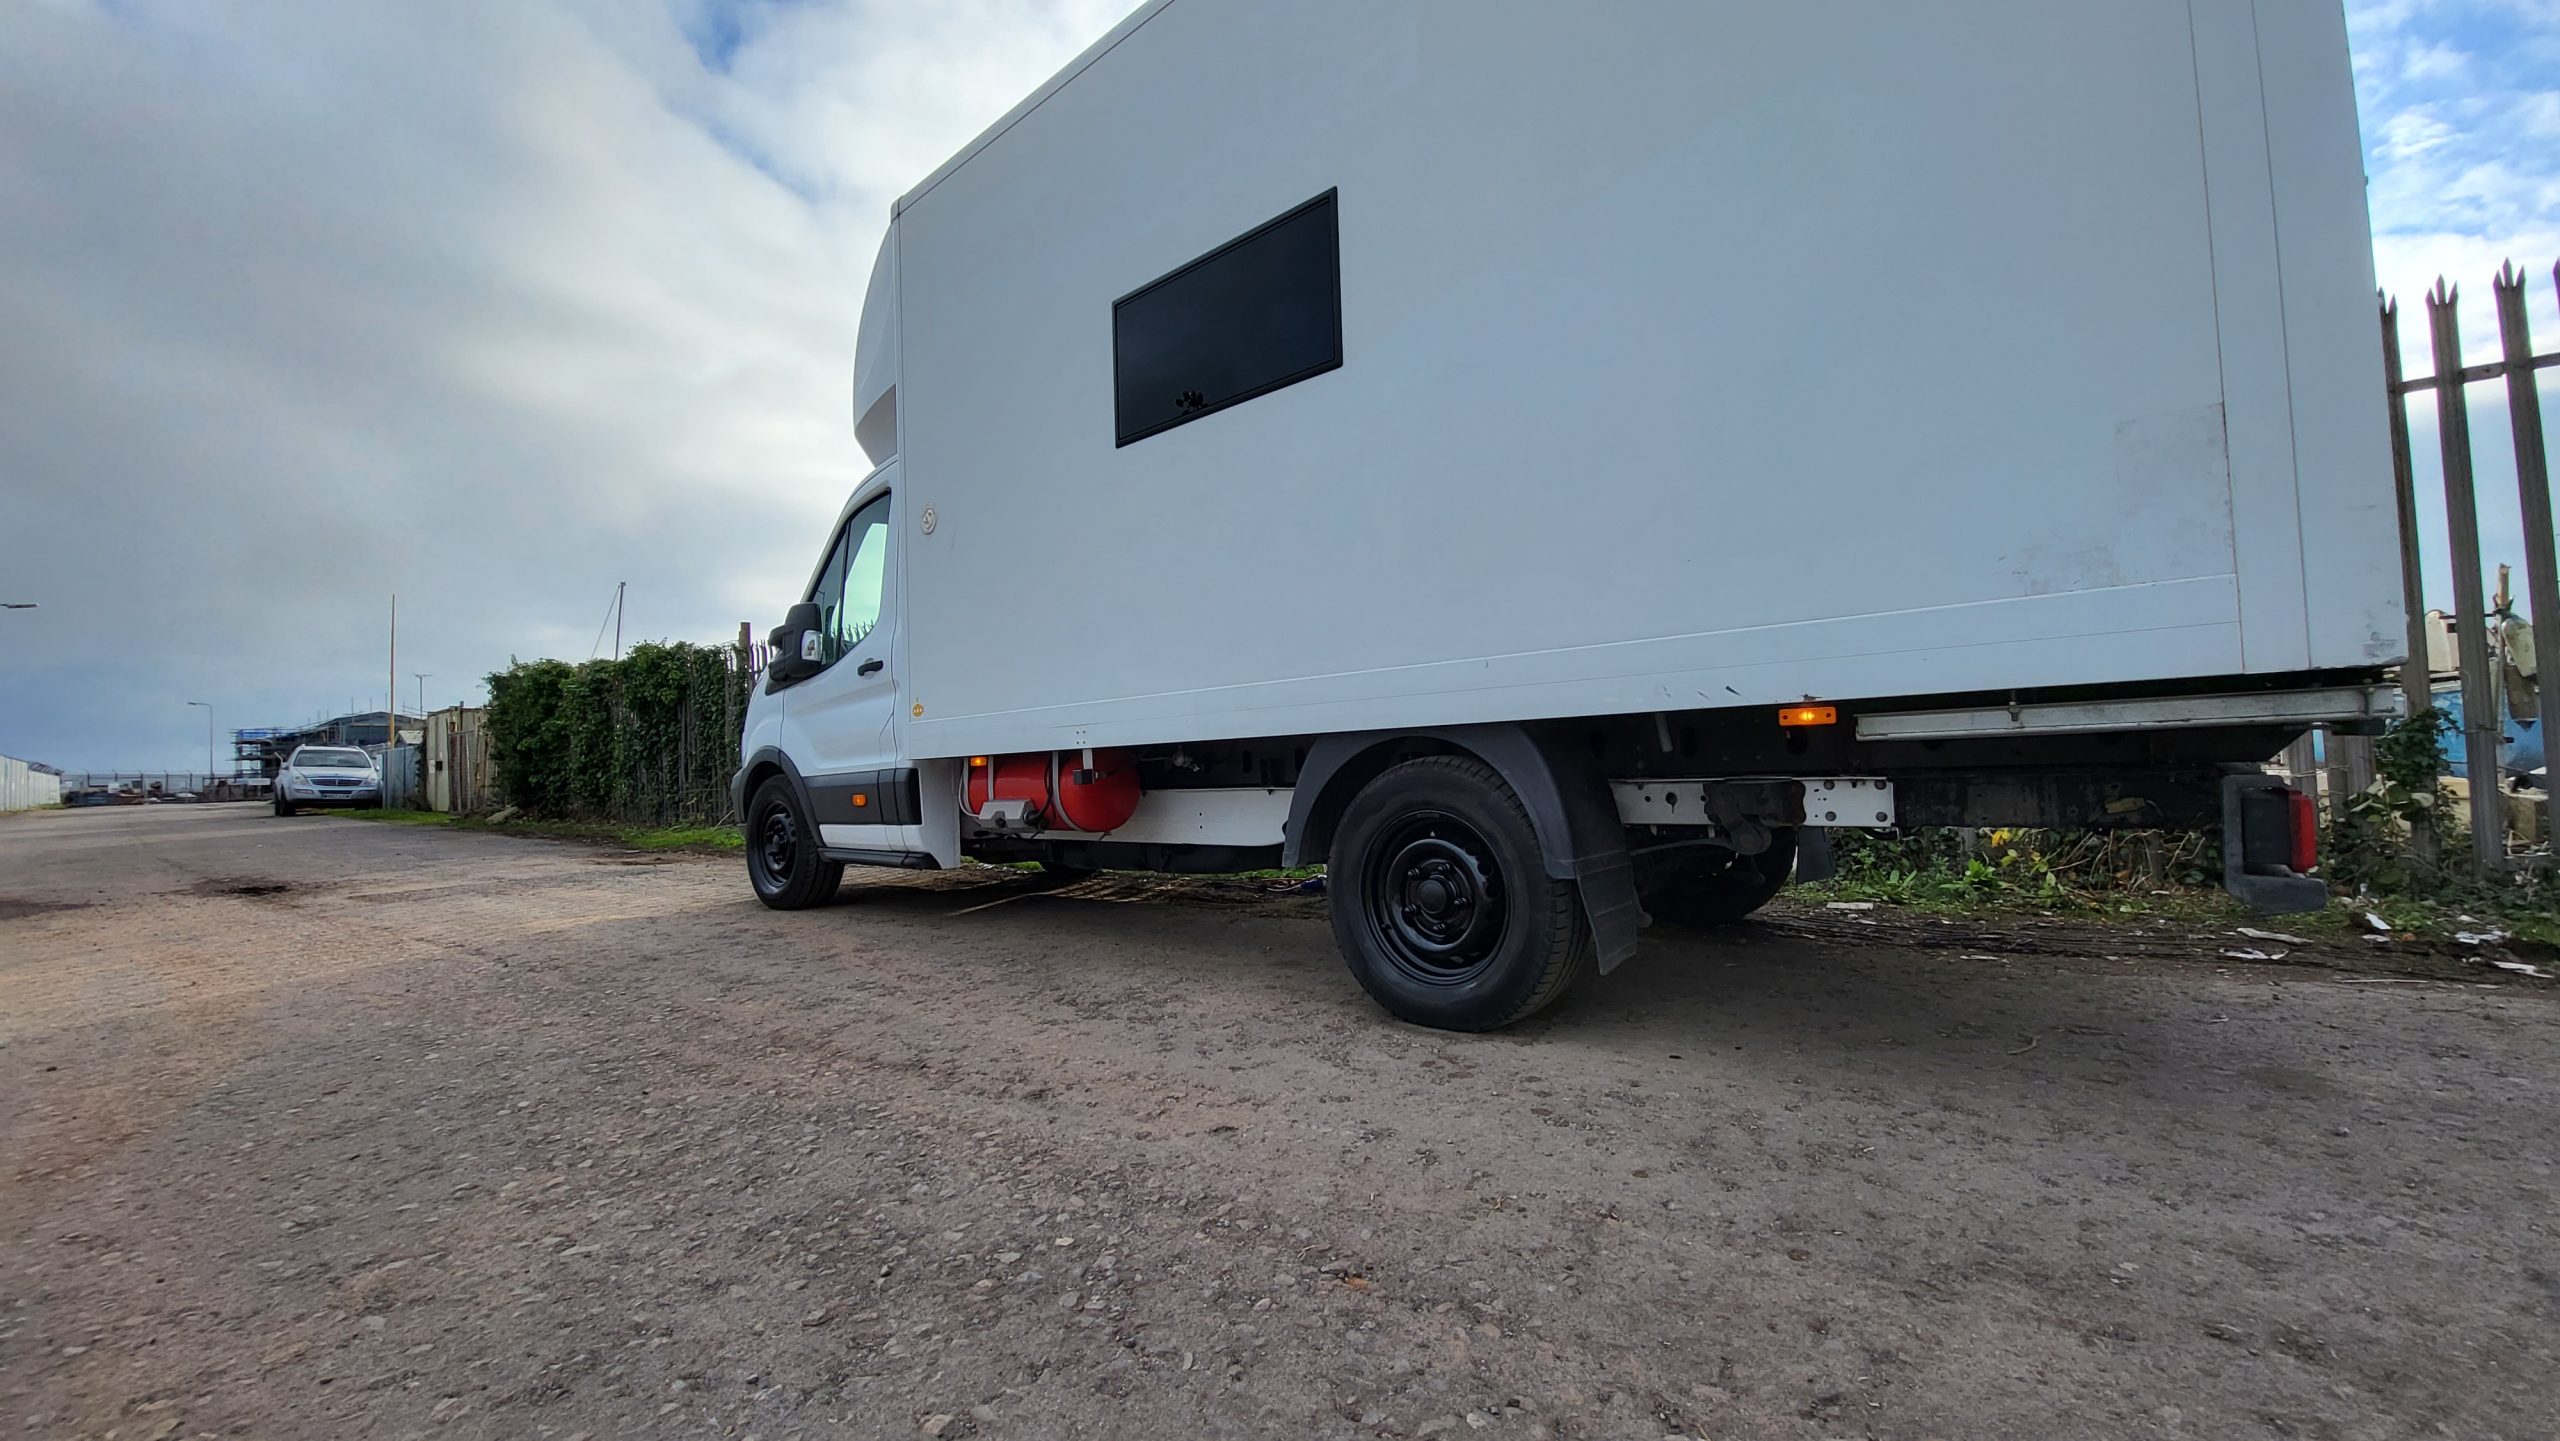
Tail lift removed
Getting in and out the back can be tricky, especially if you’re looking to stealth camp. I’m done using this as a workbench, so it’s
Read More

More rusty bits
With the tail lift gone, you can see how horrid the body has become behind the fixings.
Read More
Rear cleaned up
With the tail lift off, I wire brushed all the horrible stuff off, primed and painted with Ford frozen white.
Read More

Custom plates
My custom plate documentation arrived, so my personalised registration number is now on!
Read More

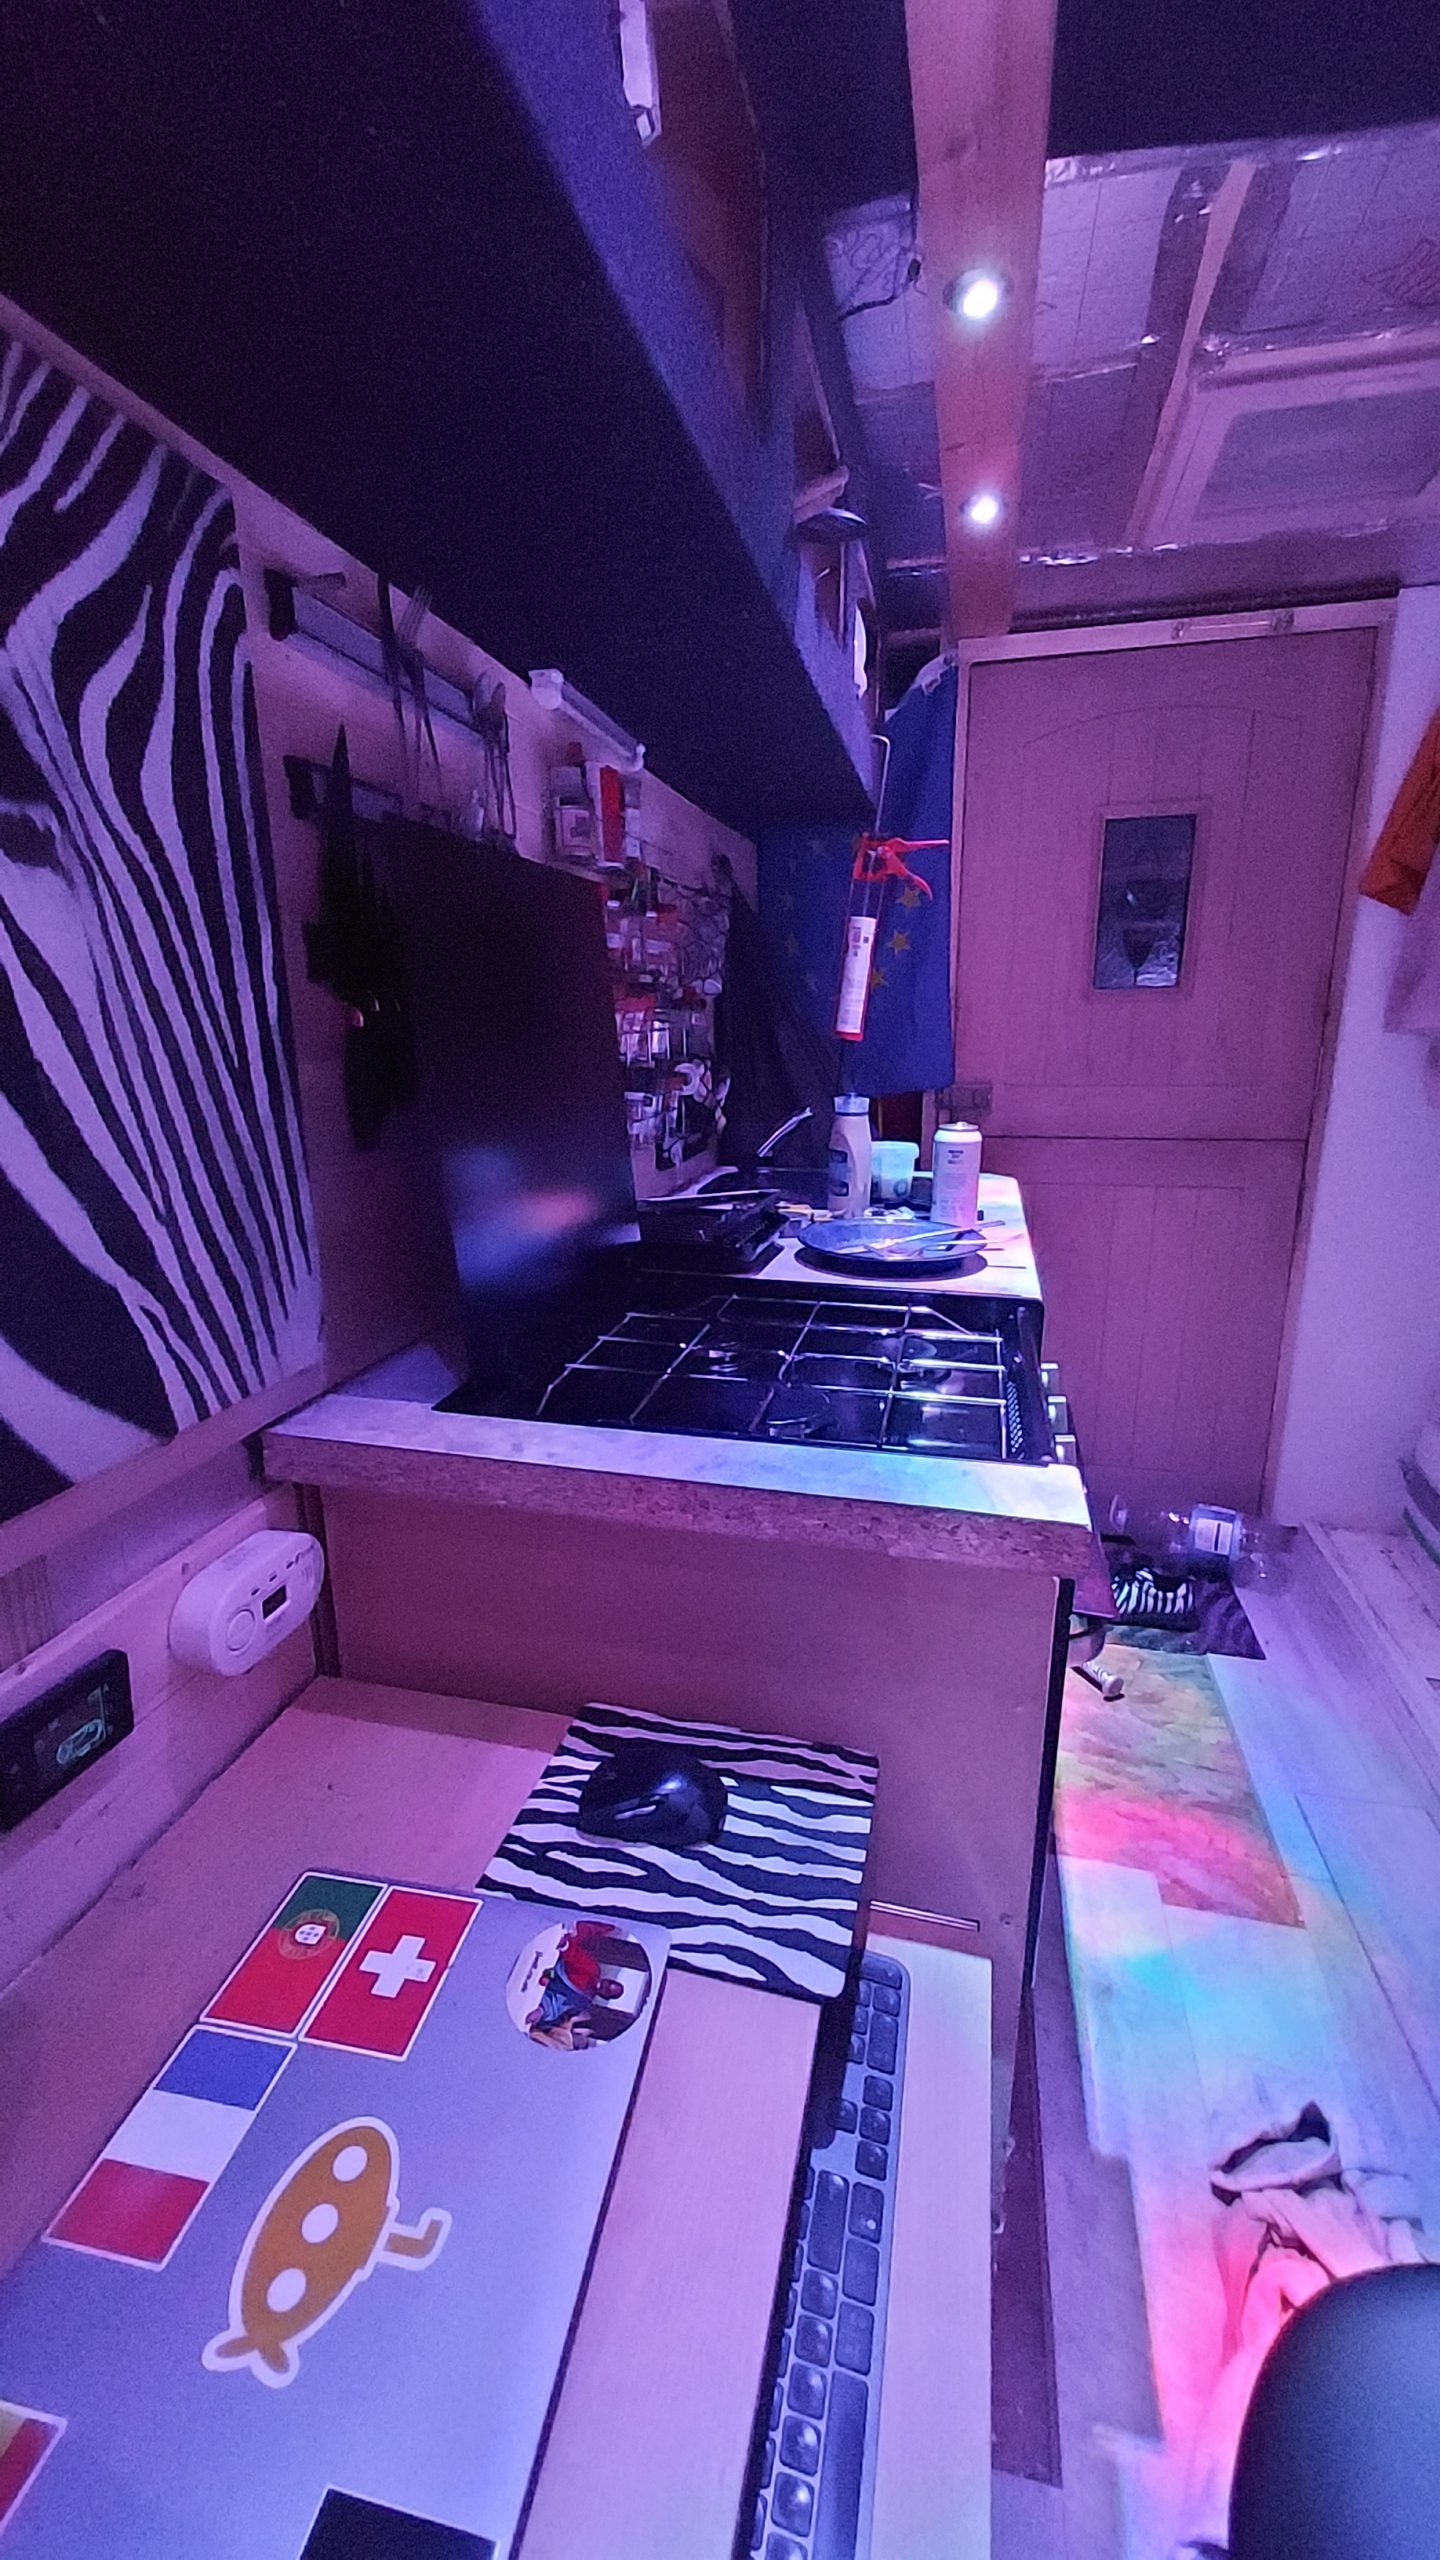
More living area
Another shot of the inside, you can see the unfinished ceiling really bowing now. This needs to be addressed.
Read More
Ceiling bowing
View of the ceiling bowing from the other side. This will allow moist air up into the ceiling cavity, which needs to be avoided at
Read More
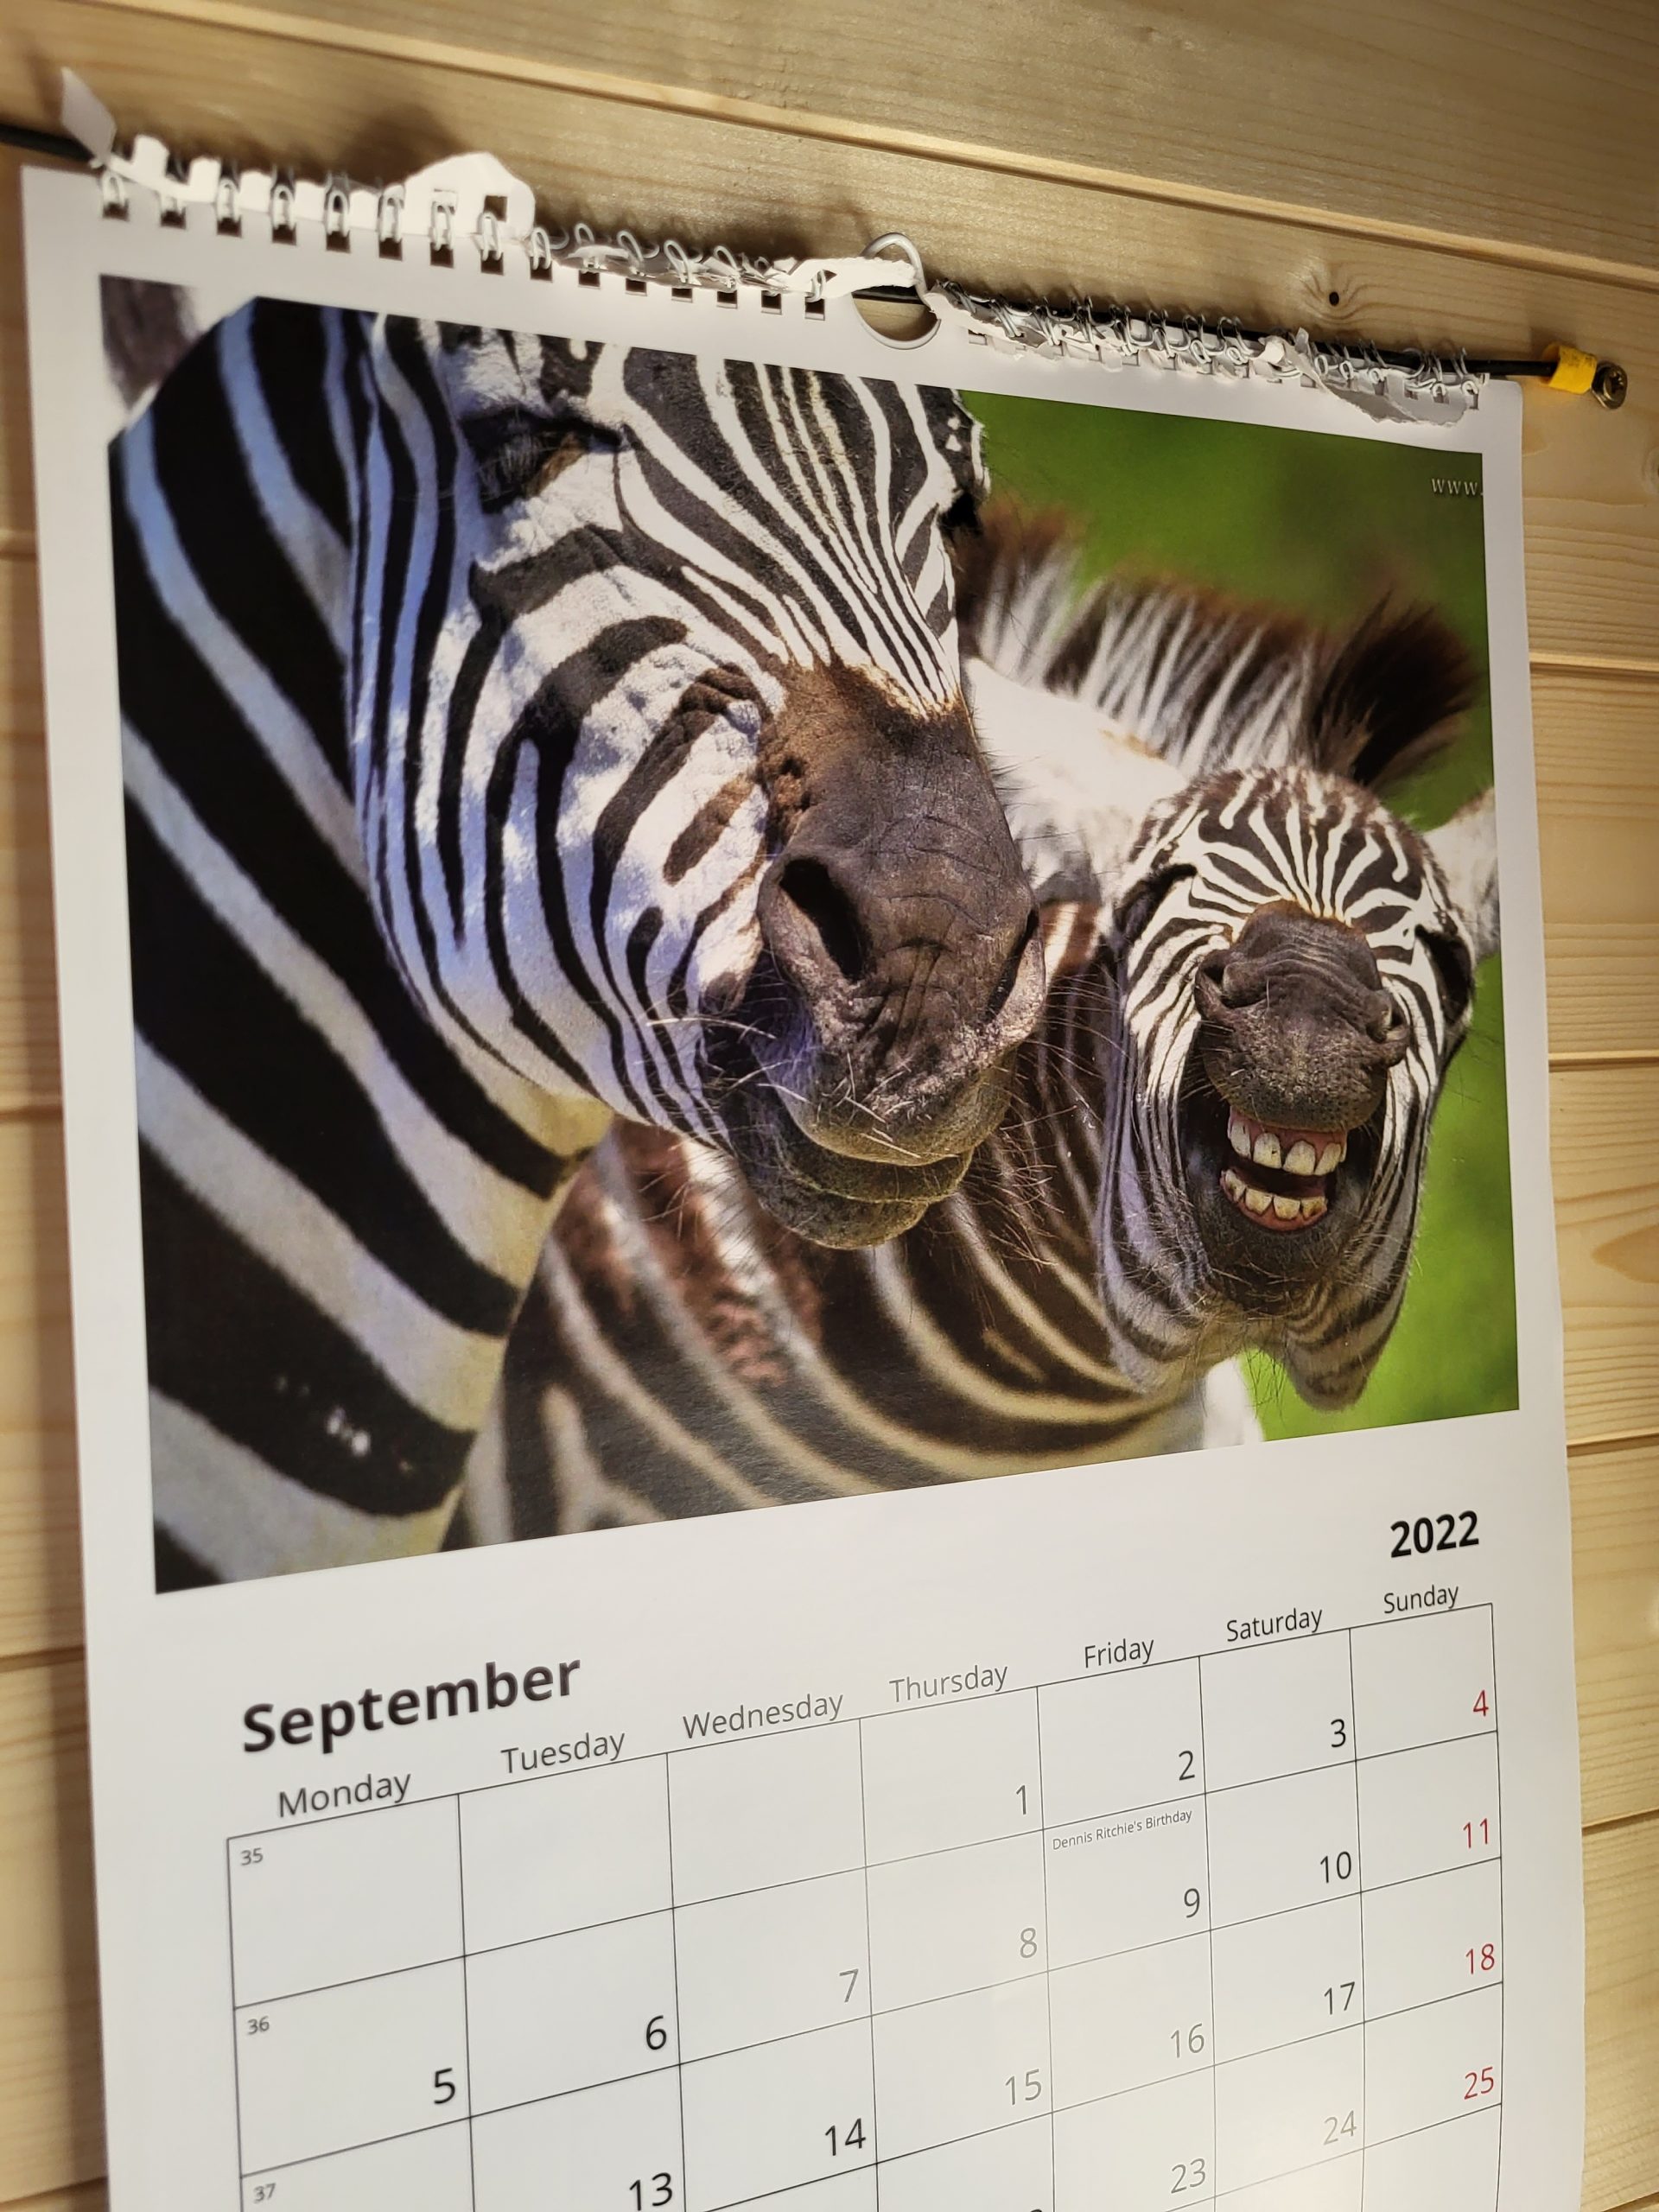
Zebra calendar
It’s now September, so I’m very eager to get the ceiling finished before the really damp conditions start.
Read More
Waterproofing the rear wall
I know condensation is going to accumulate in the rear area, so this has to be covered in a plastic sheet, then uPVC boards, we’ll
Read More

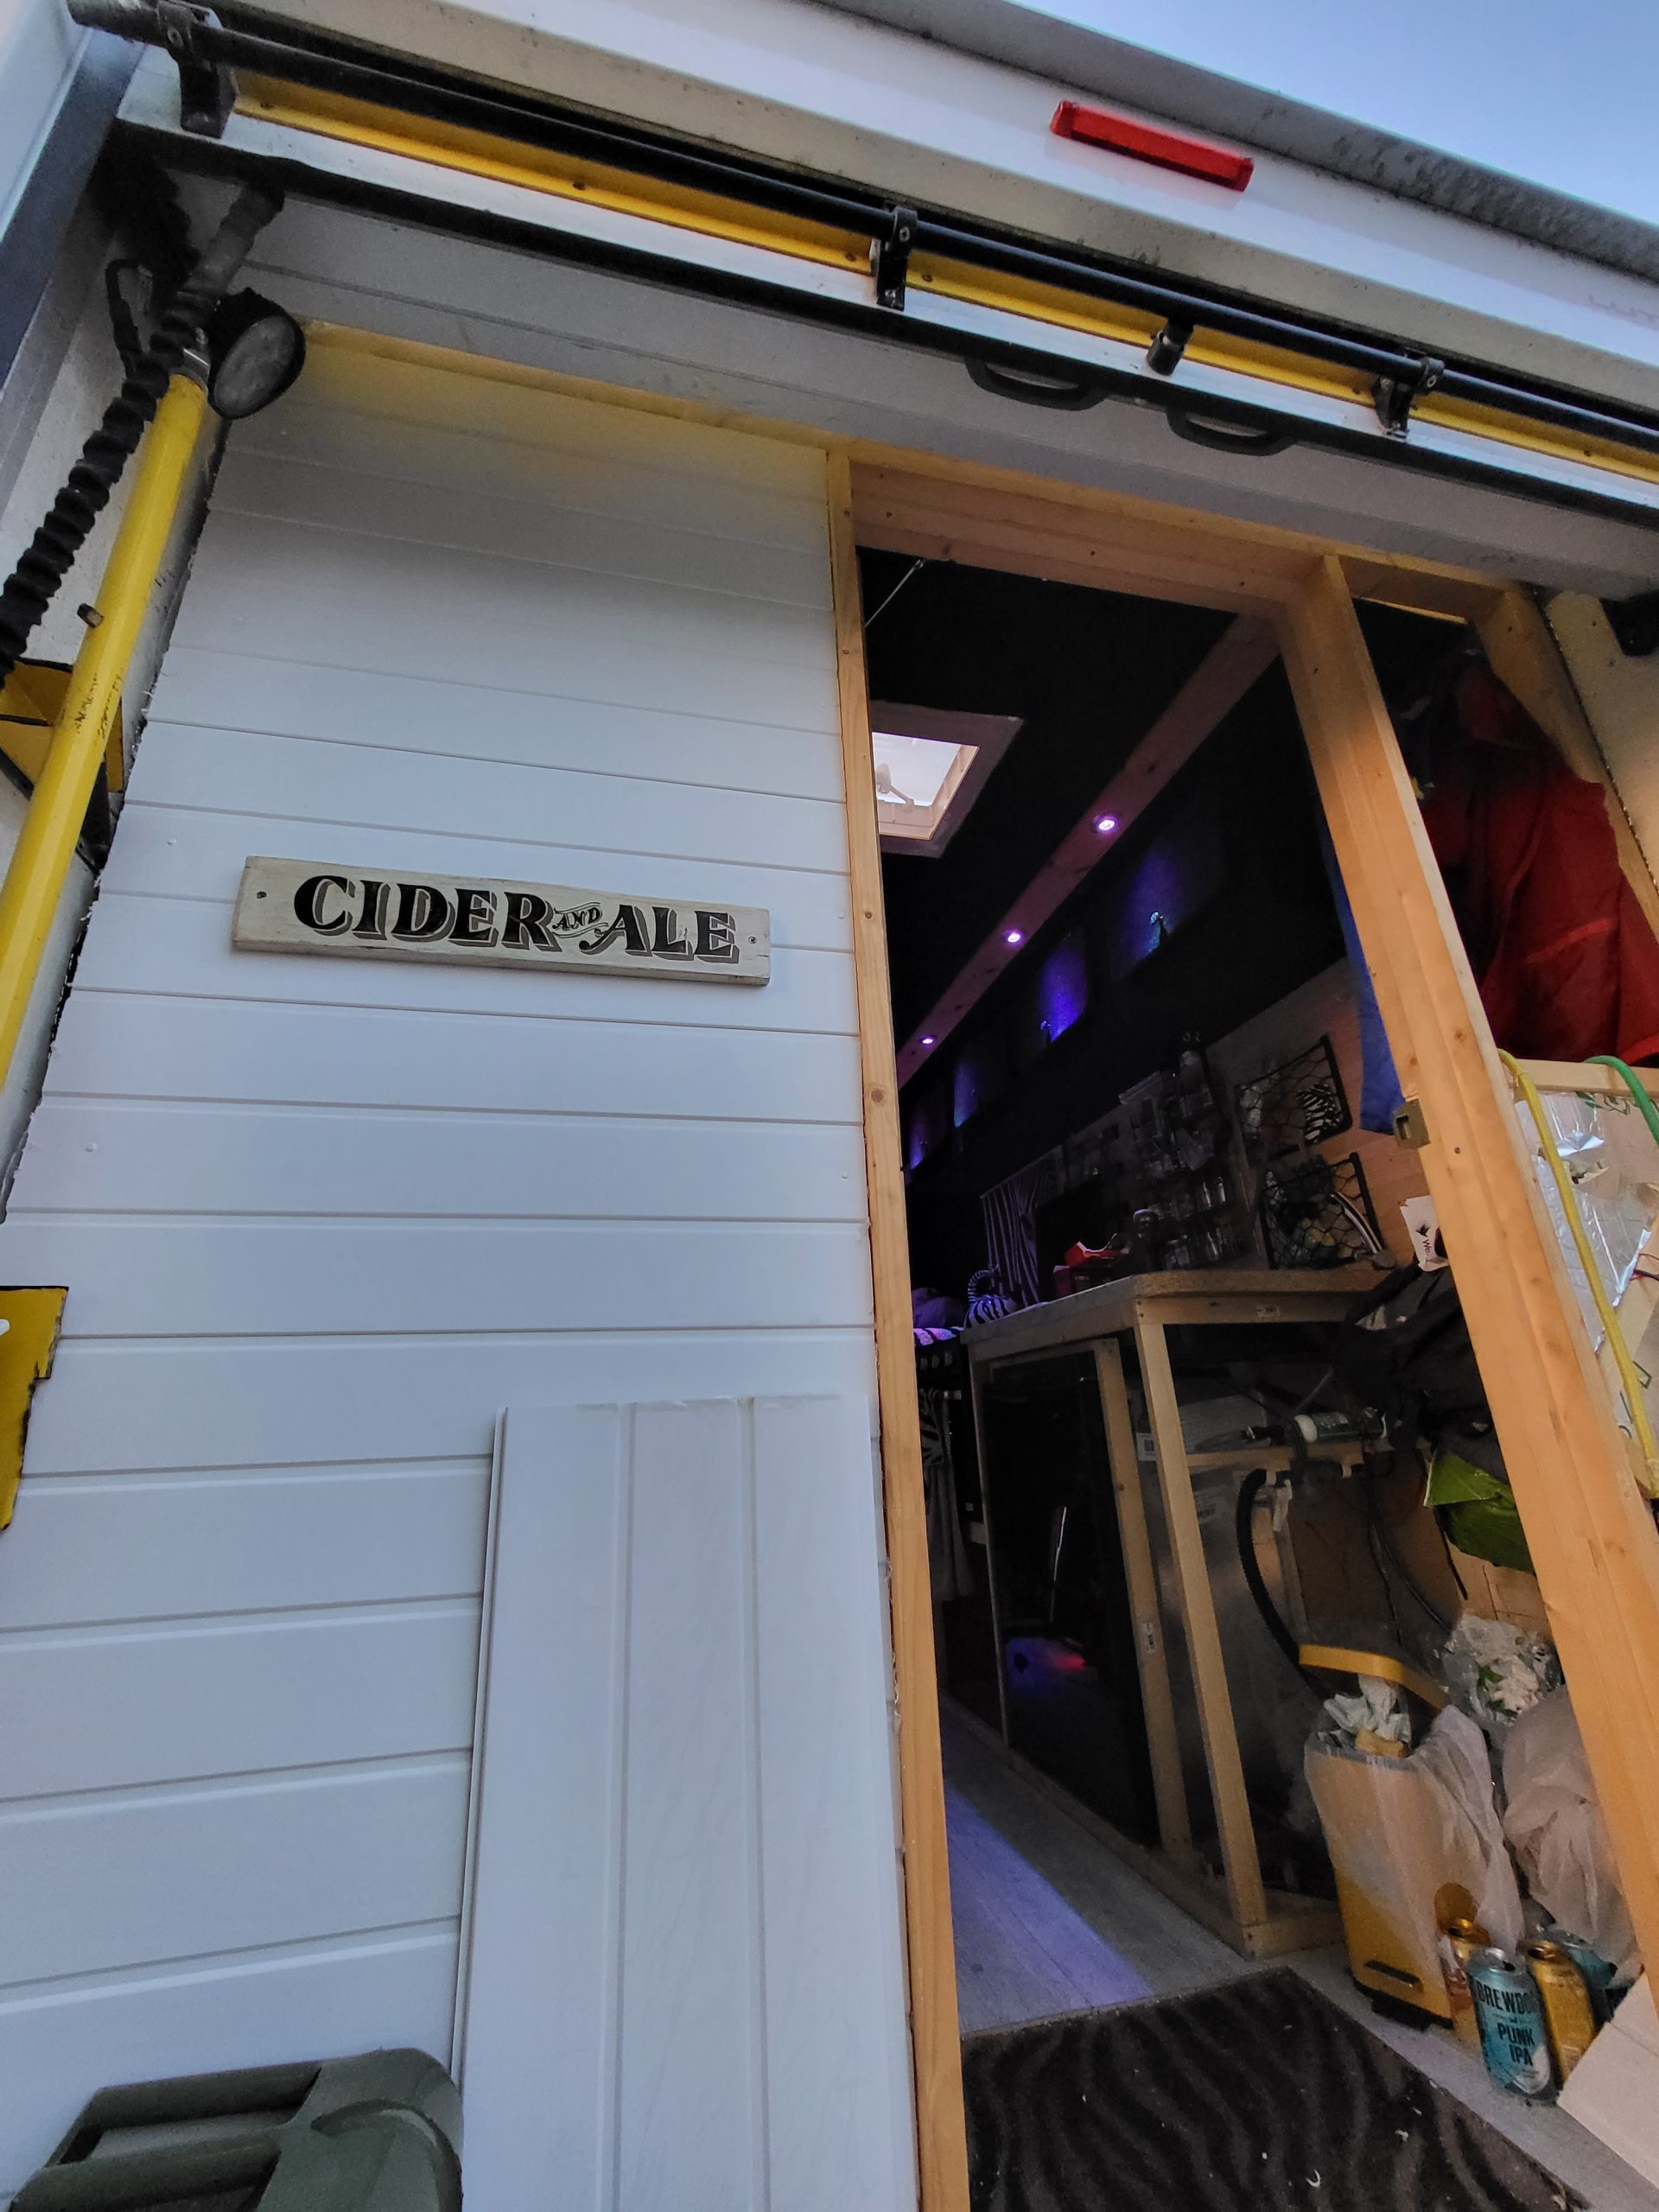
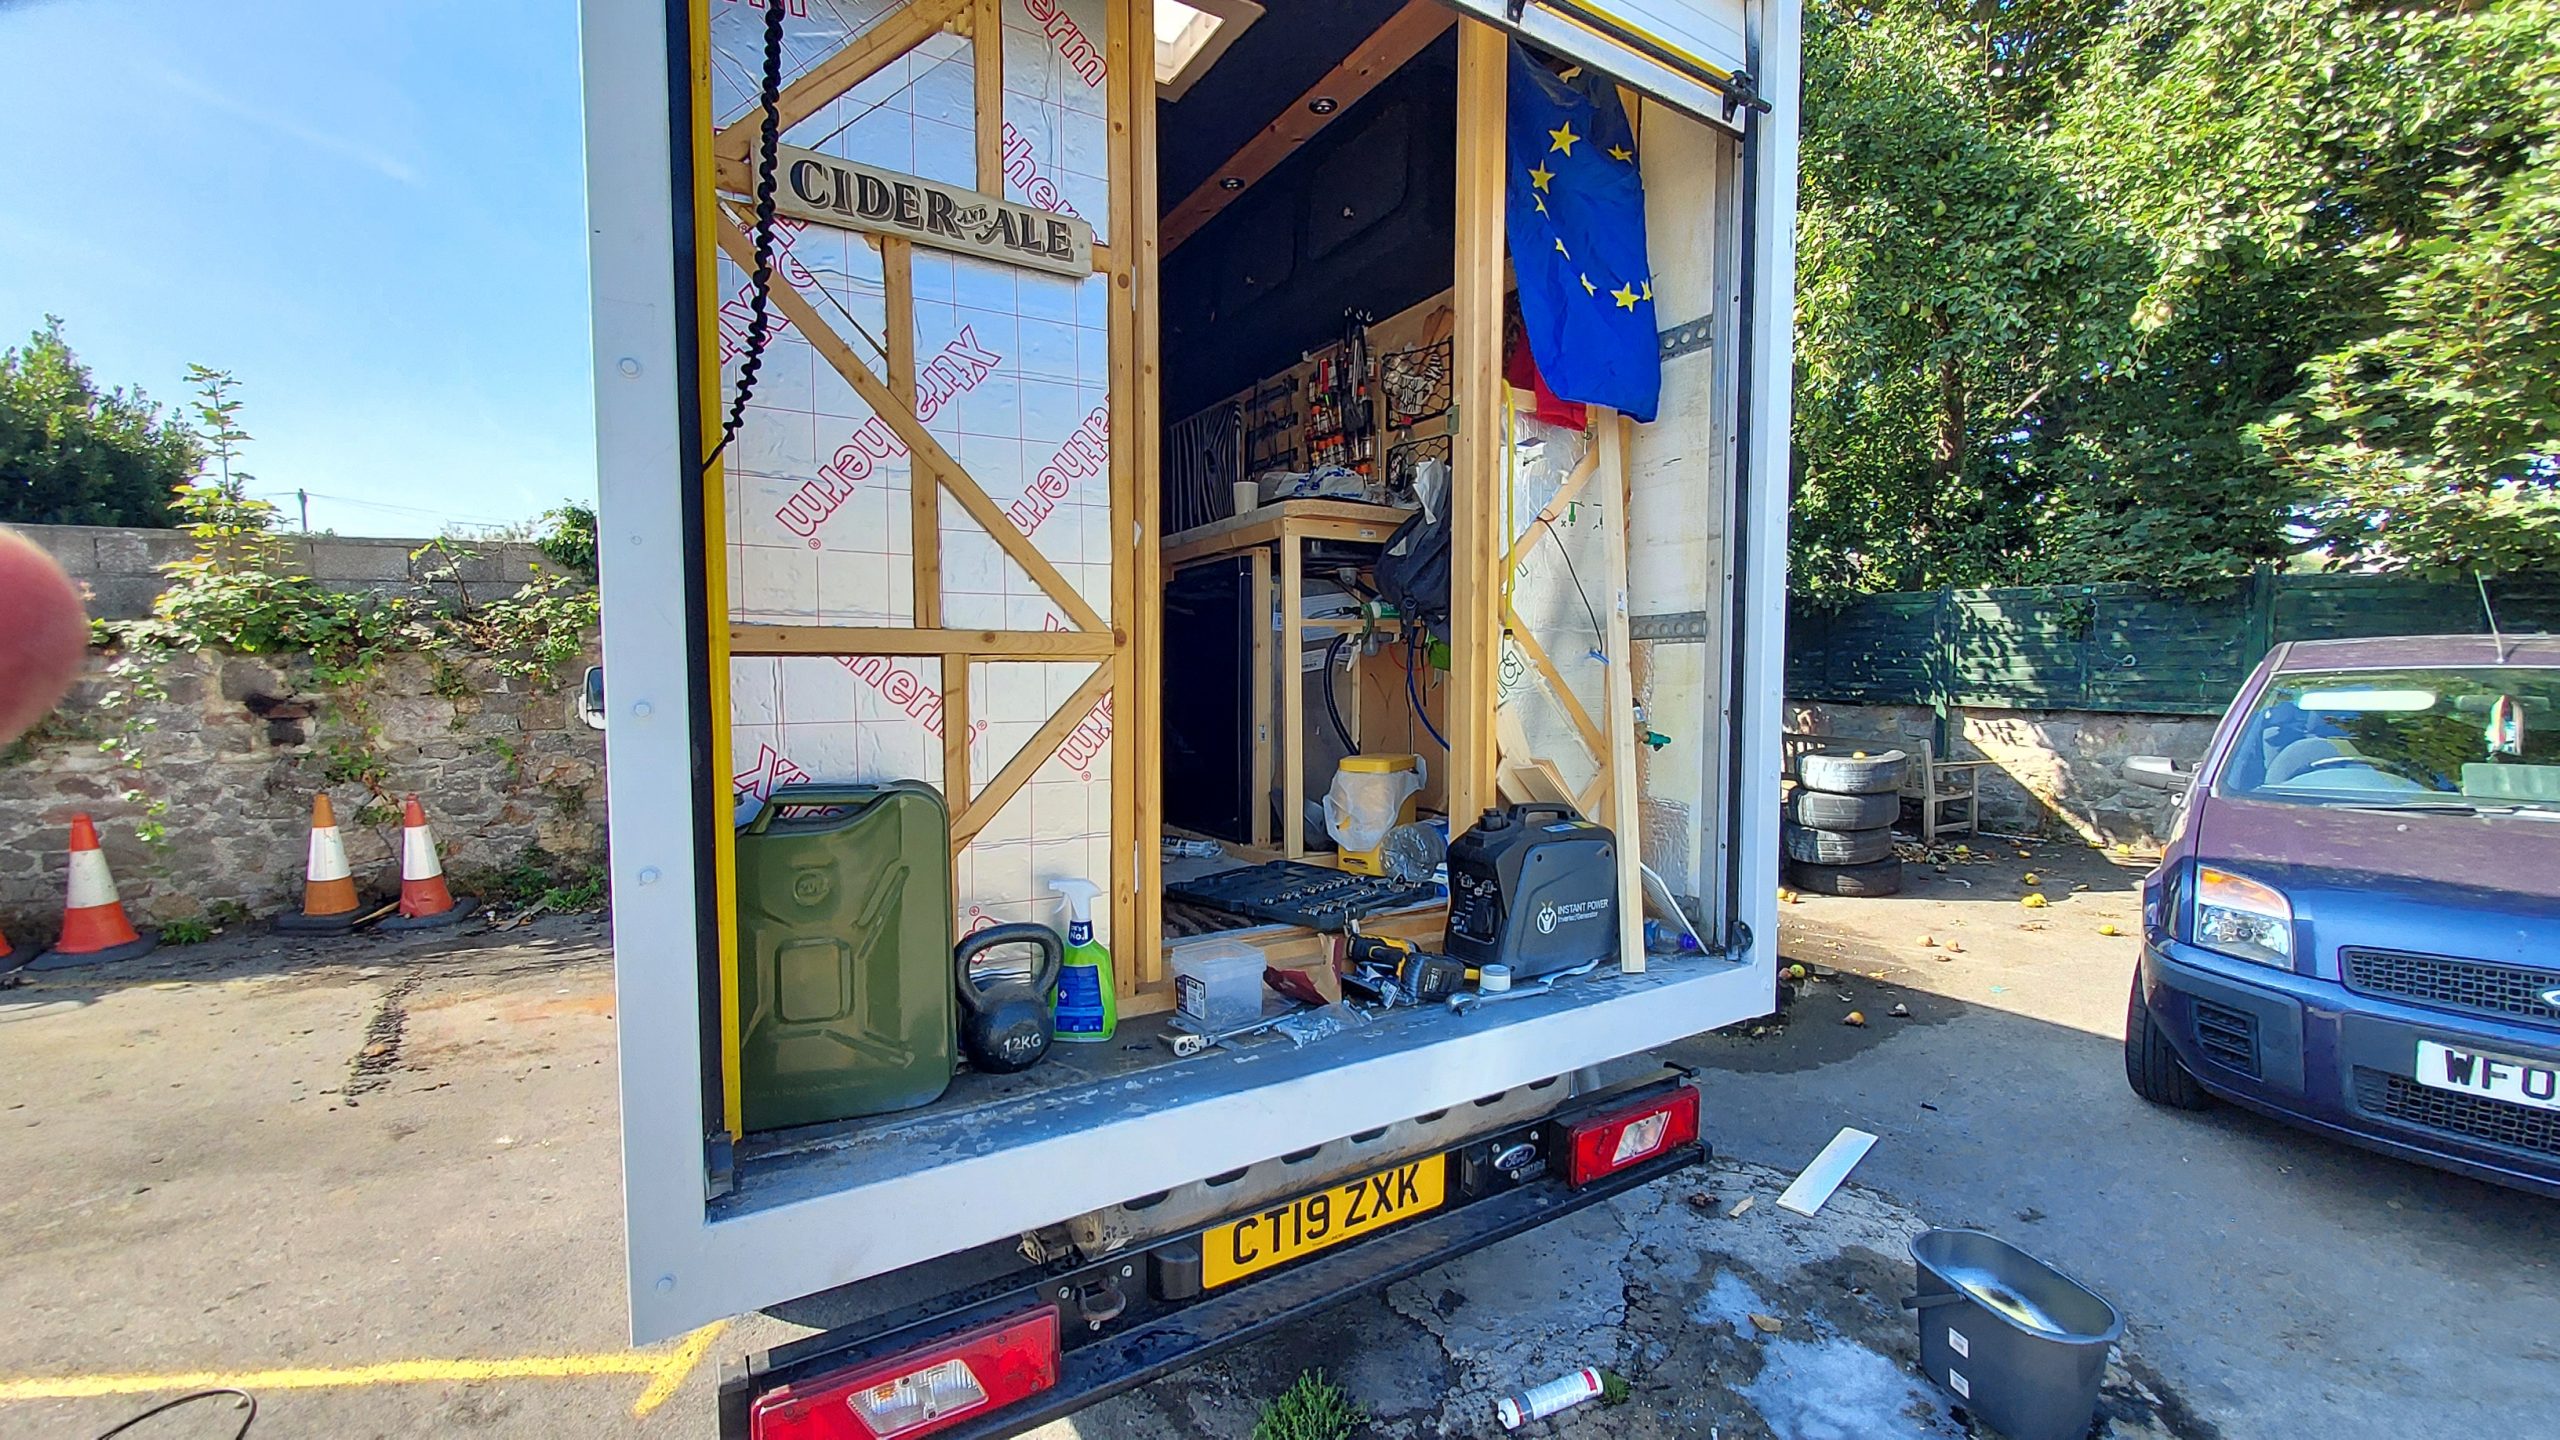
Cider & Ale
A wonderful sign I got from Hay-on-Wye, made by a retired chap who used to do professional signwriting.
Read More
Bathroom ceiling done
Ceiling in with light fixture sealed up, I attach trim later to cover over the exposed foil.
Read More

Cladding done
All outside cladding done with sides sealed up. There will be more sealant going round the outer edges shortly, and flashing above the door, with
Read More
Ceiling letting in light
I’ll be addressing this shortly by stuffing all the cavities with aluminium bubble foil, patching up the gaps and fixing trim to the gaps to
Read More

Ceiling fixed
Using decorative trim to hold up and close the ceiling gaps, this should be ready for the winter now.
Read More
Finishing wardrobe
I’m really keen to prevent as much condensation as possible up in the wardrobe area – it’s a trap for warm, moist, rising air. I
Read More

Warming up
Batteries are holding out very well with minimal voltage drop whilst revving up the heater and running the laptop simultaneously before sunrise.
Read More
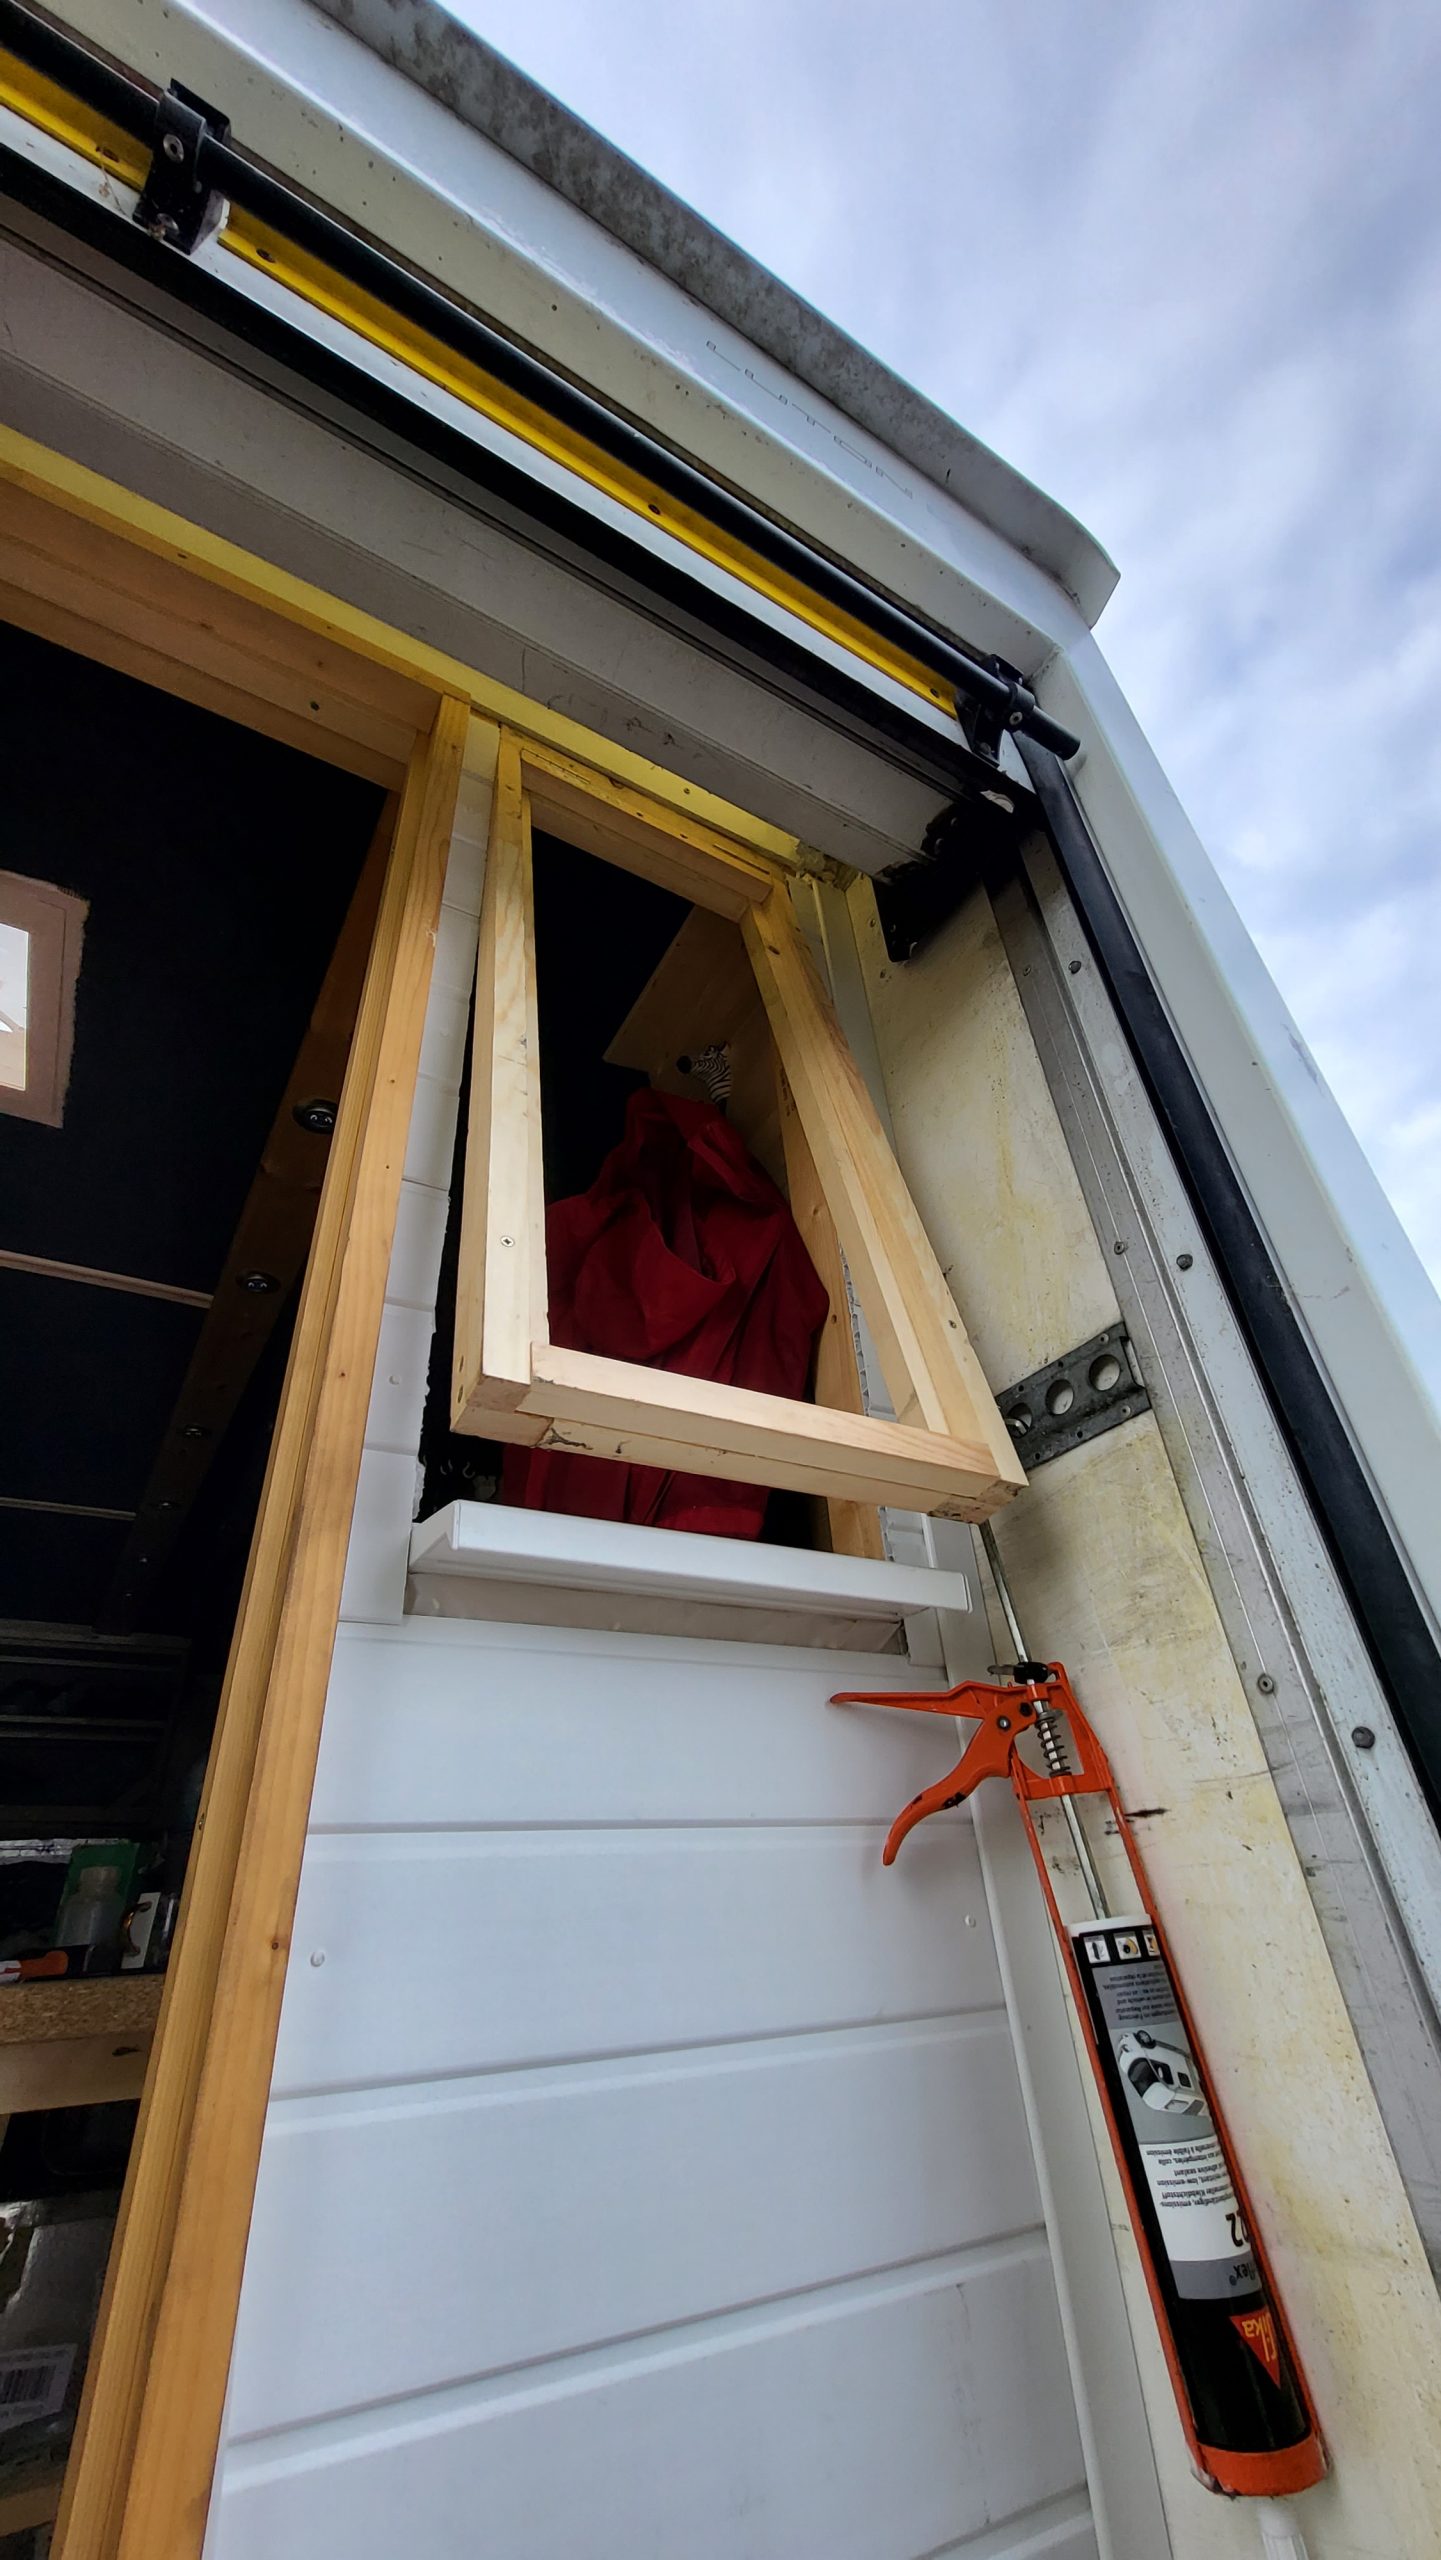
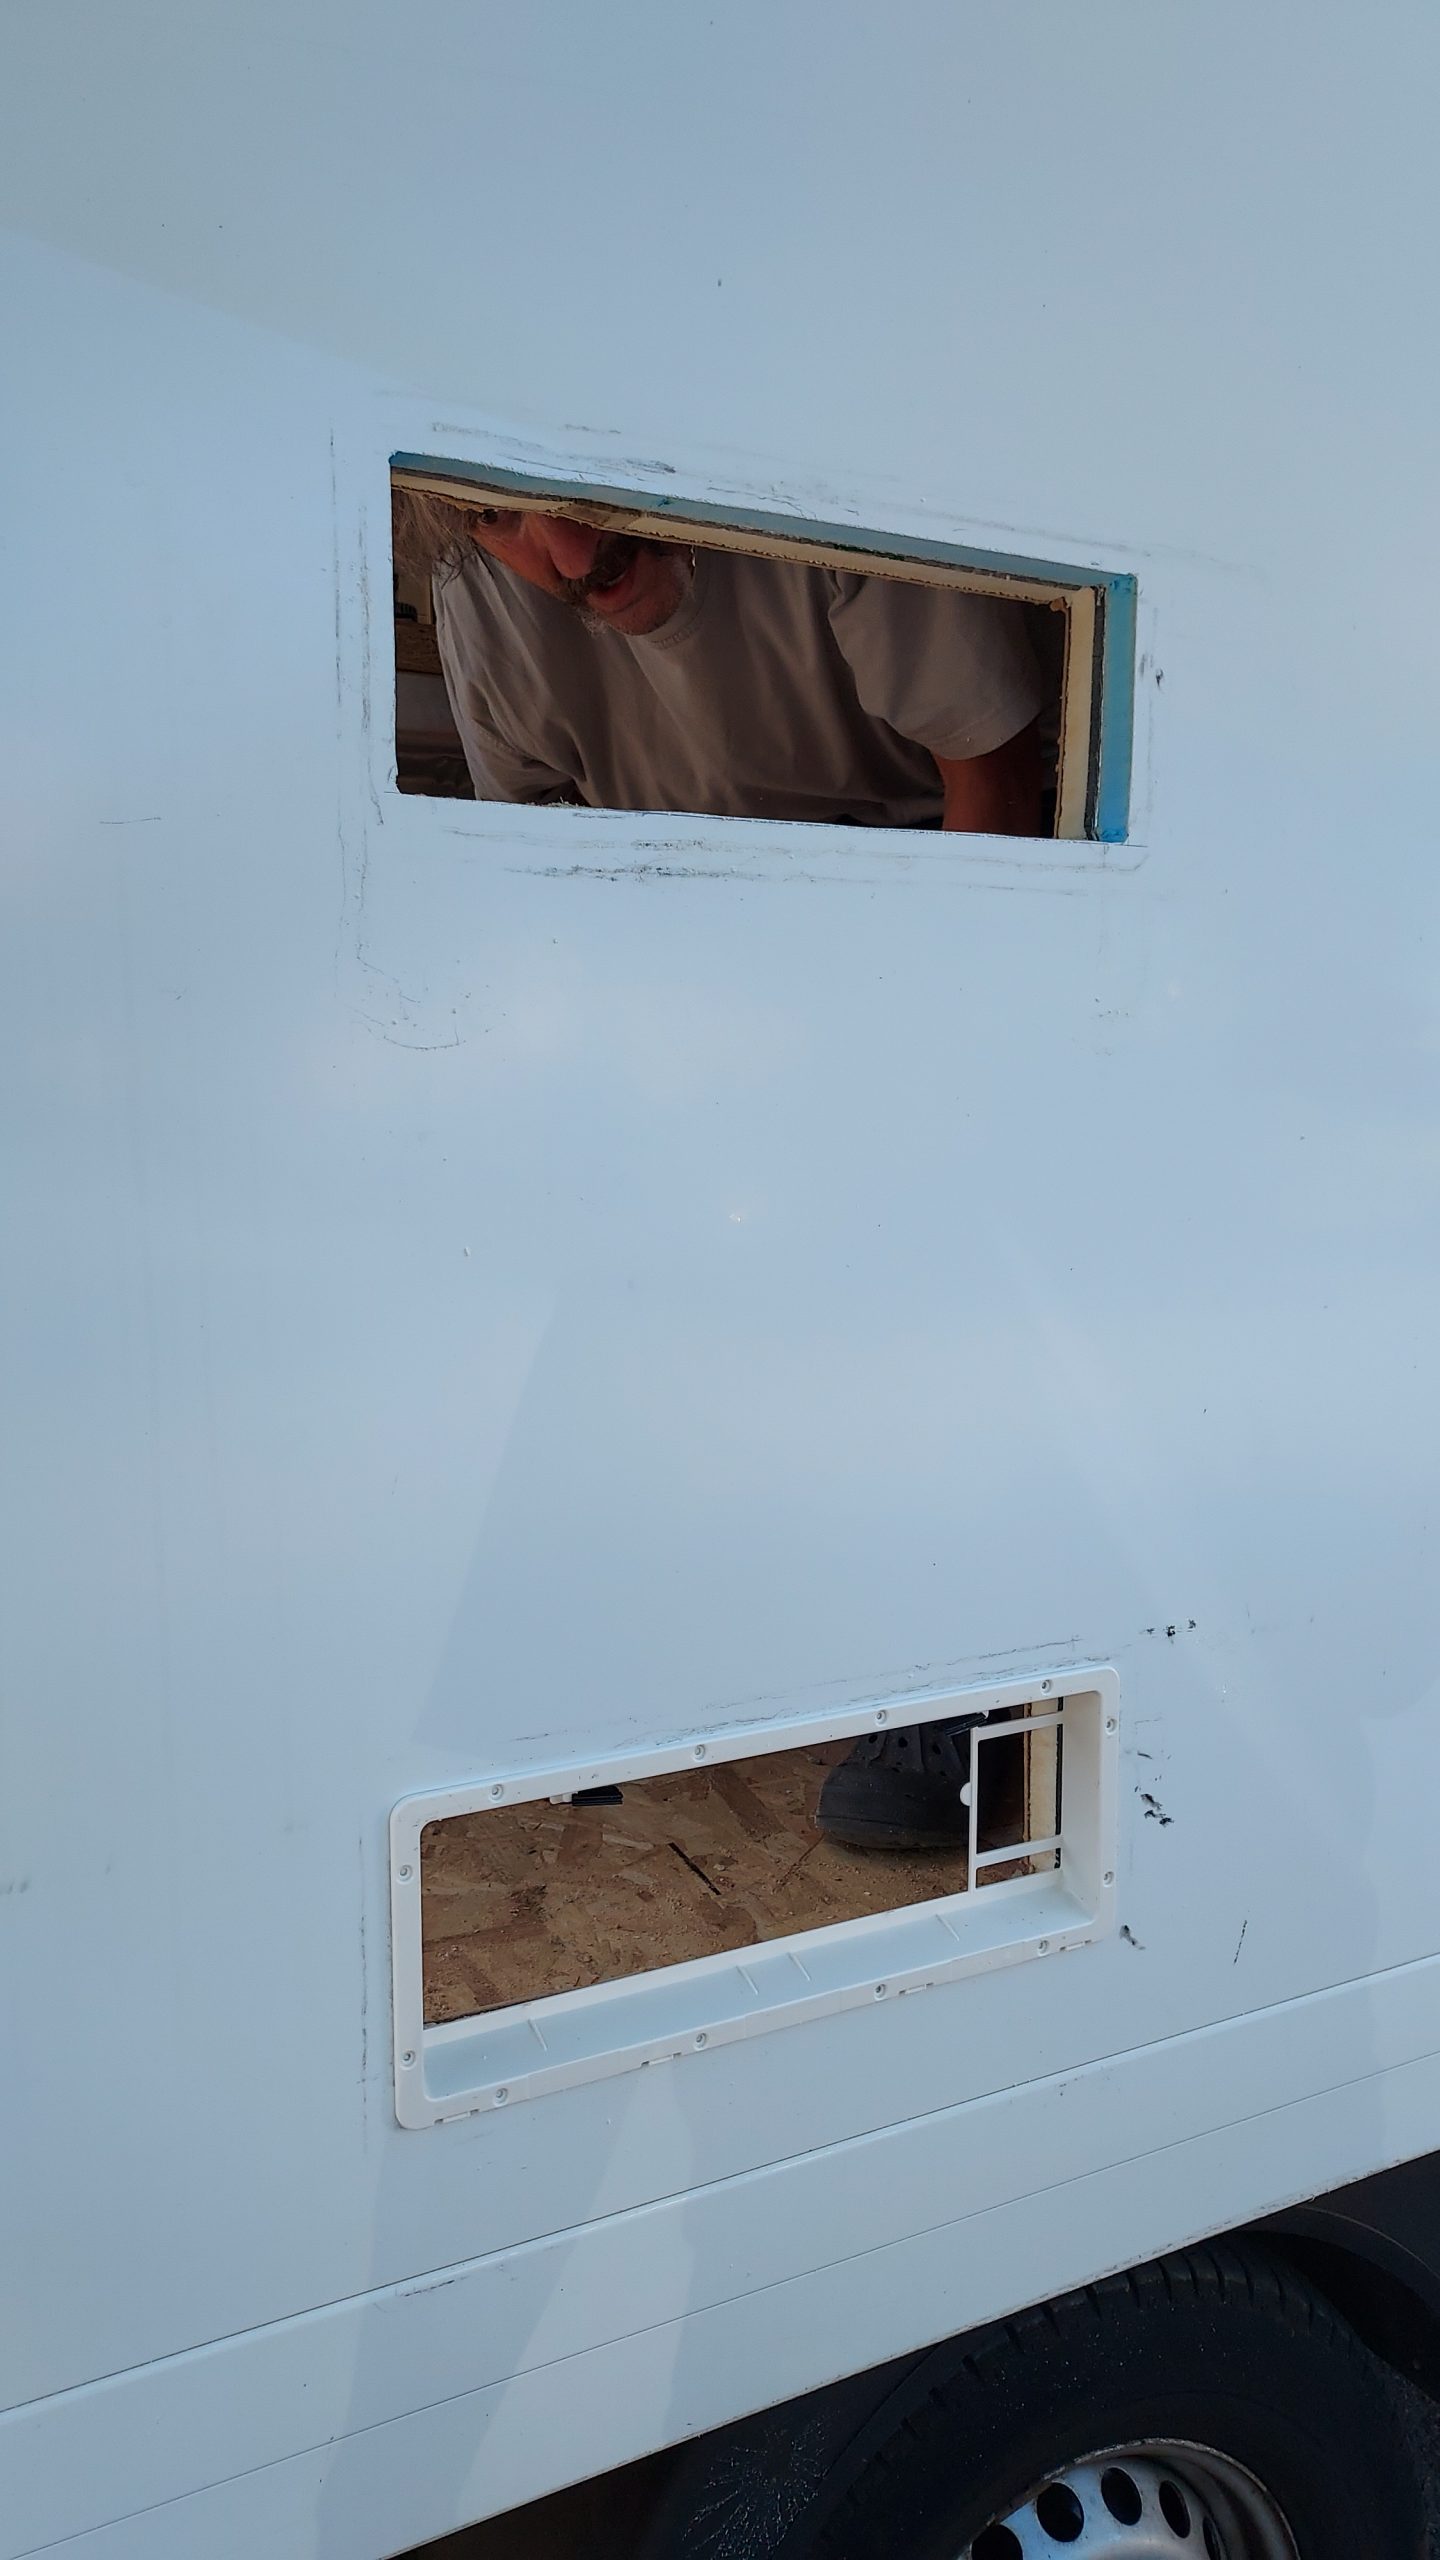
Window frame
A lot of moisture laden air is going out of this hole in the wall, so I need to build the window quickly and get
Read More

Cladding the wardrobe
Now that the foam casing is all around the wardrobe, I can finally cover the messy bits up with some ply cladding.
Read More

Wardrobe carpeted
With the cladding up, I cover the mattress up, spray the stretch carpet and install. Looking much better now!
Read More
Wardrobe finally done
Wardrobe carpeted and all doors made up for the wardrobe, this part of the build has been on and off working around the other winter
Read More
Wardrobe doors
Closer shot of the wardrobe doors. You can see there’s some bits of wood left over from woodworking stuck to the carpet, these need hovering.
Read More

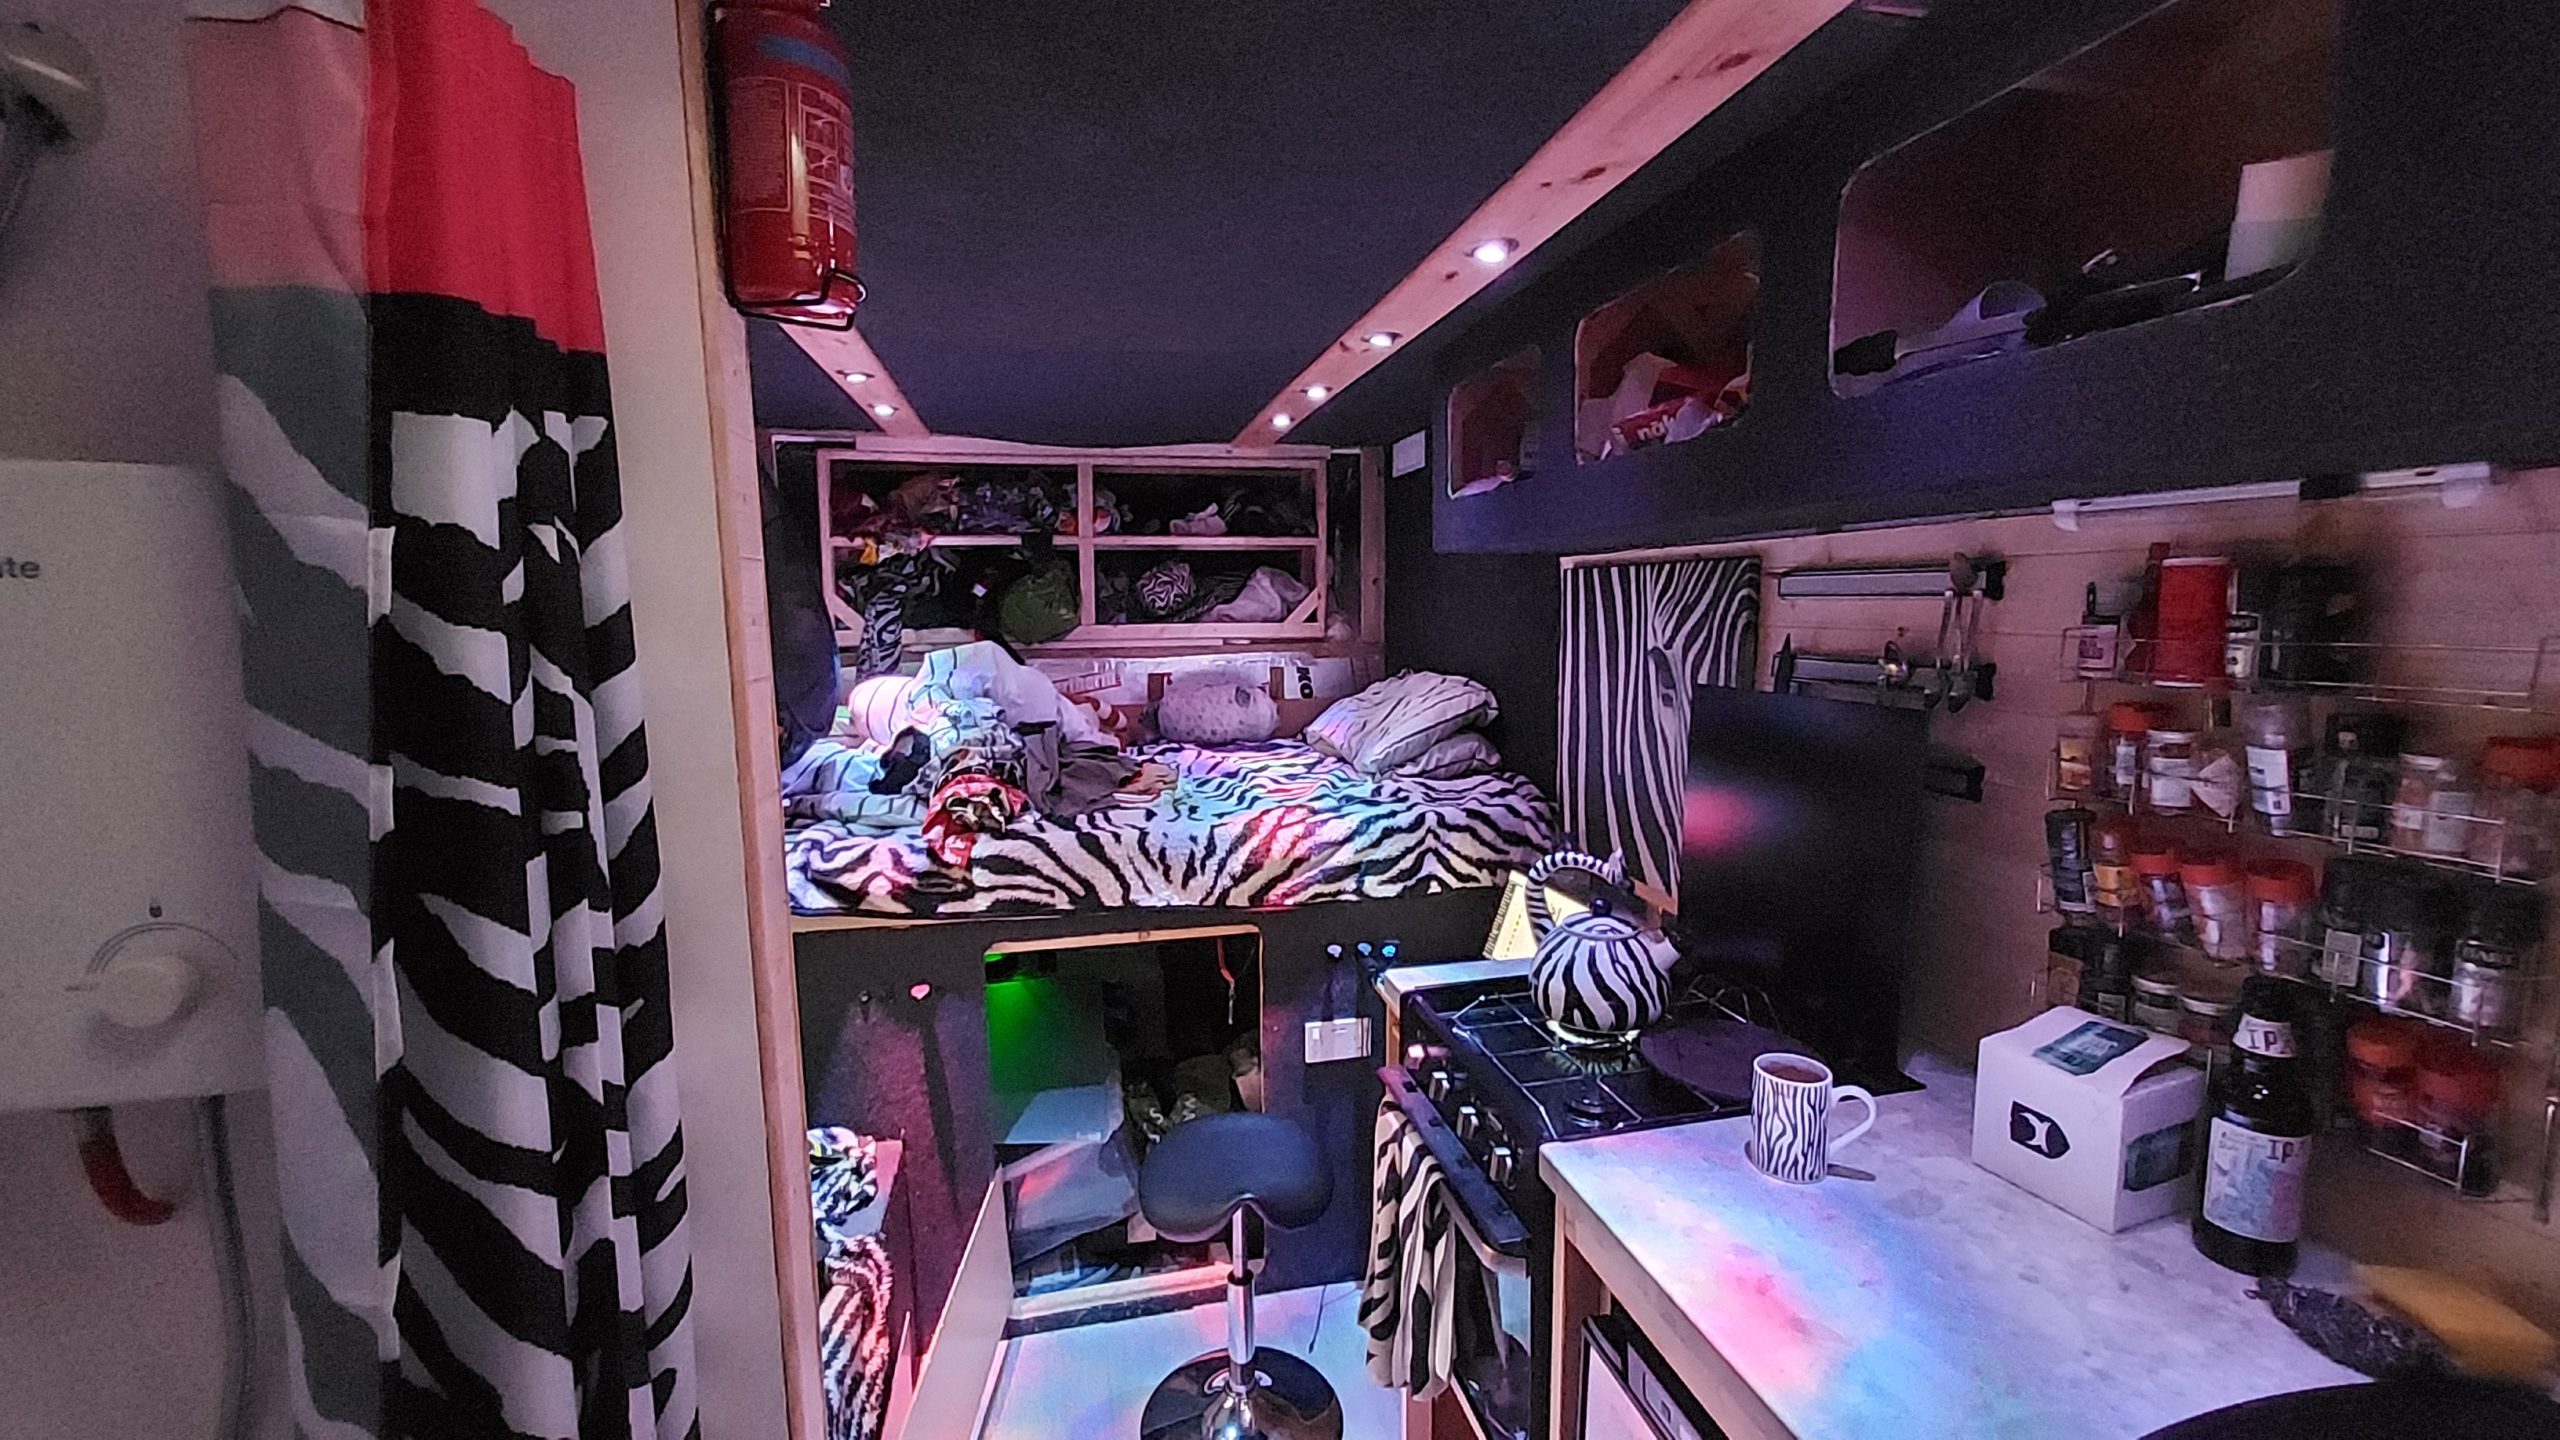
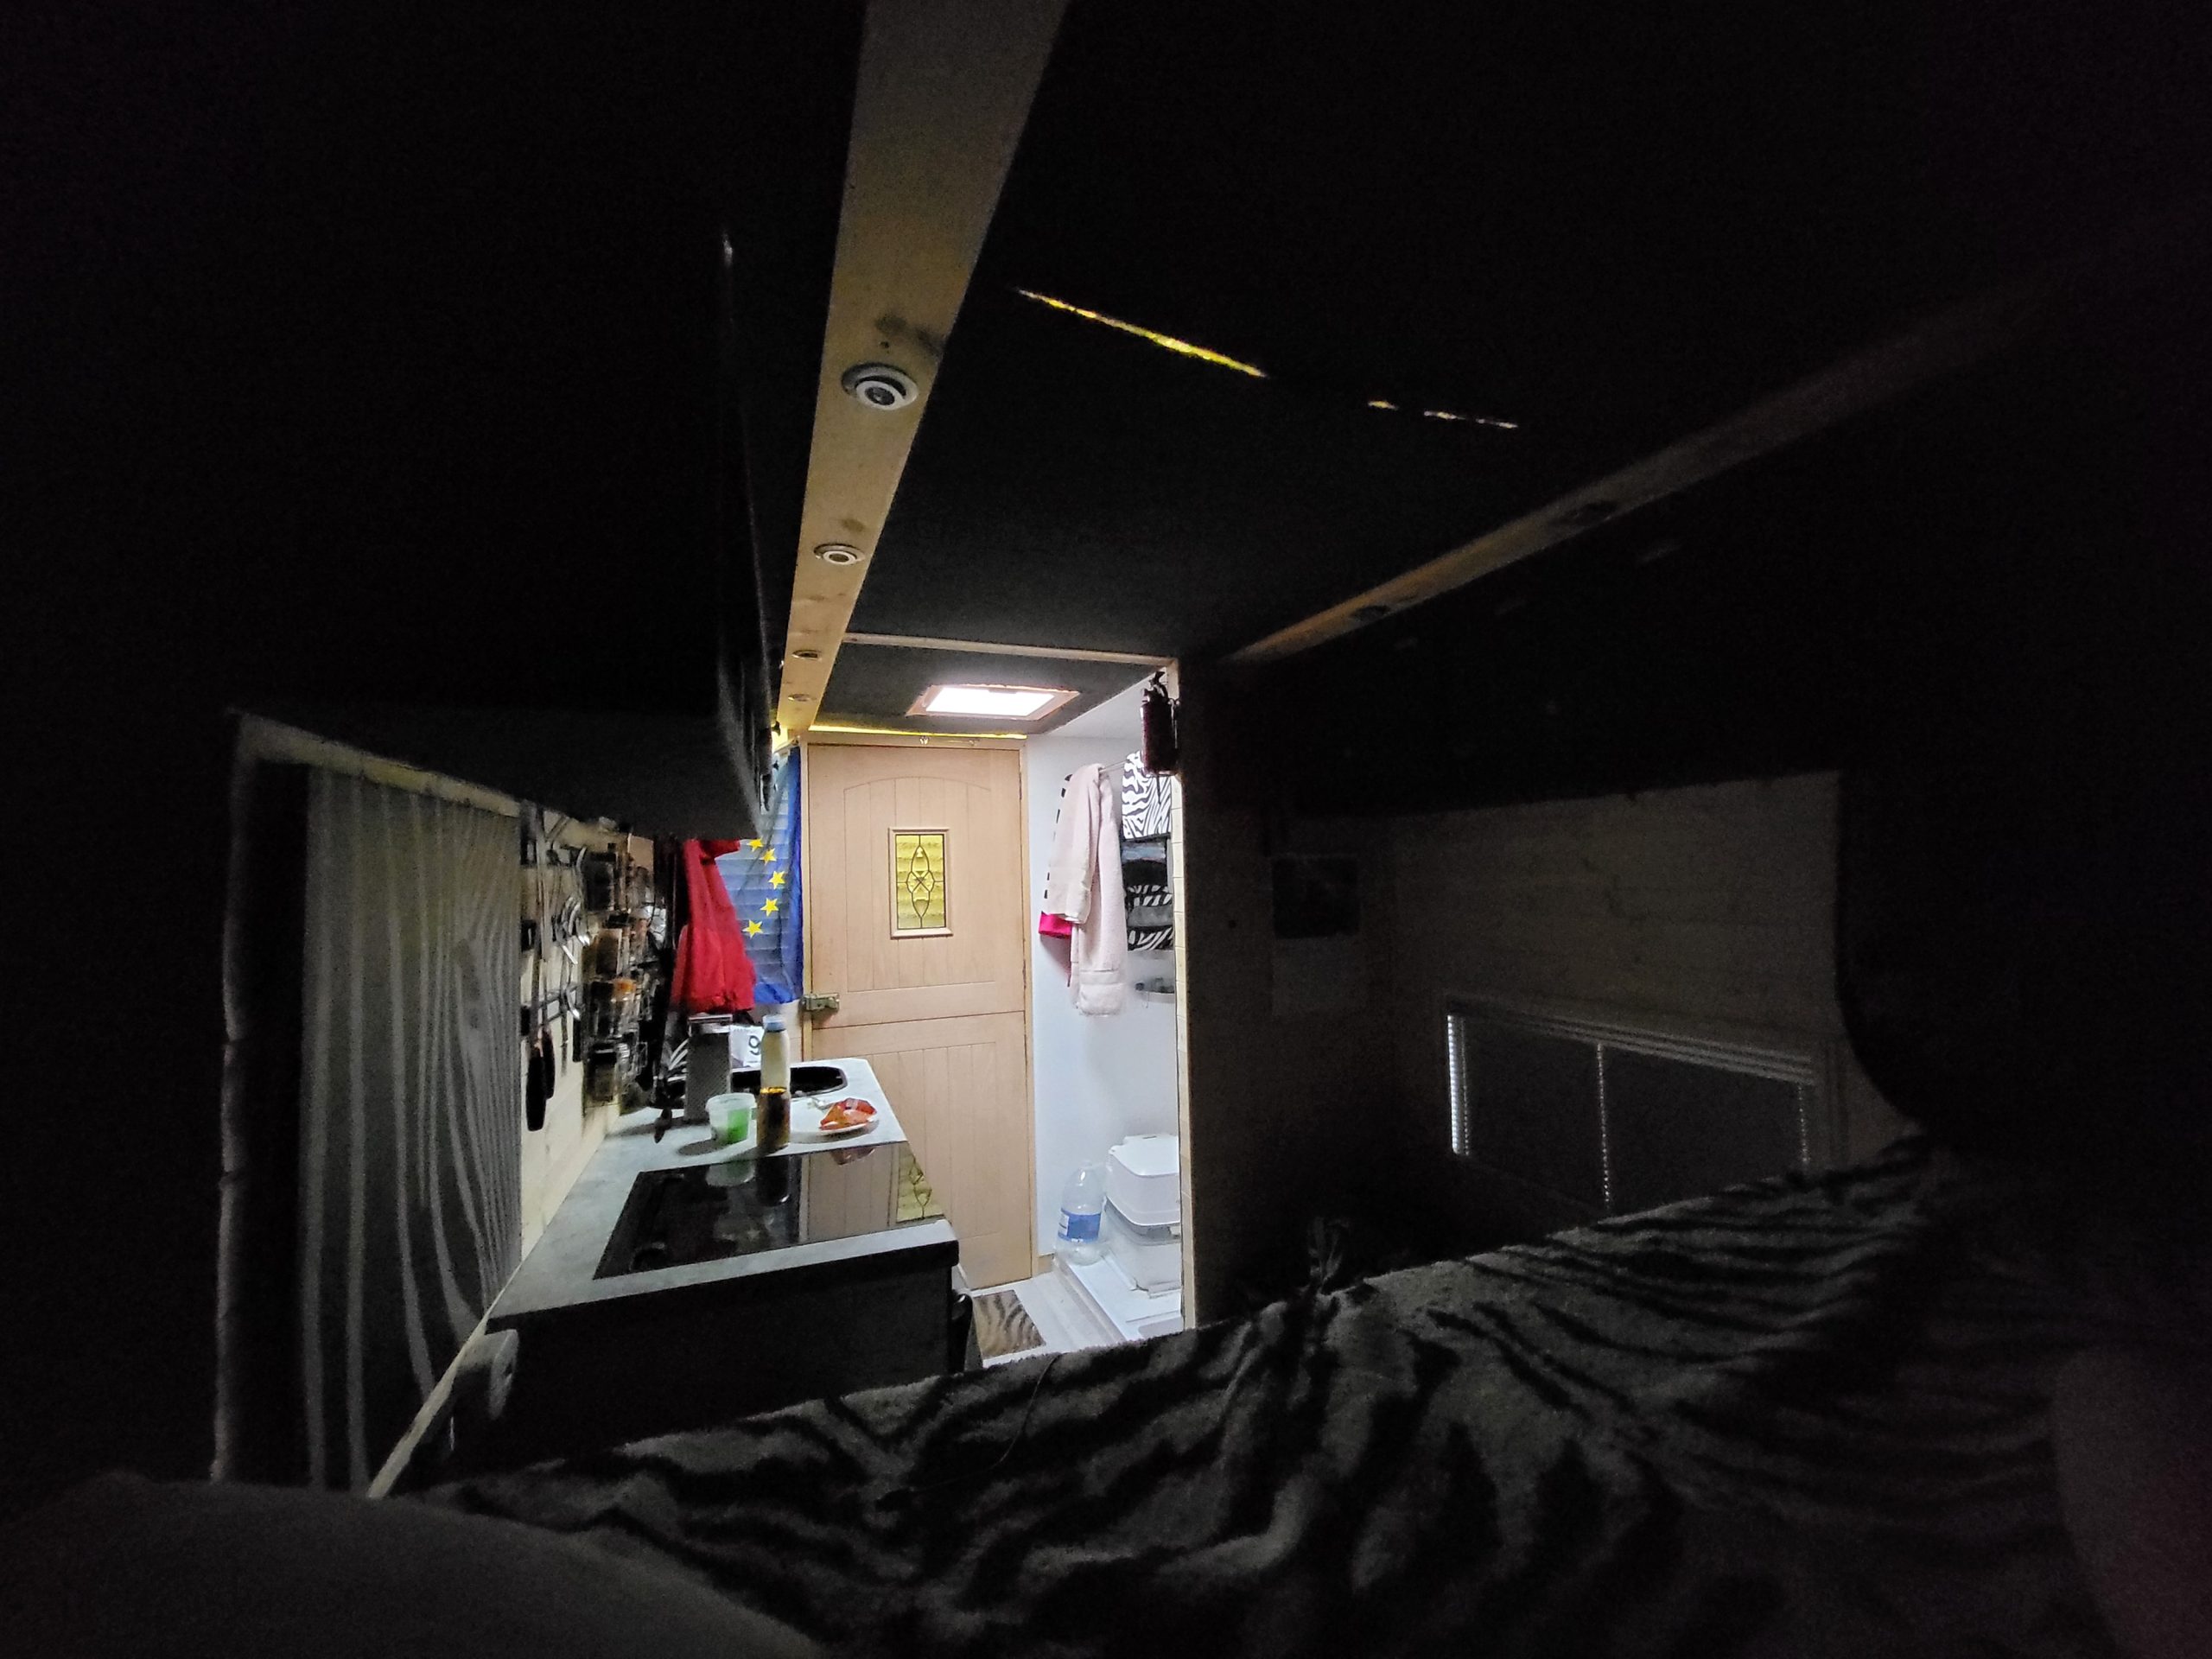
Here we go
Night view of the living area now that the cladding is all finally complete. Treating myself to a takeaway curry.
Read More

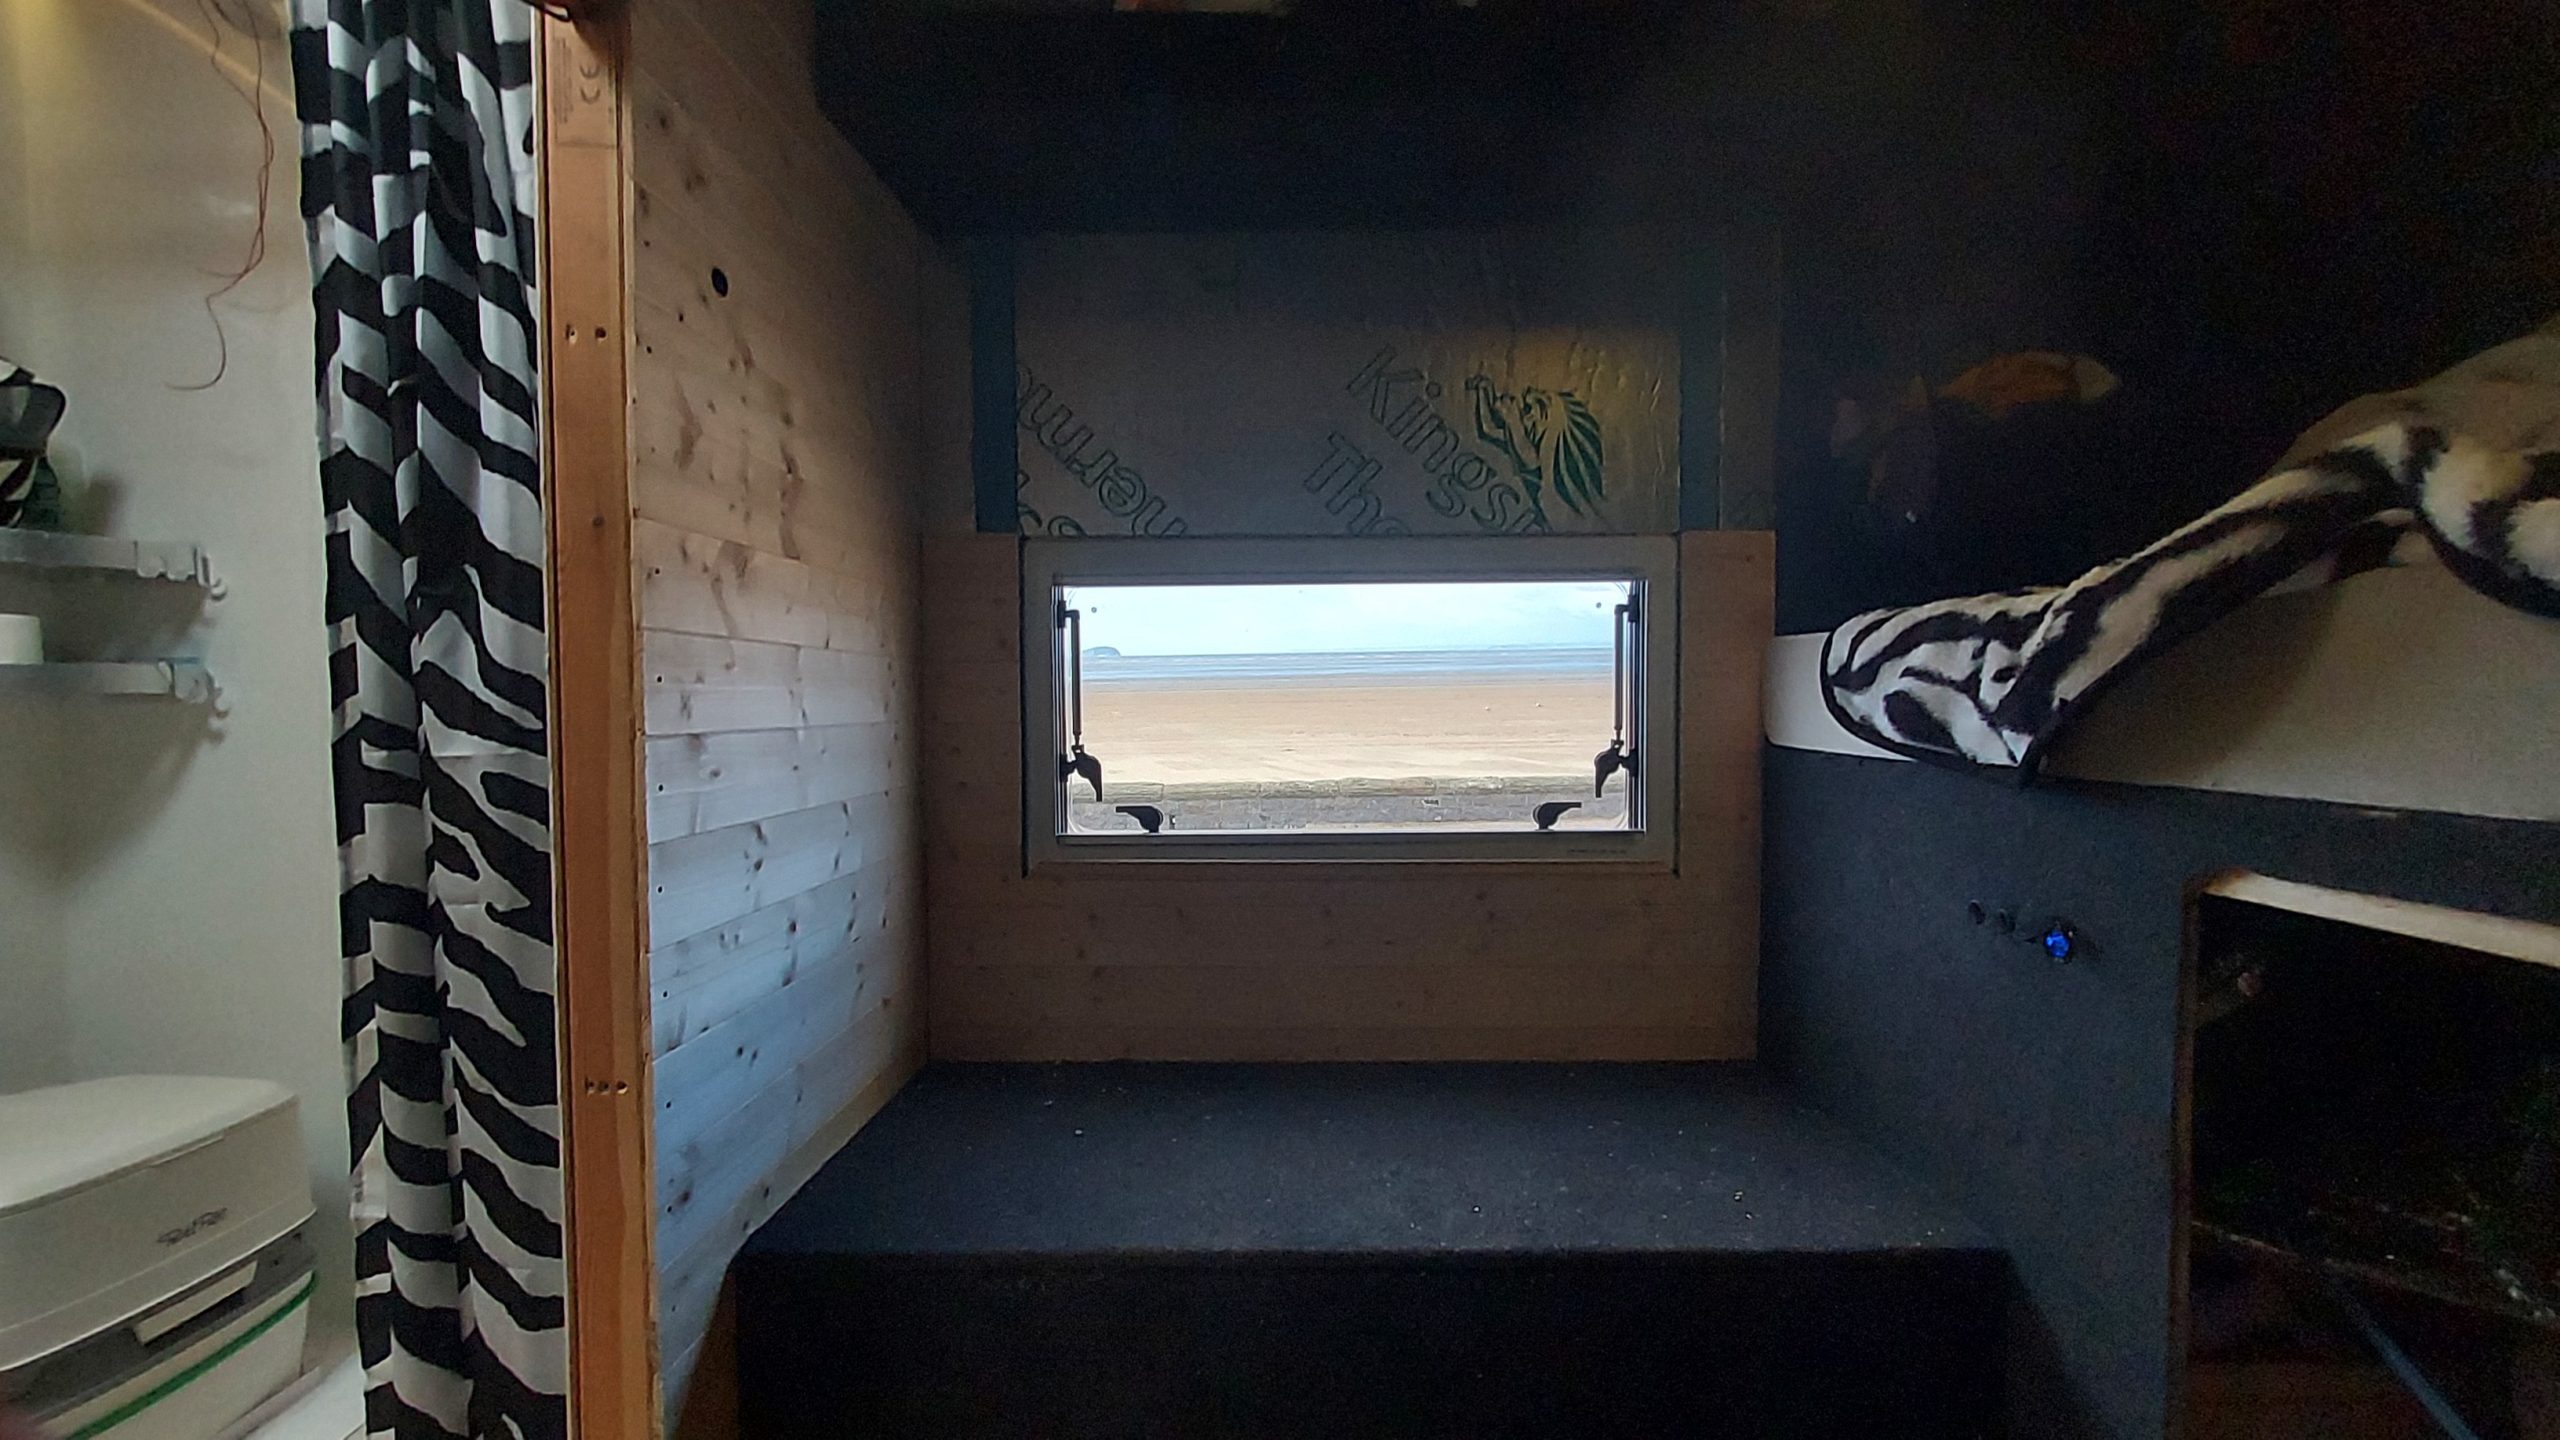
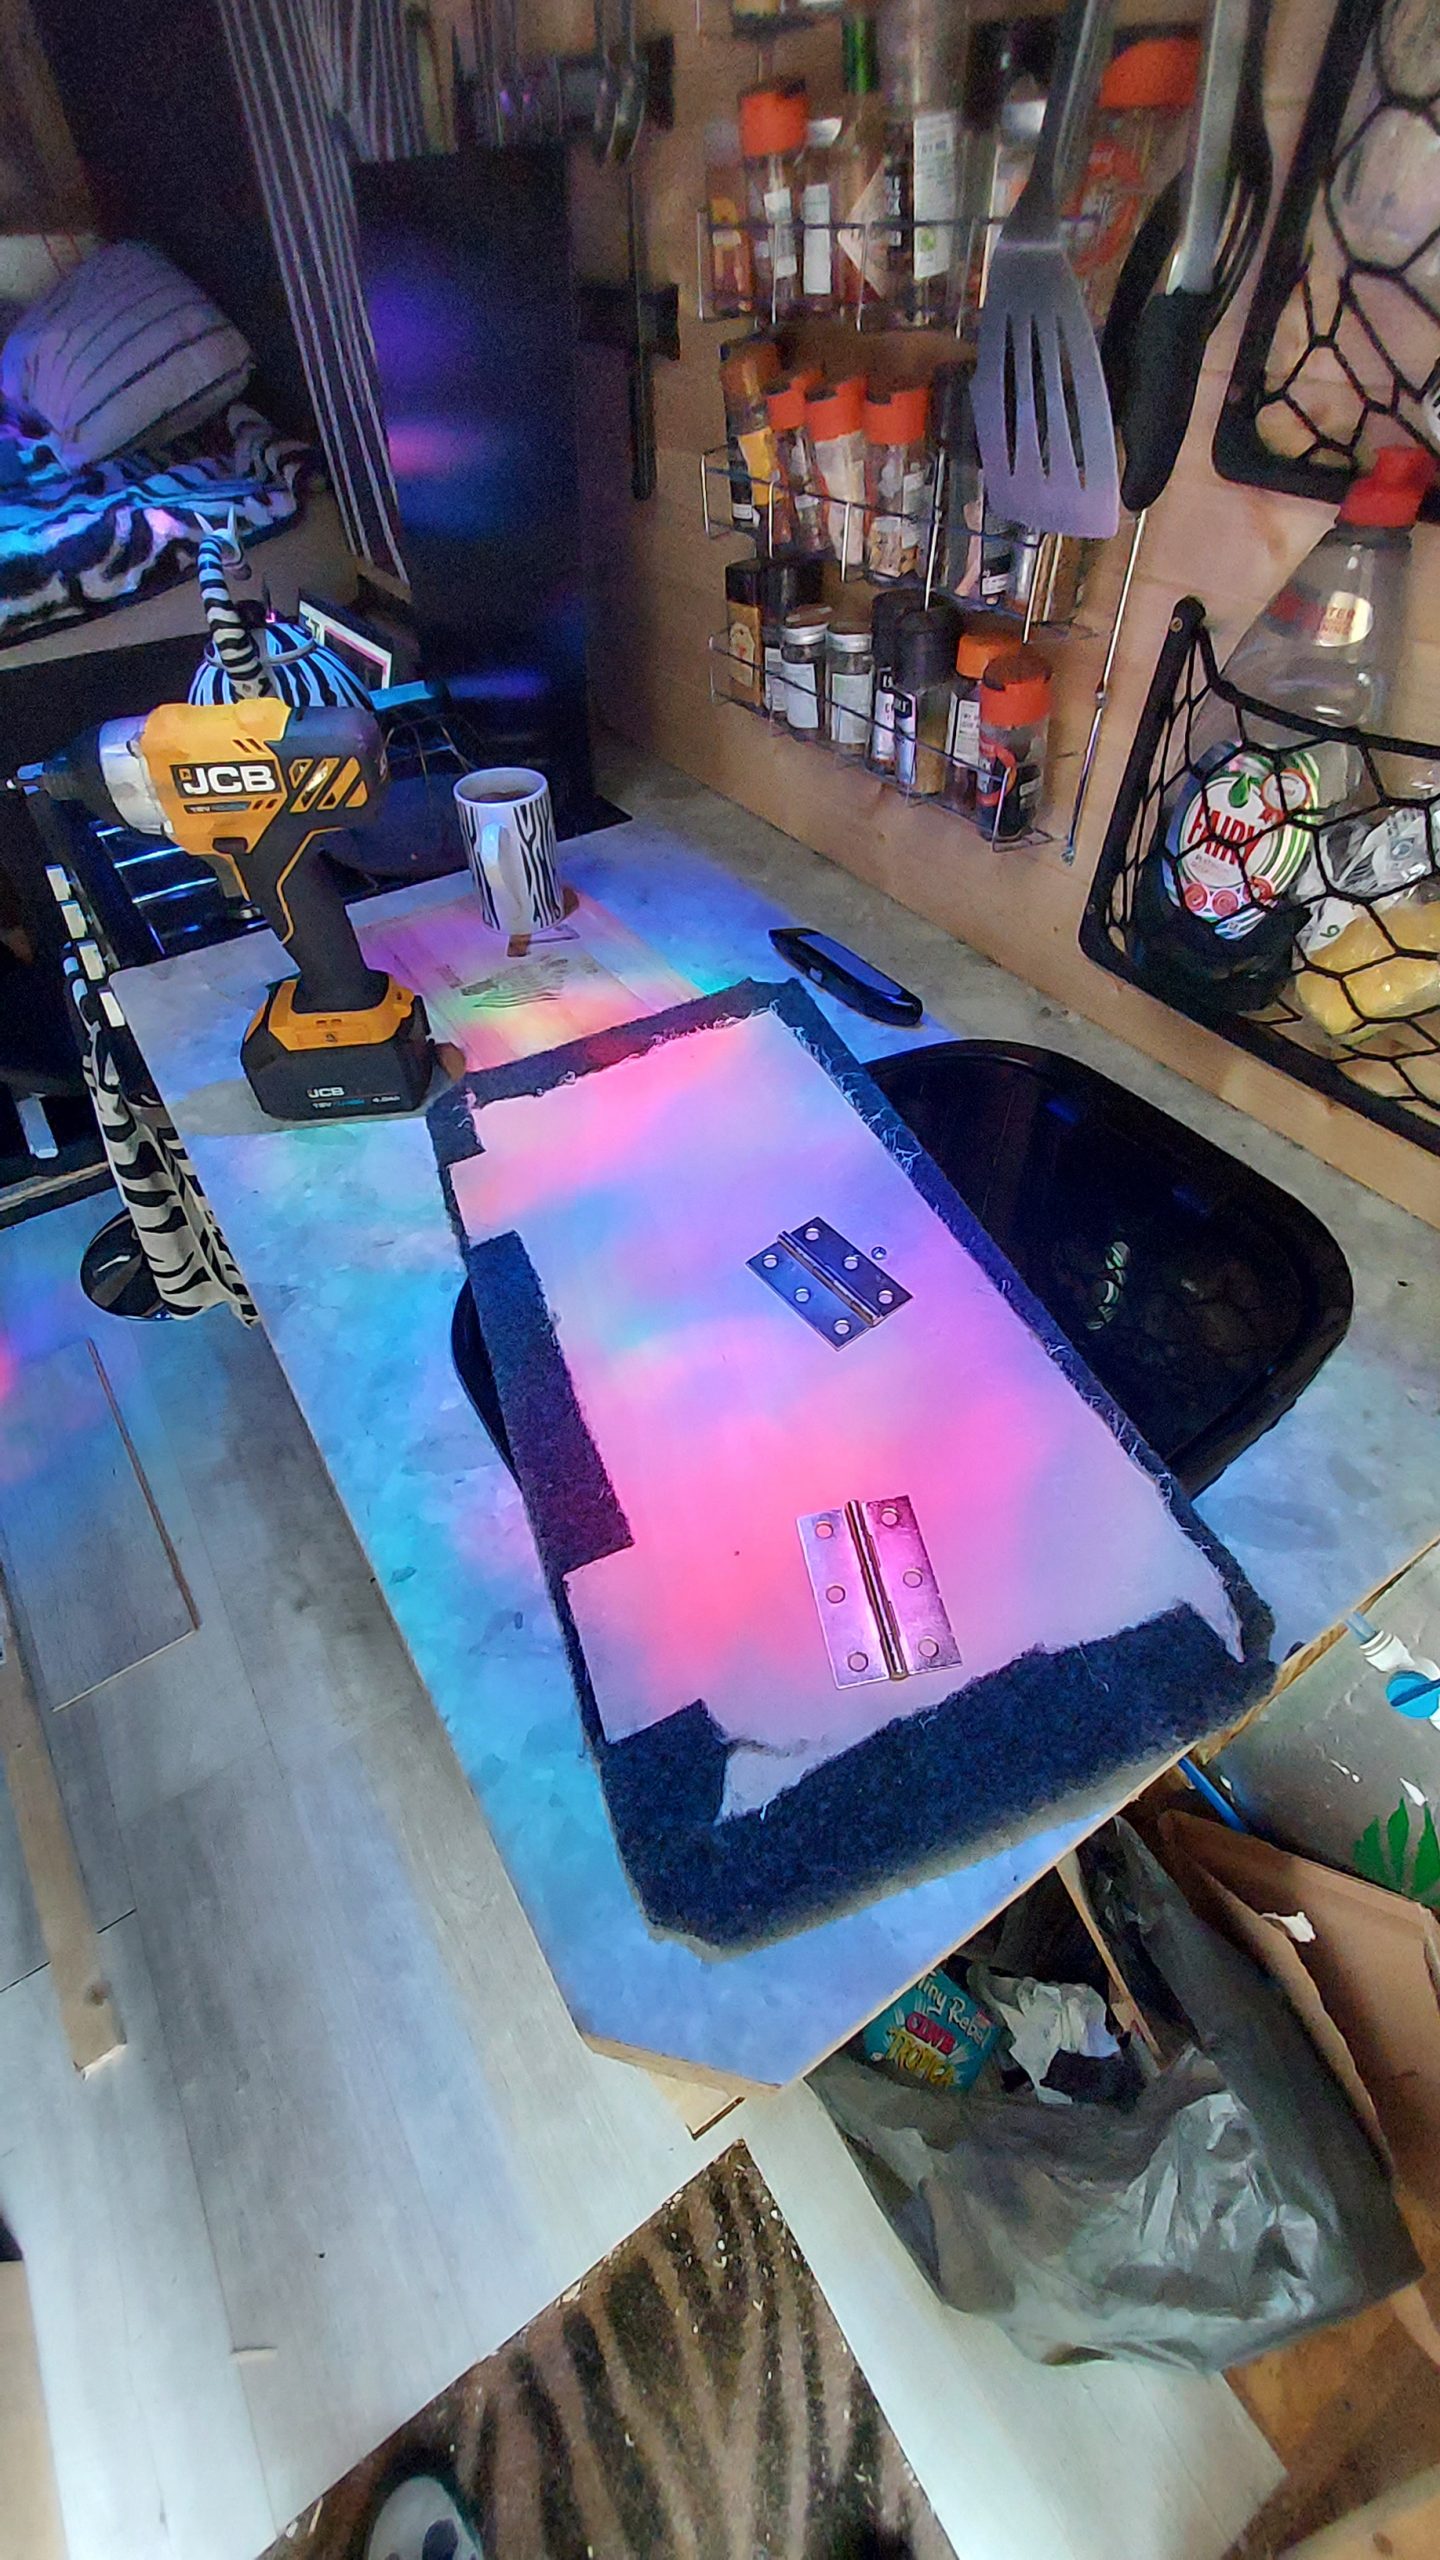
Acrylic installed
Finally finished the rear window. It folds out for summer days. The acrylic was a couple of mm too large in both dimensions, this stuff
Read More

Window catch
Shelf installed for putting things while I’m stood near the windows such as kitchen roll or my phone on radio. The window can be opened
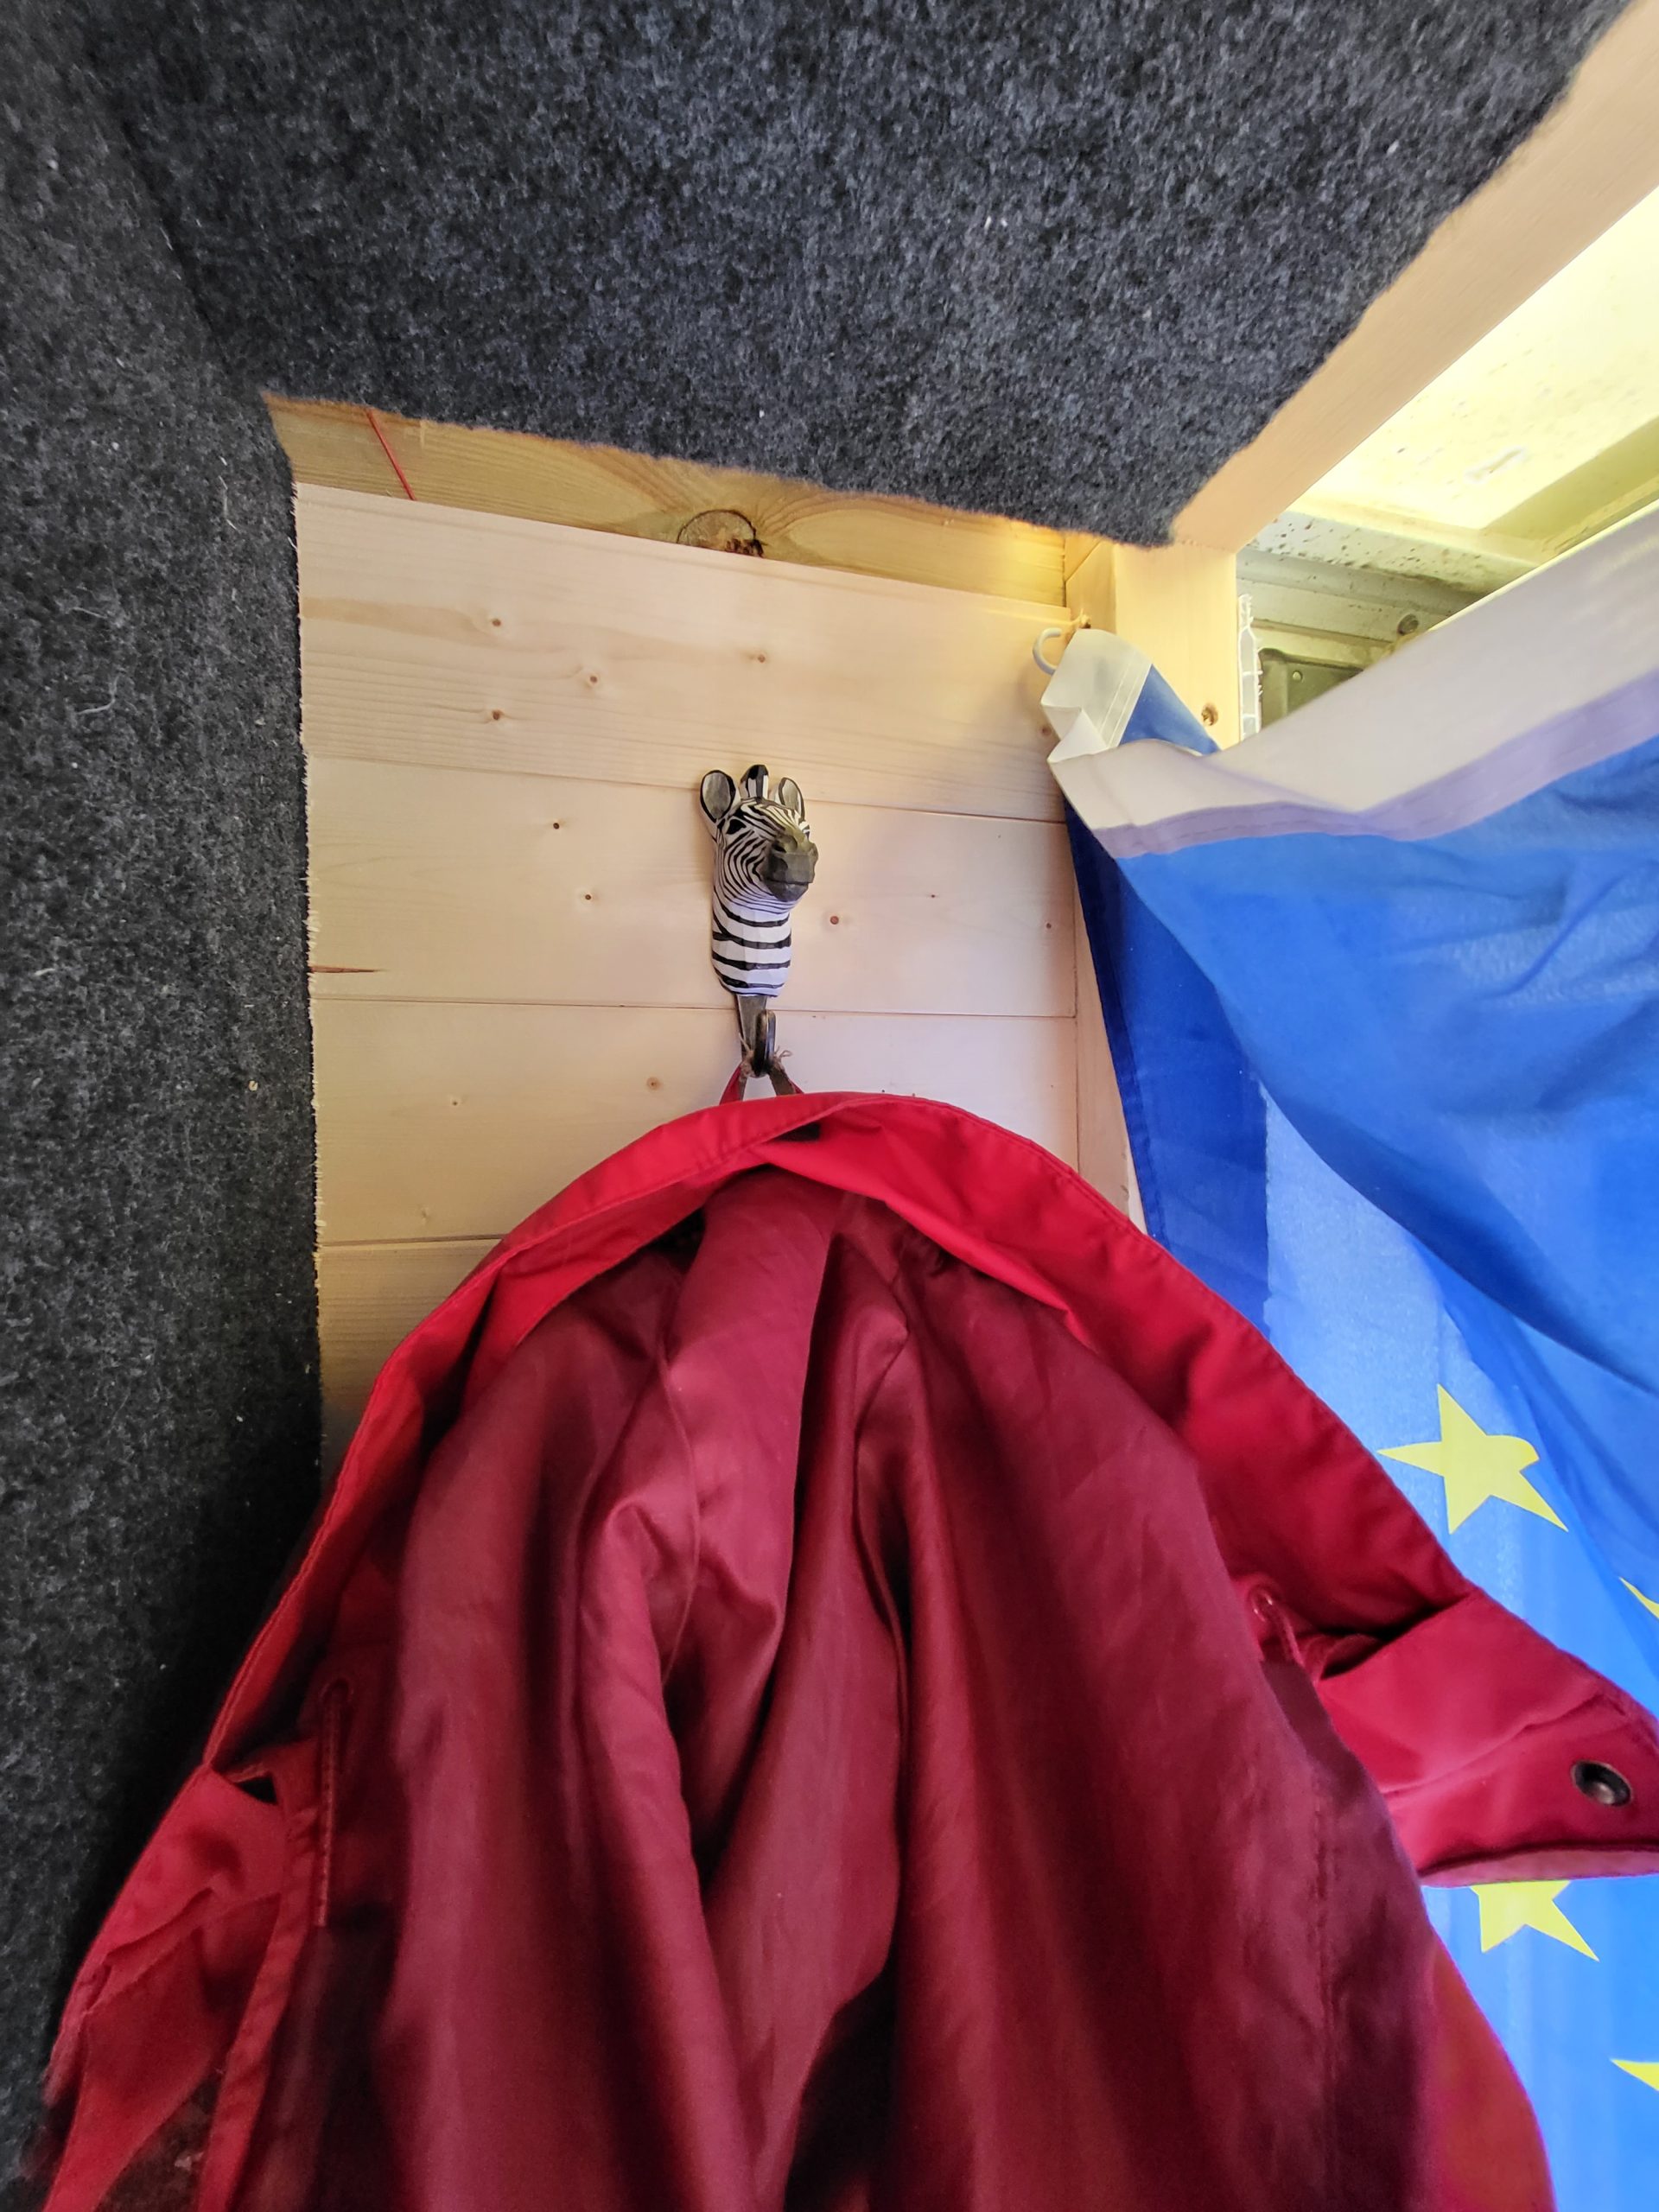
Read More
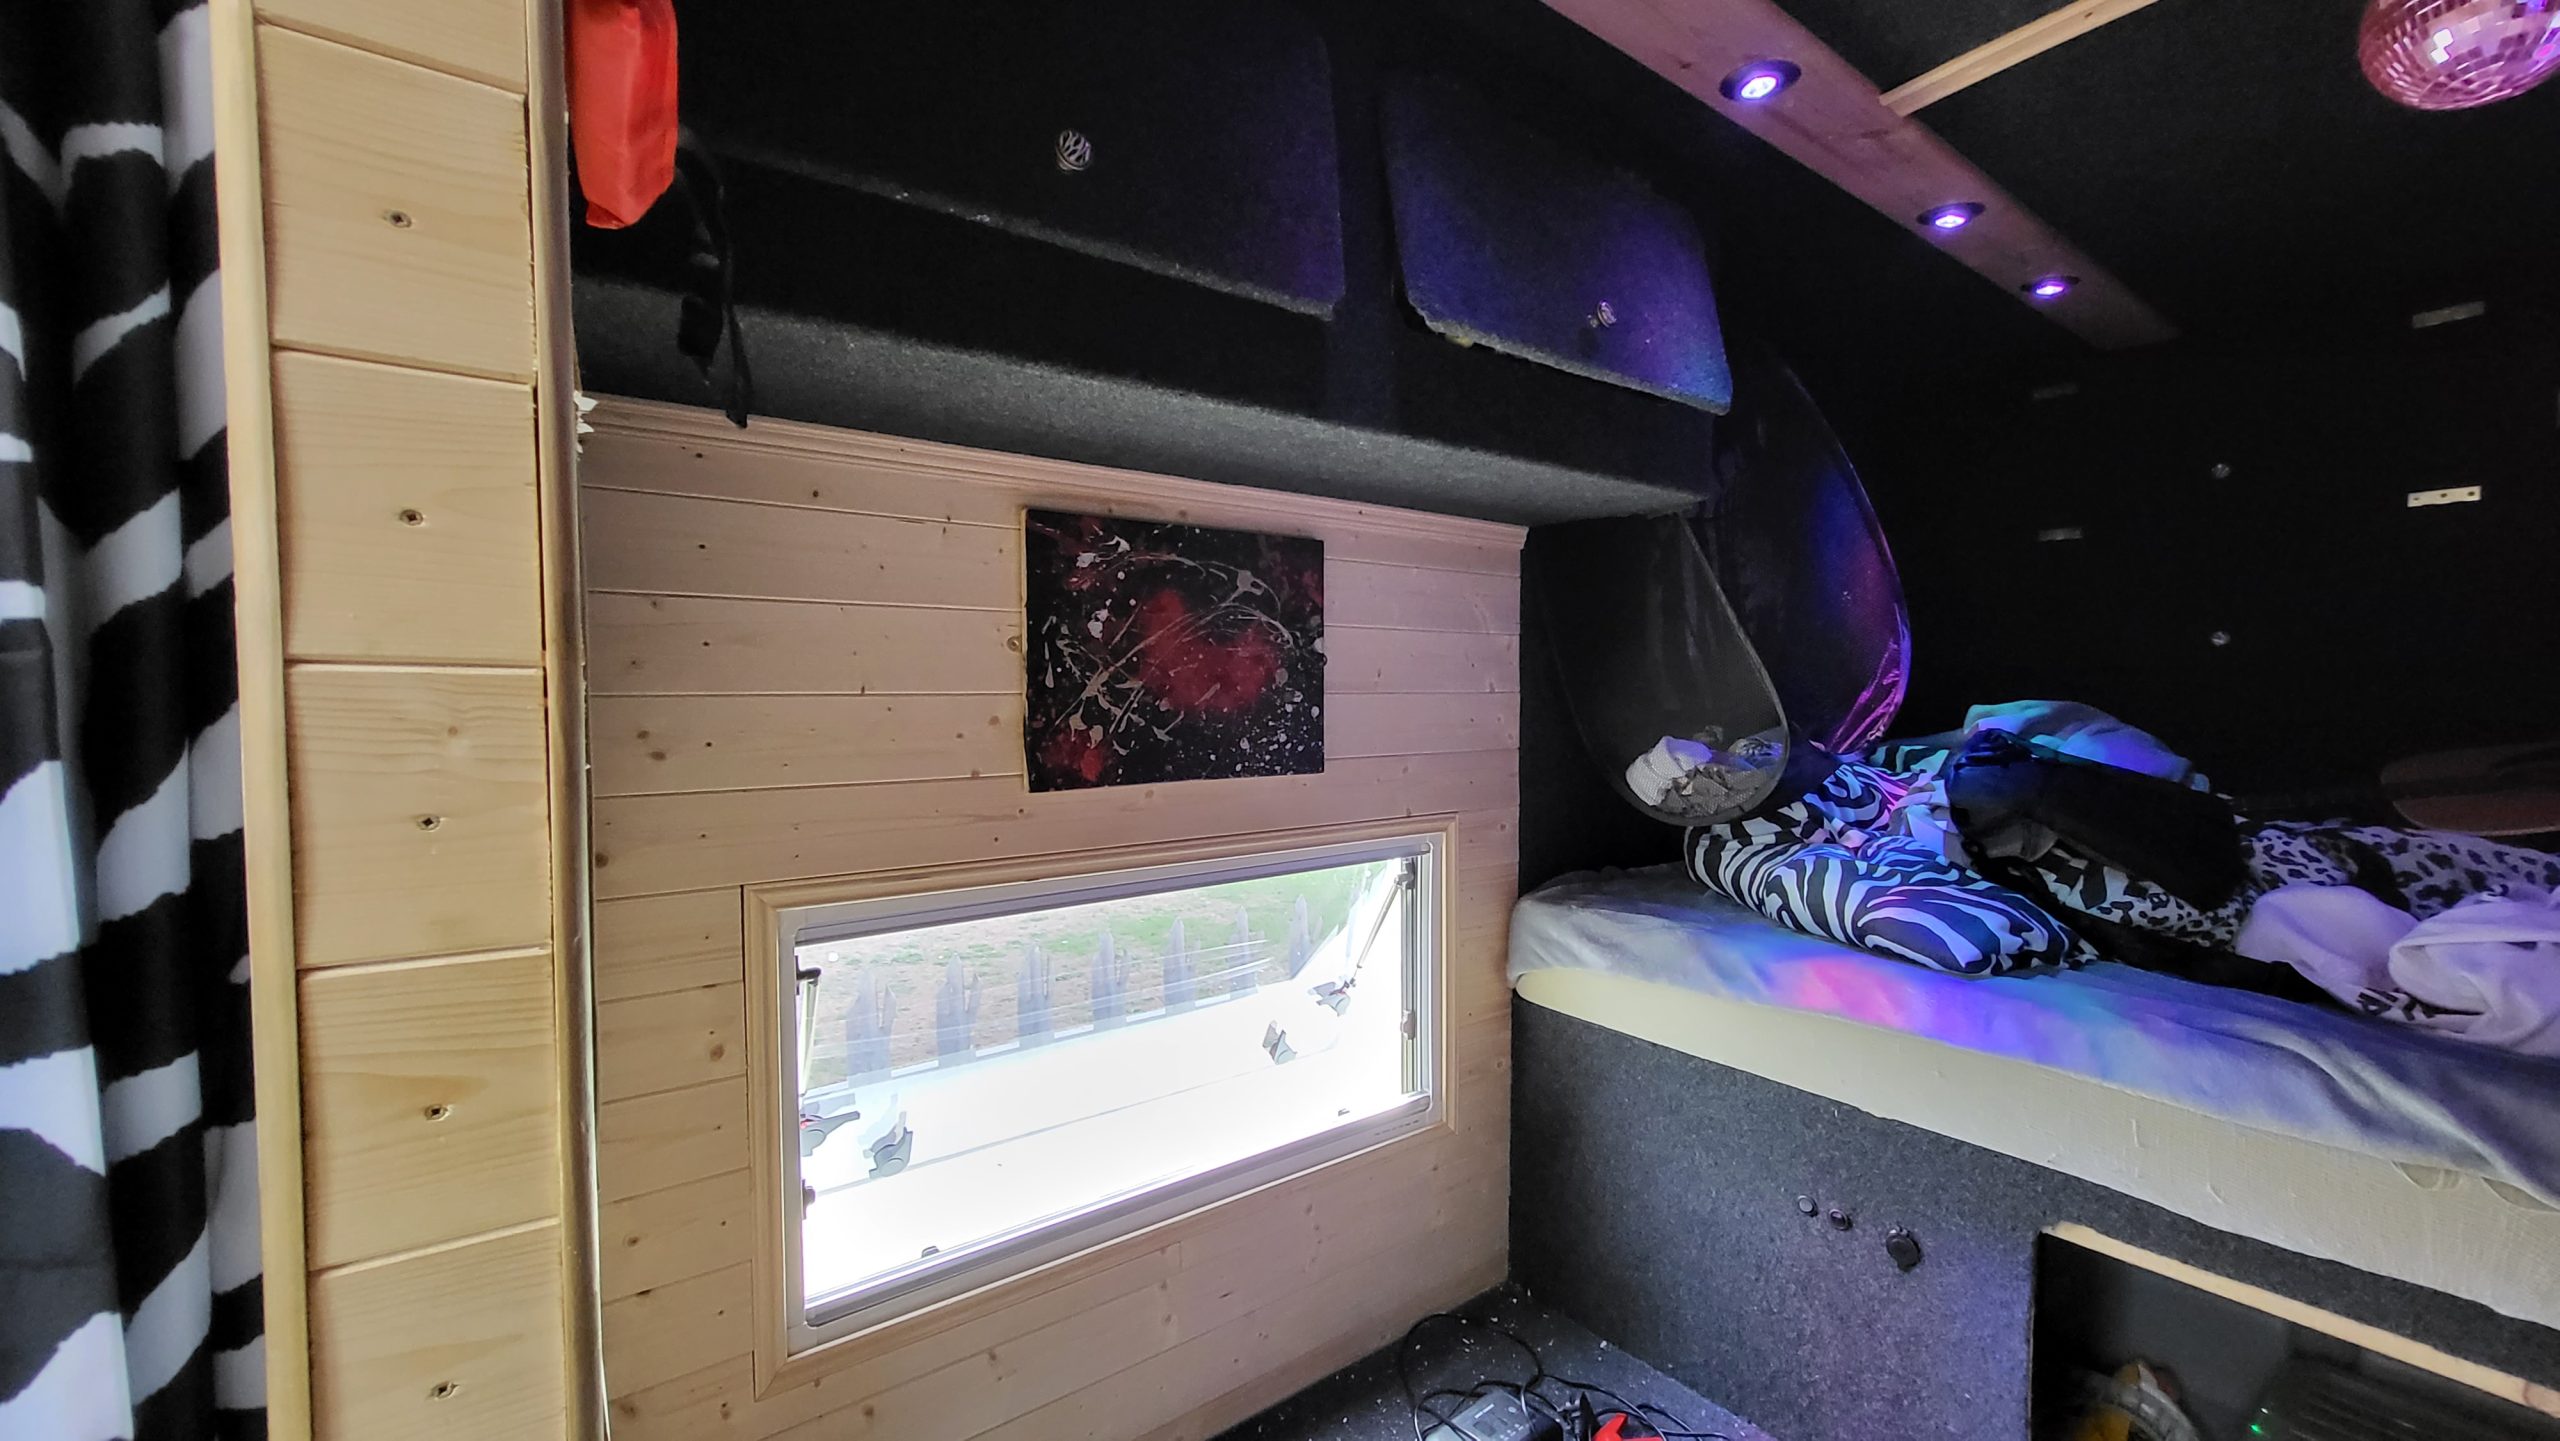
Painting moved
Now that the window area has my coat hook, I’ve moved this lovely abstract to be over the window instead.
Read More


At last!
At last, we’re ready for the winter, everything is done to the best of my ability, everything seems to be working great, everything has it’s
Read More

Sun getting lower
Lovely morning shot showing the sun beaming through the stable door window on a late Autumn morning.
Read More

Keeping warm
It’s approaching December now and the heating is on this evening. Even running that with the laptop, we are barely putting a dent in the
Read More
Cool wheels
I had some spare cash this payday so why ever not, wheels sprayed with Hammerite black.
Read More
